Introduction to Bacon Cheeseburger Sliders
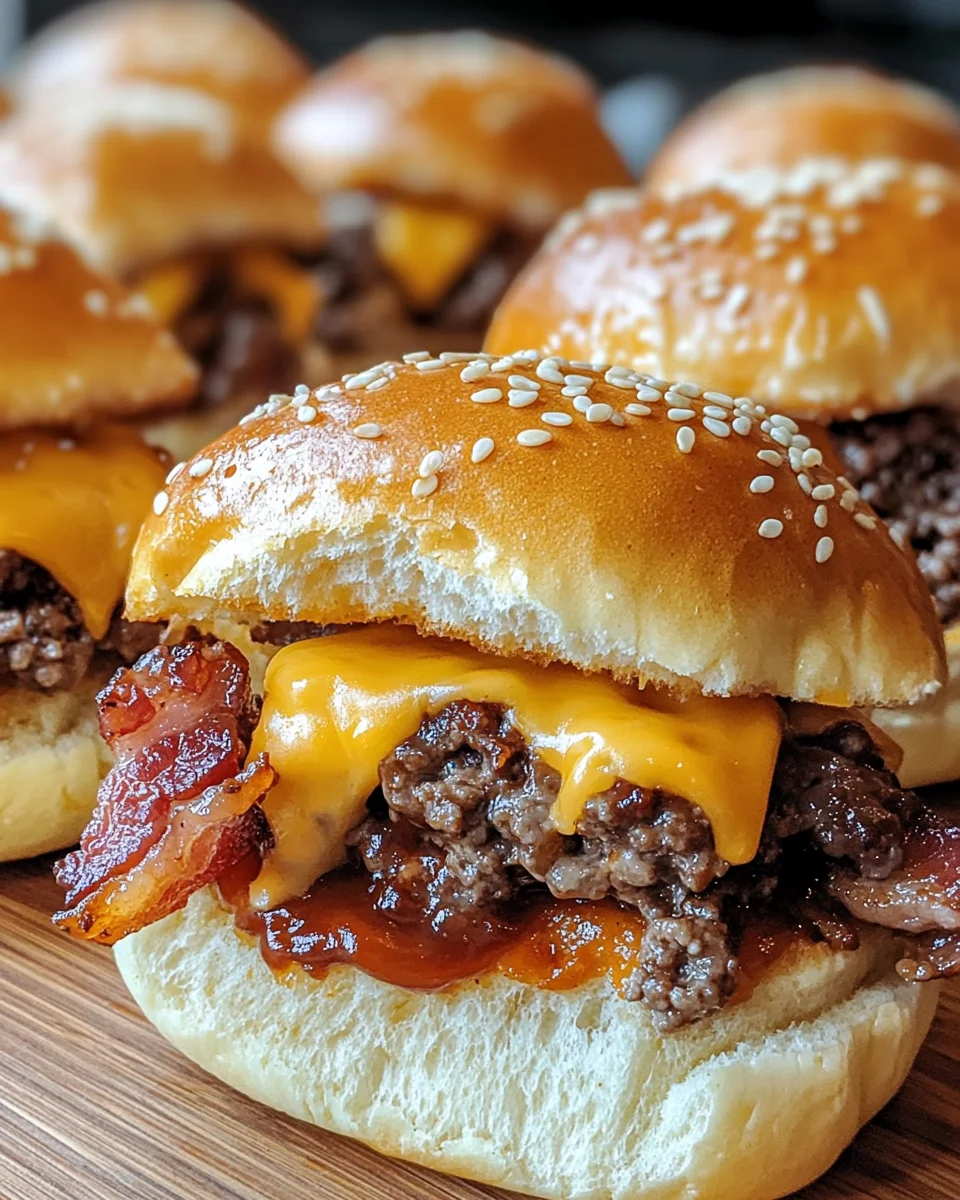
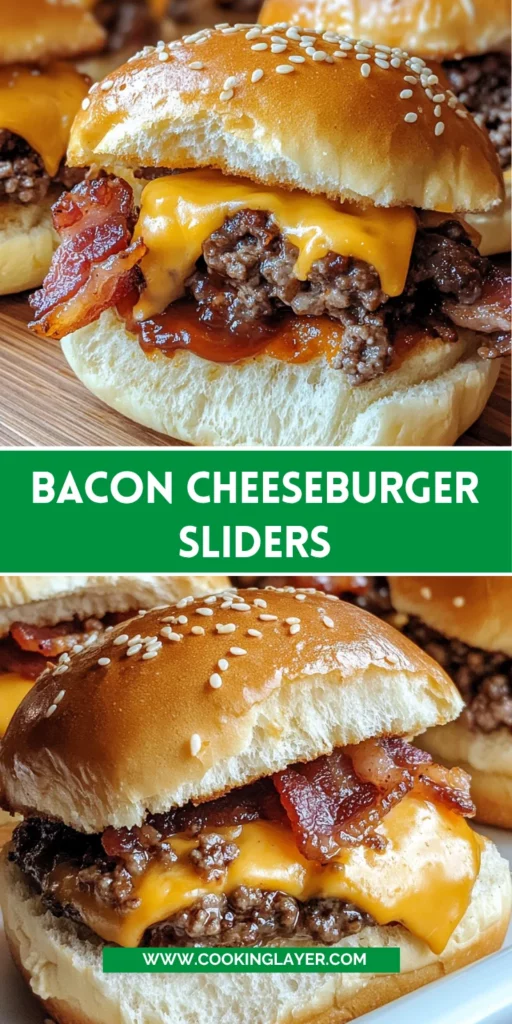
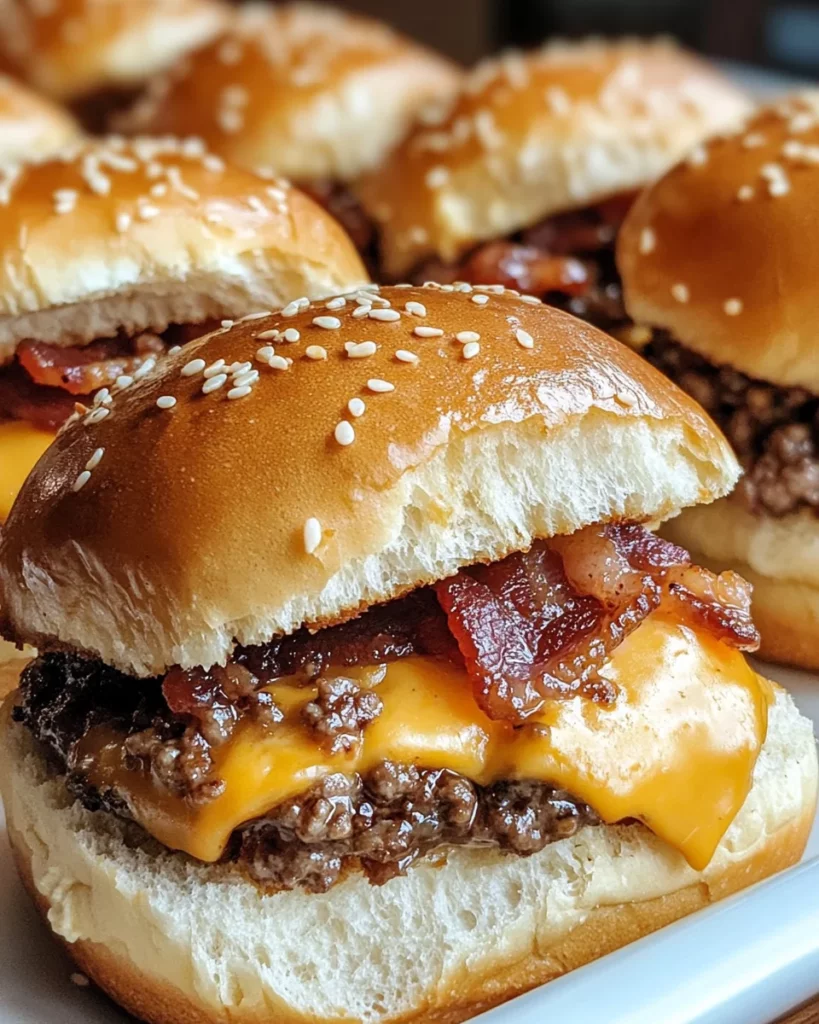
Welcome, fellow food lovers! If you’re like me, juggling a busy life while trying to whip up something delicious can feel like a challenge. That’s why I’m thrilled to share this recipe for Bacon Cheeseburger Sliders. These mouthwatering mini delights combine rich flavors, and they’re a quick solution that will impress your loved ones without exhausting your schedule. Whether it’s a casual family dinner or a lively gathering with friends, these sliders are bound to become a favorite. Join me in savoring the magic of these tasty bites that deliver joy with every mouthful!
Why You’ll Love This Bacon Cheeseburger Sliders
There’s so much to adore about Bacon Cheeseburger Sliders! They’re quick to prepare, making them the perfect dish for those hectic weeknights. Just 45 minutes from start to finish, and you have a delicious meal ready to serve. The combination of savory beef, creamy cheese, and crispy bacon fleetingly dances on your taste buds. Plus, they’re easy to customize for everyone’s cravings, ensuring smiles all around!
Ingredients for Bacon Cheeseburger Sliders
Gathering the right ingredients is key to crafting delicious Bacon Cheeseburger Sliders. Each one brings something unique to the table—an explosion of flavor wrapped in a delightful Hawaiian roll. Here’s what you’ll need:
- Ground Beef: The star of the dish! It provides that juicy richness. I prefer 80/20 for the right balance of flavor and moisture.
- Garlic: Freshly minced garlic adds a punch of flavor. You can also use garlic powder if that’s what you’ve got.
- Sea Salt: Seasoning is crucial. This enhances the beef and brings out its natural flavor.
- Dried Onion Flakes: These little gems add sweetness and texture, making the flavor profile more complex.
- Black Pepper: Just a hint of ground pepper elevates the taste and balances the richness of the beef.
- Cream Cheese: This creamy delight is key to achieving that luscious texture in the filling. It also adds a subtle tanginess.
- Barbecue Sauce: Use your favorite brand! It brings a smoky flavor that complements the beef perfectly.
- Dijon Mustard: A touch of Dijon adds a sharp bite that elevates the sliders to new heights.
- Hawaiian Sweet Rolls: These fluffy rolls provide the perfect sweet contrast to the savory filling. They are soft and easy to bite into!
- Sharp Cheddar Cheese: Freshly grated cheddar offers a rich and tangy flavor that melts beautifully over the sliders.
- Bacon: Cooked and crumbled for that crispy texture everyone loves. Feel free to add more for extra crunch!
- Salted Butter: Melted butter brushed on top gives a glorious sheen and enhances the flavors.
- Sesame Seeds: These aren’t just for looks! They add a delightful nutty element and a bit of crunch.
For exact measurements, check the bottom of the article where they’re listed for you to print out. Each ingredient helps create the magic that is Bacon Cheeseburger Sliders, making each bite a little slice of heaven!
How to Make Bacon Cheeseburger Sliders
Now that we have our ingredients ready, it’s time to dive into the fun part: making those mouthwatering Bacon Cheeseburger Sliders! Follow these simple steps, and I’ll guide you through each one with some helpful tips to make this culinary adventure a breeze.
Step 1: Preheat the Oven
First things first—let’s preheat that oven to 375°F. This step is crucial because it ensures that our sliders bake evenly, resulting in perfectly melted cheese and warm rolls. A preheated oven is like a cozy hug for our sliders; it warms them from the moment they enter!
Step 2: Cook the Ground Beef
In a large sauté pan over medium heat, add the ground beef and break it up with a spatula. As it cooks, sprinkle in the minced garlic, sea salt, dried onion flakes, and black pepper. Browning the beef just until no pink remains will lock in those savory flavors. The garlic will fill your kitchen with a heavenly aroma—trust me, your family will come running!
Step 3: Combine Cream Cheese and Sauces
Once the beef is cooked, reduce the heat to low. It’s time to stir in the cream cheese, barbecue sauce, and Dijon mustard. Let that cream cheese melt into the mixture, creating a creamy and flavorful filling. This combination elevates the overall taste of your sliders, binding all the flavors together beautifully!
Step 4: Prepare the Hawaiian Rolls
Next up, let’s tackle those delightful Hawaiian rolls. If you’re using multiple packages, cut them in half so they fit snugly in a 9×13-inch casserole dish. Leave the roll bottoms in the dish while you set the tops aside—this will help with layered baking later. We want maximum flavor in every bite, after all!
Step 5: Assemble the Sliders
Now comes the fun part—layering! Start by sprinkling a generous cup of grated cheddar cheese evenly over the roll bottoms. Then, spread that delicious beef mixture on top, followed by the crumbled bacon. Finally, cover it all with the remaining cheese. This layering seals in the flavors, creating a slider that’s bursting with goodness with every bite!
Step 6: Add the Topping
It’s topping time! In a microwave-safe bowl, melt the salted butter and stir in the sesame seeds. Using a pastry brush, generously pour the butter mixture over the rolls. This adds gloss and flavor, making our sliders not just tasty, but beautiful too. Those little sesame seeds bring a delightful crunch that you won’t want to miss!
Step 7: Bake to Perfection
Cover your casserole dish tightly with aluminum foil and pop it in the preheated oven for 20 minutes. This helps the cheese melt and the rolls heat through. After that, remove the foil and bake for an additional 5 to 10 minutes until the tops are gloriously golden brown. The anticipation will build, and your kitchen will smell incredible!
Tips for Success
- Use high-quality ground beef for better flavor and juiciness.
- Don’t rush the browning process; it enhances the taste!
- Feel free to customize the toppings—add pickles or onions for extra zing.
- For a crowd, consider making double batches; they disappear fast!
- Serve with a side of chips or a fresh salad for a well-rounded meal.
Equipment Needed
- 9×13-inch casserole dish: A great alternative is any large baking dish.
- Sauté pan: A skillet will work just as well for cooking the beef.
- Microwave-safe bowl: You can also use a small saucepan to melt the butter.
- Spatula: A wooden spoon is perfect for mixing the meat and sauces.
- Pastry brush: Use a spoon if you don’t have one; just drizzle the butter on!
Variations of Bacon Cheeseburger Sliders
- Turkey or Chicken Sliders: Swap out the ground beef for ground turkey or chicken for a leaner option. Add extra seasonings to enhance the flavor!
- Veggie Sliders: For a meatless version, use black beans or lentils, mixed with spices and topped with cheese for a hearty alternative.
- Spicy Sliders: Kick up the heat by adding jalapeños or a spicy barbecue sauce. Your taste buds will thank you!
- Stuffed Sliders: Add a slice of pickle, a dollop of ranch dressing, or any favorite topping right into the beef mixture before baking.
- Gluten-Free Option: Use gluten-free rolls to accommodate dietary needs while still enjoying the sliders!
Serving Suggestions
- Pair these sliders with crispy potato chips or sweet potato fries for a satisfying crunch.
- A fresh garden salad adds a colorful and healthy touch.
- Serve with pickles and condiments like ketchup or mustard for those who love customization.
- Cocktails or iced tea make great drink companions for a lively dinner!
FAQs about Bacon Cheeseburger Sliders
Can I make Bacon Cheeseburger Sliders ahead of time?
Absolutely! You can assemble them in advance and store them covered in the fridge. Just pop them in the oven when you’re ready to bake. It’s a lifesaver for parties or busy weeknights!
What can I serve with Bacon Cheeseburger Sliders?
These sliders shine on their own, but pairing them with crispy potato chips, sweet potato fries, or a fresh salad makes for a balanced and delightful meal.
Can I freeze the sliders?
Yes! After baking, let them cool completely, then wrap tightly in plastic wrap and foil. They’ll stay good in the freezer for up to three months. Reheat in the oven when you’re ready to enjoy them again!
What are some toppings I can add?
Get creative with toppings! Jalapeños, pickles, sliced tomatoes, or a dollop of guacamole can add extra flavor and texture to your sliders.
How do I reheat leftover sliders?
The best way to reheat leftovers is to warm them in the oven at 350°F. This keeps the rolls soft and the cheese melted, making them taste freshly baked!
Final Thoughts
Making Bacon Cheeseburger Sliders is more than just preparing a meal; it’s about creating moments to share with family and friends. The joy of pulling a batch of these cheesy, bacon-infused delights from the oven, with their golden tops and irresistible aroma, fills my heart with happiness.
Whether it’s a weeknight dinner or a festive gathering, these sliders bring everyone together, inviting laughter and joy with every delicious bite. I hope you enjoy making this recipe as much as I do—because in the end, it’s all about sharing love, one slider at a time!
Print
Bacon Cheeseburger Sliders: Mouthwatering Mini Delights!
- Prep Time: 15 minutes
- Cook Time: 30 minutes
- Total Time: 45 minutes
- Yield: 12 sliders 1x
- Category: Appetizer
- Method: Baking
- Cuisine: American
- Diet: Gluten Free
Description
Bacon Cheeseburger Sliders are mouthwatering mini delights that combine rich flavors of beef, cheese, and crispy bacon in a delightful Hawaiian roll.
Ingredients
- 1 pound ground beef
- 1 teaspoon garlic, minced
- ½ teaspoon sea salt
- 1 teaspoon dried onion flakes
- ½ teaspoon freshly ground black pepper
- 3 oz cream cheese, cut into small cubes
- ½ cup barbecue sauce
- 2 teaspoons Dijon mustard
- 1–2 packages Hawaiian sweet rolls (1½ packages fills a 9x13 dish)
- 2 cups sharp cheddar cheese, freshly grated
- 1 pound bacon, cooked and crumbled
- ½ cup salted butter, melted
- 1–2 tablespoons sesame seeds
Instructions
- Preheat your oven to 375°F and have a 9×13-inch casserole dish ready for assembly.
- In a large sauté pan over medium heat, cook the ground beef with garlic, salt, onion flakes, and pepper, breaking it up as it cooks until no pink remains.
- Stir the cream cheese cubes, barbecue sauce, and Dijon mustard into the cooked beef until the cream cheese melts and everything is well combined. Set aside.
- Place the Hawaiian rolls in the casserole dish, cutting some in half if needed to fill the dish completely. Slice off the tops of all rolls in one connected piece and set aside.
- Leave the roll bottoms in the dish and sprinkle 1 cup of the grated cheddar cheese evenly over them.
- Spread the beef mixture evenly over the cheese, then sprinkle the crumbled bacon on top. Cover with the remaining 1 cup of cheese.
- Place the roll tops back on. In a microwave-safe bowl, melt the butter and stir in the sesame seeds.
- Pour the butter mixture over the tops of the rolls, using a pastry brush to spread the sesame seeds and butter evenly across the surface.
- Cover tightly with aluminum foil and bake for 20 minutes until the cheese is melted and the rolls are heated through.
- Remove the foil and bake for an additional 5-10 minutes until the tops are golden brown. Let cool for a few minutes before separating into individual sliders.
Notes
- Adjust the amount of bacon to your liking for extra crunch.
- These sliders can be made ahead of time and reheated for parties.
- Feel free to add condiments like ketchup and mustard when serving.
Nutrition
- Serving Size: 1 slider
- Calories: 250
- Sugar: 2g
- Sodium: 650mg
- Fat: 15g
- Saturated Fat: 7g
- Unsaturated Fat: 6g
- Trans Fat: 0g
- Carbohydrates: 20g
- Fiber: 1g
- Protein: 12g
- Cholesterol: 50mg


Definitely wouldn’t do as much BBQ sauce. Very overpowering flavor. Other than that, it’s decent! Probably would add more cheese.