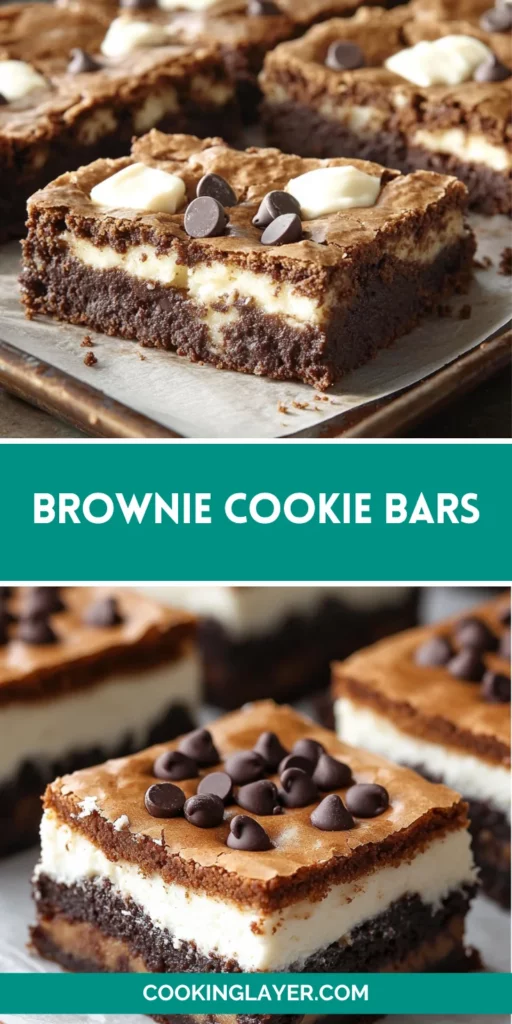
Introduction to Brownie Cookie Bars
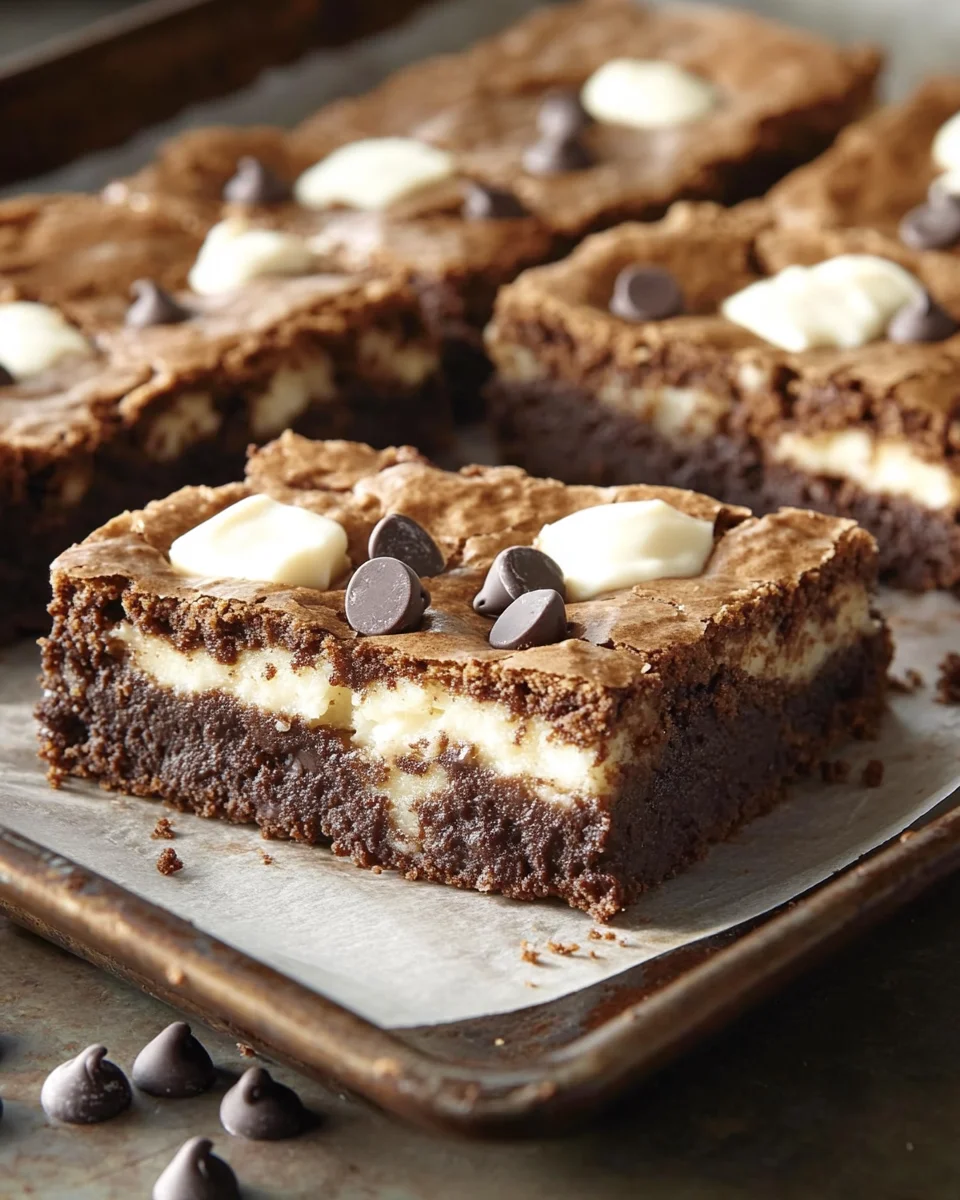
Welcome to the world of Brownie Cookie Bars, where the best of both desserts come together! If you’re anything like me, balancing a hectic schedule while craving something sweet can be a challenge. These delightful bars are the answer to that longing, combining the rich, fudgy goodness of brownies with the chewy charm of cookie dough. Perfect for busy moms and professionals, they’re not just quick to whip up but also a hit with everyone in the family. Let’s dive in and create a treat that’s sure to become your next favorite sweet indulgence!
Why You’ll Love This Brownie Cookie Bars
Brownie Cookie Bars are a delightful blend of flavors and textures, making them an irresistible treat. The best part? They come together quickly, allowing you to satisfy your sweet tooth in no time. With minimal prep and bake time, they fit perfectly into your busy life. Plus, their chewy cookie top and rich brownie base will leave everyone asking for seconds. Who can resist such deliciousness?

Ingredients for Brownie Cookie Bars
To create these heavenly Brownie Cookie Bars, you’ll need a delightful mix of ingredients. They not only enhance the flavor but also contribute to that perfect texture we all love. Here’s what you should gather:
- Brownie mix: A box of your favorite brownie mix—this simplifies the process while ensuring that fudgy goodness.
- Oil, water, and eggs: Essential ingredients listed on the brownie mix box, helping the batter come together smoothly.
- Melted butter: Adds a rich, buttery flavor to the cookie layer. Just remember to let it cool before mixing.
- Light brown sugar: Brings that lovely caramel undertone and extra moisture to the cookie base.
- Granulated sugar: Balances the brown sugar and helps achieve perfect sweetness.
- Eggs: One large egg plus an extra yolk contributes to the chewy texture—yes, yolks are little powerhouses of richness!
- Vanilla extract: Adds warmth and depth, transforming ordinary flavors into something magical.
- All-purpose flour: The backbone of our cookie dough, providing structure and thickness.
- Baking soda: A leavening agent that helps achieve that scrumptiously soft cookie layer.
- Salt: Just a pinch enhances the sweet flavors and balances the overall taste.
- Chocolate chips or chunks: The star of the show! These create gooey pockets of chocolate goodness that you can’t resist.
If you’re curious about measurements or looking for variations, don’t worry! Exact quantities are listed at the bottom of the article for easy printing.
How to Make Brownie Cookie Bars
Step 1: Preheat and Prepare
First things first, let’s get that oven roaring! Preheat it to 325°F. While it heats up, grab a 9×13 metal pan and line it with parchment paper. This is a crucial step that helps with easy removal and clean-up later. Trust me, your future self will thank you for it!
Step 2: Prepare the Brownie Mix
Now, let’s dive into the brownie mix! Follow the package instructions to whip up your brownie batter. This usually involves mixing the brownie mix with oil, water, and eggs. Once it’s smooth and silky, pour it into your prepped pan. This fudgy base is a game-changer and sets the stage for our cookie layer!
Step 3: Make the Cookie Dough
Now for the cookie dough—where the magic happens! In a mixing bowl, combine the melted butter, light brown sugar, granulated sugar, and eggs. Stir until everything is well blended. The creamy and luscious mixture is what gives these Brownie Cookie Bars their delightful chewy texture. Don’t skip this step, it’s where the flavor originates!
Step 4: Combine Dry Ingredients
It’s time to mix in our dry ingredients! Add the all-purpose flour, baking soda, and salt to the wet mixture. Gently fold everything together until no dry spots remain. Remember, over-mixing is the enemy! We want to keep that cookie dough tender and soft, creating the perfect contrast to our fudgy brownies.
Step 5: Add Chocolate Chips
Let’s bring in the star of our show—the chocolate chips! Gently fold them into the cookie mixture until they’re evenly distributed. These little gems will melt slightly during baking, creating gooey pockets of chocolatey goodness. Be careful not to over-mix; we want those surprises throughout, rather than a uniform chocolate flavor!
Step 6: Assemble and Bake
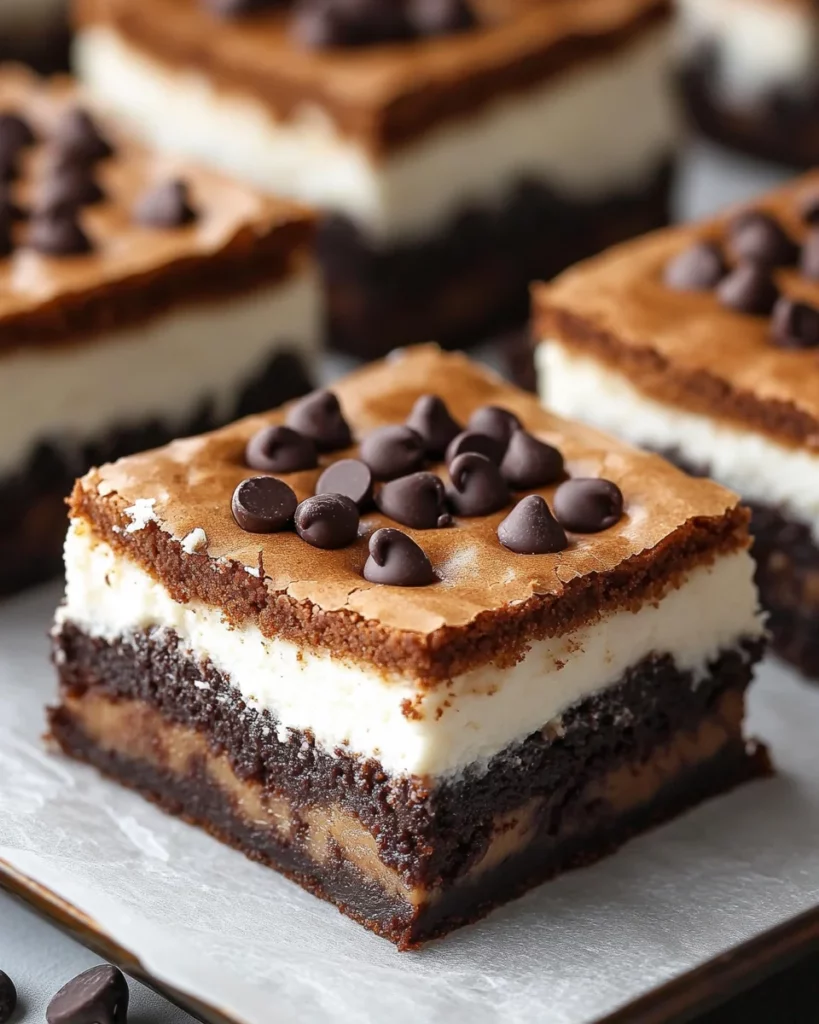
Now comes the fun part—combining everything! Using rounded tablespoons, drop dollops of cookie dough on top of the brownie batter, pressing them down lightly. Be sure not to cover the brownie batter completely for that beautiful layered effect. Bake these delicious bars for about 25-30 minutes, or until a toothpick comes out almost clean. Your kitchen will smell heavenly!
Tips for Success
- Make sure your butter is cooled before mixing; it prevents the eggs from scrambling.
- Use parchment paper for effortless bar removal and clean-up.
- Don’t skip the egg yolk! It adds richness and moisture to the cookie layer.
- Experiment with different chocolate types for unique flavor combinations.
- Let the bars cool completely before cutting for clean edges.
Equipment Needed
- 9×13 metal pan: A glass baking dish is a great alternative if you don’t have metal.
- Parchment paper: If you’re out, you can simply grease the pan well with butter or oil.
- Mixing bowls: Any large bowl will do; I love using my trusty glass mixing bowl.
- Measuring cups & spoons: Alternatively, use a kitchen scale for precise measurements.
- Spatula: A standard spatula works fine, but silicone spatulas help scoop every last bit.
Variations of Brownie Cookie Bars
- Nutty Delight: Add chopped nuts like walnuts or pecans for extra crunch and flavor.
- Blondie Twist: Swap the brownie mix for a blondie mix for a caramel-like flavor.
- Minty Fresh: Incorporate mint chocolate chips for a refreshing chocolate-mint combination.
- Gluten-Free Option: Use a gluten-free brownie mix and substitute all-purpose flour with a gluten-free blend.
- Dairy-Free Delight: Replace butter with coconut oil and use dairy-free chocolate chips for a vegan treat.
- Fruit Fusion: Fold in some dried fruits like cranberries or raisins for a hint of tartness.
Serving Suggestions for Brownie Cookie Bars
- Pair with vanilla ice cream for a delectable dessert sundae.
- Drizzle with warm caramel sauce for an extra touch of indulgence.
- Serve alongside a steaming cup of coffee or a tall glass of milk.
- Garnish with fresh berries for a pop of color and freshness.
- Wrap individual bars in parchment for a delightful gift or snack on the go.
FAQs about Brownie Cookie Bars
Curious about these scrumptious Brownie Cookie Bars? Here are some FAQs that might help you whip up the perfect batch!
Can I use homemade brownie mix instead of a box?
Absolutely! If you have a favorite homemade brownie recipe, feel free to use it. Just make sure it yields the right amount for a 9×13 pan for the best results.
What’s the best way to store leftover bars?
Store your Brownie Cookie Bars in an airtight container at room temperature for up to three days. For longer storage, wrap them tightly and freeze for up to three months.
Can these bars be made ahead of time?
Yes! You can bake them a day in advance and let them cool fully. This actually allows the flavors to develop even more. Just remember to slice them right before serving for that fresh taste!
How do I know when they’re done baking?
Check for doneness by inserting a toothpick two inches from the side of the pan. If it comes out almost clean, it’s time to take them out. Remember, they’ll set as they cool!
Can I adjust the sweetness in the recipe?
Certainly! You can reduce the granulated sugar a little if you’d like a less sweet treat, or use a sugar substitute for a healthier option. Just keep in mind it may slightly change the texture.
Final Thoughts
Making Brownie Cookie Bars is more than just a recipe; it’s an experience to share with loved ones. The sheer joy of pulling them from the oven, their warm, chocolaty aroma wafting through your home, is unparalleled. Each bite is a delicious combination of chewy cookie and rich brownie that can brighten even the most hectic day. These bars can be customized for any taste, making them a beloved staple for gatherings or a sweet treat during quiet moments. So grab your ingredients and create a batch; it’s a little piece of happiness waiting to be devoured!
Print
Brownie Cookie Bars: Indulge in This Sweet Delight!
- Prep Time: 15 minutes
- Cook Time: 30 minutes
- Total Time: 45 minutes
- Yield: 12 servings 1x
- Category: Dessert
- Method: Baking
- Cuisine: American
- Diet: Vegetarian
Description
Brownie Cookie Bars are a delicious dessert that combine the rich taste of brownies with the chewy texture of cookie dough, creating a delightful treat.
Ingredients
- 1 prepared box brownie mix (for 8x8 pan)
- Oil, water and egg called for on the box
- ¾ cup (1½ sticks) butter melted and cooled
- 1 cup packed light brown sugar
- ½ cup granulated sugar
- 1 large egg + 1 egg yolk, room temp
- 2 teaspoons vanilla extract
- 2 cups plus 2 tablespoons (256 g) all-purpose flour
- ½ teaspoon baking soda
- ½ teaspoon salt
- 1 ½ cups semi-sweet chocolate chips or chunks
Instructions
- Preheat oven to 325° F. Line a 9×13 metal pan with parchment paper.
- Prepare brownie mix according to package instructions and pour into prepared pan. Set aside.
- In a mixing bowl, stir together melted (and cooled) butter, sugar, brown sugar, egg, extra yolk, and vanilla.
- Mix in flour, baking soda, and salt, then fold in chocolate chips until just combined.
- Drop rounded tablespoons of cookie dough onto the brownie batter, pressing them down lightly.
- Bake for 25-30 minutes until the cookie layer is set but not too brown, or until a toothpick inserted 2 inches from the side of the pan comes out almost clean.
Notes
- Do not cover the brownie batter completely with the cookie dough for a nice appearance.
- Adjust baking time if using a different size pan.
Nutrition
- Serving Size: 1 bar
- Calories: 300
- Sugar: 25g
- Sodium: 200mg
- Fat: 15g
- Saturated Fat: 9g
- Unsaturated Fat: 4g
- Trans Fat: 0g
- Carbohydrates: 40g
- Fiber: 2g
- Protein: 3g
- Cholesterol: 40mg


