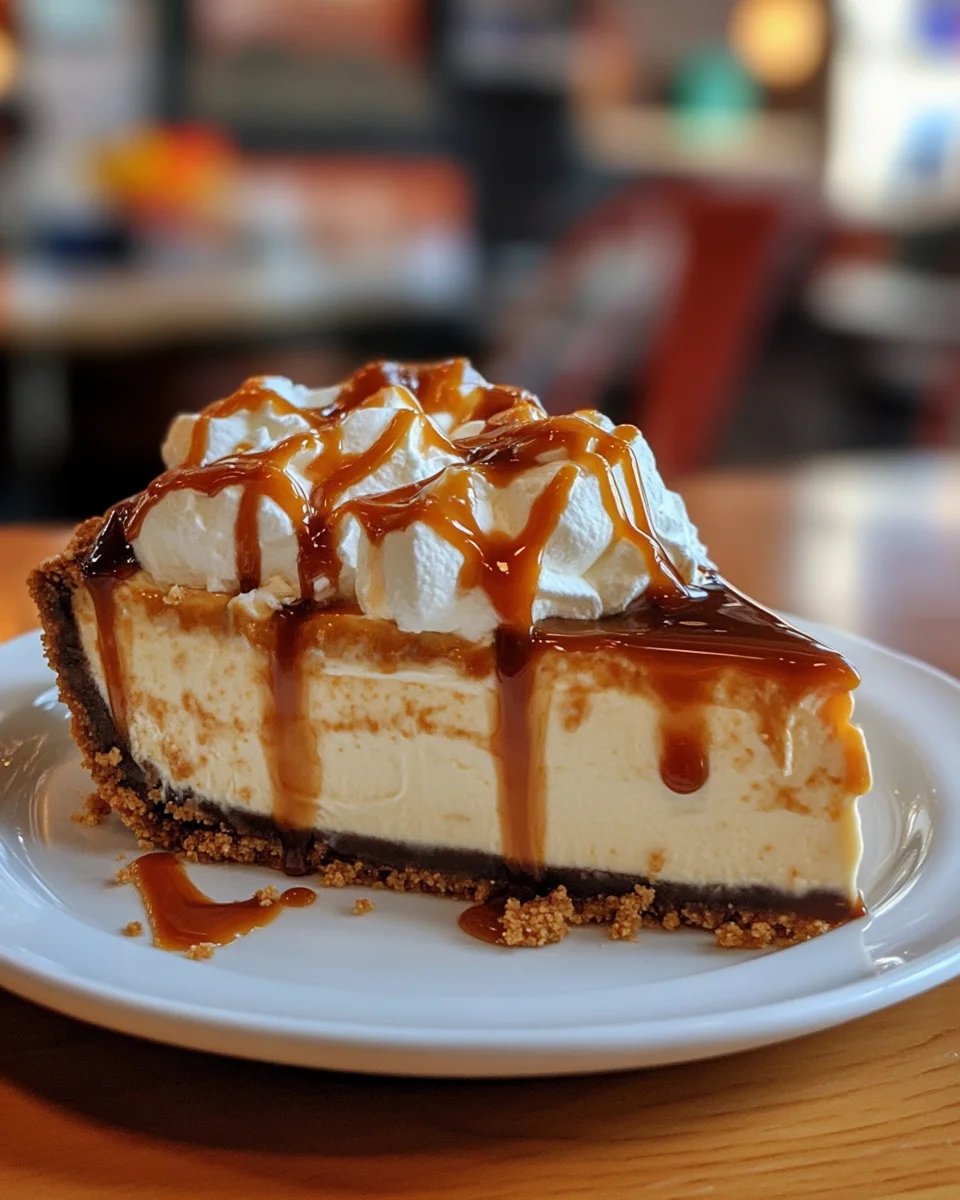
Introduction to Butterbeer Cheesecake
Ah, Butterbeer cheesecake! Just the name transports me to a cozy corner of my kitchen, where I can escape the chaos of everyday life for a sweet moment. This delightful dessert captures the whimsical essence of butterscotch, wrapped in the plush embrace of creamy cheesecake. Perfect for busy moms or professionals like us, it’s easy to whip up and sure to impress your loved ones. Whether you want a showstopper for a gathering or a comforting treat for your family, this magical dessert is here to make your day sweeter!
Why You’ll Love This Butterbeer Cheesecake
This Butterbeer cheesecake is a hassle-free, dreamy dessert that’s sure to steal the spotlight on any table. It combines the rich, decadent flavors of butterscotch with the creamy goodness of cheesecake, making every bite feel like a hug from the inside. Plus, it’s quick to prepare and perfect for busy days when you crave something special without the fuss. It’s a treat that brings everyone together for magical moments!
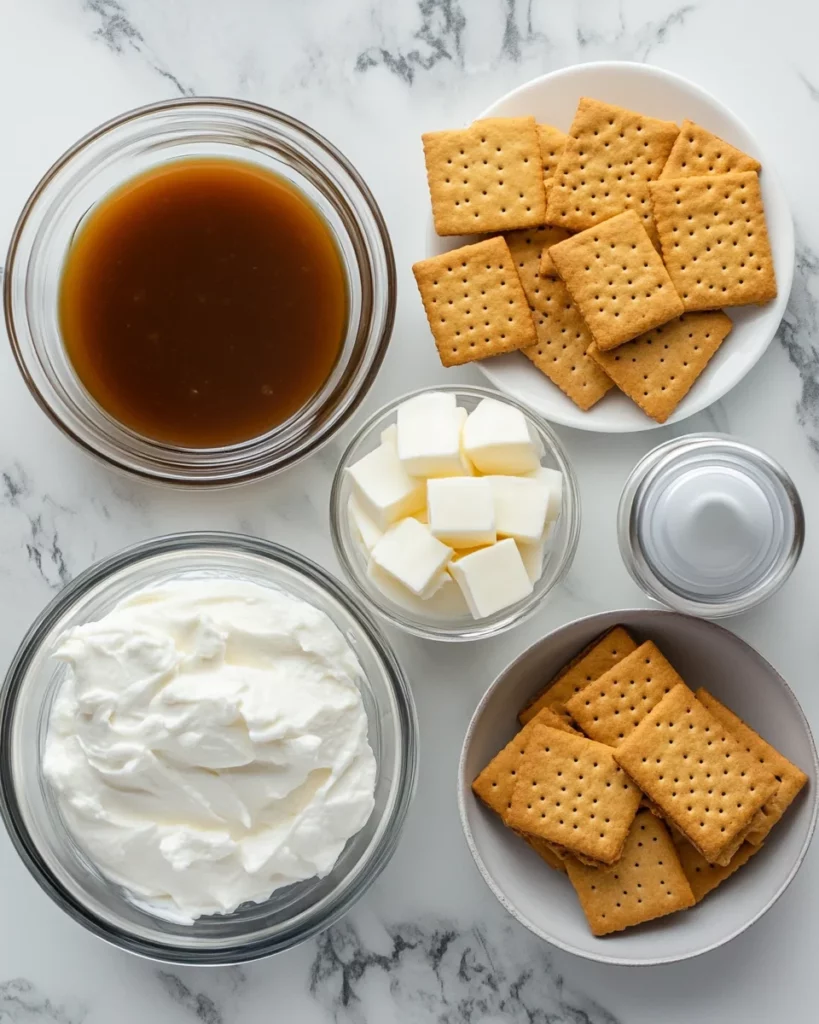
Ingredients for Butterbeer Cheesecake
Creating this dreamy Butterbeer cheesecake requires a few delightful ingredients that come together to form the magic. Here’s what you’ll need:
- Graham cracker crumbs: These will form the foundation of your crust. You can use store-bought or crush your favorite graham crackers for a fresher taste.
- Granulated sugar: A touch of sweetness to balance the cheesecake’s flavors. I like to use it in both the crust and filling for a harmonious taste.
- Unsalted butter: This adds richness to your crust, giving it that buttery goodness we all adore. Melt it for easy mixing!
- Cream cheese: The star of the show! Softened to room temperature, it creates that luscious, creamy texture we crave in cheesecakes. Use full-fat for the best results.
- Sour cream: It enhances creaminess and adds a slight tang to the filling, making every bite delightful.
- Eggs: These help bind the filling, giving it structure as it bakes. I recommend using large eggs for consistency.
- Vanilla extract: A classic flavor enhancer that rounds out the dessert nicely. Use pure vanilla for the best taste!
- Butter flavoring: It intensifies that buttery essence, making it feel really luxurious. It’s optional, but oh-so-worth it!
- Butterscotch sauce: Drizzle this into your filling for a sweet, indulgent flavor that’s a hallmark of Butterbeer.
- Butterscotch chips: These little gems add bursts of flavor and texture within each slice, elevating the overall experience.
- Cool Whip: A light, fluffy topping for that final touch. You can also use homemade whipped cream if you’re feeling ambitious!
- Cream soda: This adds a fun twist to the cheesecake. It brings the signature Butterbeer flavor without overwhelming it.
For exact measurements, which will guide you perfectly, please scroll down to the bottom of the article. You can even print it out for your next baking adventure!
How to Make Butterbeer Cheesecake
Prepare the Crust
Let’s start with the crust, the solid base for our magical Butterbeer cheesecake. In a bowl, combine your graham cracker crumbs and granulated sugar, mixing them well. Next, pour in the melted unsalted butter, bringing everything together. You want the crumbs to cling together, like best friends on a rollercoaster ride!
Once mixed, press this mixture firmly into the bottom of your 8-inch springform pan. Ensure it’s evenly distributed; a firm crust makes a hefty difference! If you like, you can pop it in the oven for about 10 minutes at 325°F to set it further. Just let it cool before adding the filling, so it’s ready to cradle that creamy goodness softly.
Make the Filling
Now the fun part! In a large mixing bowl, beat the softened cream cheese until it’s smooth, fluffy, and dreamy. I always try to cut it into chunks first; this helps achieve that silky texture quicker. Once smooth, add the sour cream, stirring well until the mixture is completely blended. Next, slowly add in the sugar, letting it dissolve for a moment before each addition, which ensures a well-mixed, less-grainy filling.
Beat in the eggs one at a time — it’s like giving each egg its moment to shine! This gradual approach ensures a smoother batter. After that, stir in the vanilla extract and butter flavoring, creating an aromatic symphony for your senses. Now, slowly add the butterscotch sauce and cream soda, folding them into the mixture gently to avoid overmixing. The butterscotch chips come last; just stir them in softly. Your filling should be rich and creamy, ready to make your taste buds dance!
Bake the Cheesecake
Preheat your oven to 325°F, and prepare for the magic! Carefully pour your lovely filling over the crust, smoothing out the top with a spatula. Then, place a pan of water on the rack below your cheesecake. This water bath will keep things humid, preventing cracks and ensuring a perfect bake.
Bake the cheesecake for 60 minutes, or until the edges are set, but the center is still slightly jiggly. When you think it’s done, turn off the oven and leave the door slightly ajar, letting your cheesecake cool gradually. This step is paramount; it prevents sudden temperature changes that can lead to cracks. Let it rest for about an hour before removing it. Then, refrigerate for at least four hours, preferably overnight. Patience pays off big time here!
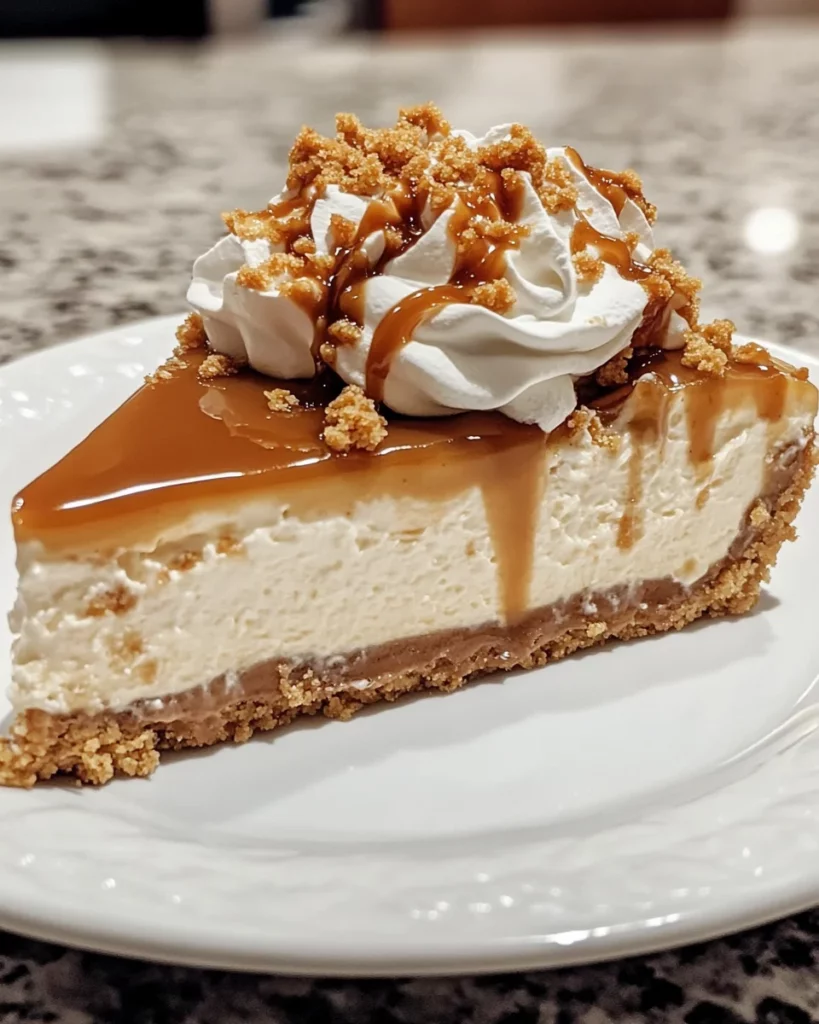
Chill and Serve
Once your cheesecake has chilled, it’s time for the grand finale! Remove it from the fridge, and take a moment to admire your work—how beautiful it looks!
Top your cheesecake generously with Cool Whip. I love to pipe swirls around the edge and create a heavenly mountain of Cool Whip in the center. Drizzle a little more butterscotch sauce on top to give it that extra flair. Slice it up, serve to your family and friends, and watch their faces light up with joy. This Butterbeer cheesecake is not just a dessert; it’s a delicious experience waiting to happen!
Tips for Success
- Soften your cream cheese well for a creamy filling; microwave it for about 15 seconds if needed.
- Measure your ingredients accurately for consistent results; baking is a science!
- Don’t skip the water bath—it’s your best friend for a crack-free cheesecake.
- Chill overnight for the best flavor and texture; patience really pays off!
- Feel free to add extra toppings like whipped cream or caramel for flair!
Equipment Needed
- 8-inch springform pan: A must-have for cheesecake; a regular cake pan works too, but removal will be tricky!
- Mixing bowls: Use a large bowl for the filling and a smaller one for the crust.
- Electric mixer: This makes beating the cream cheese a breeze; a whisk can work, but it requires more elbow grease!
- Spatula: Essential for smoothing the batter and scraping the sides of your bowls.
- Pan for the water bath: Any oven-safe dish that fits in your oven works well!
Variations of Butterbeer Cheesecake
- Gluten-Free Option: Use gluten-free graham cracker crumbs for the crust. Make sure to check your other ingredients for gluten-free labels.
- Chocolate Lovers: Add some chocolate chips to the filling for a delightful twist. You can also line the bottom of the crust with melted chocolate for added decadence!
- Coconut Cream: Replace sour cream with coconut cream for a tropical flair. This will add a subtle coconut flavor that pairs beautifully with butterscotch.
- Nutty Delight: Incorporate crushed nuts like pecans or walnuts into the crust for a crunchy texture that complements the creaminess.
- Vegan Version: Substitute cream cheese with a plant-based cream cheese alternative and use flax eggs for a vegan-friendly treat!
Serving Suggestions
- Pair your Butterbeer cheesecake with a warm cup of spiced chai tea for a cozy experience.
- Serve with caramel-dipped apple slices for a delightful contrast in flavors.
- Top with a sprinkle of crushed graham crackers for added texture and visual appeal.
- Consider a scoop of vanilla ice cream alongside for a luscious indulgence.
FAQs about Butterbeer Cheesecake
Can I make Butterbeer cheesecake ahead of time? Absolutely! In fact, I recommend making it a day in advance. Chilling overnight helps the flavors meld beautifully and enhances the texture. It’s the perfect way to prepare for gatherings without the last-minute rush!
What can I substitute for cream cheese? If you’re looking for a lighter option, you can use ricotta cheese for a similar texture, but the flavor will be slightly different. For a vegan alternative, try plant-based cream cheese! Just be sure to use the one that has a creamy consistency.
Why does my cheesecake have cracks? Cracks can be a common issue. To avoid them, make sure to use a water bath during baking. Gradually cooling the cheesecake in the oven with the door ajar is also crucial. It helps prevent sudden temperature changes that lead to cracks!
Can I use flavored soda instead of cream soda? Yes! While cream soda adds that unique Butterbeer flavor, using ginger ale or a vanilla-flavored soda can also create a fun twist. Experiment and see what tickles your taste buds!
How do I store leftover cheesecake? Store any leftover Butterbeer cheesecake in an airtight container in the fridge. It should stay fresh for about 4 to 5 days. If you want to keep it longer, you can freeze individual slices, wrapped tightly in plastic wrap, for up to a month!
Final Thoughts
Creating this Butterbeer cheesecake isn’t just about making a dessert; it’s about crafting memories. With every slice, you bring a little magic into your home, enveloping your family in the warm hug of butterscotch and creaminess. It’s a delightful treat that sparks joy and conversation, whether you’re serving it at a family gathering or enjoying a quiet night in. The smiles on your loved ones’ faces will be priceless, reassuring you that all the effort was worth it. So whip out those mixing bowls and let this enchanting cheesecake transform your next dessert moment into something truly special!
Print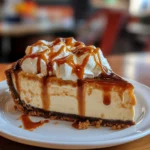
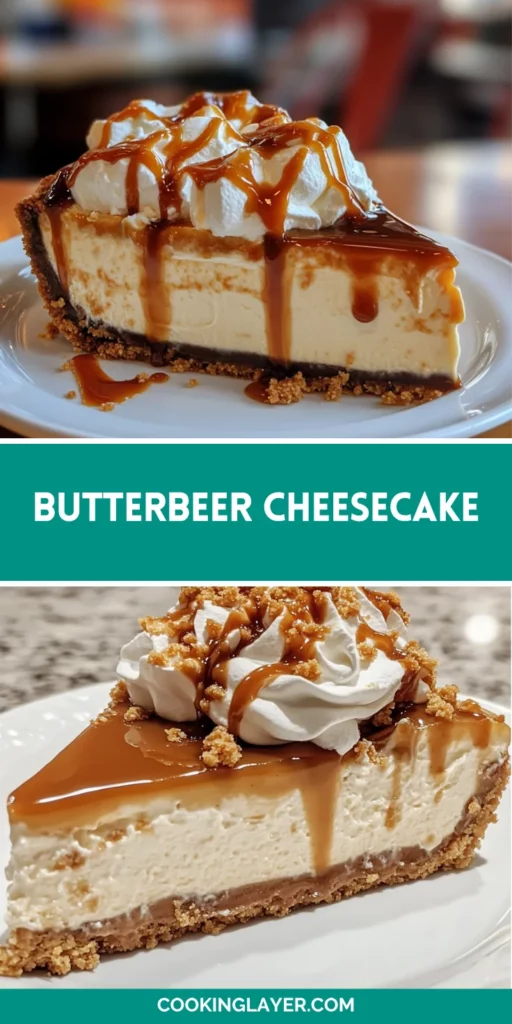
Butterbeer cheesecake: A Magical Dessert Recipe!
- Prep Time: 30 minutes
- Cook Time: 1 hour
- Total Time: 5 hours
- Yield: 8 servings 1x
- Category: Dessert
- Method: Baking
- Cuisine: American
- Diet: Vegetarian
Description
Indulge in the delightful and magical flavors of Butterbeer cheesecake, a creamy and decadent dessert that combines the rich taste of butterscotch with the smoothness of cream cheese.
Ingredients
- 2 cups graham cracker crumbs
- 1/4 cup granulated sugar
- 1/2 cup unsalted butter, melted
- 4 (8 oz.) packages cream cheese, softened
- 1/2 cup sour cream
- 3 large eggs
- 2 cups granulated sugar
- 1/2 tablespoon vanilla extract
- 1/2 tablespoon butter flavoring
- 1/2 cup butterscotch sauce
- 1/2 cup butterscotch chips
- 8oz. tub of cool whip
- 1/4 cup cream soda
Instructions
- Preheat your oven to 325°F (160°C).
- In a mixing bowl, combine the graham cracker crumbs, 1/4 cup of sugar, and melted butter until well mixed.
- Press the mixture evenly into the bottom of an 8-inch springform pan.
- In a large mixing bowl, beat the cream cheese until smooth using an electric mixer.
- Add in the sour cream and continue beating until well combined.
- Gradually add the sugar while beating, ensuring it’s fully incorporated.
- Beat in the eggs, one at a time, making sure each egg is fully mixed into the cream cheese mixture.
- Stir in the vanilla extract and butter flavoring, until the mixture is smooth and creamy.
- Add butterscotch sauce, cream soda, and butterscotch chips, stirring until well blended.
- Pour the cream cheese mixture over the graham cracker crust in the springform pan.
- Smooth out the top with a spatula to ensure it’s even.
- Place the cheesecake in the preheated oven, with a pan of water placed on the rack below, and bake for 60 minutes, or until the edges are set and the center is slightly jiggly.
- Turn off the oven and leave the cheesecake inside with the door slightly ajar for about an hour to cool gradually.
- Remove the cheesecake from the oven and refrigerate for at least 4 hours, preferably overnight, to allow it to set completely.
- When you are ready to serve, top with cool whip, pipe swirls around the edge, fill the center with a heaping mound of cool whip, and top with butterscotch sauce.
Notes
- For best results, refrigerate the cheesecake overnight.
- Allowing the cheesecake to cool gradually in the oven helps prevent cracking.
- You can customize the topping with additional butterscotch sauce if desired.
Nutrition
- Serving Size: 1 slice
- Calories: 400
- Sugar: 30g
- Sodium: 320mg
- Fat: 28g
- Saturated Fat: 16g
- Unsaturated Fat: 8g
- Trans Fat: 0g
- Carbohydrates: 30g
- Fiber: 1g
- Protein: 6g
- Cholesterol: 90mg


