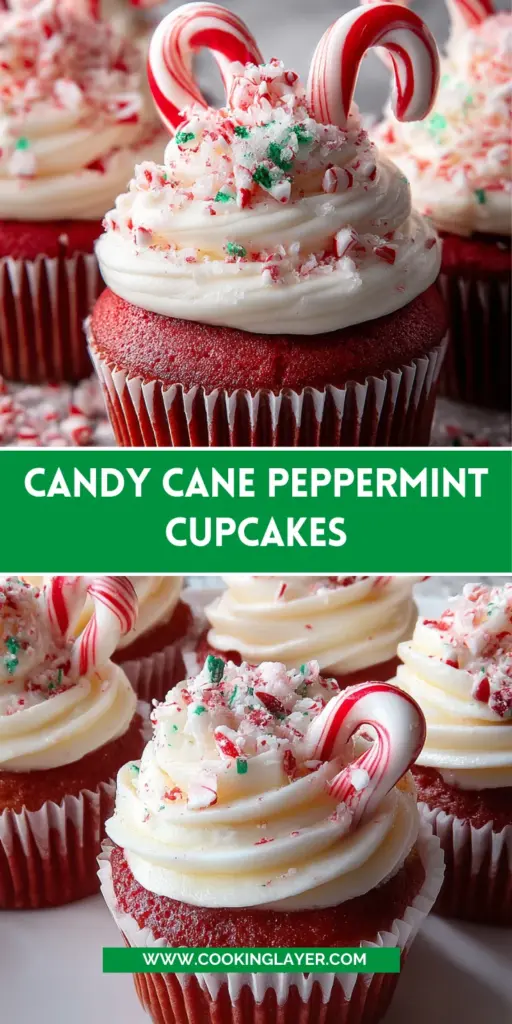
Introduction to Candy Cane Peppermint Cupcakes
As the holiday season approaches, baking becomes one of my favorite ways to spread joy.
There’s something magical about the smell of sweet treats wafting through the house,
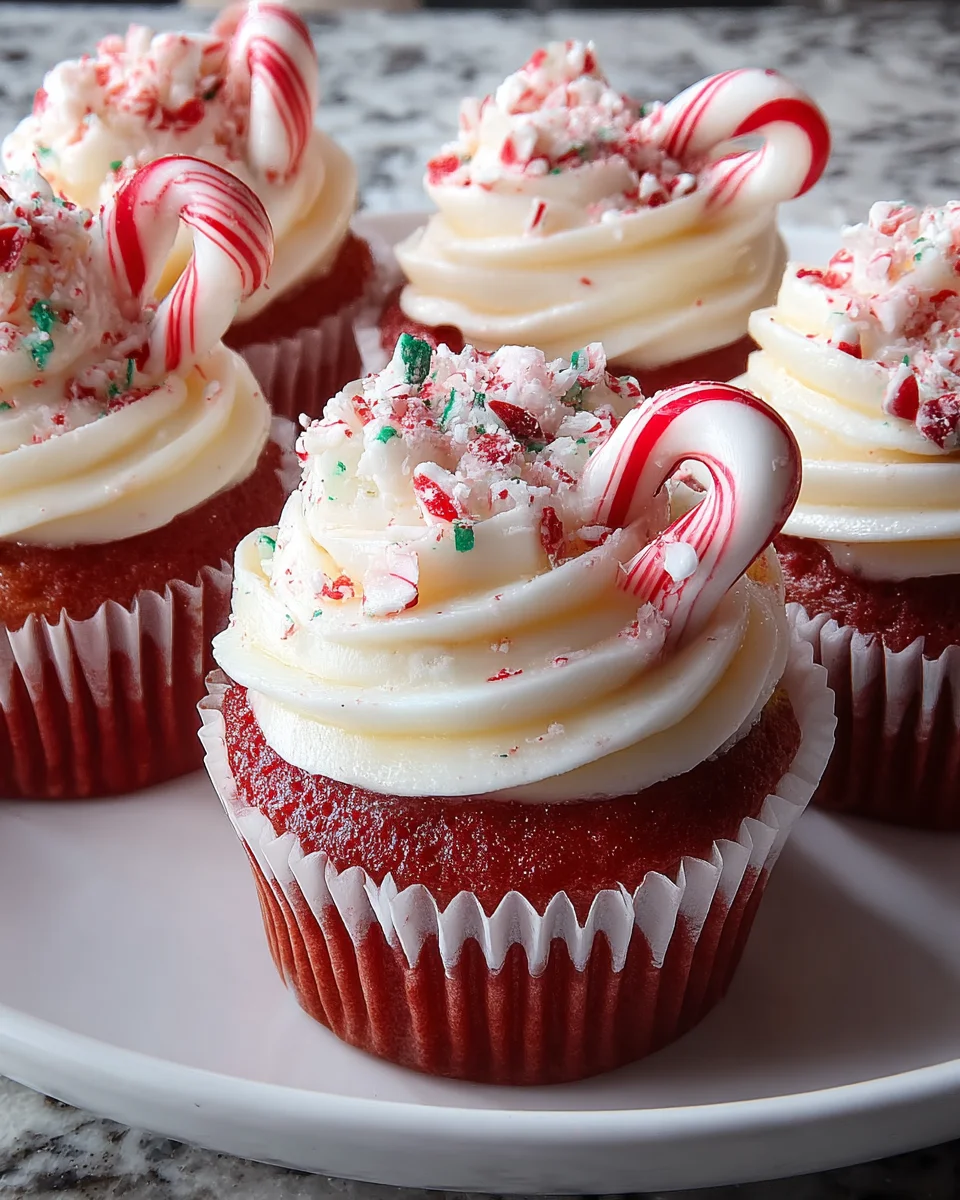
especially when it involves Candy Cane Peppermint Cupcakes. These delightful cupcakes
are not just desserts; they’re a festive experience both to bake and to eat.
Whether you’re a busy mom trying to create a special moment or a professional with little time,
this treat is a quick solution that won’t disappoint.
They’re colorful, flavorful, and perfect for impressing your loved ones.
Trust me; your family will love these festive goodies!
Why You’ll Love This Candy Cane Peppermint Cupcakes
Let’s face it: life can get hectic, especially during the holidays.
These Candy Cane Peppermint Cupcakes are not only easy to whip up, but they also bring a delightful twist to traditional holiday treats.
The vibrant colors and refreshing peppermint flavor will make your taste buds dance with joy.
Plus, they’re sure to bring smiles to friends and family, making you a holiday hero without a lot of effort!
Ingredients for Candy Cane Peppermint Cupcakes
To craft these magical Candy Cane Peppermint Cupcakes, you’ll need a handful of delightful ingredients.
These essential items will create a treat that sings with holiday cheer.
Here’s what you’ll gather from your kitchen and the local store:
- White cake mix: This time-saver forms the base of your cupcakes, providing a sweet, fluffy texture.
- Red gel food coloring: A touch of color adds visual appeal. Use as much or as little as you like to achieve that festive vibe.
- Unsalted butter: Softened butter creates a rich, creamy frosting. Opt for unsalted to control the sweetness of your cupcakes.
- Kosher salt: Just a pinch elevates the flavors, balancing sweetness with a light contrasting taste.
- Confectioners’ sugar: This powdered sugar is essential for making your frosting delightfully sweet and smooth.
- Heavy cream: A splash of this cream gives your frosting a luxurious, silky consistency. You can substitute with milk for a lighter version.
- Pure vanilla extract: This is your flavor enhancer. Avoid artificial versions for a richer taste.
- Peppermint extract: This adds that signature holiday flavor, bringing a delightful zing to your frosting.
- Mini candy canes: These are perfect for garnish and can also be crushed for an added crunch. Alternatively, try coarse peppermint sugar for a sparkly finish.
The exact measurements for these ingredients are listed at the bottom of the article, and you can easily print them out for convenience.
Gather these essentials, and you’ll be on your way to creating cupcakes that will surely dazzle at your next holiday gathering!
How to Make Candy Cane Peppermint Cupcakes
Now that you have your ingredients ready, let’s dive into the magical process of baking
these Candy Cane Peppermint Cupcakes. With a dash of patience and a sprinkle of love,
you’ll create a festive treat that’s sure to impress!
Step 1: Prepare Your Oven and Cupcake Liners
First things first, preheat your oven to 175°C. This step is crucial since it ensures
your cupcakes bake evenly. While the oven warms up, grab two standard 12-cup muffin tins.
Line them with cupcake liners, making sure they’re snug in each cup to prevent any spills.
This little prep makes cleanup a breeze!
Step 2: Make the Cake Batter
Next, prepare the white cake mix according to the package instructions. This is a
happy moment where you just need water, eggs, and oil to create a fluffy batter. Once that’s mixed,
divide it in half. Here comes the fun part: add a few drops of that vibrant red gel food coloring
to one half of the batter. Stir until you reach your desired shade. Now, it’s time to create a
festive swirl! Alternate spooning the white and red batter into your cupcake liners, filling them
about halfway. This will give you the beautiful marbled effect once baked.
Step 3: Bake the Cupcakes
Pop those tins in the preheated oven and let them bake for 18 to 20 minutes.
Set a timer and use this time to enjoy a cup of coffee or catch your breath. Halfway through,
give the tins a gentle turn to ensure even baking. Check for doneness by inserting a toothpick
into the center of a cupcake. If it comes out clean, they’re ready! Let them cool completely on a wire rack.
Trust me, frosting warm cupcakes can lead to a gooey disaster!
Step 4: Make the Frosting
While the cupcakes cool, let’s whip up some dreamy frosting. In a mixing bowl, beat the
softened unsalted butter with kosher salt using an electric mixer. You’ll want it creamy after about 2 minutes.
Slowly add in the confectioners’ sugar in two batches, blending thoroughly after each addition.
Next, pour in the heavy cream, vanilla extract, and peppermint extract. Beat on medium-high speed for about
2 minutes until your frosting is light, fluffy, and irresistible!
Step 5: Prepare the Piping Bag
Now it’s time to make your frosting fancy! To give it that beautiful candy cane swirl, use a small brush
or a skewer. Paint two lines of red gel food coloring inside a piping bag fitted with a 1.27 cm round tip.
This technique is easier than it sounds and creates a stunning visual appeal when you frost your cupcakes.
Step 6: Frost the Cupcakes
Finally, the moment we’ve all been waiting for—frosting the cupcakes! Fill your prepared piping bag
with the delicious peppermint frosting. Gently pipe the frosting in swirling motions over the cooled cupcakes.
Don’t be shy—make it as fancy as you like! Finish off each cupcake with a mini candy cane or sprinkle some coarse peppermint sugar on top for that extra holiday sparkle.
Your Candy Cane Peppermint Cupcakes are now ready to impress everyone!
Tips for Success
- Ensure your butter is softened for smooth frosting; you can microwave it for a few seconds if needed.
- Use a toothpick to check doneness, but don’t touch the bottom of the cupcake to avoid false readings.
- For a festive look, add a sprinkle of edible glitter on top of the frosting!
- Keep a bowl of hot water nearby for rinsing your piping tips easily.
- Try different types of sprinkles or crushed candies for varied textures and colors.
Equipment Needed
- Muffin tins: Essential for baking cupcakes; use silicone molds for easy release.
- Cupcake liners: These make cleanup a breeze; you can skip them but risk sticking.
- Mixing bowl: A sturdy bowl is needed for mixing cake batter and frosting.
- Electric mixer: Hand beaters work too, but mixers save time and effort.
- Piping bags: Use disposable bags for convenience; ziplock bags can work in a pinch!
Variations
- Chocolate Candy Cane Cupcakes: Swap the white cake mix for chocolate to create a decadent twist!
- Gluten-Free Option: Use a gluten-free cake mix to cater to any dietary restrictions while keeping the flavor intact.
- Vegan Version: Use a vegan cake mix and substitute eggs with applesauce or flaxseed meal for a plant-based treat.
- Mint Chocolate Chips: Fold in mini chocolate chips or crushed peppermint patties for an extra layer of flavor.
- Different Frosting Flavors: Experiment with cream cheese frosting or whipped coconut cream for a unique twist.
Serving Suggestions
- Pair with a steaming mug of hot cocoa for a delightful winter treat.
- Serve alongside a platter of holiday cookies to create a festive dessert spread.
- Present them on a decorative cake stand for an eye-catching centerpiece.
- Consider adding fresh berries as a light contrast to the sweetness of the cupcakes.
- Garnish your dessert table with twinkling fairy lights for extra holiday cheer.
FAQs about Candy Cane Peppermint Cupcakes
I know that baking can raise a few questions, especially during the holiday rush.
Here are some common queries I’ve received about these delectable Candy Cane Peppermint Cupcakes, and I hope they help you navigate your baking adventure!
Can I make the cupcakes ahead of time?
Absolutely! These cupcakes can be baked a day in advance. Just store them in an airtight container
at room temperature until you’re ready to frost them. This way, you can enjoy more holiday moments without the stress!
What if I don’t have peppermint extract?
No worries at all! You can use additional vanilla extract instead.
While it won’t have that signature peppermint flavor, vanilla still adds a lovely richness to your frosting.
You could also experiment with almond extract for a different twist!
How should I store leftover cupcakes?
If you have any cupcakes left over (which is unlikely!), store them in an airtight container at room temperature for up to three days.
If you need to store them longer, you can refrigerate them. Just let them come to room temperature before enjoying!
Can I freeze the cupcakes?
Yes! You can freeze the unfrosted cupcakes for about 2-3 months.
Wrap each cupcake tightly in plastic wrap and then place them in a freezer bag. Just thaw them before frosting when you’re ready to serve!
Can I use a different frosting flavor?
Definitely! If peppermint isn’t your thing, feel free to get creative.
Try a rich chocolate ganache, whipped cream, or even cream cheese frosting for a tangy twist.
Your cupcakes, your rules!
Final Thoughts
Baking these Candy Cane Peppermint Cupcakes fills the kitchen with warmth and festive spirit.
Each bite transports you to a joyous celebration, making it a perfect treat for holiday gatherings.
The vibrant colors and delightful flavors spark smiles, making you feel like a true culinary artist.
Whether you’re sharing them with friends or savoring them during a cozy night in, these cupcakes create cherished moments.
So, don your apron, gather your loved ones, and let your creativity shine!
After all, the joy of cooking is in sharing deliciousness with those who matter most.

Candy Cane Peppermint Cupcakes
- Prep Time: 30 minutes
- Cook Time: 20 minutes
- Total Time: 50 minutes
- Yield: 18 cupcakes 1x
- Category: Dessert
- Method: Baking
- Cuisine: American
- Diet: Vegetarian
Description
Deliciously festive Candy Cane Peppermint Cupcakes perfect for any holiday celebration.
Ingredients
- 1 box (432 g) white cake mix with required ingredients as per package
- Red gel food coloring, quantity as needed
- 340 g unsalted butter, softened
- 1/2 teaspoon kosher salt
- 345 g confectioners’ sugar
- 30 ml heavy cream
- 5 ml pure vanilla extract
- 2.5 ml peppermint extract
- Mini candy canes or coarse white and red peppermint sugar for decoration
Instructions
- Place oven racks in upper and lower thirds and preheat to 175°C. Line 18 cupcake cups in two standard 12-cup muffin tins with paper liners.
- Prepare cake batter according to package instructions. Divide batter in half and add red gel food coloring to one half, stirring until the desired shade is achieved. Alternate spooning white and red batter into liners until they are about half full (approximately 45 to 60 ml each).
- Bake cupcakes for 18 to 20 minutes, rotating tins halfway through. Insert a toothpick into the center to check doneness; it should come out clean. Allow cupcakes to cool completely.
- Beat softened butter and kosher salt with an electric mixer on medium speed until creamy, about 2 minutes. Gradually add confectioners’ sugar in two batches, beating thoroughly after each. Incorporate heavy cream, vanilla extract, and peppermint extract, then beat on medium-high speed for 2 minutes until light and fluffy.
- Using a small brush or long skewer, paint two lines of red gel food coloring inside a piping bag fitted with a 1.27 cm round tip.
- Fill the prepared piping bag with frosting and pipe over cooled cupcakes. Garnish each with a mini candy cane or sprinkle coarse peppermint sugar atop.
Notes
- Make sure to allow cupcakes to cool completely before frosting to avoid melting.
- Adjust the amount of red food coloring based on preference for color intensity.
- Store extras in an airtight container at room temperature for up to 3 days.
Nutrition
- Serving Size: 1 cupcake
- Calories: 320
- Sugar: 24 g
- Sodium: 200 mg
- Fat: 16 g
- Saturated Fat: 10 g
- Unsaturated Fat: 5 g
- Trans Fat: 0 g
- Carbohydrates: 42 g
- Fiber: 0 g
- Protein: 2 g
- Cholesterol: 40 mg


