What Are Cheeseburger Stuffed Tater Tot Cones?
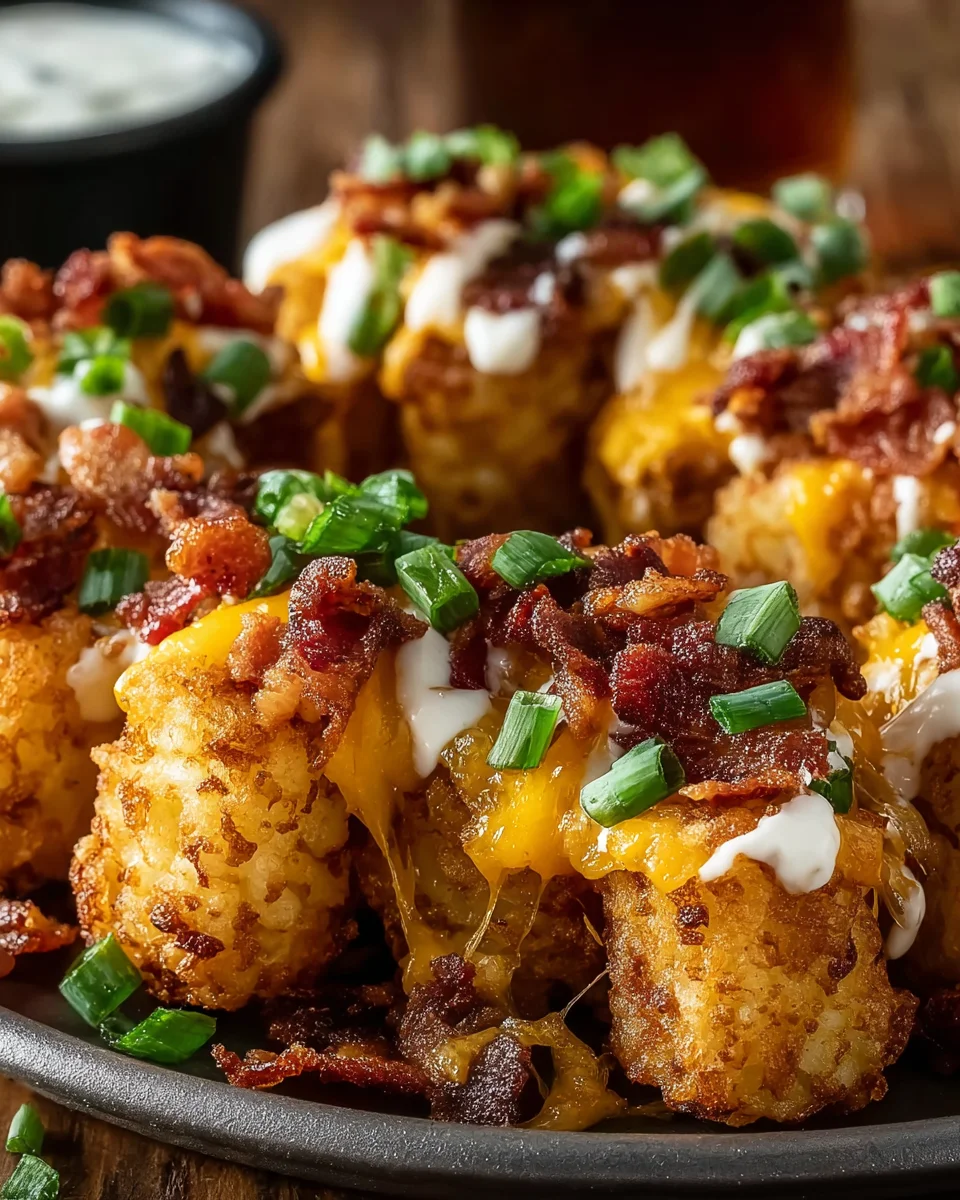
Cheeseburger Stuffed Tater Tot Cones are exactly what they sound like—a wildly creative fusion of two all-time favorite comfort foods. Imagine biting into a crispy, golden cone made entirely of crunchy tater tots, only to discover a savory, cheesy cheeseburger filling tucked inside. It’s like your favorite fast-food combo got a serious glow-up and decided to become party food. This dish takes familiar flavors—beef, cheese, bacon, pickles, and sauce—and reinvents how they’re experienced, making every bite both nostalgic and exciting.
What makes this recipe stand out is its playful structure. Instead of serving a traditional burger with fries on the side, the fries become the vessel. The tater tots are pressed into cone shapes and baked until crisp, creating a sturdy shell that holds all the juicy fillings. The result? A handheld, mess-friendly snack that delivers layers of texture—crunchy on the outside, gooey and savory on the inside.
This dish also thrives in social settings. Whether it’s a game night, a birthday party, or just a weekend craving, these cones feel like something special without being overly complicated. They’re easy to customize, surprisingly filling, and visually impressive. When you serve these, people don’t just eat—they react. And honestly, that’s part of the fun.
The Origin of Creative Comfort Foods
Comfort food has always been about more than just taste—it’s about emotion, nostalgia, and satisfaction. Over the past decade, there’s been a noticeable shift toward reinventing classic dishes in bold, unconventional ways. Think ramen burgers, donut sandwiches, or loaded fries piled sky-high with toppings. Cheeseburger Stuffed Tater Tot Cones fit perfectly into this trend, combining familiarity with creativity.
The rise of food-sharing culture on platforms like TikTok and Instagram has played a huge role in pushing these kinds of recipes into the spotlight. People aren’t just cooking to eat anymore—they’re cooking to experience and share. Dishes that look unique, indulgent, and slightly over-the-top tend to grab attention quickly. And let’s be honest, a cone made of tater tots filled with cheesy beef? That’s social media gold.
Another factor driving this trend is the desire for hybrid foods. Instead of choosing between two favorites, why not combine them? This mindset has led to some truly inventive dishes, and this recipe is a perfect example. It takes the best parts of a cheeseburger and fries and merges them into one cohesive, crave-worthy bite.
Why This Recipe Is Trending
There’s a reason why Cheeseburger Stuffed Tater Tot Cones are popping up everywhere—they check all the right boxes. First, they’re incredibly satisfying. You get protein from the beef, richness from the cheese, crunch from the tots, and a tangy kick from the sauce and pickles. It’s a complete flavor experience in one handheld package.
Second, they’re customizable. Not a fan of pickles? Skip them. Love spice? Add jalapeños. Want to go all out? Toss in extra bacon or experiment with different cheeses. This flexibility makes the recipe appealing to a wide range of tastes and dietary preferences.
Finally, they’re fun to make. There’s something oddly satisfying about pressing tater tots into a mold and watching them transform into a crispy cone. It’s not just cooking—it’s a bit of edible craftsmanship. And when the final product comes out of the oven, golden and loaded with melted cheese, it feels like a small victory.
Ingredients Breakdown and Flavor Profile
When it comes to Cheeseburger Stuffed Tater Tot Cones, every ingredient plays a specific role in building that perfect bite. This isn’t just a random mix of components thrown together—it’s a carefully balanced combination designed to deliver maximum flavor and texture. From the crispy potato shell to the savory beef filling and creamy sauce, each element contributes something essential.
At the heart of the recipe are the frozen tater tots, which act as the structural base. When baked and pressed into shape, they form a crispy, golden shell that’s both sturdy and flavorful. Then comes the ground beef, which brings that classic cheeseburger richness. Cooking it with finely diced onions adds a subtle sweetness and depth that elevates the overall taste.
The addition of bacon introduces a smoky, salty crunch that pairs beautifully with the beef. Meanwhile, the blend of cheddar and mozzarella cheese ensures you get both sharp flavor and that irresistible stretchy melt. It’s this combination that creates that gooey, indulgent center everyone loves.
And let’s not overlook the sauce. A simple mix of mayonnaise, ketchup, and mustard transforms into a creamy, tangy burger sauce that ties everything together. Add in diced pickles, and suddenly you’ve got acidity and crunch cutting through the richness—exactly what a great cheeseburger needs.
Key Ingredients That Make It Irresistible
The magic of this recipe lies in how these ingredients interact. The beef provides a hearty base, the cheese adds indulgence, and the tater tots bring the crunch. But it’s the smaller details—like the seasoning of garlic powder, salt, and pepper—that ensure every bite is flavorful, not bland.
One standout aspect is the cheese combination. Cheddar delivers boldness, while mozzarella contributes that stretchy, melty texture. If you’ve ever bitten into something and watched the cheese pull apart in long strands, you know exactly why this matters. It’s not just about taste—it’s about experience.
Another key player is the bacon. It doesn’t just add flavor; it adds contrast. The slight crispiness of the bacon bits against the soft, juicy beef creates a more dynamic bite. Without it, the filling might feel a bit one-dimensional.
Optional Add-Ons for Custom Flavor
This is where things get really fun. While the base recipe is already packed with flavor, the optional toppings allow you to tailor the cones to your personal taste. Want something fresh? Add shredded lettuce and diced tomatoes. Craving heat? Jalapeños are your best friend.
You can also experiment with different sauces. Swap the classic burger sauce for a spicy aioli or a smoky BBQ drizzle. Even a touch of ranch can completely change the flavor profile.
The beauty of this recipe is that it doesn’t lock you into one version. It’s more like a template—one that invites creativity. Once you’ve mastered the basics, you can start tweaking and experimenting until you land on your perfect combination.
Step-by-Step Cooking Guide
Preparing the Tater Tot Cones
Let’s start with the foundation—the crispy, golden tater tot cones that make this recipe so unique. At first glance, shaping tater tots into cones might sound tricky, but it’s actually more forgiving than you’d expect. The key here is patience and proper packing. You’ll want to preheat your oven to 400°F (200°C) and line a baking sheet with parchment paper to prevent sticking and ensure even browning.
Now, take your cone molds—these can be metal cones if you have them, or simply DIY shapes made from aluminum foil. Begin arranging the frozen tater tots tightly around the mold, pressing them firmly together. Think of it like building a wall with bricks; any gaps will weaken the structure and cause the cone to fall apart later. As the tots heat up in the oven, they soften slightly and fuse together, creating that cohesive shell.
Bake the cones for about 20–25 minutes, keeping an eye on their color. You’re aiming for a deep golden brown, not pale and not overly dark. That crispiness is essential—it’s what allows the cone to hold the filling without becoming soggy. If you pull them out too early, they may collapse under the weight of the beef and cheese.
Once baked, let the cones cool for a few minutes before removing the molds. This step is crucial because the structure continues to firm up as it cools. Remove them too soon, and you risk breaking them. Done right, you’ll have sturdy, crispy cones that are ready to be loaded with all that delicious filling.
Cooking the Cheeseburger Filling
While your cones are baking, it’s time to prepare the heart of the dish—the cheeseburger filling. Start by heating a skillet over medium heat and adding your ground beef along with the finely diced onion. As the beef cooks, break it apart into small crumbles using a spatula. This ensures every bite inside the cone is evenly textured and easy to eat.
The onions will soften and release their natural sweetness, blending beautifully with the savory beef. Once the meat is fully browned, drain any excess fat to prevent the filling from becoming greasy. This step might seem minor, but it makes a big difference in the final texture and overall balance of the dish.
Next, season the mixture with garlic powder, salt, and black pepper. These simple spices enhance the natural flavors without overpowering them. Then comes the game-changer—crumbled bacon. Stir it in and watch how it instantly elevates the mixture with its smoky, salty richness.
Meanwhile, in a small bowl, mix together mayonnaise, ketchup, and mustard to create that classic burger sauce. It’s creamy, tangy, and slightly sweet—the perfect complement to the savory filling. You can adjust the ratios to suit your taste, but the balance of these three ingredients is what gives the cones their signature cheeseburger flavor.
By the time you’re done, your kitchen will smell like a burger joint in the best possible way, and your filling will be ready to go.
Assembling and Baking to Perfection
Now comes the most satisfying part—bringing everything together. Take your cooled tater tot cones and carefully fill them with the warm beef mixture. Don’t be shy here; pack it in generously so each cone is loaded with flavor. Once filled, top the beef with a blend of shredded cheddar and mozzarella cheese.
Place the filled cones back onto the baking sheet and return them to the oven for about 5 minutes. This final bake melts the cheese into a gooey, irresistible layer that binds the filling together. Keep a close eye on them—you want melted and bubbly, not burnt.
Once out of the oven, it’s time to add the finishing touches. Drizzle the burger sauce over the top, letting it seep slightly into the filling. Then sprinkle on diced pickles for a tangy crunch. If you’re feeling adventurous, add shredded lettuce, tomatoes, or even jalapeños for extra flair.
At this point, you’re not just cooking—you’re crafting something that looks as good as it tastes. Each cone becomes a handheld masterpiece, combining layers of flavor and texture in a way that feels both indulgent and fun.Nutritional Insights and Portion Control
Calories and Macronutrients Overview
Let’s be real—Cheeseburger Stuffed Tater Tot Cones aren’t exactly “light eating,” but that doesn’t mean you can’t understand what you’re putting on your plate. Knowing the nutritional breakdown helps you enjoy them more intentionally rather than mindlessly devouring three or four in one sitting (tempting, I know). On average, one fully loaded cone can range between 300 to 450 calories, depending on how generous you are with cheese, bacon, and sauce.
The ground beef contributes a solid amount of protein, typically around 12–15 grams per cone, which helps make this snack surprisingly filling. However, it also brings saturated fats, especially if you’re using higher-fat beef. The tater tots add carbohydrates and that crispy texture we love, but they’re also fried beforehand, meaning extra oil is part of the equation. Then there’s the cheese—delicious, melty, and rich in calcium—but also a contributor to both fat and calorie density.
Here’s a quick snapshot to give you a clearer picture:
| Component | Estimated Contribution per Cone |
|---|---|
| Calories | 300–450 kcal |
| Protein | 12–15g |
| Carbohydrates | 20–30g |
| Fat | 18–25g |
The sauce and toppings, while seemingly small, can sneak in extra calories quickly. Mayonnaise-based sauces, in particular, are calorie-dense, so even a drizzle adds up. That said, this dish isn’t about strict dieting—it’s about balance. If you pair one or two cones with a lighter side, like a fresh salad or grilled veggies, you can still enjoy the indulgence without going overboard.
Making a Healthier Version
If you’re thinking, “Okay, but can I make this a bit lighter?”—the answer is yes, absolutely. You don’t have to sacrifice flavor to make smarter choices. One of the easiest swaps is using lean ground beef or even ground turkey. This reduces the fat content while still delivering that savory, satisfying base.
Another tweak is cutting back slightly on the cheese or choosing a reduced-fat version. You’ll still get that melty goodness, just with fewer calories. For the tater tots, you could look for air-fried or lower-fat options, which are becoming more common in grocery stores.
The sauce is another area where small changes make a big impact. Try using Greek yogurt as a base instead of mayonnaise. It keeps that creamy texture but adds protein and cuts down on fat. You can still mix in ketchup and mustard to maintain that classic burger flavor.
And don’t underestimate the power of adding more fresh toppings. Lettuce, tomatoes, and pickles not only enhance the taste but also add volume and nutrients, making each cone feel more balanced. It’s all about tweaking the recipe so it fits your lifestyle without losing what makes it fun and delicious.
Serving Suggestions and Pairings
Best Dips and Sauces
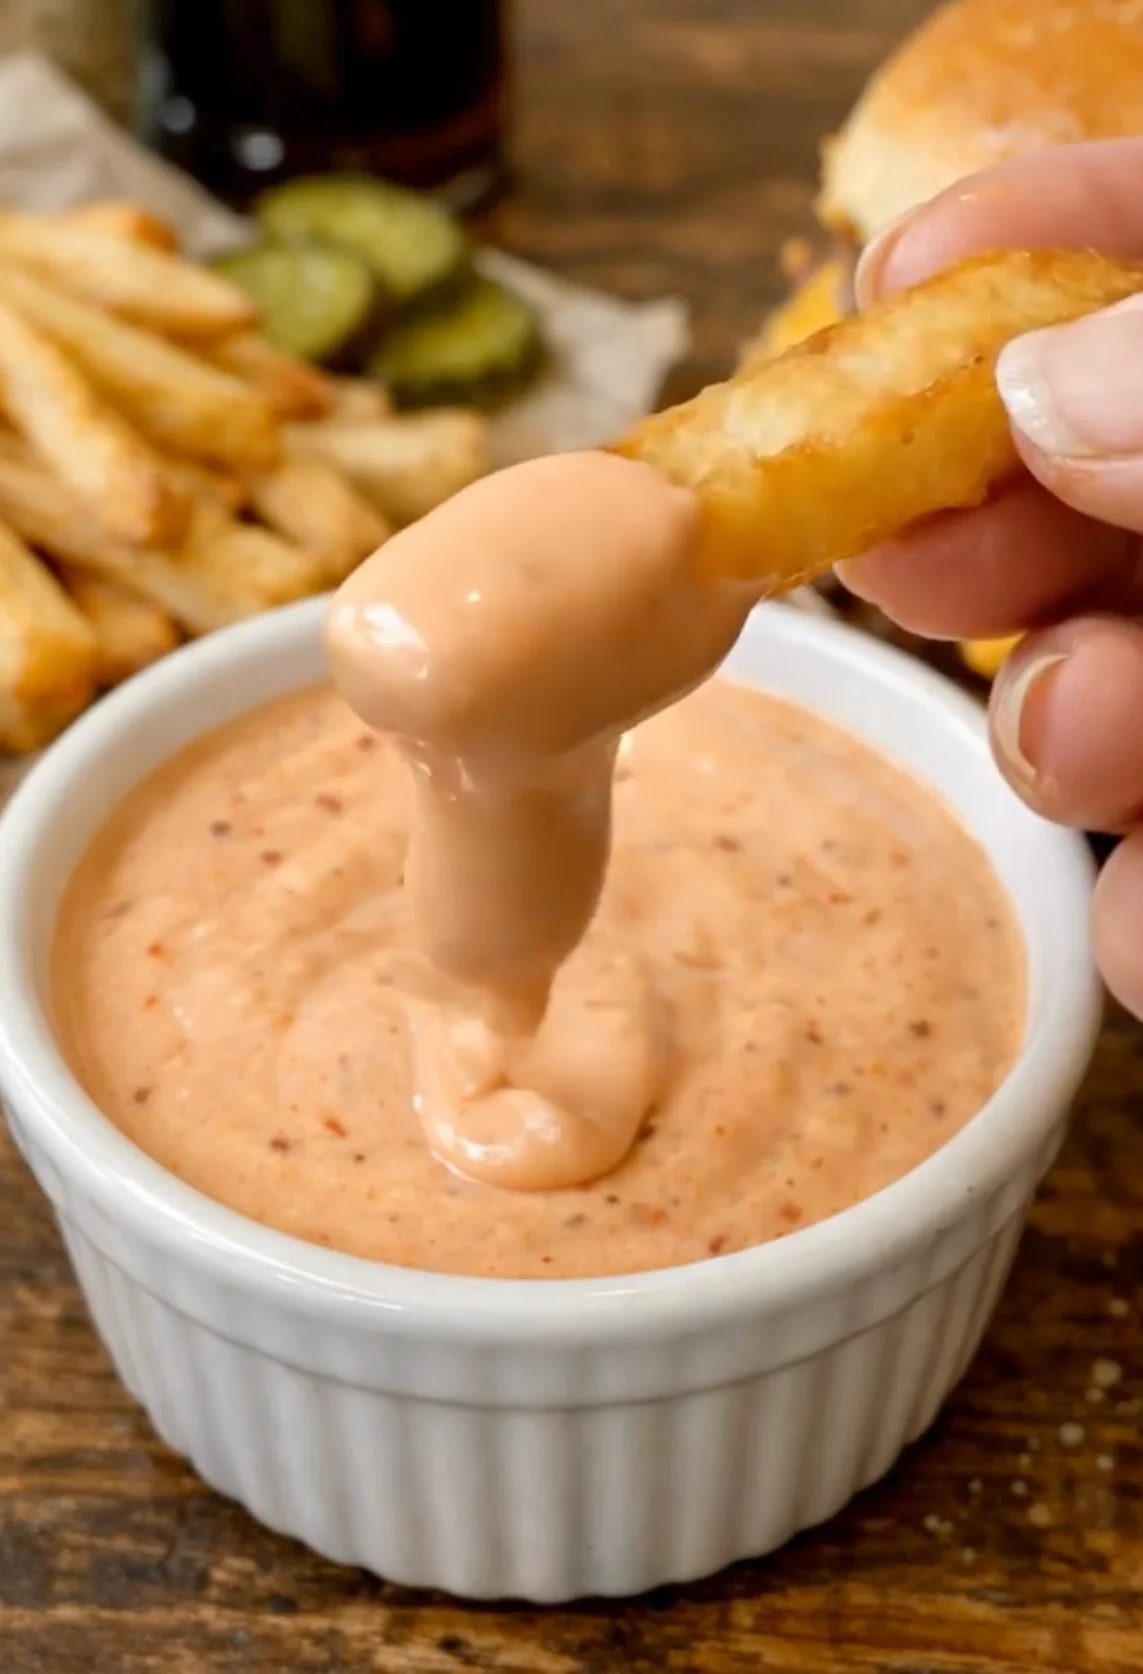
While these cones already come with a built-in burger sauce, pairing them with additional dips can take the experience to another level. Think of it like having fries with multiple sauces—it just makes everything more exciting. A classic garlic aioli adds a rich, slightly tangy flavor that complements the beef beautifully.
If you’re into bold flavors, a spicy sriracha mayo or chipotle sauce can bring a smoky heat that contrasts nicely with the cheesy filling. On the other hand, if you prefer something milder, a creamy ranch dressing works surprisingly well, especially if you’ve added bacon or jalapeños to your cones.
The key is variety. Offering a few different dipping options lets everyone customize their experience. It turns a simple dish into something interactive, almost like a mini tasting session. And let’s be honest—dipping food is just more fun.
Side Dishes That Complement the Cones
Even though these cones are pretty filling on their own, pairing them with the right sides can turn them into a complete meal. A crisp green salad with a light vinaigrette is a great choice because it balances out the richness of the cones. The freshness cuts through the heaviness, making each bite feel less overwhelming.
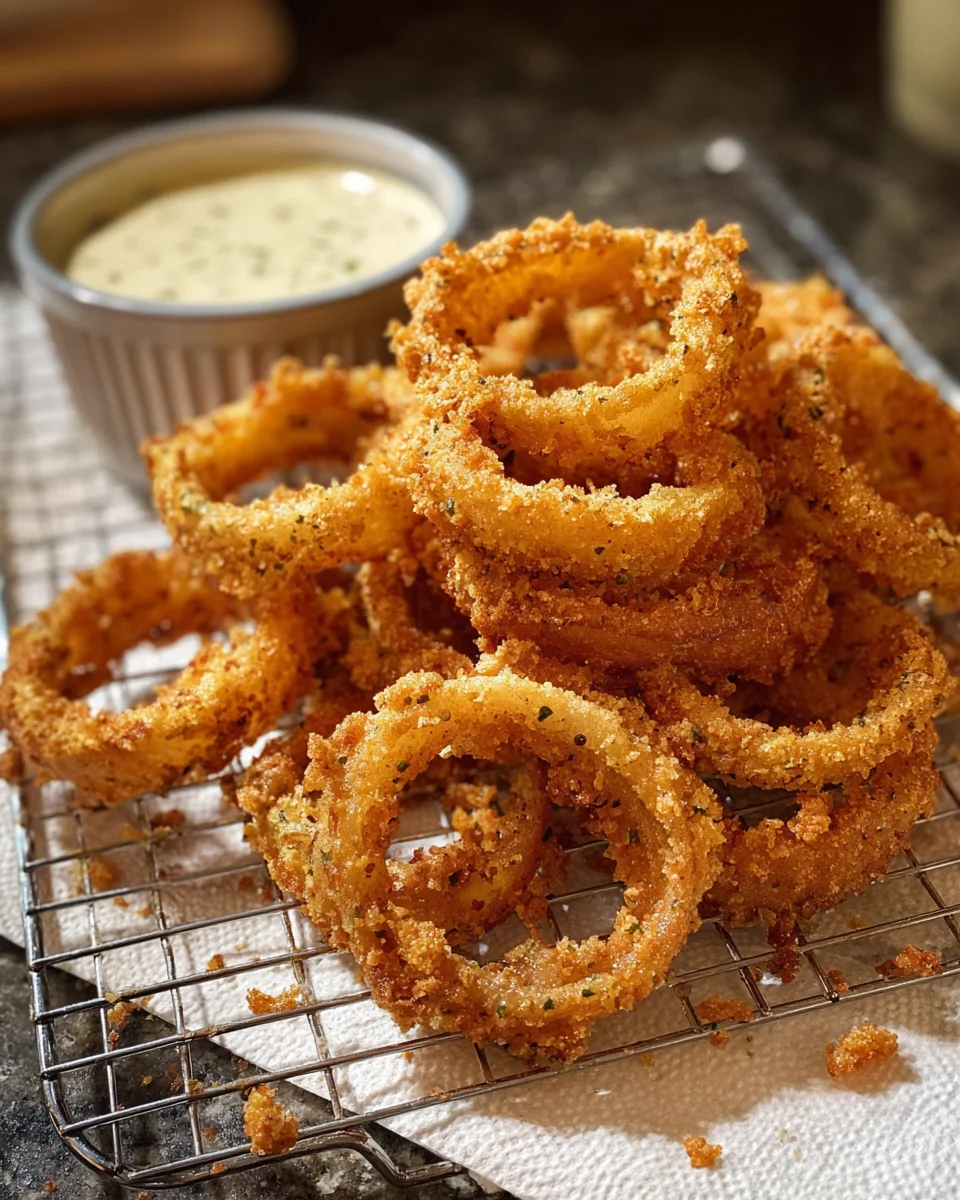
If you’re going for a more indulgent spread, you could serve them alongside loaded fries, onion rings, or coleslaw. These sides lean into the comfort food theme and create a cohesive, satisfying meal. For something in between, consider roasted vegetables or a simple corn salad—they add color, flavor, and a bit of nutritional balance.
Drinks matter too. A cold soda, iced tea, or even a homemade lemonade pairs perfectly with the savory, cheesy flavors. It’s all about creating a meal that feels complete, whether you’re hosting friends or just treating yourself.
Storage, Reheating, and Meal Prep Tips
How to Store Leftovers Properly
If you somehow end up with leftovers (which isn’t always guaranteed), storing them the right way is essential to maintaining their quality. Start by letting the cones cool completely before placing them in an airtight container. Storing them while still warm can trap moisture, leading to soggy cones later.
Keep them in the refrigerator and aim to consume them within 2 to 3 days for the best taste and texture. If possible, store the components separately—cones in one container and filling in another. This prevents the shell from absorbing too much moisture from the filling.
Freezing is also an option, especially if you want to meal prep. Wrap each cone individually in foil and place them in a freezer-safe bag. They can last up to a month, though the texture may change slightly upon reheating.
Reheating Without Losing Crispiness
Reheating these cones can be a bit tricky because you want to bring back that crispiness without drying out the filling. The oven is your best friend here. Preheat it to around 375°F (190°C) and place the cones on a baking sheet. Heat them for about 10–12 minutes, checking to ensure they don’t overcook.
Avoid using the microwave if possible. While it’s quicker, it tends to make the tater tot shell soft and slightly rubbery, which takes away from the whole experience. If you’re in a hurry, you can use the microwave briefly and then finish them in the oven or an air fryer to restore some crispness.
An air fryer works particularly well for reheating. Just a few minutes at a high temperature can bring back that golden crunch while keeping the inside warm and cheesy. It’s like giving your leftovers a second life.
Common Mistakes to Avoid
Even though this recipe is relatively straightforward, a few common missteps can make a big difference in the final result. One of the biggest mistakes is not packing the tater tots tightly enough. This leads to fragile cones that break apart when you try to fill them.
Another issue is overloading the filling with grease or sauce. While it might seem like more flavor is better, too much moisture can ruin the texture. Balance is everything here. Also, skipping the cooling step before removing the molds can cause the cones to collapse—patience really pays off.
Lastly, don’t underestimate the importance of seasoning. Bland beef can make the entire dish fall flat, no matter how good everything else is. Taste as you go and adjust accordingly.
Conclusion
Cheeseburger Stuffed Tater Tot Cones are more than just a recipe—they’re an experience. They take the familiar comfort of a cheeseburger and reimagine it in a way that’s fun, creative, and undeniably delicious. From the crispy outer shell to the gooey, savory filling, every bite delivers a satisfying mix of textures and flavors.
What makes this dish truly special is its versatility. You can keep it classic or experiment with bold variations, making it perfect for everything from casual snacks to party showstoppers. It’s the kind of recipe that invites you to get creative in the kitchen while still being approachable and easy to follow.
And at the end of the day, that’s what great food is all about—bringing people together, sparking excitement, and turning simple ingredients into something memorable.
FAQs
1. Can I make tater tot cones without molds?
Yes, you can use aluminum foil to shape your own cones. Just make sure they’re sturdy and tightly packed to hold their form during baking.
2. Can I use a different type of meat?
Absolutely. Ground turkey, chicken, or even plant-based meat alternatives work well and can slightly change the flavor profile.
3. How do I keep the cones from getting soggy?
Ensure the beef is well-drained and avoid adding too much sauce before serving. Also, bake the cones until they’re fully crispy.
4. Can I prepare these in advance for a party?
Yes, you can prep the components ahead of time and assemble them just before serving. This helps maintain the best texture.
5. What’s the best cheese combination for this recipe?
A mix of cheddar and mozzarella is ideal because it balances flavor and meltability, but you can experiment with others like pepper jack or Colby.
Print
Cheeseburger Stuffed Tater Tot Cones
Description
Cheeseburger Stuffed Tater Tot Cones are exactly what they sound like—a wildly creative fusion of two all-time favorite comfort foods. Imagine biting into a crispy, golden cone made entirely of crunchy tater tots, only to discover a savory, cheesy cheeseburger filling tucked inside. It’s like your favorite fast-food combo got a serious glow-up and decided to become party food. This dish takes familiar flavors—beef, cheese, bacon, pickles, and sauce—and reinvents how they’re experienced, making every bite both nostalgic and exciting.
Ingredients
4 cups frozen tater tots
1 lb ground beef
6 slices bacon, cooked & crumbled
1 small onion, finely diced
1 tsp garlic powder
1 tsp salt
½ tsp black pepper
1 cup shredded cheddar cheese
½ cup shredded mozzarella cheese
½ cup mayonnaise
¼ cup ketchup
1 tbsp yellow mustard
¼ cup dill pickles, diced
Optional: shredded lettuce, sliced tomatoes, extra pickles, or jalapeños
Instructions
Preheat oven to 400°F (200°C). Line baking sheet with parchment paper.
Arrange tater tots into cone molds (foil or metal). Press tightly together.
Bake 20–25 minutes until golden and crisp.
Meanwhile, cook beef and onion in skillet until browned. Drain excess fat.
Stir in garlic powder, salt, pepper, and crumbled bacon.
Mix mayonnaise, ketchup, and mustard to create burger sauce.
Fill baked tater tot cones with beef mixture, top with cheddar and