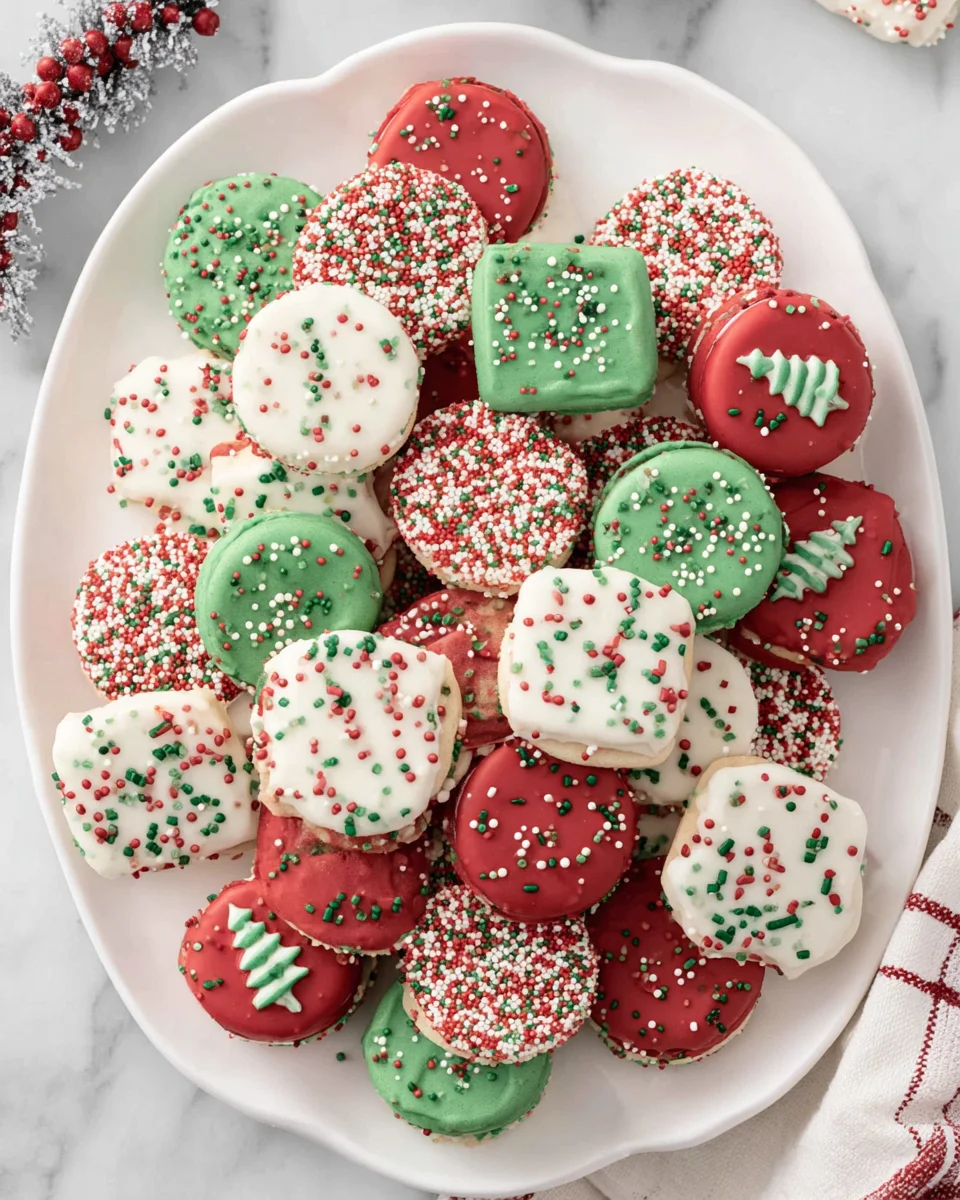
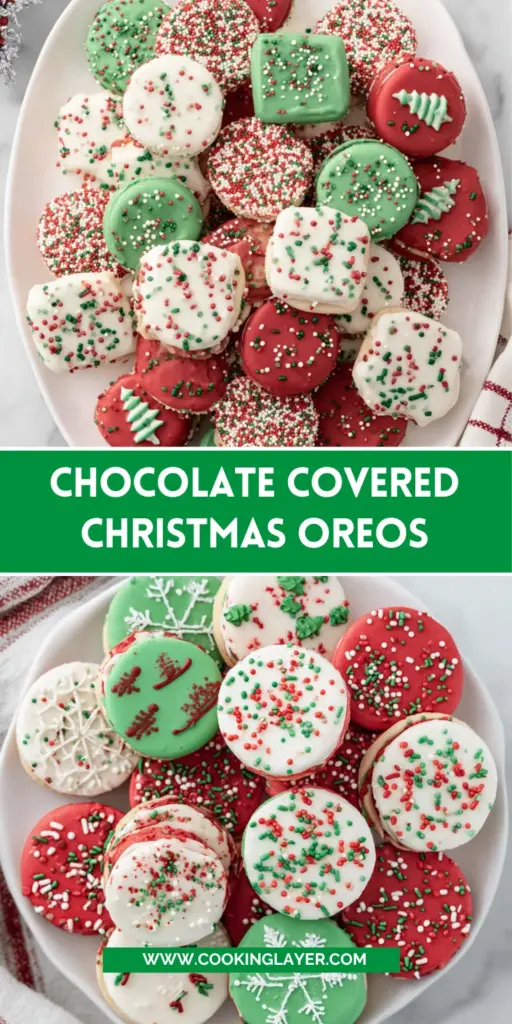
Introduction to Chocolate Covered Christmas Oreos
As the holiday season rolls around, I’m always on the hunt for treats that bring a little cheer into our busy lives. That’s where these Chocolate Covered Christmas Oreos come into play! They’re not just cookies; they’re festive little bundles of joy that sprinkle holiday magic into any gathering or cozy night in. With just a few simple steps, you can create these delightful bites that kids and adults alike will rave about. So, grab your apron, and let’s turn ordinary Oreos into something truly special this Christmas!
Why You’ll Love This Chocolate Covered Christmas Oreos
First off, let’s talk about how incredibly easy these treats are to whip up. If you’re like me, busy juggling family, work, and a million holiday tasks, you’ll appreciate a recipe that requires minimal effort. In just 25 minutes, you’ll have a platter of festive delights sure to impress. Plus, the explosion of colors and flavors? It’s a holiday hug for your taste buds! What’s not to love?
Ingredients for Chocolate Covered Christmas Oreos
Gathering the right ingredients is half the fun! Here’s what you’ll need to bring these Chocolate Covered Christmas Oreos to life:
- Oreos: The star of the show! These classic cookies provide the perfect crunch and indulgent cream filling.
- White Candy Melts: For a creamy, sweet coating that sparkles like fresh snow. You can also use white chocolate if you’re feeling fancy!
- Red Candy Melts: These vibrant little discs brighten up your treats, giving them that festive touch.
- Green Candy Melts: Because what’s Christmas without green? They add a fun pop of color and cheer.
- Christmas Sprinkles: The cherry on top! Use a medley of sprinkles to make your Oreos look extra merry and bright.
If you’re missing a specific color of melts, don’t worry! You can always mix and match any melting chocolate you have on hand. And remember, the precise amounts for these ingredients are detailed at the bottom of the article, perfect for printing or saving! Now, let’s dive in and get cooking!
How to Make Chocolate Covered Christmas Oreos
Step 1: Prepare Your Baking Sheet
First things first, let’s set the stage for our Chocolate Covered Christmas Oreos. Line a baking sheet with parchment or wax paper. This step is crucial because it keeps the melted chocolate from sticking and makes cleanup a breeze. Trust me, no one wants to wrestle with candies stuck to the pan! Get that paper down, and you’ll be all set for dipping your Oreos in style.
Step 2: Melt Your Candy Coating
Now onto the fun part! Pour your candy melts into separate microwave-safe bowls. Heat them in 30-second bursts, stirring in between, until everything is smooth and melted. Pay attention—overheating can turn those gorgeous melts into a lumpy disaster. What you want is a creamy, pourable consistency that glistens with promise. Keep it slow and steady, and you’ll be golden.
Step 3: Coat the Oreos
Here’s where the magic happens! Grab an Oreo and dip it into the melted candy with a fork. Make sure it’s fully submerged, so every inch gets covered. Once you’ve got a good coating, lift it up and gently tap the fork against the bowl’s edge. This motion gets rid of excess candy and prevents those messy blobs. It’s a game changer for the presentation!
Step 4: Add Festive Sprinkles
While the candy coating is still wet, it’s time to jazz things up with sprinkles! Sprinkle away before the coating sets, so those festive decorations stick. I often find a mix of colors really brings my Christmas Treats to life. Just be careful not to overdo it; a sprinkle of cheer goes a long way to avoid a sugary avalanche!
Step 5: Let Them Set
Patience isn’t just a virtue; it’s a necessity for this treat! Allow your Oreos to sit at room temperature for about an hour to set perfectly. This time helps the candy harden and ensures that delightful crunchy bite when you enjoy them. Once set, store your treats in an airtight container in the fridge. They’ll last up to two weeks, but something tells me they won’t stick around that long!
Tips for Success
- Make sure your bowls are completely dry when melting candy to prevent clumping.
- Use a fork with a long handle to make dipping easier and cleaner.
- If the melts harden during dipping, gently reheat them in the microwave for a few seconds.
- Experiment with different sprinkles or even edible glitter for a fun twist!
- Encourage your kids to help! It makes for a delightful family crafting activity.
Equipment Needed
- Baking Sheet: A standard baking sheet will do! An alternative is a large platter.
- Parchment/Wax Paper: Essential for easy cleanup. Aluminum foil works too, but may stick.
- Microwave-Safe Bowls: Silicone bowls are great for heat resistance. Glass bowls work well, too!
- Fork: A regular kitchen fork is perfect for dipping, or you can use a slotted spoon.
Variations of Chocolate Covered Christmas Oreos
- Mint Chocolate Oreos: Add a dash of peppermint extract to your white candy melts for a refreshing twist.
- Dark Chocolate Covered Oreos: Swap out white melts for dark chocolate melts to create a rich, indulgent flavor.
- Nutty Crunch: Sprinkle crushed nuts like almonds or walnuts on top before the coating sets for an added crunch.
- Gluten-Free Option: Use gluten-free Oreo varieties to make this treat accessible for everyone.
- Vegan Alternative: Choose vegan candy melts to create a dairy-free version that still packs a festive punch.
- Holiday Flavor Mix: Combine your candy melts for a marbled effect—swirl red and green together for a fun design!
Serving Suggestions
- Hot Cocoa: Pair these delightful treats with a steaming mug of hot cocoa for a cozy afternoon snack.
- Gift Packaging: Wrap them in festive cellophane bags for thoughtful homemade gifts this season.
- DIY Dessert Table: Include them on a holiday dessert table alongside other sweets for a vibrant display.
- Ice Cream Topping: Crumble some on top of vanilla ice cream for a holiday-inspired sundae.
FAQs about Chocolate Covered Christmas Oreos
Can I use different types of cookies for this recipe?
Absolutely! While Oreos are a classic choice, feel free to experiment with other cookies. Double Stuf Oreos bring an extra creaminess, or try vanilla wafers for a lighter option. The key is to choose something that complements the chocolate coating.
How can I store Chocolate Covered Christmas Oreos?
Once your festive treats have set, store them in an airtight container in the refrigerator. This keeps them fresh for up to two weeks. Just make sure to layer them with parchment paper to prevent sticking!
What can I do if my candy melts harden too quickly?
If your candy melts stiffen during dipping, don’t fret! Simply pop them back in the microwave for a few seconds, just until they soften again. Stir well, and you’re ready to continue coating those Oreos!
Can I make these Chocolate Covered Christmas Oreos ahead of time?
Yes, you can! These treats are perfect for prepping in advance. Make them a few days ahead of your holiday gathering and store them in the fridge. They’ll taste just as fresh when you’re ready to serve!
Are these Chocolate Covered Christmas Oreos suitable for parties?
Definitely! They make a festive addition to any holiday gathering. The colorful sprinkles and chocolate-covered crunch will be a hit among guests of all ages. Plus, they’re easy to grab and enjoy while mingling!
Final Thoughts
Creating Chocolate Covered Christmas Oreos is more than just a baking project; it’s a way to infuse the holiday spirit into your home. As you dip those Oreos in vibrant candy melts, you’re not just making treats; you’re crafting moments. Picture the smiles on your family’s faces as they savor these delightful bites together, with sprinkles dancing in the festive lights. This recipe captures the essence of the season—joy, togetherness, and a dash of creativity. So, let’s keep spreading that holiday cheer, one delicious Oreo at a time!
Print
Chocolate Covered Christmas Oreos
- Prep Time: 15 minutes
- Cook Time: 10 minutes
- Total Time: 25 minutes
- Yield: 24 Oreos 1x
- Category: Dessert
- Method: Melting and Coating
- Cuisine: American
- Diet: Vegetarian
Description
Chocolate Covered Christmas Oreos are festive treats perfect for the holiday season, combining the classic Oreo cookie with colorful candy melts and sprinkles.
Ingredients
- 1 pkg Oreos
- 6 oz. White Candy Melts
- 6 oz. Red Candy Melts
- 6 oz. Green Candy Melts
- Christmas Sprinkles
Instructions
- Line a baking sheet with parchment paper or wax paper.
- Place each of the candy melts in a separate microwave safe bowl. Heat in 30 second intervals, stirring after each interval until fully melted. Be careful not to overheat.
- Place an Oreo in the melted candy and use a fork to remove the Oreo carefully.
- While the Oreo is on the fork, gently take the fork against the side of the bowl to remove any excess candy from the Oreo.
- Place the Oreos on the baking sheet and top with the holiday sprinkles before they dry.
- Let them sit at room temperature for approximately 1 hour to set and then enjoy!
Notes
- Store in an airtight container in the refrigerator for up to 2 weeks.
Nutrition
- Serving Size: 2 Oreos
- Calories: 220
- Sugar: 18g
- Sodium: 80mg
- Fat: 10g
- Saturated Fat: 5g
- Unsaturated Fat: 3g
- Trans Fat: 0g
- Carbohydrates: 30g
- Fiber: 1g
- Protein: 2g
- Cholesterol: 0mg


