
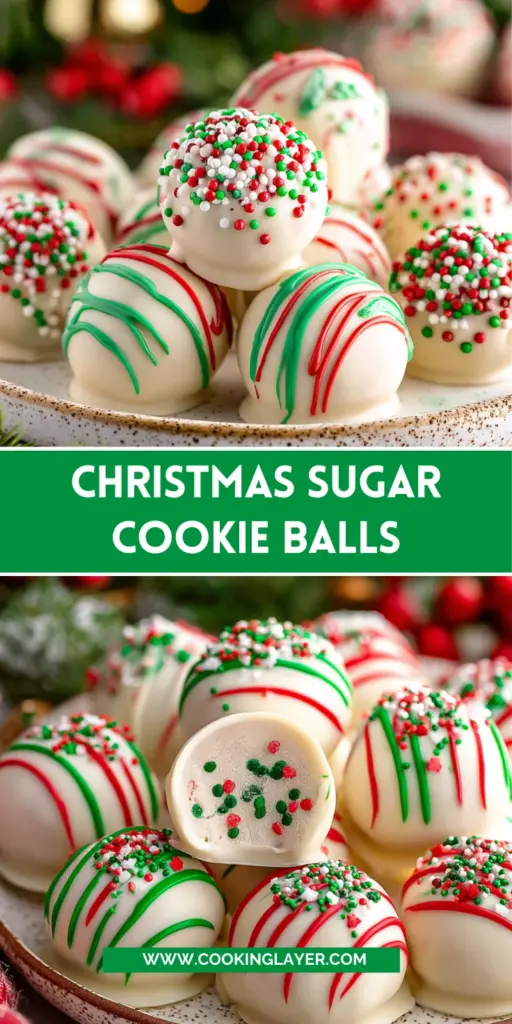
Introduction to Christmas Sugar Cookie Balls
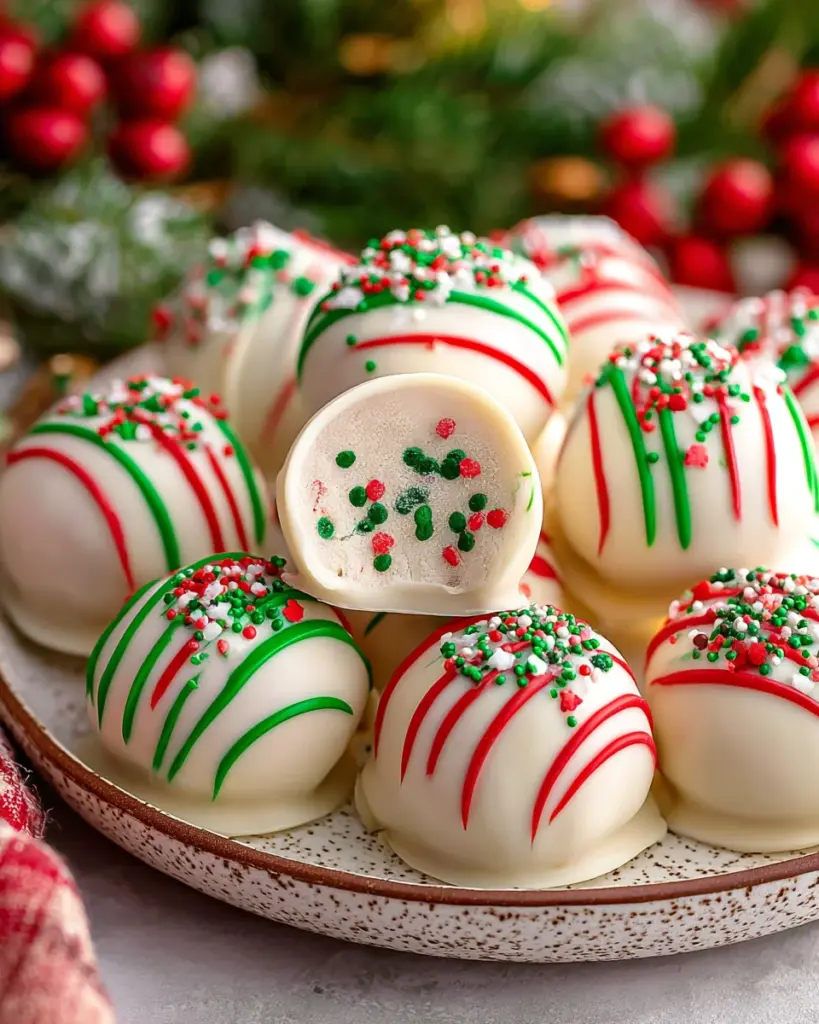
Ah, the joy of the holiday season! It’s that magical time when we gather with family and friends, sharing warmth and delicious treats. One of my absolute favorite creations are these Christmas Sugar Cookie Balls. They’re soft, creamy, and honestly, a true delight to indulge in. Whether you’re rushing between holiday events or simply looking to impress loved ones at your festive gathering, this no-bake dessert is your perfect solution. In just a few easy steps, you can whip up a batch that’ll melt in your mouth and brighten up any celebration!
Why You’ll Love This Christmas Sugar Cookie Balls
These Christmas Sugar Cookie Balls are a holiday miracle in your kitchen! They’re incredibly easy to make, perfect for busy moms like me juggling everything during the season. With just a few ingredients and no baking involved, you can make a festive treat that tastes out of this world. Plus, the creamy texture and delightful sweetness will leave your loved ones coming back for more. You can truly spread holiday cheer with every bite!
Ingredients for Christmas Sugar Cookie Balls
Gathering all the ingredients is like assembling your very own holiday treasure trove! Here’s what you’ll need:
- Lofthouse Cookies: These soft, frosted cookies are the base for our cookie balls. Their sweetness and texture provide the perfect foundation.
- Cream Cheese: This ingredient adds a rich, creamy flavor that makes the cookie balls irresistible. It also helps bind everything together.
- Ghirardelli Vanilla Melting Wafers: Ideal for coating the cookie balls, these melts create a smooth, glossy finish that’s visually stunning and delicious. You can find them at most grocery stores or online.
- Nonpareil Sprinkles: These colorful little beads bring a festive touch! Feel free to switch them up based on your theme or personal taste.
- Red and Green Candy Melts: For an extra pop of color, use these melts to drizzle over the finished cookie balls. They enhance both flavor and presentation!
For precise quantities, don’t forget to check the bottom of the article where everything is laid out for easy printing and reference!
How to Make Christmas Sugar Cookie Balls
Making these Christmas Sugar Cookie Balls is a delightful journey! With just a few steps, you’ll transform simple ingredients into a treat that’s sure to impress. So let’s roll up our sleeves and get started!
Step 1: Prepare the Cream Cheese
First things first, you’ll want to grab your cream cheese. Using an electric mixer with a paddle attachment, whip it on medium-high speed until it’s smooth and creamy. This step is crucial to ensure a delightful texture in your cookie balls!
Step 2: Combine Cookies and Cream Cheese
Next, crumple the Lofthouse cookies into the bowl with the cream cheese. You can do this by hand or pulse them in a food processor for an even crumble. Mix this blend on low speed until well combined, and your mixture should be soft and pliable.
Step 3: Shape the Cookie Balls
Grab a cookie scoop or simply use your hands! Scoop even amounts of the mixture and roll them into smooth balls about 1½ inches in diameter. It’s like giving each ball a little hug! Place them on a prepared baking tray lined with parchment paper.
Step 4: Chill the Cookie Balls
Pop the baking tray into the refrigerator for 1-2 hours. This chill time is essential! It helps the cookie balls firm up, making them easier to coat later. Plus, who doesn’t love a little time to relax while waiting for sweet treats?
Step 5: Melt the Coating
Now for the fun part – melting the Ghirardelli vanilla melting wafers! Use a double boiler or microwave to gently melt them over low heat. Stir often until smooth. Make sure not to rush this step; slow and low is the name of the game for perfect melts!
Step 6: Coat the Cookie Balls
Time to dip! Using a fork, dip one cookie ball into the melted vanilla coating. Make sure it’s fully covered, then gently tap off any excess. Place the coated ball back on the parchment paper and repeat until all are coated. Watch them shine!
Step 7: Drizzle with Candy Melts
If you want an extra festive touch, melt your red and green candy melts in piping bags in the microwave. Massage the bags every 30 seconds until melted. Snip off a tiny piece of the tip, and drizzle the colorful melts over each cookie ball. It’s like dressing them up for a party!
Step 8: Refrigerate Before Serving
Finally, return your cookie balls to the refrigerator for about 10 minutes. This allows the coating to harden and stay beautifully intact. Keep them chilled until you’re ready to share them with family and friends. Enjoy the sweet anticipation!
Tips for Success
- Make sure your cream cheese is at room temperature for easier mixing.
- Use a cookie scoop for evenly-sized cookie balls; it makes rolling easier!
- Chill the cookie balls adequately to ensure they hold their shape when coated.
- Tap gently to remove excess coating for a smoother finish.
- Add a mix of sprinkles for a fun and colorful presentation!
Equipment Needed
- Electric Mixer: A hand mixer works too if you don’t have a stand mixer.
- Cookie Scoop: A tablespoon can substitute if you need an alternative.
- Baking Tray: Any flat tray lined with parchment paper will do.
- Double Boiler or Microwave: Either method efficiently melts the chocolate!
Variations
- Nutty Delight: Add crushed nuts like almonds or walnuts for a crunchy texture.
- Chocolate Lovers: Swap half the vanilla melts with chocolate melting wafers for a rich twist.
- Gluten-Free Option: Use gluten-free cookies, such as almond flour cookies, to make these sugar cookie balls suitable for all diets.
- Spiced Version: Mix in a pinch of cinnamon or nutmeg to the cream cheese for a warm, holiday flavor.
- Fruit Fusion: Incorporate mini chocolate chips or dried cranberries into the mix for a fruity kick!
Serving Suggestions
- Pair these cookie balls with a warm cup of cocoa or spiced cider for a cozy treat.
- Present them on a festive platter, adorned with fresh holly or seasonal decorations.
- For added flair, serve alongside a scoop of vanilla ice cream for an indulgent dessert.
- Gift them in cute holiday tins for a thoughtful present.
- Make a dessert table focal point by stacking them in a clear glass jar.
FAQs about Christmas Sugar Cookie Balls
Can I freeze Christmas Sugar Cookie Balls?
Absolutely! These cookie balls freeze beautifully. Just place them in an airtight container, separating layers with parchment paper. Thaw in the fridge before serving. Perfect for prepping ahead!
What if I can’t find Lofthouse cookies?
No worries! Any soft, frosted sugar cookie will do. You could try making your own, or store-bought brands work just as well. The key is that they should be soft!
Can I make these sugar cookie balls without cream cheese?
Sure! While the cream cheese gives that delightful creaminess, you can substitute it with mascarpone cheese or even a dairy-free cream cheese for a tasty, vegan alternative.
How do I store these cookie balls?
Store them in an airtight container in the fridge for up to a week. This helps maintain their texture and keeps them fresh for those sweet cravings!
Can I customize the sprinkles for different occasions?
Of course! Switch up the sprinkles based on holidays or themes. You could use pastel colors for Easter or red, white, and blue for the Fourth of July, making these treats versatile!
Final Thoughts
These Christmas Sugar Cookie Balls truly embody the spirit of the holidays. The simple pleasure of creating these treats and the joy they bring to my loved ones is a gift in itself. Each bite transports me back to cozy family gatherings and sweet memories shared over festive treats. You’ll love how they transform any occasion into a celebration. Plus, knowing you made something delightful from scratch warms the heart! So gather your loved ones, get your ingredients ready, and enjoy the magic of these cookie balls. They’re not just dessert; they’re a memory waiting to happen!
Print
Christmas Sugar Cookie Balls
- Prep Time: 15 minutes
- Cook Time: 10 minutes
- Total Time: 2 hours 25 minutes
- Yield: 24 cookie balls 1x
- Category: Dessert
- Method: No-Bake
- Cuisine: American
- Diet: Vegetarian
Description
Delicious Christmas Sugar Cookie Balls that are soft, creamy, and perfect for the holiday season.
Ingredients
- 20 lofthouse cookies
- 8 ounces cream cheese
- 10 ounces Ghirardelli vanilla melting wafers
- Nonpareil sprinkles
- Red and green candy melts
Instructions
- Using an electric mixer on medium high speed with a paddle attachment, beat the cream cheese until smooth and creamy.
- Crumble the cookies into the same bowl and beat together with the cream cheese until well combined.
- Use a 1 ½ inch cookie scoop to scoop even sized amounts, and roll them into smooth balls. Place each ball onto the prepared baking tray and repeat with the rest.
- Refrigerate the cookie balls for 1-2 hours to help them set and maintain their shape when dipping.
- Using a double boiler, candy melting pot, or the microwave method, melt the vanilla melting wafers over low heat, stirring often until fully melted and smooth.
- Use a fork to dip one cookie ball at a time into the melts, then gently tap the fork on the edge to remove excess coating. Place the ball back onto the parchment paper and immediately top with sprinkles.
- If drizzling with red and green candy melts, allow the coating to set without covering in sprinkles.
- Microwave the red and green candy melts in piping bags on a low or defrost setting and massage the bag every 30 seconds to ensure even heating.
- Snip off a small piece of the tips and drizzle over the coated sugar cookie balls.
- Place in the refrigerator for the coating to harden, about 10 minutes. Keep refrigerated until ready to eat.
Notes
- Ensure to heat melting wafers on low to avoid seizing.
- Keep the cookie balls refrigerated until serving to maintain firmness.
- Customize sprinkles and colors for different occasions.
Nutrition
- Serving Size: 1 cookie ball
- Calories: 150
- Sugar: 10g
- Sodium: 70mg
- Fat: 8g
- Saturated Fat: 4g
- Unsaturated Fat: 2g
- Trans Fat: 0g
- Carbohydrates: 18g
- Fiber: 0g
- Protein: 1g
- Cholesterol: 15mg


