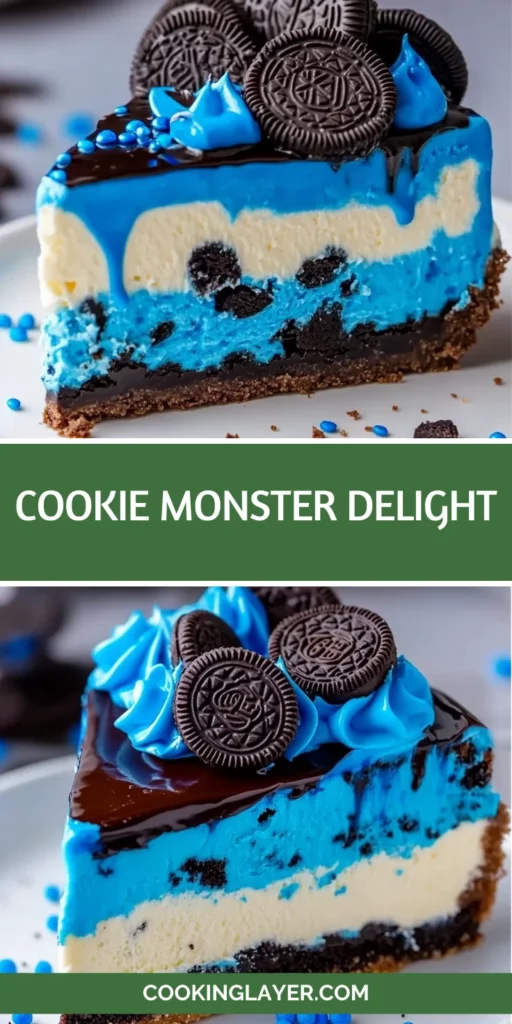
Introduction to Cookie Monster Delight
Hey there, fellow dessert lovers! If you’re anything like me, you know that life can get pretty hectic. Between juggling work, family, and everything in between, finding time to whip up something special can feel impossible. That’s where my Cookie Monster Delight comes in! This indulgent cheesecake recipe is not just a treat for the eyes; it’s a deliciously creamy dessert that will impress your loved ones without taking hours in the kitchen. Trust me, this is the kind of dessert that brings smiles and happy memories, making it perfect for any occasion!
Why You’ll Love This Cookie Monster Delight
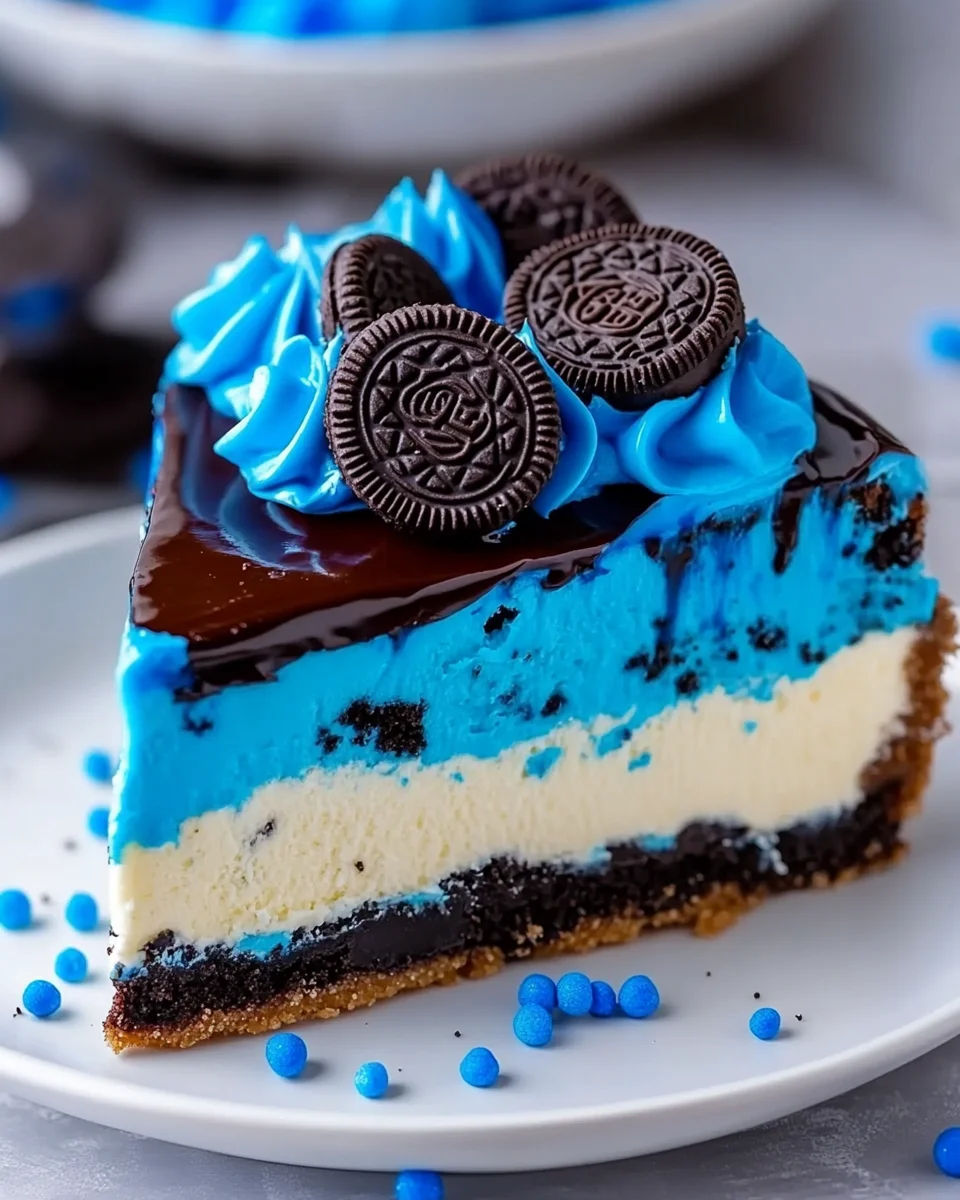
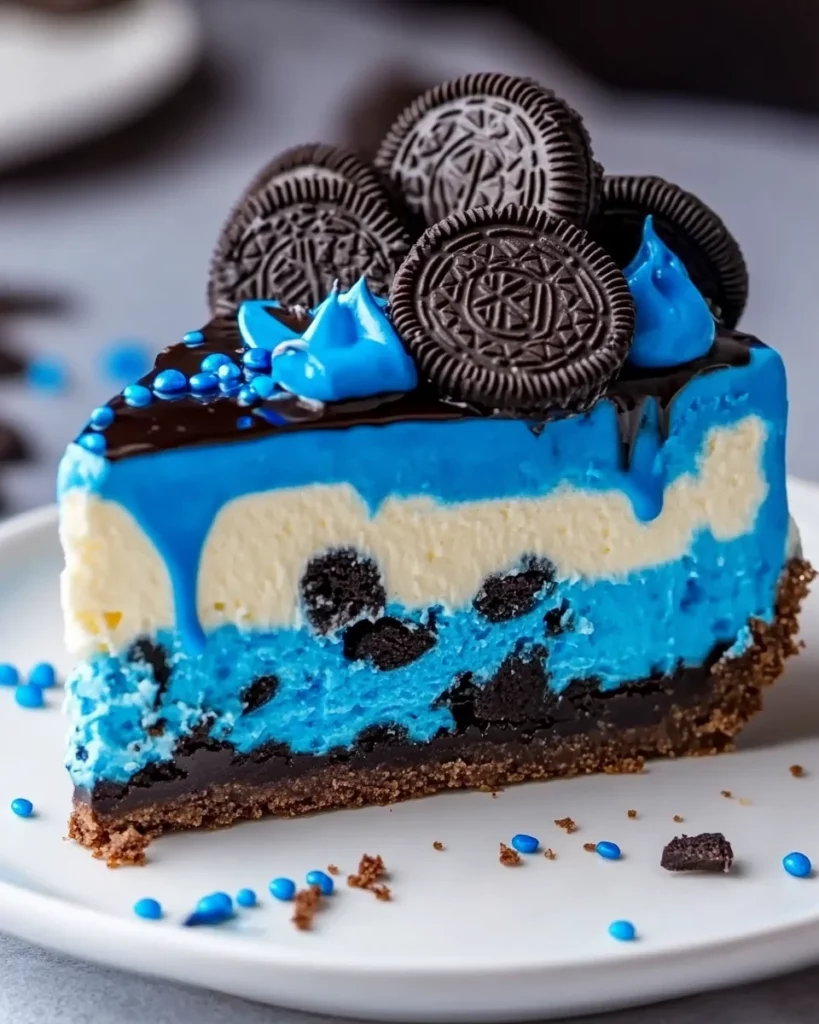
Let’s be honest—who doesn’t love a dessert that’s both easy to make and utterly delicious? This Cookie Monster Delight is a breeze to whip up, even on your busiest days. The combination of a rich blondie base and a creamy blue cheesecake layer is simply irresistible. Plus, the chocolate ganache on top adds that extra touch of indulgence. It’s a dessert that satisfies cravings and brings joy, making it a must-try for any occasion!

Ingredients for Cookie Monster Delight
Now, let’s dive into the delightful ingredients that make up this Cookie Monster Delight. Each component plays a crucial role in creating that perfect balance of flavors and textures. Here’s what you’ll need:
- Unsalted butter: This adds richness to the blondie base. You can substitute with coconut oil for a dairy-free option.
- Salt: Just a pinch enhances the sweetness and balances the flavors.
- Brown sugar: It gives the blondie base a lovely caramel flavor. Feel free to use light or dark brown sugar based on your preference.
- Egg: This binds the ingredients together, creating a moist texture. For a vegan version, you can use a flax egg.
- Vanilla extract: A must-have for that warm, comforting flavor. Pure vanilla extract is best, but imitation works too.
- All-purpose flour: This is the backbone of the blondie base. You can swap it with gluten-free flour if needed.
- Semisweet mini chocolate chips: These little gems add bursts of chocolatey goodness. Dark chocolate chips can be a great alternative.
- Cream cheese: The star of the cheesecake layer! Make sure it’s at room temperature for easy mixing.
- Cornstarch: This helps stabilize the cheesecake, giving it that perfect creamy texture.
- Granulated sugar: Sweetens the cheesecake layer. You can use coconut sugar for a healthier option.
- Whipping cream: Adds a luscious creaminess to the cheesecake. You can use coconut cream for a dairy-free version.
- Blue gel food coloring: This gives the cheesecake its fun, vibrant color. Adjust the amount for your desired shade.
- Oreo cookies: Crushed to add a delightful crunch and flavor to the cheesecake. You can use gluten-free Oreos if needed.
- Semisweet chocolate chips: Used for the ganache, adding a rich chocolate layer on top.
- Heavy whipping cream: This is combined with chocolate chips to create a silky ganache. Again, coconut cream is a great substitute.
For exact measurements, check the bottom of the article where you can find everything listed for easy printing. Now, let’s get ready to create this delicious masterpiece!
How to Make Cookie Monster Delight
Now that we have our ingredients ready, let’s dive into the fun part—making the Cookie Monster Delight! Follow these simple steps, and you’ll have a show-stopping dessert that’s sure to impress.
Step 1: Preheat the Oven
First things first, preheat your oven to 350°F (175°C). Preheating is crucial because it ensures even baking. If you skip this step, your blondie base might not rise properly, and we definitely want that perfect texture!
Step 2: Prepare the Blondie Base
Next, melt the unsalted butter in a saucepan over medium heat. Once melted, stir in the salt and brown sugar until well combined. Remove the saucepan from heat and mix in the egg and vanilla extract. Then, gently fold in the all-purpose flour until just combined. Finally, add those delightful semisweet mini chocolate chips for a burst of flavor!
Step 3: Bake the Blondie Base
Spread the blondie batter evenly into a prepared baking pan. Bake for 15-20 minutes. To check for doneness, insert a toothpick into the center. If it comes out clean, you’re good to go! Let the blondie base cool completely before moving on to the cheesecake layer.
Step 4: Make the Cheesecake Filling
In a large bowl, beat the cream cheese until it’s smooth and creamy. Add the cornstarch, granulated sugar, and a pinch of salt, mixing well. Gradually pour in the whipping cream, blue gel food coloring, and vanilla extract. Blend until the mixture is smooth and evenly colored. Now, beat in the eggs one at a time, ensuring each is fully incorporated before adding the next. Finally, gently fold in the crushed Oreo cookies for that delightful crunch!
Step 5: Combine and Bake
Pour the cheesecake mixture over the cooled blondie base, spreading it evenly. To create a water bath, place the baking pan in a larger pan filled with hot water. This helps the cheesecake bake evenly and prevents cracking. Bake at 300°F (150°C) for 45-55 minutes. The cheesecake should be set but still slightly jiggly in the center.
Step 6: Cool and Refrigerate
Once baked, turn off the oven and let the cheesecake cool inside for about an hour. This gradual cooling helps maintain its texture. After that, refrigerate the cheesecake overnight. This step is essential for allowing the flavors to meld and the cheesecake to set perfectly.
Step 7: Prepare the Ganache
When you’re ready to finish your Cookie Monster Delight, it’s time to make the ganache. In a microwave-safe bowl, combine the semisweet chocolate chips, heavy whipping cream, and a pinch of salt. Microwave in 30-second intervals, stirring between each, until the mixture is smooth and fully melted. This rich ganache will add a luxurious finish to your cheesecake!
Step 8: Decorate and Serve
Spread the ganache evenly over the chilled cheesecake. For an extra touch, feel free to decorate with additional crushed Oreo cookies on top. Slice into pieces and serve this delightful dessert to your family and friends. Get ready for the compliments to roll in!
Tips for Success
- Make sure your cream cheese is at room temperature for easy mixing.
- Don’t skip the water bath; it helps prevent cracks in your cheesecake.
- Use a sharp knife to slice the cheesecake for clean edges.
- Let the cheesecake cool completely before refrigerating to avoid condensation.
- Feel free to adjust the blue food coloring for a more vibrant look!
Equipment Needed
- Baking pan: A 9×13 inch pan works perfectly, but you can use any similar size.
- Mixing bowls: A large bowl for the cheesecake and a medium one for the blondie base.
- Electric mixer: A hand mixer is great, but a whisk will do in a pinch.
- Microwave-safe bowl: For melting the chocolate ganache.
- Toothpick: Essential for checking the doneness of the blondie base.
Variations of Cookie Monster Delight
- Gluten-Free: Substitute all-purpose flour with a gluten-free blend to make this dessert suitable for those with gluten sensitivities.
- Vegan: Use a flax egg instead of a regular egg, coconut cream in place of heavy whipping cream, and dairy-free chocolate chips for a completely plant-based version.
- Nutty Twist: Add chopped nuts like walnuts or pecans to the blondie base for an extra crunch and flavor.
- Fruit Infusion: Incorporate fresh blueberries or raspberries into the cheesecake layer for a fruity burst of flavor.
- Chocolate Lovers: Mix in cocoa powder into the blondie base for a chocolatey twist, or use chocolate Oreos instead of regular ones.
Serving Suggestions for Cookie Monster Delight
- Pair with a scoop of vanilla ice cream for a delightful contrast in temperature and texture.
- Serve alongside fresh berries to add a pop of color and a hint of tartness.
- Drizzle with caramel sauce for an extra layer of sweetness.
- Enjoy with a cup of coffee or a glass of milk for a classic combination.
- Garnish with whipped cream and chocolate shavings for an elegant presentation.
FAQs about Cookie Monster Delight
As you embark on your baking adventure with Cookie Monster Delight, you might have a few questions. Here are some common queries I’ve encountered, along with helpful answers to guide you through the process!
Can I make Cookie Monster Delight ahead of time?
Absolutely! In fact, making it a day in advance is ideal. This allows the flavors to meld beautifully and ensures the cheesecake sets perfectly. Just keep it refrigerated until you’re ready to serve.
What can I use instead of cream cheese?
If you’re looking for a dairy-free option, try using vegan cream cheese. It provides a similar texture and flavor, making it a great substitute for the cheesecake layer.
How do I store leftovers?
Store any leftover Cookie Monster Delight in an airtight container in the refrigerator. It should stay fresh for about 3-4 days, but I doubt it will last that long!
Can I freeze Cookie Monster Delight?
Yes, you can freeze it! Just make sure to wrap it tightly in plastic wrap and then in aluminum foil. It can be frozen for up to 2 months. Thaw it in the fridge overnight before serving.
What’s the best way to cut the cheesecake?
For clean slices, use a sharp knife dipped in hot water. Wipe the knife clean between cuts to maintain those beautiful edges. Your guests will appreciate the presentation!
Final Thoughts
Creating the Cookie Monster Delight is more than just baking; it’s about crafting a moment of joy for yourself and your loved ones. The vibrant blue cheesecake layered atop a rich blondie base is a feast for the eyes and the taste buds. Each bite is a delightful combination of flavors that brings smiles and happy memories. Whether it’s a family gathering or a cozy night in, this dessert is sure to impress. So, roll up your sleeves, embrace the fun of baking, and let this indulgent treat become a cherished part of your dessert repertoire!
Print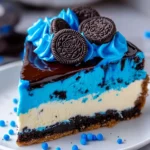
Cookie Monster Delight: An Indulgent Cheesecake Recipe!
- Prep Time: 30 minutes
- Cook Time: 1 hour
- Total Time: Overnight
- Yield: 12 servings 1x
- Category: Dessert
- Method: Baking
- Cuisine: American
- Diet: Vegetarian
Description
Cookie Monster Delight is an indulgent cheesecake recipe featuring a creamy blue cheesecake layer on top of a delicious blondie base, topped with a rich chocolate ganache.
Ingredients
- 1/2 cup unsalted butter
- 1/2 teaspoon salt
- 1/3 cup brown sugar
- 1 egg
- 1 teaspoon vanilla extract
- 1/2 cup all-purpose flour
- 1/2 cup semisweet mini chocolate chips
- 16 oz cream cheese
- 2 teaspoons cornstarch
- 1/3 cup granulated sugar
- Pinch of salt
- 1/2 cup whipping cream
- Blue gel food coloring
- 1 teaspoon vanilla extract
- 3 eggs
- 15 regular Oreo cookies, crushed
- 3/4 cup semisweet chocolate chips
- 1/2 cup heavy whipping cream
- Pinch of salt
Instructions
- Preheat the oven to 350°F (175°C).
- Melt the butter in a saucepan over medium heat. Add salt and brown sugar, stirring until combined.
- Remove from heat, then mix in the egg and vanilla extract.
- Stir in the flour until just combined, then fold in the chocolate chips.
- Spread the batter evenly into a prepared baking pan.
- Bake for 15-20 minutes, or until a toothpick inserted into the center comes out clean. Let cool completely.
- In a large bowl, beat the cream cheese until smooth.
- Add cornstarch, granulated sugar, and a pinch of salt, mixing well.
- Gradually add whipping cream, blue food coloring, and vanilla extract, blending until the mixture is smooth and evenly colored.
- Beat in the eggs one at a time, ensuring each is fully incorporated before adding the next.
- Gently fold in the crushed Oreo cookies.
- Pour the cheesecake mixture over the cooled blondie base.
- Place the baking pan in a larger pan filled with hot water to create a water bath.
- Bake at 300°F (150°C) for 45-55 minutes, or until the cheesecake is set but still slightly jiggly in the center.
- Turn off the oven and let the cheesecake cool inside for 1 hour.
- Remove from the oven and refrigerate overnight.
- In a microwave-safe bowl, combine chocolate chips, heavy whipping cream, and a pinch of salt.
- Microwave in 30-second intervals, stirring between each, until the mixture is smooth and fully melted.
- Spread the ganache evenly over the chilled cheesecake.
- Decorate with additional crushed cookies, if desired.
Notes
- Ensure the cream cheese is at room temperature for easier mixing.
- For a more vibrant blue color, adjust the amount of blue gel food coloring as needed.
- Let the cheesecake cool completely before refrigerating to avoid condensation.
Nutrition
- Serving Size: 1 slice
- Calories: 450
- Sugar: 30g
- Sodium: 250mg
- Fat: 30g
- Saturated Fat: 15g
- Unsaturated Fat: 10g
- Trans Fat: 0g
- Carbohydrates: 40g
- Fiber: 2g
- Protein: 6g
- Cholesterol: 100mg


