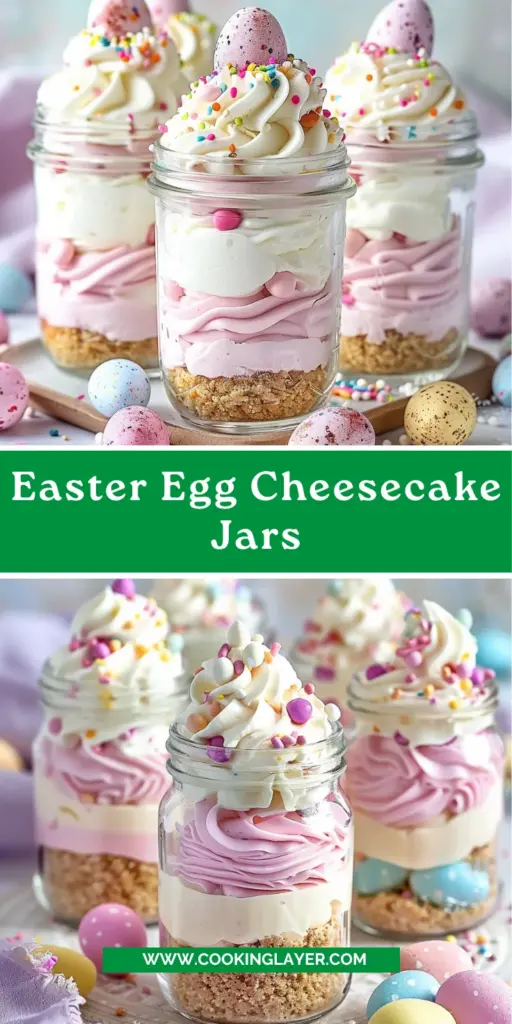
Introduction to Easter Egg Cheesecake Jars
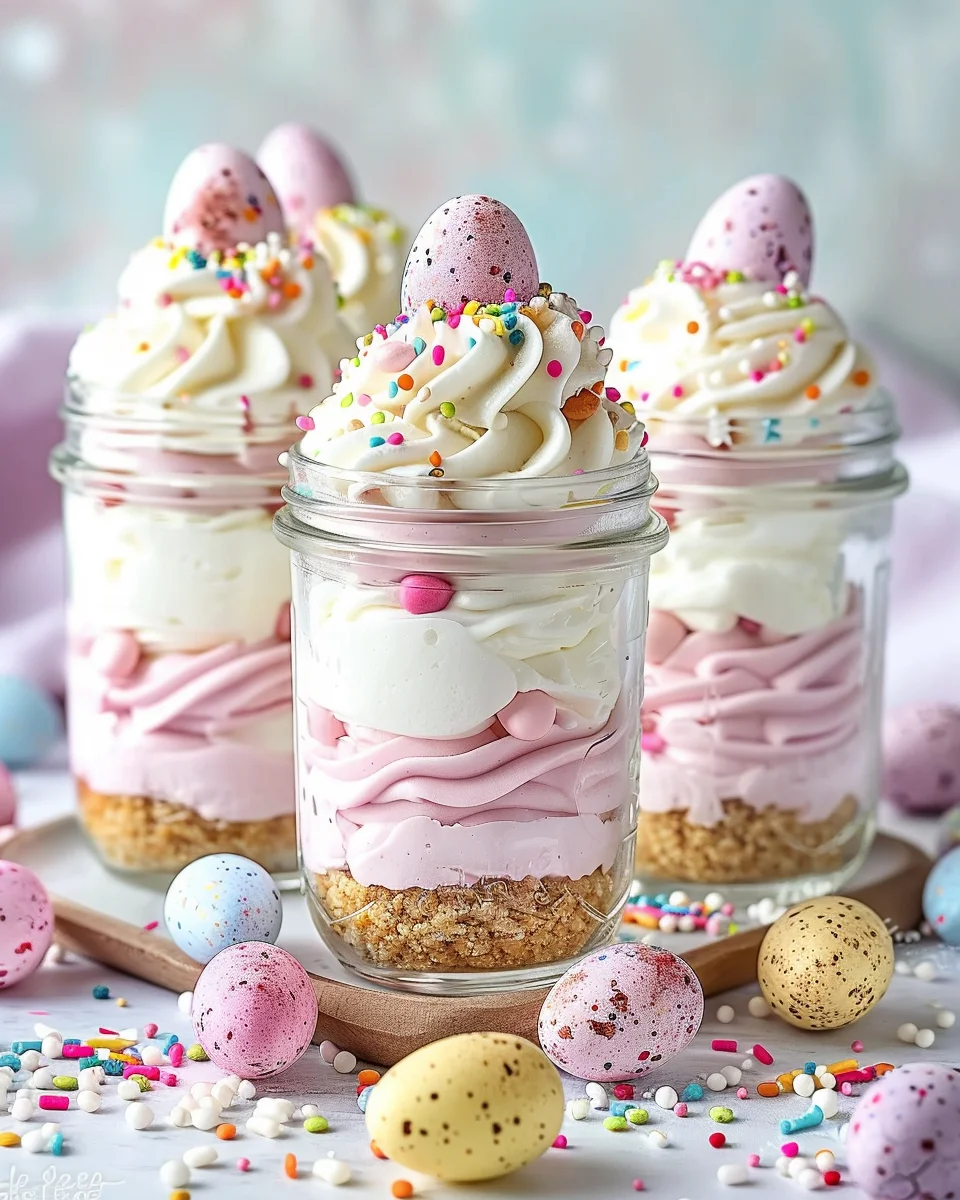
As spring unfolds and Easter approaches, the quest for delightful desserts begins! Enter my Easter Egg Cheesecake Jars a whimsical treat that brings together creamy cheesecake flavors and festive fun. I know you’re busy juggling life’s many roles, which is why these charming little jars make for a perfect solution. They’re simple, quick to assemble, and impressively beautiful. Imagine brightening someone’s day with these individually served delights, where each layer is bursting with cheer. Let’s dive into this tasty adventure, creating memories while savoring every spoonful of joy!
Why You’ll Love This Easter Egg Cheesecake Jars
These Easter Egg Cheesecake Jars are the perfect blend of ease and indulgence. With no baking required, you can whip them up in no time, making them ideal for busy moms and professionals like us. Plus, they’re customizable! You can adapt them to suit your tastes or dietary needs. The delightful presentation will wow your loved ones, turning a simple dessert into a delightful centerpiece for your Easter celebrations!
Ingredients for Easter Egg Cheesecake Jars
Creating these delightful Easter Egg Cheesecake Jars starts with gathering some tasty ingredients! Here’s what you’ll need:
- Graham cracker crumbs: They form the delicious crust that gives these jars their satisfying crunch.
- Granulated sugar: Just a touch to sweeten the crust and balance the creaminess of the filling.
- Unsalted butter: This is what binds your crumb mixture together, ensuring a rich flavor.
- Cream cheese: The star of the show! It provides that velvety texture and classic cheesecake flavor.
- Powdered sugar: This sugary goodness helps to sweeten the filling while keeping it smooth.
- Vanilla extract: A dash of this elevates the flavor, bringing warmth to your dessert.
- Heavy cream: Whipped to stiff peaks, it adds lightness and fluffiness to the cheesecake layer.
- Pink gel food coloring or freeze-dried strawberry powder: Optional, but it adds a pop of color and a hint of fruity flavor.
- Whipped cream: For topping; it’s like the cherry on top but better, as you can pipe it beautifully on each jar.
- Pastel candy eggs: These adorable decorations bring that festive Easter flair! Aim for about 2–3 per jar.
- Rainbow or pastel sprinkles: Optional, but they add a joyful crunch and aesthetic appeal to your jars!
You can find all of these ingredients at your local grocery store. The exact measurements will be listed at the bottom of the article, where you can also find a printable version for your convenience!
How to Make Easter Egg Cheesecake Jars
Ready to create these delightful Easter Egg Cheesecake Jars? Follow my simple steps, and you’ll have a festive treat ready in no time. Let’s get started!
Prepare the Crust
Combine Ingredients
In a medium bowl, mix together the graham cracker crumbs, granulated sugar, and melted butter. It should look like wet sand when you’re done. This mixture brings a wonderful sweet crunch to your jars.
Set the Crust
Pressing in Jars
Now, take the crumb mixture and spoon it into your mini jars. Don’t be shy! Press it down gently using your fingers or the back of a spoon to form a nice, even base. It’s the foundation for your dreamy cheesecake layers!
Make the Cream Cheese Filling
Mix the Cream Cheese
In a separate mixing bowl, beat the softened cream cheese until it’s nice and smooth. Add the powdered sugar and vanilla extract, and beat until fluffy. This is where the magic begins, turning simple ingredients into a rich cheesecake filling.
Fold in Whipped Cream
Next, it’s time to add some lightness! Gently fold in the whipped cream in two batches. Take your time with this step. You want it to be light and airy—every bite should melt in your mouth.
Create the Layers
Tint the Mixture
Divide the cream cheese mixture into two bowls. If you’re feeling festive, tint one bowl with pink gel food coloring or freeze-dried strawberry powder. It’s optional, but it creates a fun pop of color that’s perfect for Easter!
Layering in the Jars
Using a spoon or piping bag, carefully layer the pink mixture over the crust in each jar. Then, follow with the white layer. This adds that eye-catching contrast, making your jars look as delightful as they taste.
Finish with Toppings
Whipped Cream Swirl
Don’t forget to top each jar with a swirl of whipped cream! Use a piping bag if you want it to be extra pretty. It’s the finishing touch that adds flair and fun.
Decorate
Now for the exciting part—decorating! Sprinkle those pastel candy eggs and some rainbow sprinkles on top. Let your creativity shine with your decorations; this is where they transform into Easter treasures!
Chill and Serve
Refrigeration Time
Last but not least, chill the jars in the refrigerator until you’re ready to serve. This not only enhances the flavor but also makes them even more refreshing on the day of your celebration. Enjoy every layer!
Tips for Success
- Make sure your cream cheese is at room temperature for easy mixing.
- Use a flat-bottomed tool to press the crust evenly in the jars.
- Whip the cream to stiff peaks for a light filling.
- Taste as you go—adjust sweetness based on personal preference.
- Chill the jars for at least 2 hours to enhance flavors.
- Get creative with decorations; let the kids help!
Equipment Needed
- Medium mixing bowl: A standard bowl works well, but a larger one can help prevent spills.
- Mini jars: Use mason jars, dessert cups, or even small glasses for serving.
- Hand mixer or stand mixer: A whisk can work, but it’ll take more effort!
- Spoon or piping bag: For layering and decorating the cheesecake.
- Spatula: To help fold in the whipped cream and scrape down bowl sides.
Variations
- Berry Flavors: Substitute the pink layer with pureed berries like raspberries or blueberries for a fruity twist.
- Chocolate Delight: Add cocoa powder to the cream cheese mixture for a decadent chocolate cheesecake layer.
- Gluten-Free Option: Use gluten-free graham crackers to keep it suitable for those with dietary restrictions.
- Dairy-Free Version: Swap the cream cheese with a dairy-free alternative like cashew cheese and use coconut cream instead of heavy cream.
- Nutty Twist: Incorporate crushed nuts like almonds or pecans into the crust for added flavor and crunch.
- Mini Cheesecake Bites: Instead of jars, pour the mixture into a mini cupcake pan lined with paper cups for bite-sized treats.
Serving Suggestions
- Pair the jars with fresh fruit like strawberries and blueberries for a refreshing contrast.
- Serve with a light herbal tea or sparkling lemonade to complement the sweetness.
- For a festive touch, display them on a colorful platter with a floral arrangement.
- Encourage guests to decorate their jars with extra sprinkles for added fun!
- Use pastel-colored spoons for serving to enhance the cheerful Easter vibe.
FAQs about Easter Egg Cheesecake Jars
Here are some common questions you might have about these delightful Easter Egg Cheesecake Jars. I hope these answers help you create your own lovely layers!
Can I make Easter Egg Cheesecake Jars in advance?
Absolutely! You can prepare these jars a day in advance. Just cover them and keep them in the refrigerator until you’re ready to serve. This makes hosting stress-free!
How long do these jars last in the fridge?
These cheesecake jars can be stored for up to 3 days in the fridge. However, best enjoyed within the first couple of days when they’re freshest.
Can I use other candies instead of pastel eggs?
Definitely! Feel free to swap the pastel candy eggs with your favorite Easter candies or even chocolate pieces. The more festive, the better!
How can I make these jars healthier?
To lighten this dessert, consider using Greek yogurt instead of cream cheese and reducing the sugar. It still satisfies your sweet tooth without the guilt!
Is there a vegan version of Easter Egg Cheesecake Jars?
You can create a vegan version by using dairy-free cream cheese and coconut whipped cream. It’s incredibly delicious while keeping your friends with dietary restrictions happy!
Final Thoughts
As I reflect on making these enchanting Easter Egg Cheesecake Jars, I can’t help but smile. These jars capture the joy and warmth of the season, making dessert an experience to share with loved ones. Watching the delight in their eyes as they dive into each colorful layer is priceless. The laughter, the chatter, and the sweetness of this dessert linger long after the last spoonful. I hope you enjoy creating these festive treats as much as I do. Let these charming jars be a part of your celebrations and family gatherings, where joy and deliciousness reside in each bite!
Print
Easter Egg Cheesecake Jars
- Prep Time: 30 minutes
- Cook Time: 0 minutes
- Total Time: 30 minutes plus chilling time
- Yield: 4–6 servings 1x
- Category: Dessert
- Method: No-Bake
- Cuisine: American
- Diet: Vegetarian
Description
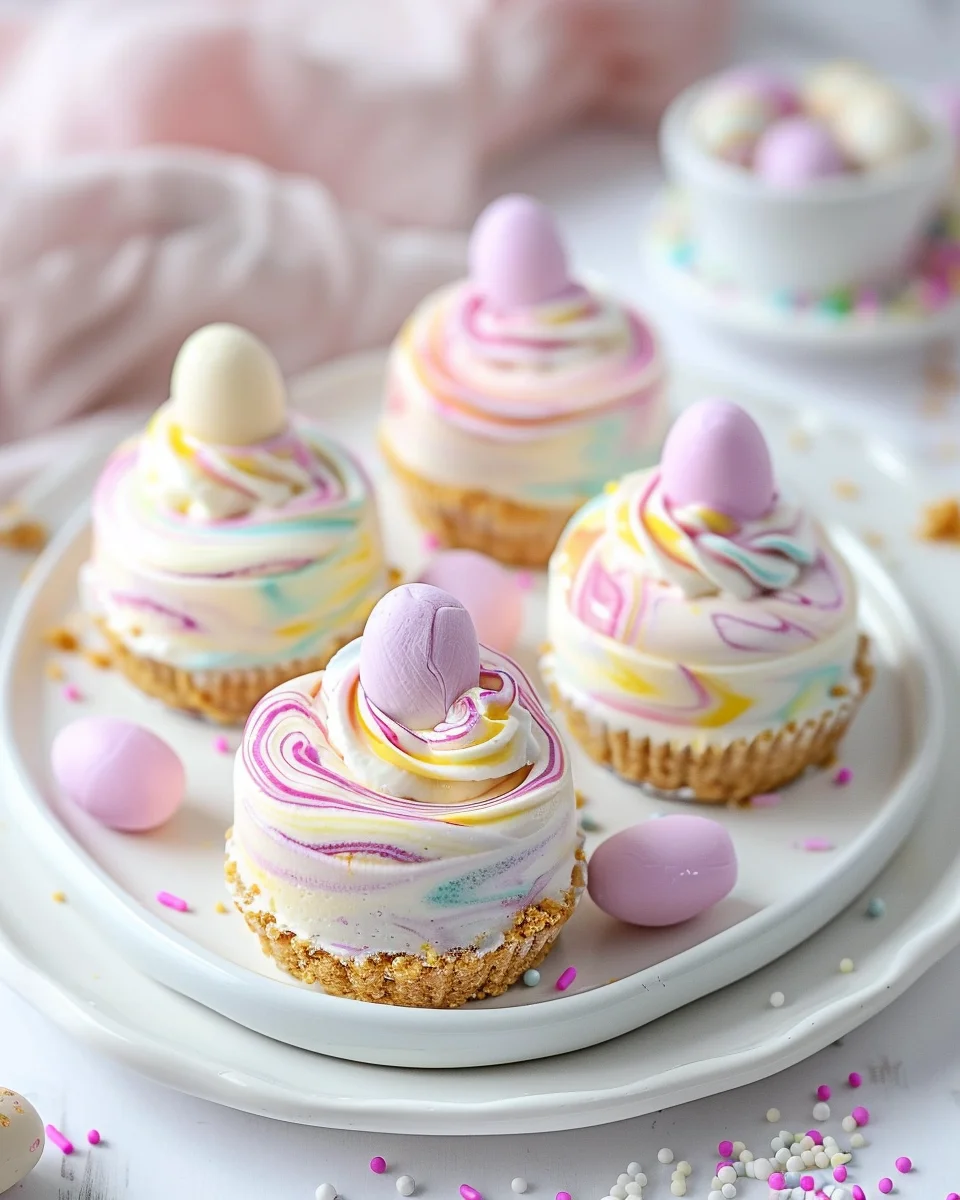
A delightful dessert that combines the flavors of cheesecake and the fun of Easter egg decorations, served in cute jars for individual servings.
Ingredients
- 1 cup graham cracker crumbs
- 2 tablespoons granulated sugar
- 4 tablespoons unsalted butter, melted
- 8 oz (1 block) cream cheese, softened
- ½ cup powdered sugar
- 1 teaspoon vanilla extract
- 1 cup heavy cream, whipped to stiff peaks
- Pink gel food coloring or 1 tablespoon freeze-dried strawberry powder (optional)
- Whipped cream (for piping or spooning on top)
- 12–18 pastel candy eggs (2–3 per jar)
- Rainbow or pastel sprinkles (to taste)
Instructions
- In a bowl, combine graham cracker crumbs, sugar, and melted butter. Stir until it resembles wet sand.
- Spoon the crumb mixture into mini jars and press gently to form the crust base.
- In a mixing bowl, beat the cream cheese until smooth. Add powdered sugar and vanilla and beat again until fluffy.
- Fold whipped cream into the cream cheese mixture in two batches until fully combined.
- Divide mixture into two bowls. Tint one with pink food coloring or strawberry powder for a fruity layer.
- Spoon or pipe the pink layer over the crust. Follow with the white layer on top.
- Add a swirl of whipped cream on each jar.
- Decorate with candy eggs and sprinkles. Chill until ready to serve!
Notes
- Use gluten-free graham crackers for a gluten-free version.
- Adjust the amount of powdered sugar based on your sweetness preference.
- These jars can be made a day in advance for easy serving.
Nutrition
- Serving Size: 1 jar
- Calories: 330
- Sugar: 20g
- Sodium: 210mg
- Fat: 22g
- Saturated Fat: 12g
- Unsaturated Fat: 6g
- Trans Fat: 0g
- Carbohydrates: 28g
- Fiber: 1g
- Protein: 4g
- Cholesterol: 45mg