Introduction to Hojicha Lava Cake
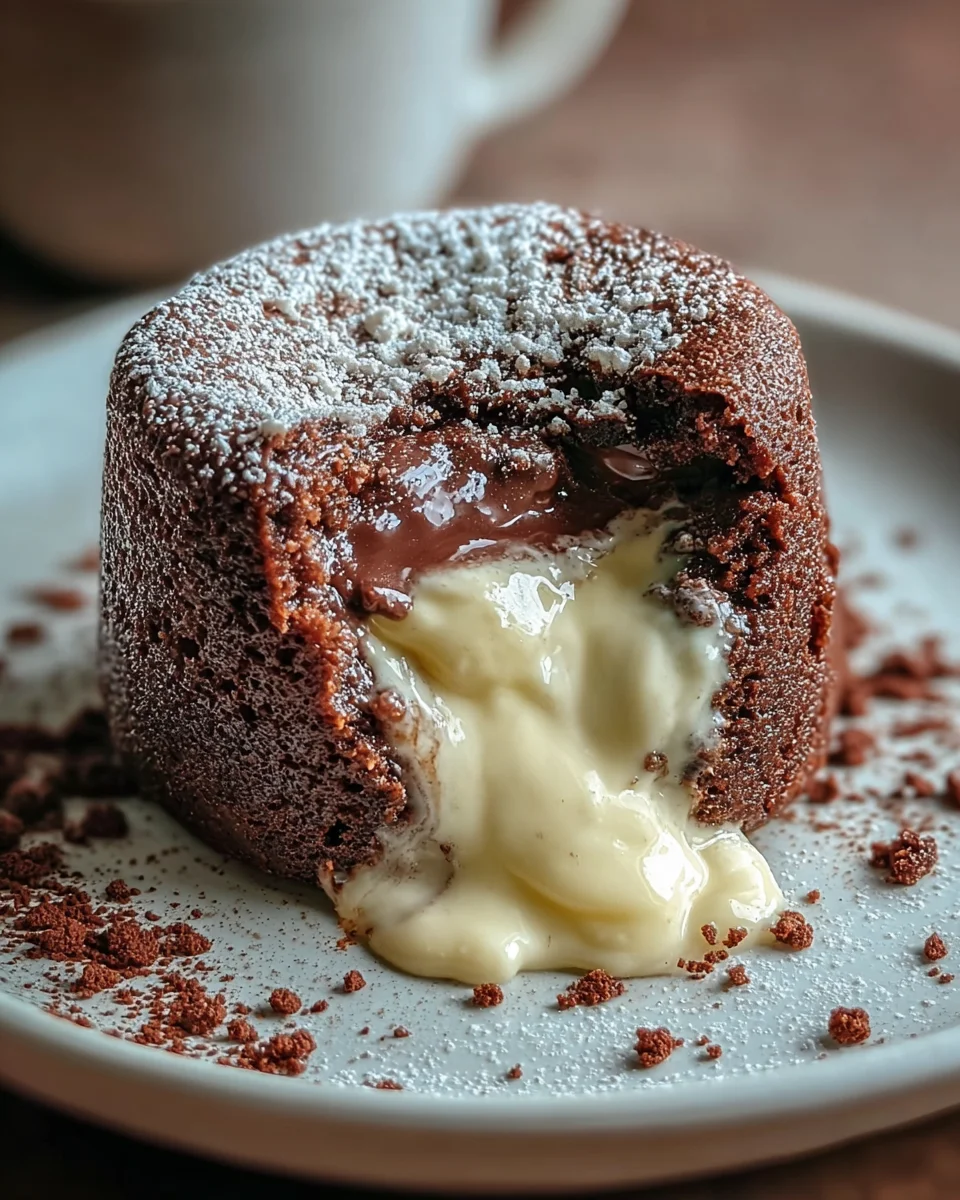
Let me take a moment to paint a picture for you: the clock is ticking, and dinner is done, but you crave something sweet. Enter the Hojicha Lava Cake—a joyful blend of flavors, where a rich, melty ganache center meets delicate white chocolate cake. If you’re anything like me, you’re always on the lookout for quick solutions that impress. This dessert is not just a treat; it’s a delightful escape, perfect for warming hearts after long days. Trust me, your loved ones will swoon as they dig into this decadent, molten masterpiece.
Why You’ll Love This Hojicha Lava Cake
This Hojicha Lava Cake is not only a feast for the eyes but also a breath of fresh air for your taste buds. It’s surprisingly easy and quick to whip up, great for a weeknight treat or an unexpected gathering. The rich, earthy notes of hojicha make this dessert stand out, making it a comforting end to any meal. Plus, who can resist that gooey, warm center? It’s the perfect way to sweeten your day!
Ingredients for Hojicha Lava Cake
Now, let’s gather the magic that makes our Hojicha Lava Cake come to life. Each ingredient plays an essential role in creating that delightful flavor and texture. Here’s what you’ll need:
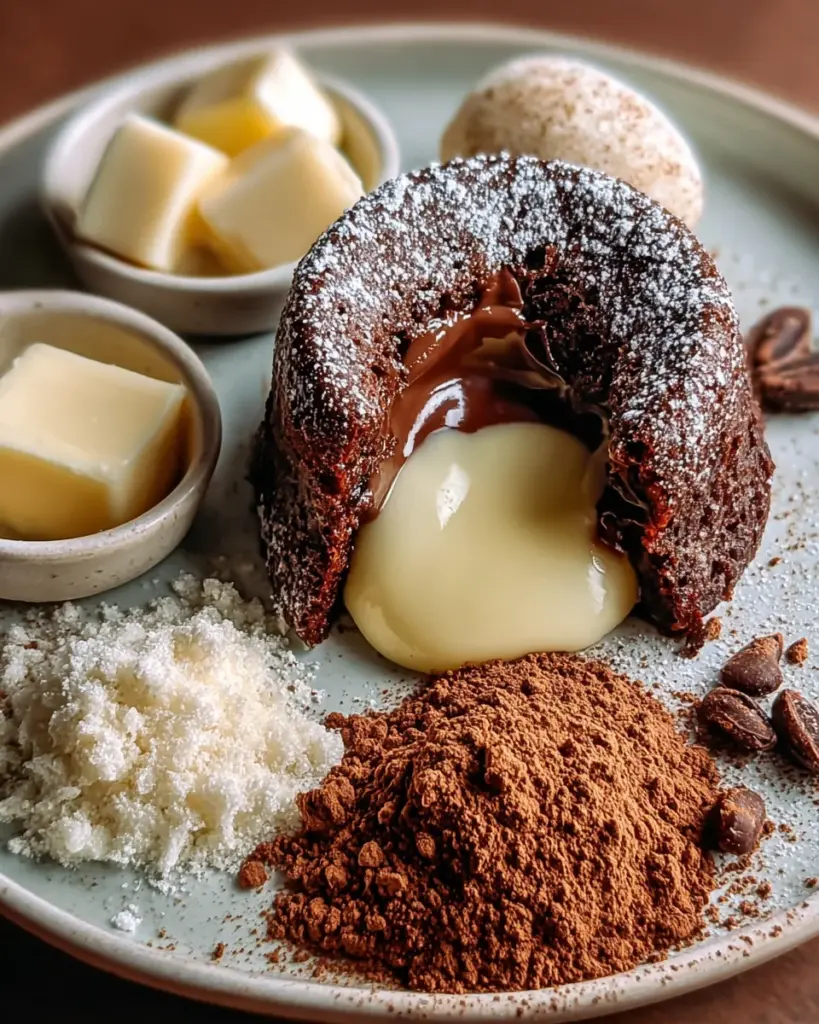
- Hojicha Ganache Center: The heart of this dessert! You’ll use finely chopped white chocolate and hojicha powder, offering a beautiful blend of sweetness and that signature roasted tea flavor.
- Heavy Cream: This will enrich the ganache, making it luxuriously creamy. Don’t skimp on the good stuff!
- Unsalted Butter: We need butter for both the ganache and cake batter, providing moisture and richness. Room temperature is key for smooth mixing!
- White Chocolate Cake Ingredients: White chocolate and butter for the base, plus eggs for structure. They whip together for a light, soft crumb.
- Sugar: This adds sweetness to counterbalance the hojicha’s earthiness, keeping all the flavors harmonized.
- All-Purpose Flour: This is your binder, giving the cake its texture. You could also substitute with a gluten-free blend if needed.
- Salt: A pinch of salt enhances the sweetness and rounds out the flavors beautifully.
- For the Ramekins: You’ll want to grease them with softened butter and dust with cocoa powder or flour, ensuring easy release when it’s time to serve. A little cocoa dusting is great for hiding any imperfections.
For exact measurements, check out the bottom of the article where everything is conveniently laid out for you to print and take to your kitchen. This Hojicha Lava Cake recipe is as much about enjoying the process as it is about savoring the final bite.
How to Make Hojicha Lava Cake
Now that we have our ingredients gathered, let’s dive into the delightful journey of making this Hojicha Lava Cake. I promise, it’s easier than you think! Follow these steps, and you’ll have a dessert that sings with flavor and impresses everyone at the table.
Step 1: Prepare the Hojicha Ganache
First up, we create the luscious ganache center. Start by combining 2.1 oz of finely chopped white chocolate with 1 tsp of hojicha powder in a small heatproof bowl.
Next, heat 2 tbsp of heavy cream until it’s just simmering—not boiling! Pour the hot cream over the chocolate mix and let it sit for about 1 minute. This gives the chocolate time to melt and mingle with the hojicha flavor.
After a minute, stir it all together until smooth. Add in 0.35 oz of unsalted butter and blend until that golden goodness is fully incorporated. Now, it’s time to chill this glorious mixture in the refrigerator for around 30 minutes until firm enough to scoop. Once it’s ready, roll it into four small balls and keep those ganache jewels chilled until we need them.
Step 2: Prepare the Ramekins
While the ganache chills, let’s prep our ramekins. Take 4 ramekins, each about 2.4 to 3.1 inches in diameter. Grease them well with softened butter to ensure our cakes slide out perfectly.
Then, dust each ramekin with cocoa powder or flour, tapping out any excess. This little step goes a long way in ensuring the cakes come out beautifully shaped and ready to shine.
Step 3: Make the Cake Batter
On to the cake batter! Start by melting 3.5 oz of white chocolate with 2.8 oz of unsalted butter together in a heatproof bowl set over a pan of barely simmering water. Stir gently until it’s a smooth, inviting mixture.
Allow it to cool slightly. While that cools, whisk together 2 large eggs, 1 large egg yolk, and 2.1 oz of granulated sugar in a separate bowl until it’s pale and thick. You want that mixture to get airy, almost fluffy!
Now, fold that melted chocolate mixture into the egg mixture. Easy does it! Then, sift in 1.4 oz of all-purpose flour and 1/8 tsp of salt. Gently fold until just combined. We want to keep those air bubbles intact for a light cake!
Step 4: Assemble the Cakes
Now, let’s build our cake! Start by spooning a generous tablespoon of the batter into each greased ramekin. Then, make a cozy little spot in the center by gently pressing it down with the back of a spoon. Place one of those chilled hojicha ganache balls right into the center. This is where the magic happens!
Cover the ganache with the remaining cake batter, smoothing the tops to ensure even baking. It’s all about that perfect rise!
Step 5: Bake
Your culinary creation is almost ready! Bake these beauties in a preheated oven at 390°F for about 11 to 13 minutes. Watch closely, as the edges should be set, but the centers will still be a bit jiggly. This ensures that glorious molten center we are after.
Once done, remove them from the oven and let them rest for 1 to 2 minutes. This little pause helps them firm up just enough for serving.
Step 6: Serve
Now, the best part! To serve, run a thin knife around the edge of each ramekin and gently invert onto a serving plate. You want that molten center to flow out with grace, like a sweet lava fountain.
Enjoy immediately while warm! You could dust them with powdered sugar for a touch of elegance or pair them with a scoop of vanilla ice cream to create a beautiful contrast with the warm cake. Trust me, every spoonful will be a burst of joy!
Tips for Success
- Don’t overbake: The key to that gooey center is underbaking just a tad.
- Chill the ganache well: Ensure it’s firm enough to scoop; this prevents it from melting too quickly.
- Use room temperature ingredients: This makes mixing smoother and helps achieve a light texture.
- Experiment: Try adding nuts or fruits for extra flavor variations!
Equipment Needed
- Ramekins: You’ll need four ramekins about 2.4-3.1 inches. If you don’t have these, muffin cups work too!
- Heatproof Bowl: A glass or metal bowl for melting chocolate, or a double boiler works beautifully.
- Whisk: A standard whisk does the job! A fork can also work in a pinch.
- Spatula: For folding the batter gently. A rubber spatula is my favorite.
Variations
- Dark Chocolate Option: Substitute the white chocolate with dark chocolate for a richer flavor profile. This variation brings a beautiful balance with the hojicha.
- Nutty Delight: Add finely chopped nuts, like hazelnuts or almonds, to the batter for a crunchy texture and extra depth of flavor.
- Gluten-Free: Use a gluten-free flour blend instead of all-purpose flour to cater to gluten sensitivities without compromising taste.
- Chai Spice Infusion: Mix in a pinch of chai spices (like cinnamon or cardamom) into the cake batter for a warm, comforting twist.
- Fruit-Enhanced Lava: Consider adding a small dollop of fruit jam (like raspberry or passionfruit) with the ganache for a delightful surprise!
Serving Suggestions
- Vanilla Ice Cream: A scoop of creamy vanilla ice cream complements the warm, gooey cake beautifully.
- Fresh Berries: Serve with a side of fresh berries like strawberries or raspberries for a burst of flavor.
- Mint Garnish: A sprig of fresh mint adds a pop of color and a refreshing contrast.
- Chocolate Drizzle: Enhance the presentation with a drizzle of melted chocolate or a chocolate sauce.
- Tea Pairing: Pair with a cup of hojicha tea or your favorite brewed tea to elevate the experience.
FAQs about Hojicha Lava Cake
What is Hojicha Lava Cake?
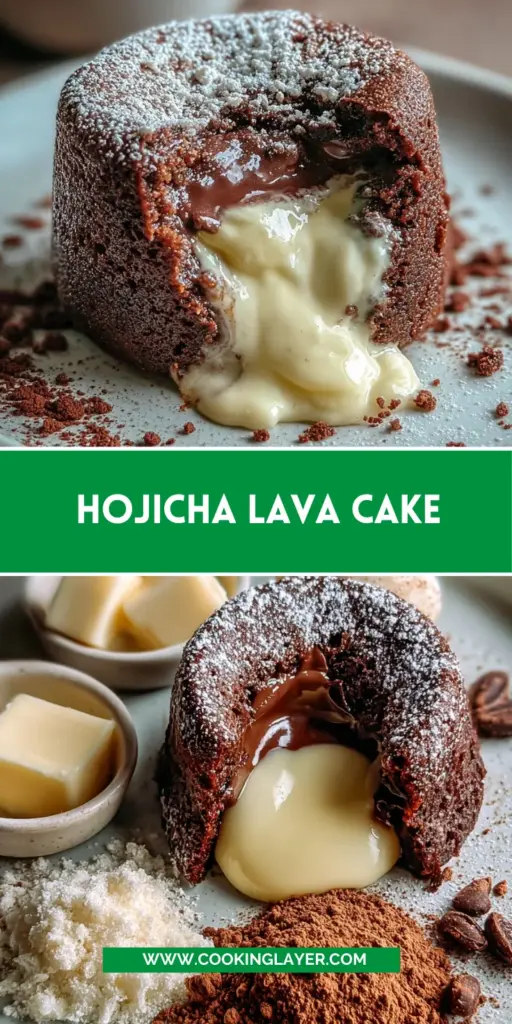
The Hojicha Lava Cake is a delightful dessert featuring a white chocolate cake with a gooey hojicha ganache center. The combination of rich flavors and textures makes it a unique treat loved by many!
Can I make Hojicha Lava Cake ahead of time?
Yes, you can prepare the batter and ganache the day before. Simply assemble the cakes in ramekins, cover, and refrigerate until you’re ready to bake them. Just add a few extra minutes to the baking time if they’re cold!
What should I do if I don’t have ramekins?
No worries! You can use muffin cups or even silicone molds. Just make sure to adjust the baking time accordingly, as smaller sizes will cook faster.
How do I know when my Hojicha Lava Cake is baked properly?
Keep an eye on the edges—they should be set, while the center remains slightly jiggly. This ensures your cake will have that signature molten lava texture!
What’s the best way to serve Hojicha Lava Cake?
Serve it warm right after baking for that perfect molten effect. A dusting of powdered sugar or a scoop of vanilla ice cream makes for an even more delightful presentation!
Final Thoughts
Making Hojicha Lava Cake is more than just baking; it’s creating a moment of joy amidst the hustle of everyday life. The rich aroma as it bakes and the anticipation of that first molten pour can turn an ordinary night into something special. I love how this dessert brings family and friends together, each spoonful eliciting smiles and warmth. Whether you’re celebrating or simply indulging after a busy day, this delightful cake never fails to impress. So, roll up your sleeves, dive into the process, and savor every last bite of this delicious adventure!
Print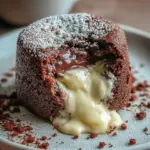
Hojicha Lava Cake
- Prep Time: 20 minutes
- Cook Time: 13 minutes
- Total Time: 33 minutes
- Yield: 4 servings 1x
- Category: Dessert
- Method: Baking
- Cuisine: Chinese
- Diet: Vegetarian
Description
A delectable Chinese hojicha lava cake with a melty ganache center, perfect for chocolate lovers.
Ingredients
- Hojicha Ganache Center
- 2.1 oz white chocolate, finely chopped
- 2 tbsp heavy cream
- 1 tsp hojicha powder
- 0.35 oz unsalted butter, room temperature
- White Chocolate Cake
- 3.5 oz white chocolate, chopped
- 2.8 oz unsalted butter
- 2 large eggs
- 1 large egg yolk
- 2.1 oz granulated sugar
- 1.4 oz all-purpose flour
- 1/8 tsp salt
- For the Ramekins
- Softened butter for greasing
- Cocoa powder or flour for dusting
Instructions
- Prepare the Hojicha Ganache: Combine 2.1 oz white chocolate and 1 tsp hojicha powder in a small heatproof bowl. Heat 2 tbsp heavy cream until just simmering and pour over chocolate. Let sit for 1 minute, then stir until smooth. Stir in 0.35 oz unsalted butter until fully incorporated. Chill in refrigerator for approximately 30 minutes until firm enough to scoop. Roll into 4 small balls and keep chilled.
- Prepare the Ramekins: Grease 4 ramekins approximately 2.4-3.1 inches in diameter with butter and dust with cocoa powder or flour. Tap out excess powder to ensure even coating.
- Make the Cake Batter: Melt 3.5 oz white chocolate and 2.8 oz butter together in a heatproof bowl over a pan of barely simmering water, stirring until smooth. Allow to cool slightly. In a separate bowl, whisk together 2 eggs, 1 egg yolk, and 2.1 oz sugar until pale and thick. Fold melted chocolate mixture into egg mixture. Sift in 1.4 oz flour and 1/8 tsp salt, and gently fold until just combined.
- Assemble the Cakes: Spoon a generous tablespoon of batter into each ramekin. Place a chilled hojicha ganache ball in the center of each ramekin. Cover with remaining cake batter, smoothing the tops to ensure even baking.
- Bake: Bake in a preheated oven at 390°F for 11-13 minutes, until edges are set but centers are still slightly jiggly. Remove from oven and let rest 1-2 minutes. Run a thin knife around the edge and invert onto serving plates.
- Serve: Serve immediately while warm to achieve the signature molten lava effect. Optionally dust with powdered sugar or serve with vanilla ice cream.
Notes
- Ensure to not overbake for the molten center.
- Can be stored in the refrigerator for up to 2 days, reheat before serving.
- Substitute dark chocolate if desired for a different flavor.
Nutrition
- Serving Size: 1 cake
- Calories: 300
- Sugar: 18g
- Sodium: 120mg
- Fat: 18g
- Saturated Fat: 10g
- Unsaturated Fat: 6g
- Trans Fat: 0g
- Carbohydrates: 30g
- Fiber: 1g
- Protein: 4g
- Cholesterol: 90mg