Introduction to How To Freeze Sourdough Starter
I’m an enthusiastic home cook and I get it “mom life” gets hectic. With kids, work, and everything in between, taking the time to bake that special loaf seems nearly impossible. Well, that’s when knowing how to freeze sourdough starter comes to the rescue! That’s the little game-changer in keeping your starter fresh and ready to rise when you are. Now picture having your bubbly going in no time.
Now and then, every home needs a secret weapon for a homemade bread or pancake breakfast surprise on a Sunday morning for the loved ones, and there it is. Let’s dive in!
Why You’ll Love This How To Freeze Sourdough Starter
If you’re anything like me, the idea of throwing away sourdough starter is a crime. Learn how to freeze sourdough starter to keep all that bubbly deliciousness in reserve, and you’ll be able to bake fresh bread whenever you’re in the mood and without much labor involvement. And you won’t feel bad about throwing good starter away and always have a part of your baking escapade in reserve!
Ingredients for How To Freeze Sourdough Starter
Gathering the right ingredients is the first step to mastering how to freeze sourdough starter. Here’s what you’ll need:
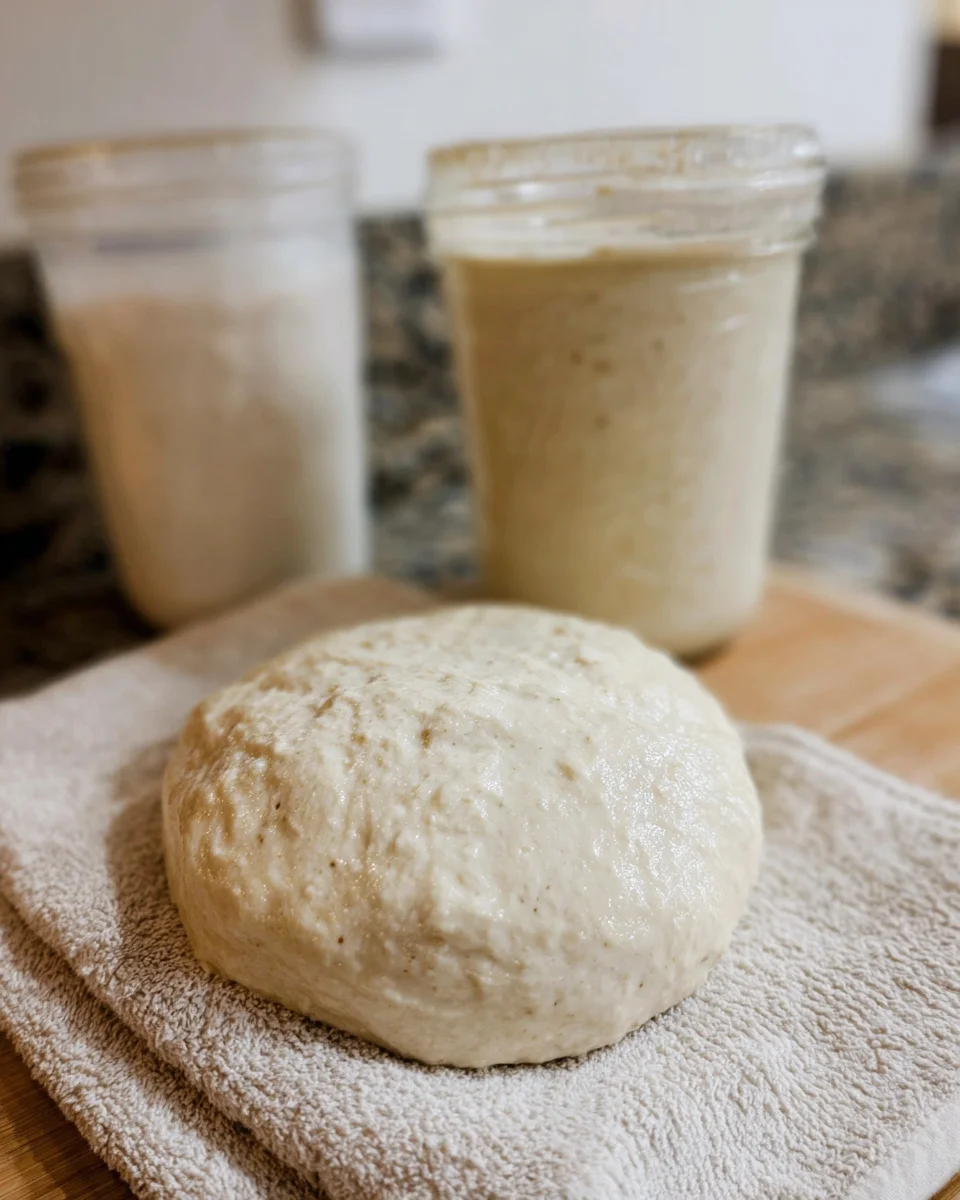
- Active sourdough starter: This is your magic ingredient. Make sure it’s bubbly and full of life before freezing. A healthy starter ensures great results later.
- Freezer bags: These are your best friends for storage! Opt for sturdy ziplock bags to prevent freezer burn. They’re perfect for keeping your starter safe and sound.
- Silicone molds (optional): Using these can make portioning easier. If you prefer smaller servings, silicone molds are a fun and practical option!
Don’t forget, you’ll find exact measurements at the bottom of the article for those times you want to get precise. Happy baking!
How to Make How To Freeze Sourdough Starter
Step 1: Prepare Your Sourdough Starter
Start by feeding your sourdough starter. It should be active and bubbly, usually taking about 4–6 hours after feeding. This ensures your starter is at its peak strength. Trust me, it makes a difference! You’ll smell that lovely, tangy aroma as it comes to life.
Step 2: Portion the Starter
Once your starter is bubbly, it’s time to portion it. Carefully transfer about ¼ to ½ cup of this precious starter into a clean, freezer-safe airtight container or freezer bag. It’s like saving a piece of your baking journey for later, which I find quite heartwarming.
Step 3: Flash Freezing (Optional)
If you want smaller portions, consider flash freezing. Spread the starter into a thin layer on a silicone mat. Pop it in the freezer for about an hour. Once firm, break it into small pieces. This method allows you to grab just the right amount needed without thawing the whole batch.
Step 4: Seal and Label the Container
Next, it’s crucial to seal your container or ziplock bag. Remove as much air as possible before sealing. Then, label it with the date and the starter’s hydration level. This little detail helps you when you start using it again. No one wants to guess what’s inside!
Step 5: Store in the Freezer
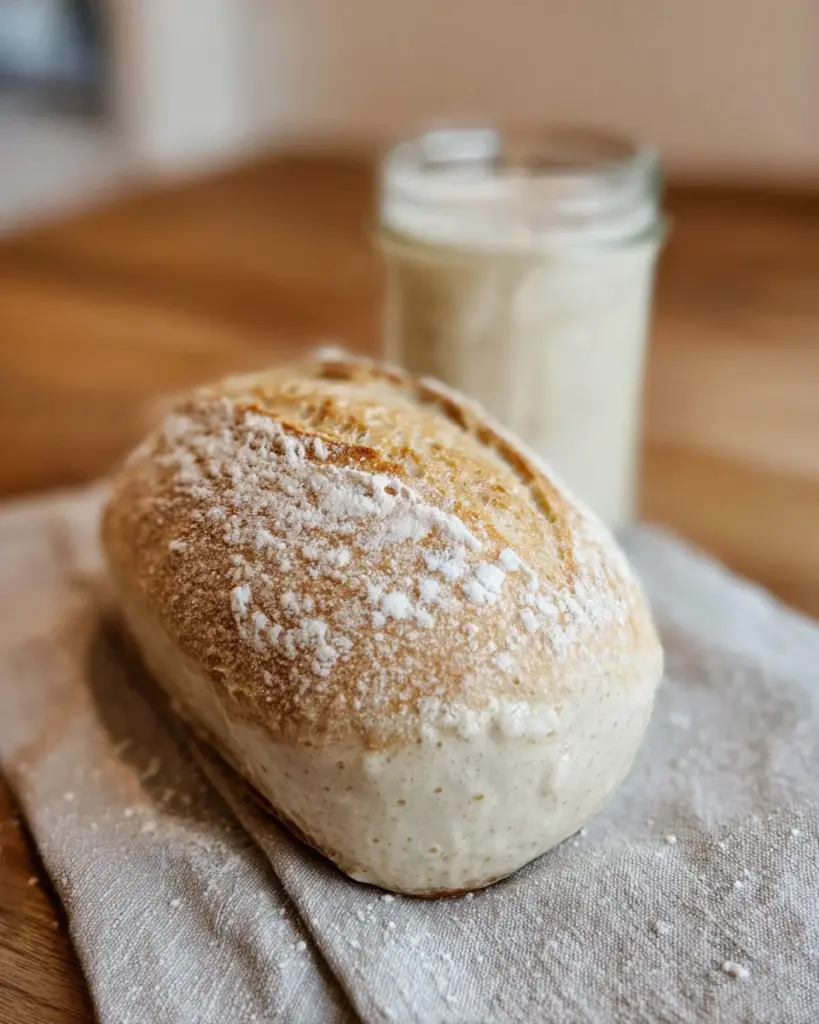
Finally, place your starter in the freezer. You can store it for up to 12 months, but I recommend using it within 6 months for the best flavor and activity. Think of it as a frozen treasure, waiting to bring warmth and delight to your kitchen when you turn it into fresh bread.
Step 6: Revive Your Frozen Starter
When you’re ready to bring your starter back to life, it’s simple! Thaw it overnight in the fridge or at room temperature for a few hours. Then, feed it using a 1:10:10 ratio, like 10 g of starter, 100 g of flour, and 100 g of water. After feeding, let it sit at room temperature until it bubbles up again—usually about 8 to 12 hours. This revival is like breathing new life into your sourdough journey!
Tips for Success
- Always use an airtight container to prevent freezer burn.
- Consider labeling your starter with its hydration level for easy reference.
- Use silicone molds for convenient portioning; they’re a fun kitchen addition!
- Keep track of the date for optimal freshness; aim to use within 6 months.
- Reviving your starter takes time and patience, so plan ahead!
Equipment Needed
- Freezer-safe containers: Use sturdy freezer bags or glass containers with tight-fitting lids.
- Silicone molds: These are optional but great for easy portioning.
- Measuring cups: Essential to measure your starter accurately.
- Marker or label maker: Useful for labeling your containers.
Variations
- Whole Wheat Sourdough Starter: Replace regular flour with whole wheat flour for a nuttier flavor and added nutrients.
- Gluten-Free Sourdough Starter: Use a gluten-free flour blend to create a starter that’s friendly for gluten-sensitive individuals.
- Herb-Infused Starter: Mix in dried herbs such as rosemary or thyme before freezing for an aromatic boost in flavor.
- Fruit-Flavored Starter: Try adding a spoonful of pureed fruit like applesauce or mashed bananas to give your breads a subtle sweetness.
- Low-Carb Option: Experiment with almond flour or coconut flour to create a low-carb version of your sourdough starter.
Serving Suggestions
- Enjoy your freshly baked sourdough with a spread of creamy butter or a drizzle of honey.
- Pair it with a bowl of hearty soup for a cozy family dinner.
- Serve slices with your favorite charcuterie board for a delightful appetizer.
- Enjoy a slice topped with avocado and a sprinkle of sea salt for a tasty snack.
FAQs about How To Freeze Sourdough Starter
As you embark on your journey of sourdough starter preservation, you might have a few questions swirling in your mind. Don’t worry, I’ve got you covered! Here are some common queries to help you feel confident in your sourdough adventures.
Can I freeze my sourdough starter more than once?
While it’s technically possible, it’s not recommended. Each time you freeze and thaw your starter, its potency decreases. It’s best to freeze small portions to maintain its strength, allowing you to revive it fresh each time you bake.
How long can I keep my sourdough starter in the freezer?
You can store your sourdough starter in the freezer for up to 12 months. However, to enjoy peak flavor and activity, aim to use it within 6 months. Think of it as keeping the spark alive in your baking adventures!
What if my thawed starter doesn’t become bubbly?
Don’t panic! Sometimes starters need a little extra love after thawing. Feed it a few more times with the 1:10:10 ratio. It may take a couple of rounds of feeding before it starts bubbling again. Patience is key, and soon you’ll have that delightful starter back!
Is it okay to freeze thick starter or just thin liquid?
It’s best to freeze a healthy, thick starter that’s active and bubbly. A thin liquid starter might not have the same leavening power. Remember, that bubbly goodness is what you want to preserve for future baking magic!
Can I use my frozen starter immediately after thawing?
Not quite! It’s crucial to let your starter wake up a bit after thawing. Feed it and allow it time to become bubbly before using it in recipes. Think of it like letting your starter take a little nap before it gets back to work!
Final Thoughts
Freezing your sourdough starter opens up a world of baking possibilities, especially for busy kitchens like ours. There’s a certain joy that comes from knowing you can create delightful bread without the stress of daily maintenance. Each loaf becomes a celebration, a reminder that with a little foresight, you have everything you need right at your fingertips.
So whether you’re in a rush or looking to impress, this technique gives you the freedom to enjoy homemade goodness whenever you desire. Happy baking, my friend! Your warm, inviting kitchen awaits your delicious creations.
Print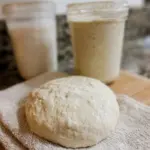
How To Freeze Sourdough Starter for Long-Lasting Freshness
- Prep Time: 15 minutes
- Cook Time: 0 minutes
- Total Time: 15 minutes + thawing time
- Yield: Varies based on starter quantity
- Category: Baking
- Method: Freezing and Reviving
- Cuisine: N/A
- Diet: Vegetarian
Description
A guide on how to freeze sourdough starter for long-lasting freshness.
Ingredients
- Active sourdough starter
- Freezer bags
- Silicone molds (optional)
Instructions
- Feed your starter and wait until it becomes bubbly and active (usually 4–6 hours).
- Transfer about ¼ to ½ cup of active starter into a clean, freezer-safe airtight container or freezer bag.
- You can also flash freeze small pieces in a thin layer on a silicone mat.
- Flatten or seal your ziplock bag or container, removing as much air as possible.
- Label the container with the date and hydration level (100% if equal parts water and flour) and freeze.
- Store in the freezer for up to 12 months (recommended to use within 6 months for best results).
- To revive, thaw the frozen starter overnight in the fridge or at room temperature for a few hours.
- Feed it using a 1:10:10 ratio (e.g., 10 g starter, 100 g flour, 100 g water).
- Let it sit at room temperature until bubbly, which can take 8-12 hours.
- Repeat feeding every 12–24 hours until strong again (usually 2–3 feedings). Discard half of the starter during feedings, but save the sourdough discard for other recipes.
Notes
- Always make sure your containers are airtight to prevent freezer burn.
- Using silicone molds can help portion out your starter for easier use.
Nutrition
- Serving Size: 1 tablespoon (15g)
- Calories: 50
- Sugar: 0g
- Sodium: 0mg
- Fat: 0g
- Saturated Fat: 0g
- Unsaturated Fat: 0g
- Trans Fat: 0g
- Carbohydrates: 10g
- Fiber: 0g
- Protein: 1g
- Cholesterol: 0mg


