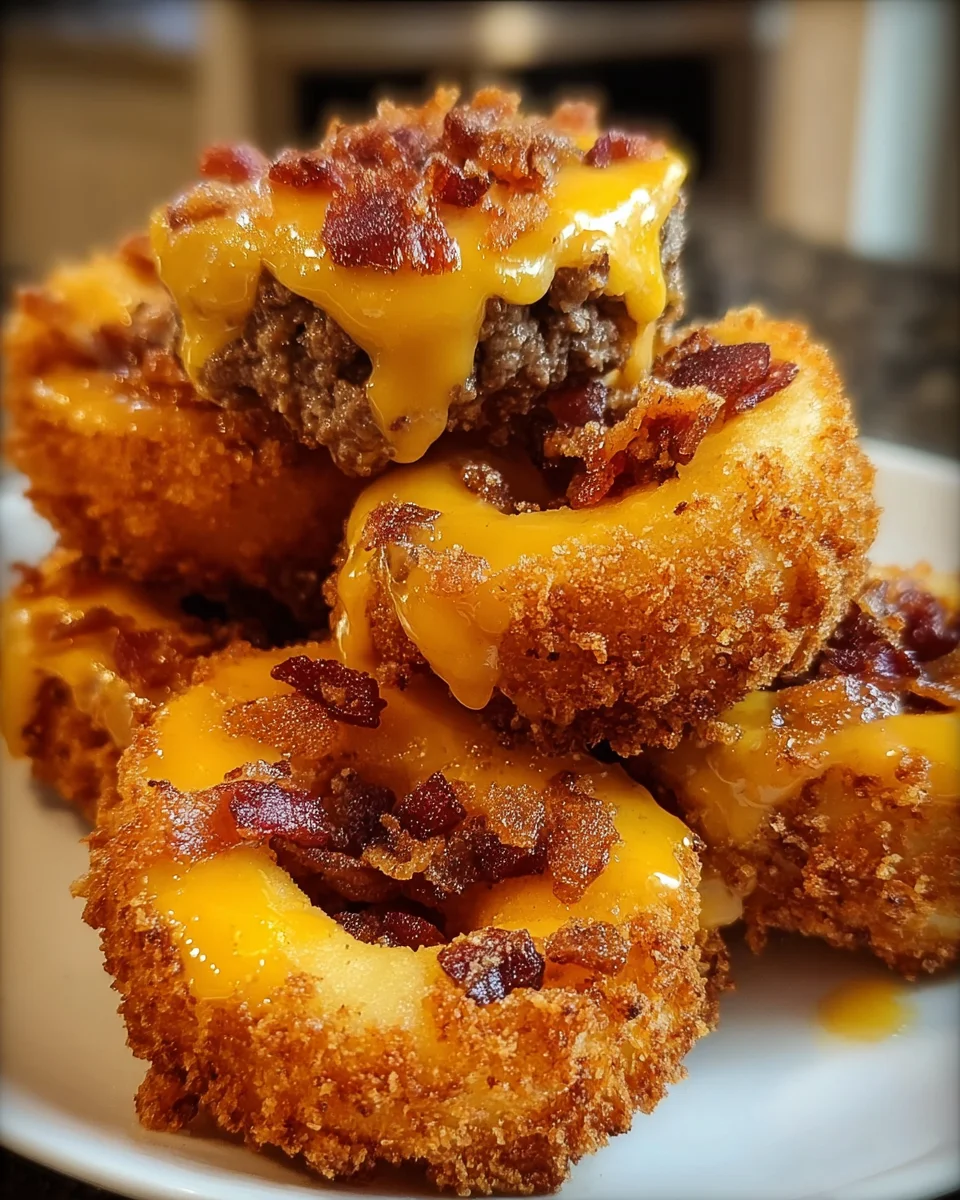
Introduction to Loaded Bacon Cheeseburger Onion Rings
When I think of the perfect appetizer to wow my family and friends, Loaded Bacon Cheeseburger Onion Rings come to mind! These little bites of joy combine crispy onion rings with savory ground beef, crispy bacon, and gooey cheese. Best of all, they’re easy to make and perfect for busy days. Whether entertaining at home or looking for a fun snack, these onion rings are a crowd-pleaser. Trust me, with just a handful of ingredients, you can create a dish that brings smiles all around the table. Let’s dive in!
Why You’ll Love This Loaded Bacon Cheeseburger Onion Rings
These Loaded Bacon Cheeseburger Onion Rings are not just delicious, but they also make life easier for busy moms like us. They come together quickly, allowing you to whip up a delightful appetizer in under 35 minutes. The combination of flavors is simply irresistible, bringing that classic cheeseburger taste in a fun, crunchy form. Perfect for game day or family gatherings, who can resist a taste of these little wonders?
Ingredients for Loaded Bacon Cheeseburger Onion Rings
Getting your ingredients ready is half the fun when making these Loaded Bacon Cheeseburger Onion Rings! Here’s what you’ll need:
- Ground beef: A classic choice for that savory, meaty flavor that satisfies. Opt for lean beef for a healthier twist.
- Shredded cheddar cheese: This adds melty goodness and that undeniable cheeseburger taste. Go for sharp cheddar for a bolder flavor!
- Onion: Use a sweet onion for a touch of flavor. Cut into rings for the perfect vessel for stuffing!
- All-purpose flour: Essential for the breading process, giving your onion rings a nice texture. If gluten-free, substitute with a gluten-free flour blend.
- Breadcrumbs: Panko bread crumbs give the best crunch. Regular breadcrumbs work too, but panko takes it to another level!
- Eggs: They help everything stick together and give that lovely coating when breading. Use large eggs for best results.
- Worcestershire sauce: Adds a depth of flavor that enhances the beef. Don’t skip this; it’s a game-changer.
- Garlic powder and onion powder: These spices pack a flavorful punch without overwhelming the dish. Fresh herbs can also be fun substitutes!
- Salt and pepper: Essential seasonings to bring out the flavors of your ingredients. Season to your taste!
- Bacon: Crispy, crumbled bacon adds the finishing touch and that unmistakable smoky flavor. Use turkey bacon for a lighter option.
- Ranch dressing: A creamy dip that pairs perfectly! You can swap it with your favorite sauce.
- Oil for frying: Choose a suitable oil like vegetable, canola, or peanut oil for frying. This will ensure that your onion rings come out crispy and golden brown.
For exact quantities of each ingredient, check the bottom of this article, where they are available for printing. Now, let’s roll up our sleeves and get cooking!
How to Make Loaded Bacon Cheeseburger Onion Rings
Prepare Your Cooking Area
Before we start, let’s get the cooking area ready. First, make sure your workspace is clean. This step keeps everything neat and safe. Next, choose a deep fryer or a large pot for frying. Add enough oil to cover the onion rings, about 2-3 inches deep. Now, preheat the oil to 350°F (175°C). It’s essential to reach the right temperature to achieve those crispy, golden beauties. While the oil heats up, gather your tools. You’ll need a slotted spoon or tongs for frying, and a paper towel-lined plate for draining. Safety is key, so keep an eye on the oil; and if you have kids around, it might be a good idea to keep them at a safe distance!
Cook the Meat Mixture
Now onto the heart of the Loaded Bacon Cheeseburger Onion Rings—the meat mixture! In a mixing bowl, combine the ground beef with Worcestershire sauce, garlic powder, onion powder, salt, and pepper. Use your hands or a spoon to blend everything evenly. This step ensures every bite bursts with flavor. The Worcestershire sauce really enhances the taste, giving it that rich, meaty flavor. Once it’s well mixed, set it aside so we can assemble our onion rings.
Assemble the Onion Rings
Here comes the fun part—assembling these flavor-packed onion rings! Take your sliced onion rings and carefully separate them. You’ll want to use the larger rings for stuffing. With a spoon or your fingers, take a small amount of the seasoned ground beef mixture and fill the center of each ring. Don’t overfill; just enough to pack it well but still allow the onion ring to encase the meat. Place the stuffed rings on a plate. This step is crucial because it sets the stage for perfect breading. Plus, the aroma of that seasoned beef will start getting you excited for those delicious bites ahead!
Breading the Onion Rings
Let’s create a beautiful coating for our rings. Prepare a breading station with three shallow bowls. Fill the first bowl with all-purpose flour. The second one holds the beaten eggs, and the third one is for breadcrumbs—preferably panko for that extra crunch. Start by dipping each stuffed onion ring into the flour. Make sure it’s coated evenly. Next, dip it into the beaten eggs to help the breadcrumbs stick. Finally, roll it in the breadcrumbs until fully coated. Repeat this for each onion ring. This process not only adds layers of flavor but ensures they fry up nice and crispy!
Frying the Onion Rings
With the breaded onion rings ready, it’s time to fry! Carefully place the coated rings into the hot oil, a few at a time. Fry for about 3-4 minutes or until they turn golden brown. Resist the urge to overcrowd the pot; this ensures even cooking and crispiness. Use a slotted spoon to turn them gently halfway through cooking so all sides get that beautiful, crunchy texture. Keep an eye on them—nobody likes burnt bites! Once they’re perfectly golden, remove them and place on a paper towel-lined plate to drain excess oil. Now, you’re close to enjoying these gems!
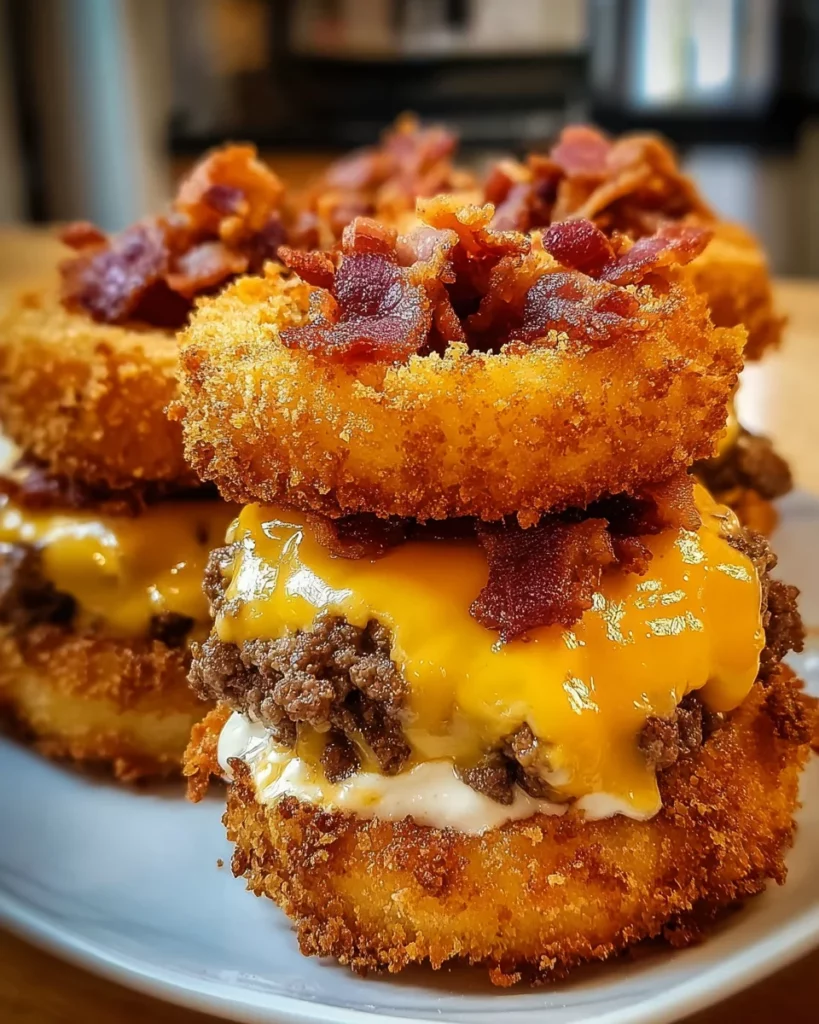
Adding Final Touches
Time to add the best part—finishing touches! While the onion rings are still hot, sprinkle crumbled bacon generously over them. The bacon will melt slightly into the warm cheese and beef, creating that ooey-gooey goodness we love. Toss on some extra shredded cheddar cheese for even more flavor. This will melt beautifully with the heat. Serve them warm, and don’t forget to have ranch dressing ready for dipping. Trust me, these finishing touches will make your Loaded Bacon Cheeseburger Onion Rings irresistible!
Tips for Success
- Use panko breadcrumbs for an extra crunchy coating.
- Make the meat mixture ahead of time to save on cooking.
- Keep the oil temperature steady for even frying.
- Don’t rush; allow each onion ring to become golden brown.
- Serve immediately for the best texture and flavor.
- Experiment with additional spices for unique flavors.
Equipment Needed
- Deep fryer or large pot: A Dutch oven works too.
- Slotted spoon or tongs: These help you safely remove the hot onion rings.
- Mixing bowls: Essential for combining your ingredients.
- Shallow plates: Great for setting up your breading station.
- Paper towels: For draining excess oil.
Variations
- Spicy Kick: Add diced jalapeños or a splash of hot sauce to the meat mixture for a fiery twist.
- Vegetarian Option: Swap ground beef for a plant-based protein like lentils or crumbled tofu, seasoned with the same spices.
- Herb Infusion: Mix in fresh herbs like parsley or chives into the beef mixture for an aromatic touch.
- Cheese Lover: Try different types of cheese, such as pepper jack or gouda, for a fun flavor variation.
- Gluten-Free: Ensure all ingredients, including breadcrumbs and flour, are certified gluten-free for safe indulgence.
Serving Suggestions
- Pair with crispy fries or a fresh garden salad for a balanced meal.
- Serve with a variety of dipping sauces like ranch, BBQ, or spicy mayo.
- For drinks, craft beer or iced tea complements the flavors beautifully.
- Presentation tip: Use a fun platter to showcase the onion rings with garnishes like parsley.
FAQs about Loaded Bacon Cheeseburger Onion Rings
Can I make Loaded Bacon Cheeseburger Onion Rings ahead of time?
Absolutely! You can prepare the stuffed onion rings in advance and refrigerate them. Just bread and fry them when you’re ready to serve. This way, you save time during busy moments!
What’s the best dipping sauce for these onion rings?
While ranch dressing is a classic choice, feel free to get creative! BBQ sauce, spicy mayo, or even a creamy blue cheese dip pairs beautifully with these Loaded Bacon Cheeseburger Onion Rings.
Are these onion rings gluten-free?
If you use gluten-free flour and breadcrumbs, you can make these Loaded Bacon Cheeseburger Onion Rings gluten-free. Always check ingredient labels to ensure everything fits your dietary needs.
How do I store leftovers?
If you have any leftovers (though I doubt it!), place them in an airtight container in the fridge. Simply reheat in the oven to regain their crispiness before serving again!
Can I freeze these onion rings?
Yes, you can! Freeze the breaded rings on a baking sheet first, then transfer them to a freezer bag. Fry them straight from frozen for a quick treat anytime. Enjoy the deliciousness!
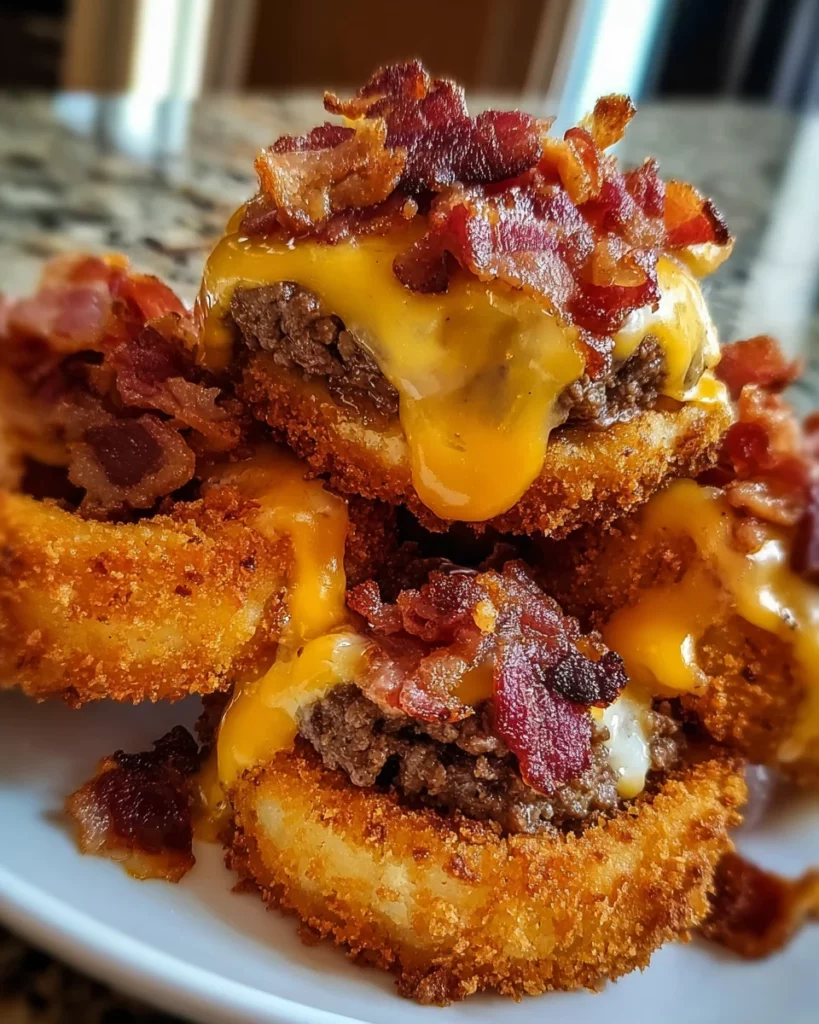
Final Thoughts
Cooking these Loaded Bacon Cheeseburger Onion Rings brings a delightful sense of joy to the kitchen. The aroma fills the air with comfort, reminiscent of family barbecues and game day gatherings. Watching the smiles on my loved ones’ faces as they bite into each crispy, cheesy ring makes it all worthwhile. This recipe isn’t just about satisfying cravings; it’s about creating cherished memories over shared food. So, grab your ingredients and find a cozy spot in your kitchen. Get ready to enjoy a culinary adventure that’s both delicious and heartwarming!
Print
Loaded Bacon Cheeseburger Onion Rings Will Wow You!
- Prep Time: 20 minutes
- Cook Time: 15 minutes
- Total Time: 35 minutes
- Yield: 4 servings 1x
- Category: Appetizer
- Method: Frying
- Cuisine: American
- Diet: Gluten Free
Description
A delicious appetizer combining onion rings, loaded with seasoned ground beef, crumbled bacon, and cheddar cheese, perfect for parties.
Ingredients
- 1 lb ground beef
- 1 cup shredded cheddar cheese
- 1 small onion, sliced into rings
- 1 cup all-purpose flour
- 1 cup breadcrumbs (panko for extra crunch)
- 2 large eggs, beaten
- 1 tablespoon Worcestershire sauce
- 1/2 teaspoon garlic powder
- 1/2 teaspoon onion powder
- Salt and pepper to taste
- 8 slices bacon, cooked and crumbled
- 1 cup ranch dressing for dipping
- Oil for frying
Instructions
- Preheat your oil in a deep fryer or large pot to 350°F (175°C).
- In a mixing bowl, combine ground beef, Worcestershire sauce, garlic powder, onion powder, salt, and pepper.
- Take each onion ring and fill the center with a small portion of the seasoned ground beef mixture.
- Set up a breading station with three bowls: one for flour, one for beaten eggs, and one for breadcrumbs.
- Dip each stuffed onion ring into the flour, then into the beaten eggs, and finally coat well with breadcrumbs.
- Carefully place the coated onion rings into the hot oil and fry for 3-4 minutes, or until golden brown and crispy.
- Remove from oil and drain on a paper towel-lined plate. While hot, immediately sprinkle with crumbled bacon and extra cheese.
- Serve warm with ranch dressing or your favorite dipping sauce.
Notes
- For extra crunch, use panko breadcrumbs.
- These can be made ahead of time and reheated in the oven.
Nutrition
- Serving Size: 2 onion rings
- Calories: 450
- Sugar: 1g
- Sodium: 800mg
- Fat: 30g
- Saturated Fat: 10g
- Unsaturated Fat: 15g
- Trans Fat: 0g
- Carbohydrates: 30g
- Fiber: 2g
- Protein: 22g
- Cholesterol: 80mg


