A Sweet, No-Bake Holiday Favorite
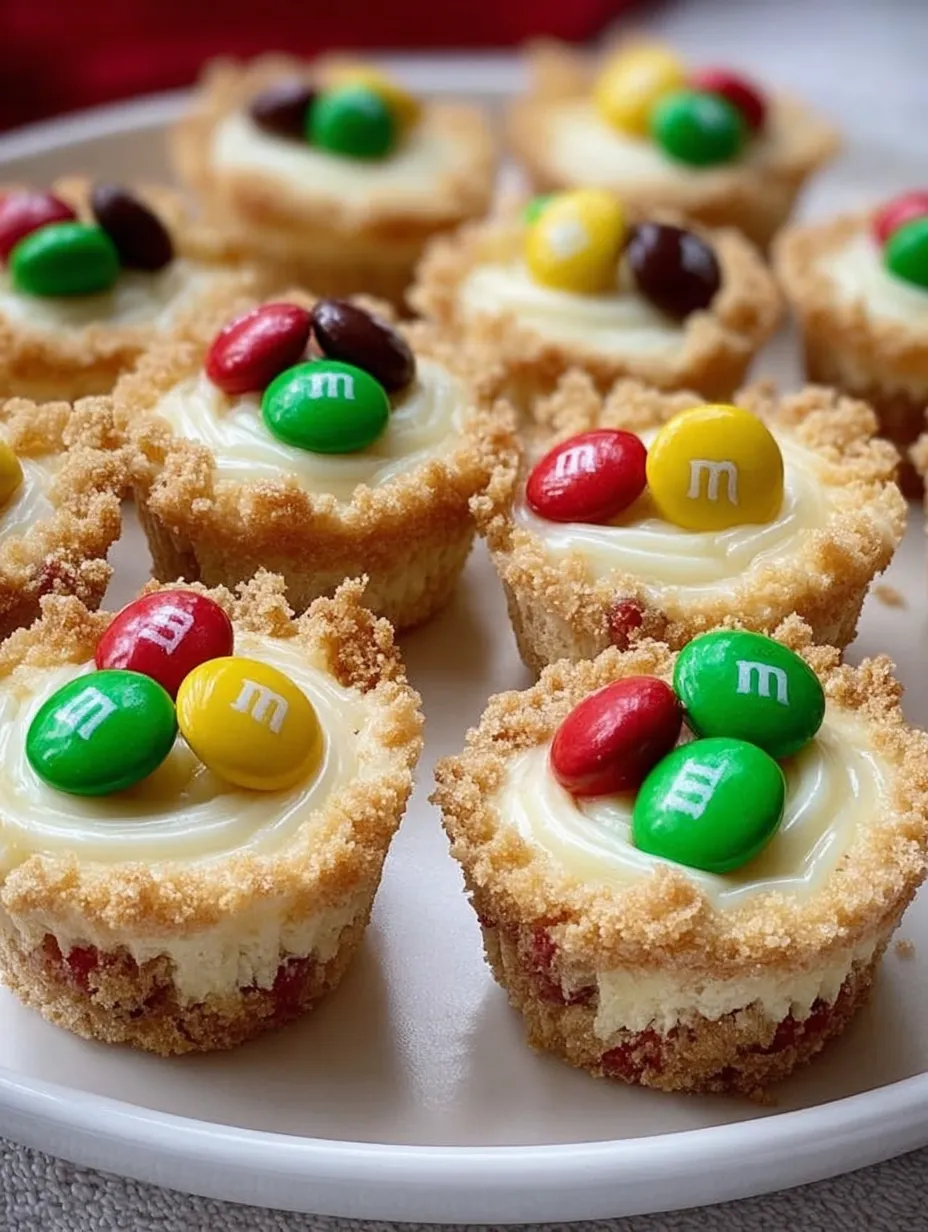
Let’s face it—we all love desserts that are easy, colorful, and absolutely irresistible. And when they come with zero baking involved? Even better! That’s exactly what these M&M No-Bake Cheesecake Cookie Cups are all about. With a buttery cookie crumb base, a rich, creamy cheesecake filling, and that iconic colorful crunch from M&Ms, these mini treats are a total showstopper at any party—especially around the holidays.
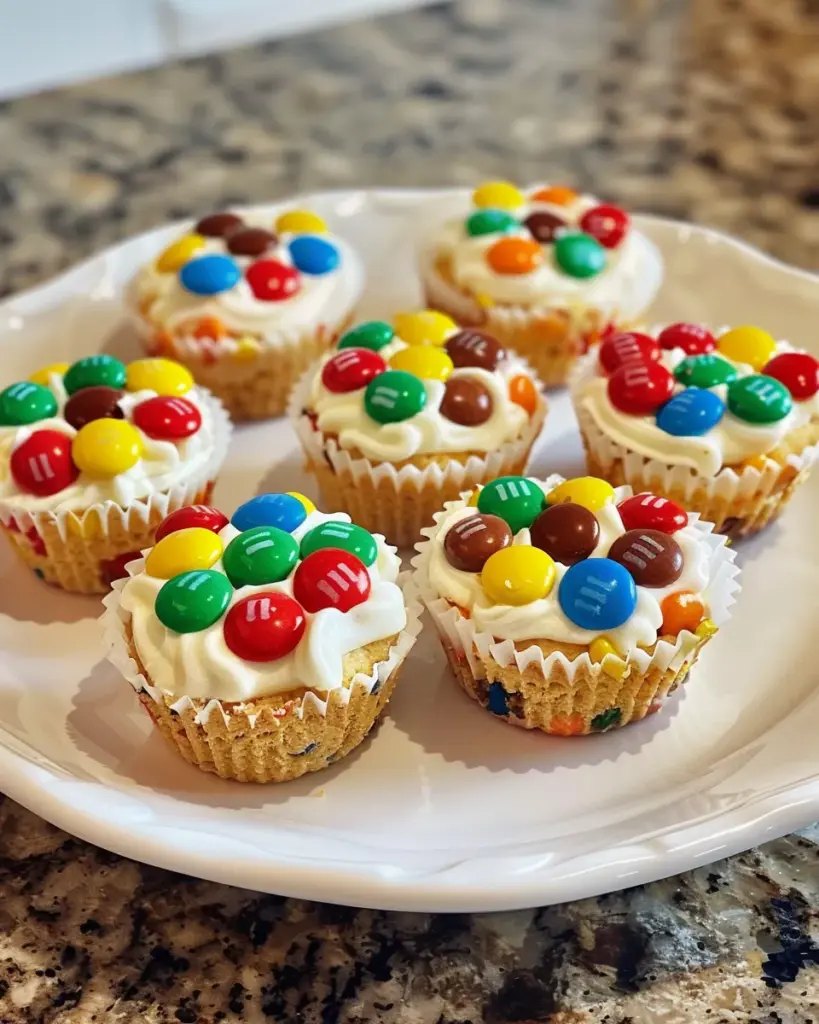
Whether you’re prepping for Christmas, a birthday bash, or a simple family movie night, these bite-sized beauties will steal the spotlight (and disappear fast!). Let’s dive into how you can make them look just like the ones in the photo above.
Why You’ll Love These M&M No-Bake Cheesecake Cookie Cups
These little cups may be small, but they bring BIG flavor and texture:
- No oven needed – Perfect when you want dessert without heating up the kitchen.
- Ready in under 20 minutes (plus chill time) – Minimal effort, max reward.
- Festive and fun – That pop of color from the M&Ms makes them pop on any dessert table.
- Kid-friendly – Little hands love to help assemble (and eat!).
- Make-ahead friendly – Whip these up a day in advance and they’ll still be perfect.
Honestly, they look like something out of a bakery display, but they’re so simple you’ll want to make them over and over.
Perfect for the Holidays – Or Any Time!
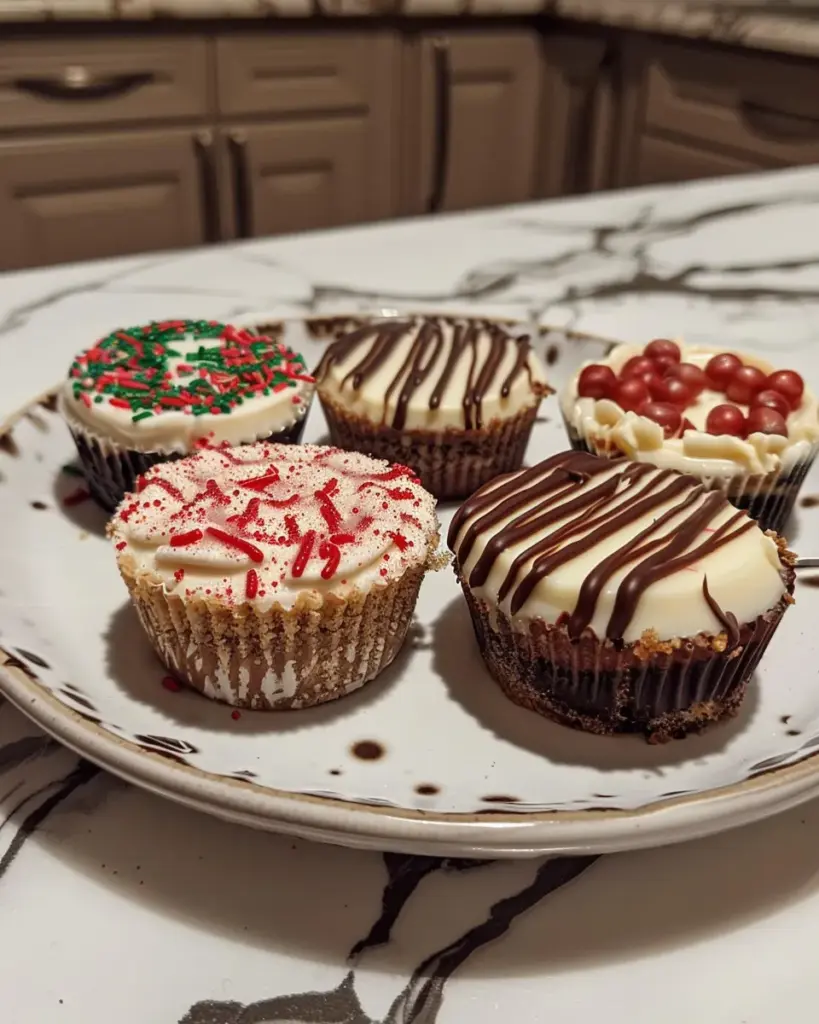
The red, green, and yellow M&Ms instantly give off Christmas vibes. But here’s the fun part—you can totally customize them with different colors for any season:
- Valentine’s Day – Use pink, red, and white M&Ms.
- Easter – Pastel-colored M&Ms are perfect.
- Halloween – Orange, purple, and black M&Ms add spooky flair.
- Birthday parties – Use the birthday mix or rainbow for a party pop.
So yes, they’re perfect for Christmas, but you’ve got every excuse to make them all year long.
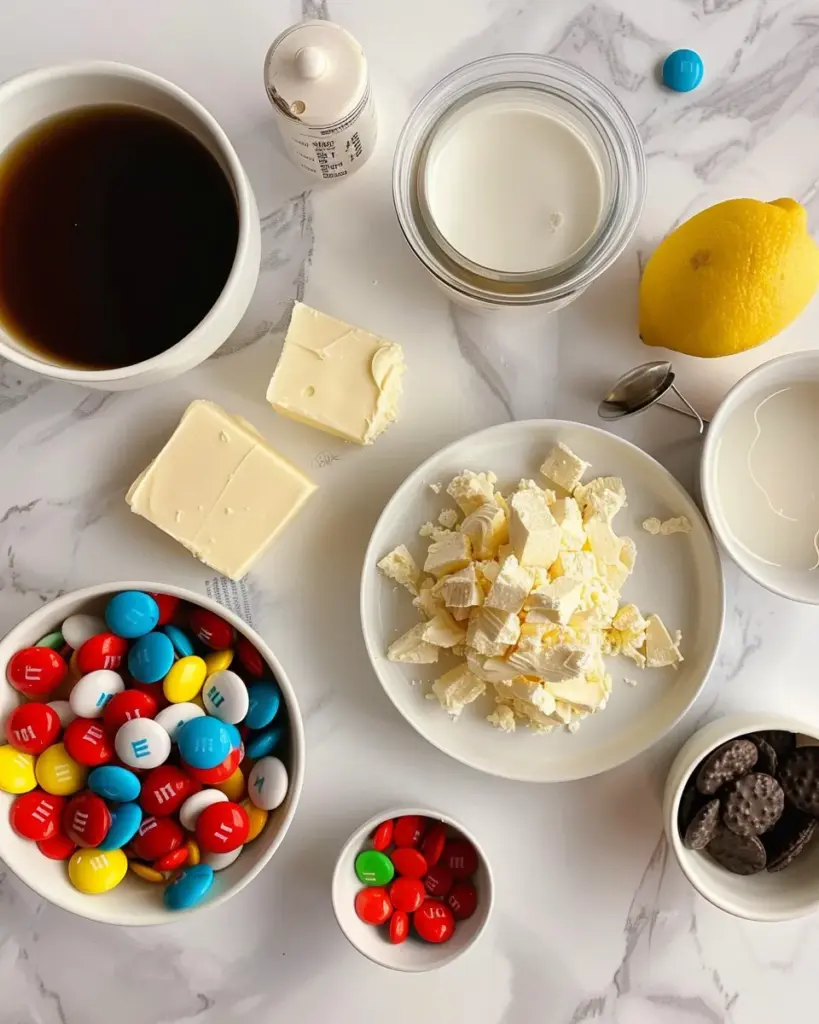
Let’s Talk Ingredients
Here’s the full list of what you need to bring this dreamy dessert to life.
For the Cookie Cups
- 2 cups crushed sugar cookies OR graham crackers
(Sugar cookies will give a sweet, vanilla flavor like in the image. Graham crackers are a bit nuttier—both work beautifully.) - 6 tablespoons unsalted butter, melted
(Helps bind the crumbs into a moldable crust.) - 2 tablespoons granulated sugar (optional)
(Adds extra crunch if you’re using graham crackers.)
For the Cheesecake Filling
- 8 oz cream cheese, softened
(Full-fat for the creamiest texture.) - 1 cup sweetened condensed milk
(Gives that silky-smooth sweetness without needing extra sugar.) - 1 teaspoon vanilla extract
(Adds warm, bakery-style flavor.) - 1 tablespoon lemon juice (optional)
(Helps the cheesecake set more firmly, but doesn’t make it sour.)
For the Topping
- 1 cup regular M&Ms (preferably red, green, yellow, and brown)
(This combo is what gives that gorgeous Christmas-y look in the image.)
Kitchen Tools You’ll Need
- Mini muffin pan (24 cups)
- Mini paper liners
- Mixing bowls (one for crust, one for filling)
- Electric mixer or whisk
- Rubber spatula or spoon
- Measuring cups and spoons
- Small spoon or cookie scoop
Step-by-Step Instructions
Alright, let’s get baking—er, not baking.
1. Make the Cookie Crust Cups
This is your base layer and the first step to locking in that cookie crunch.
- Line a 24-cup mini muffin pan with mini paper liners.
- In a bowl, mix 2 cups crushed cookies, 6 tbsp melted butter, and 2 tbsp sugar (if using).
- Stir until the texture feels like wet sand—a little crumbly, but it should clump if you squeeze it.
- Spoon 1 tablespoon of the mixture into each liner.
- Press the crust firmly into the bottom and about halfway up the sides to form a small “cup.”
- Chill the pan in the fridge for 10 minutes to help set the crust.
Pro Tip: Use the back of a small spoon or a mini tart tamper to press the crumbs tightly and evenly.
2. Make the No-Bake Cheesecake Filling
This is the dreamy, creamy heart of the dessert. Make it smooth!
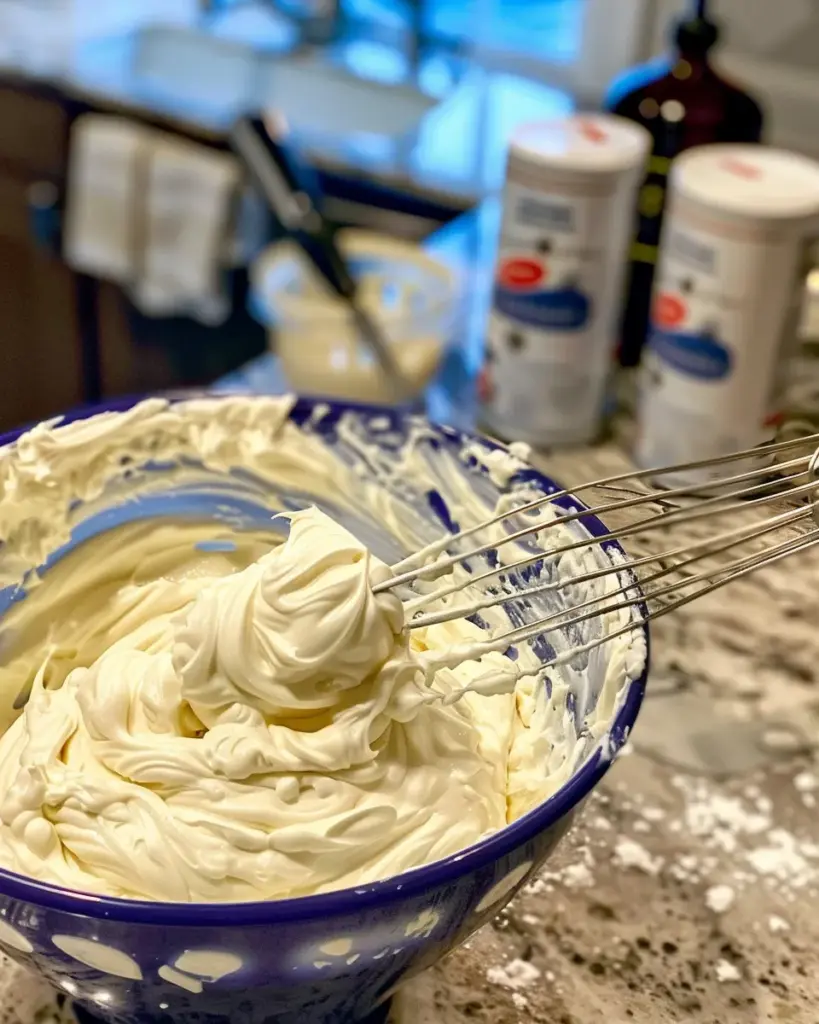
- In a clean bowl, beat 8 oz softened cream cheese for 2 minutes until it’s super smooth and fluffy.
- Add in 1 cup sweetened condensed milk, 1 tsp vanilla, and 1 tbsp lemon juice.
- Mix for another 1–2 minutes until everything is silky, lump-free, and slightly thick.
Note: The mixture should be pourable but not runny. If it’s too loose, let it chill in the fridge for 5–10 minutes before assembling.
3. Assemble the Cheesecake Cups
Let’s bring it all together!
- Remove the crusts from the fridge.
- Spoon or pipe the cheesecake filling into each cup, filling it almost to the top. Smooth the top gently.
- Add 5–6 M&Ms on top of each cup while the filling is still soft. Try to use a mix of red, green, yellow, and brown, just like the image.
- Press them in slightly so they stay put, but don’t sink them too deep.
The contrast between the creamy white filling and the colorful M&Ms is what makes these cups so eye-catching—so arrange them nicely.
4. Chill and Set
Place the muffin pan back in the fridge and chill for 2–3 hours, or until the filling is fully set. They should be firm enough to hold their shape when you peel off the wrapper, but still creamy inside.
Optional: For a firmer cheesecake bite, pop them in the freezer for 30 minutes before serving. They hold their shape better and taste amazing slightly chilled.
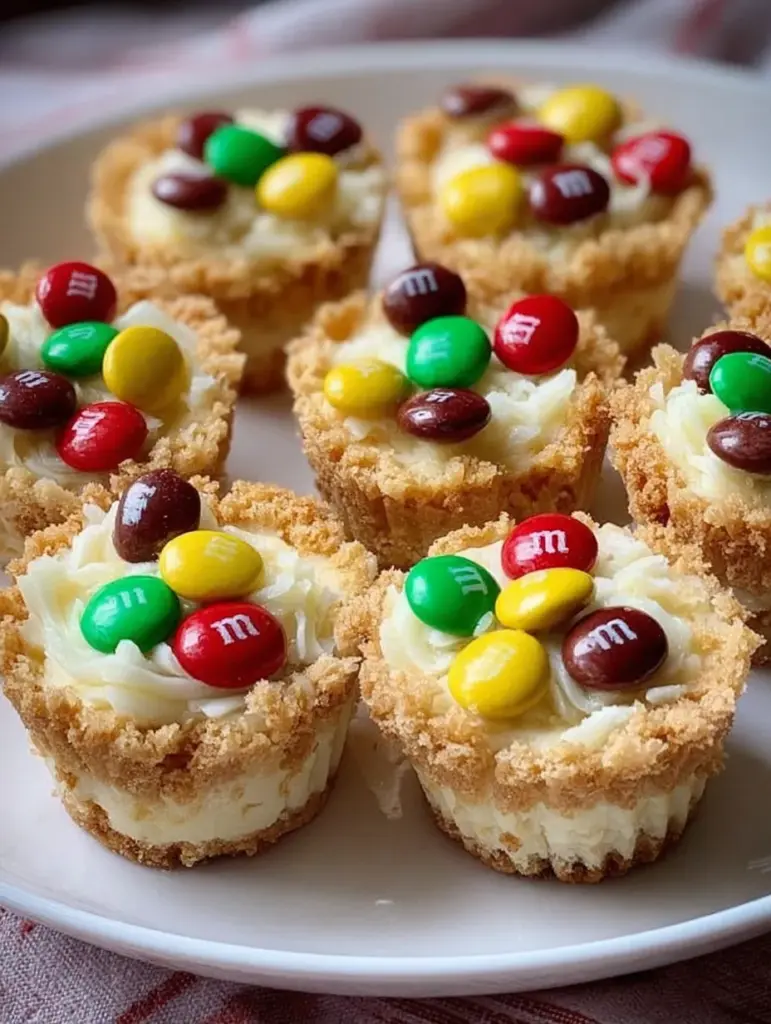
Visual Tips: Getting That Picture-Perfect Look
Want your cheesecake cookie cups to look just like the image? Here’s exactly how to get that clean, vibrant, bakery-style finish:
- Use regular-sized M&Ms, not mini ones. The image shows full-sized, glossy M&Ms, which create a beautiful pop of color and contrast perfectly with the creamy filling.
- Smooth the cheesecake tops with a spoon or offset spatula before placing the M&Ms. A smooth surface makes the colors stand out more clearly and gives that “polished” look.
- Freeze the crusts for 10 minutes before filling if you want super clean edges. This helps the butter solidify and keeps the crust from crumbling as you add the filling.
- Pipe the cheesecake filling using a zip-top bag with the corner snipped off (or a piping bag with a round tip). This creates a neat, consistent swirl and avoids smudging the liners.
- Top with 5–6 M&Ms arranged in a circle or flower pattern—don’t just throw them on. Presentation matters!
These details may seem small, but they really elevate the final result and make your treats Instagram-worthy!
Flavor Variations to Try
These cheesecake cups are totally customizable. Here are some fun twists to make them your own:
Swap the Cookies
- Oreos – For a cookies-and-cream flavor, use crushed Oreos instead of sugar cookies or grahams.
- Gingersnaps – Give it a spicy holiday twist.
- Chocolate wafer cookies – For deep cocoa notes and contrast.
Change Up the Filling Flavor
- Add melted chocolate to the filling for a chocolate cheesecake version.
- Swirl in fruit puree (like raspberry or strawberry) for a fruity tang.
- Add cinnamon or nutmeg for warm holiday vibes.
Try Different Toppings
- Crushed peppermint – Great for Christmas.
- Sprinkles – Match them to the occasion (red & green, pastels, rainbow, etc.).
- Mini marshmallows – Adds a fun texture for kids.
- Drizzle with chocolate or caramel sauce – Make them even more indulgent.
The base recipe is so versatile you can go wild with variations!
Storing Your Cheesecake Cups
Once your cheesecake cups are fully set, keep them stored in the fridge in an airtight container. Here’s how to make them last:
- Fridge shelf life: 4–5 days. They stay fresh, creamy, and delicious.
- Separate layers with parchment paper if stacking them to avoid sticking.
- Serve chilled for best texture. Leaving them at room temperature for too long will make them soft and messy.
These are also awesome for making ahead the night before a party, so you can chill while your dessert is chilling too. 😎
Freezing Tips (Yes, You Can Freeze Them!)
Want to make a big batch and freeze some for later? Go for it! Here’s how:
- Place the fully set cheesecake cups (still in their paper liners) on a baking sheet.
- Freeze for 1–2 hours until solid.
- Transfer to a zip-top freezer bag or airtight container.
- Freeze for up to 1 month.
To serve: Let them thaw in the fridge for a few hours, or at room temp for 15–20 minutes. They actually taste amazing slightly frozen too—almost like an ice cream treat!
Making These with Kids – Fun and Easy!
These cheesecake cups are kid-tested and parent-approved. If you’ve got little helpers, this is a perfect recipe to get them involved:
- Let kids crush the cookies in a zip-top bag with a rolling pin.
- Mix the crust ingredients by hand—get messy!
- Use small cookie scoops to add the filling (no knives required).
- Let them decorate with M&Ms—they’ll love making patterns or smiley faces.
It’s fun, safe, and results in a treat they’ll be proud of. Just prepare for some M&M snacking along the way! 😄
Serving Ideas for Parties
These mini cheesecake cookie cups are naturally bite-sized, so they’re ideal for:
- Christmas cookie trays
- Holiday dessert tables
- Birthday parties
- School events or potlucks
- Brunch spreads
You can arrange them on a festive platter, display them in mini cupcake boxes, or serve with a dessert fork for a fancy touch. They travel well and stay pretty even outside the fridge for 30 minutes or so.
Want to be extra? Add little holiday-themed picks or edible glitter on top!
Print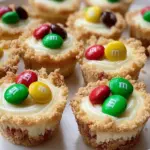
M&M No-Bake Cheesecake Cookie Cups Recipe
- Prep Time: 15 minutes
- Total Time: 3 hours 15 minutes
- Category: Dessert 🎄🍬
Description
✨ Creamy, crunchy, colorful, and unbelievably easy! These festive cheesecake cups bring together a soft, silky filling with a crisp cookie crust and bright M&Ms for the ultimate holiday bite. 🎅🍬💚❤️
Ingredients
For the Cookie Cups:
2 cups crushed sugar cookies or graham crackers
6 tbsp unsalted butter, melted
2 tbsp sugar (optional)
For the Cheesecake Filling:
8 oz cream cheese, softened
1 cup sweetened condensed milk
1 tsp vanilla extract
1 tbsp lemon juice (optional)
Topping:
1 cup mini or regular M&Ms (holiday colors)
Instructions
Line a mini muffin pan with paper liners. Mix crushed cookies, melted butter, and sugar until it resembles wet sand. (⏱️ Duration: 2 minutes)
Add 1 tablespoon of the crumb mixture into each liner and press firmly along the bottom and halfway up the sides. (⏱️ Duration: 4 minutes)
Refrigerate the crusts to firm up while preparing the filling. ❄️ (⏱️ Duration: 10 minutes)
Beat softened cream cheese until completely smooth. (⏱️ Duration: 2 minutes)
Add sweetened condensed milk, vanilla, and lemon juice, then mix until silky and lump-free. (⏱️ Duration: 1–2 minutes)
Spoon or pipe the cheesecake filling into each chilled crust cup, filling almost to the top. (⏱️ Duration: 5 minutes)
Add whole M&Ms on top for a bright, festive finish. 🎄🍬 (⏱️ Duration: 2 minutes)
Refrigerate until fully set and firm. (⏱️ Duration: 2–3 hours)
Notes
Nutrition
- Serving Size: 24 cups
- Calories: ~150 kcal
How to Make These in a Regular Muffin Pan
Don’t have a mini muffin pan? No problem! Just adjust:
- Use a standard 12-cup muffin tin.
- Add about 2.5–3 tablespoons of crust mixture per cup.
- Press it halfway up the sides like before.
- Use twice as much cheesecake filling per cup.
- Top with a few more M&Ms (8–10 for full coverage).
Chill time remains the same—just give them 2–3 hours in the fridge to firm up.
Note: The larger size means a richer bite, more like an individual dessert versus finger food.
You may like also :
Common Mistakes to Avoid
Even no-bake desserts need a little attention to detail. Here are common pitfalls and how to avoid them:
- Not softening the cream cheese: This will lead to a lumpy, uneven filling. Let it sit at room temp for 30 minutes.
- Using too much butter in the crust: Your cups will be greasy or fall apart. Stick to the measurements.
- Not pressing the crust firmly enough: It needs to be packed tight to hold shape.
- Skipping the chill time: These cups need that fridge time to set. Don’t rush it.
- Adding M&Ms too early or too late: Press them gently into the soft filling right after filling the cups, not before or hours later.
Avoid these and you’ll be golden!
Nutrition Breakdown (Per Cup)
Here’s an approximate breakdown per mini cup:
| Component | Amount |
|---|---|
| Calories | 150–160 kcal |
| Fat | 9g |
| Carbs | 15g |
| Sugar | 11g |
| Protein | 2g |
Of course, exact numbers will vary depending on ingredients (and how generous you are with M&Ms! 😋)
Conclusion: Make These ASAP!
These M&M No-Bake Cheesecake Cookie Cups are everything you want in a holiday dessert: creamy, crunchy, colorful, and unbelievably easy to make. No oven, no stress, and no leftovers because they disappear in seconds.
Whether you’re trying to impress at a party or just want a fun baking project with the kids, these mini cheesecakes are guaranteed to become a favorite. The texture, the flavor, the festive colors—it all just works. So grab your cream cheese, some cookies, and a bag of M&Ms. Dessert time just got a major upgrade. 🎄✨
Similar recipes :
🎄 Christmas Sugar Cookie Bars Recipe: The Ultimate Festive Treat You’ll Bake on Repeat 🎅
FAQs
Q1: Can I use low-fat cream cheese or Greek yogurt?
You can use low-fat cream cheese, but the texture won’t be as creamy. Greek yogurt may be too runny unless strained. Full-fat cream cheese works best.
Q2: How do I crush the cookies easily?
Place them in a zip-top bag and use a rolling pin to crush them. You can also pulse them in a food processor for a finer texture.
Q3: Can I make these ahead for a party?
Yes! Make them the night before and store them in the fridge. They’ll be perfect by the next day.
Q4: Can I use flavored cream cheese?
Absolutely! Strawberry or even pumpkin-flavored cream cheese can add a unique twist. Just reduce or adjust added vanilla if using a flavored variety.
Q5: Can I make this recipe gluten-free?
Yes! Just use gluten-free cookies for the base, and double-check your M&Ms and other ingredients to ensure they’re gluten-free.


