There’s something magical about the holidays — the lights, the music, the cozy vibes — and of course, the cookies! But let’s be honest: sometimes, you don’t want to deal with the oven. That’s where these No-Bake Christmas Crunch Cookies come in. They’re chewy, caramel-y, peanut buttery, and perfectly dressed in holiday sprinkles with a glossy white icing that gives them a snow-dusted look.
No baking. No fuss. Just pure Christmas cheer in every bite.
Why You’ll Love These No-Bake Cookies
These little treats have everything going for them — here’s why they’ll instantly become a December favorite:
- Quick and easy: You’ll be done in about 15 minutes, then just let them set.
- Festive to look at: That icing drizzle and colorful sprinkles scream Christmas!
- Kid-approved: No baking means it’s safe and fun for kids to help.
- No oven needed: Perfect for crowded holiday kitchens.
And honestly, they’re kind of addictive. Like, “I’ll just have one” turns into five real quick.
A Nostalgic Holiday Favorite
If you grew up on peanut butter cereal treats, these cookies are going to hit you right in the childhood. But this recipe takes things a step further with a gooey caramel twist and a sweet vanilla glaze that makes them taste like something straight out of Grandma’s holiday cookie tin — with way less effort.
These are the kind of cookies that your family starts asking for every year. And once you’ve made them, you’ll see why.
Ingredients Overview
Let’s take a closer look at what makes these cookies so good. Nothing fancy here — just a few pantry staples that turn into something magical.
The Cookie Base
- 5 cups crispy rice cereal: Gives these cookies their signature crunch.
The Caramel-Peanut Butter Mixture
- 1 cup creamy peanut butter: Smooth and rich — the base of the caramel-like coating.
- ¾ cup light brown sugar: Adds that warm, molasses-like sweetness.
- ½ cup light corn syrup: Binds everything together and gives that chewy texture.
- 1 teaspoon vanilla extract: Rounds out the flavors with a hint of warmth.
The Icing Drizzle
- 1 cup powdered sugar
- 2–3 tablespoons milk
- ½ teaspoon vanilla extract
This icing sets beautifully and adds just the right amount of sweetness on top.
Topping
- Red and green sprinkles: For that classic Christmas pop of color!
Kitchen Tools You’ll Need
You won’t need much to make this magic happen:
- A medium saucepan
- A large mixing bowl
- A spoon or silicone spatula
- A baking sheet
- Parchment paper
- A small bowl for the icing
- A whisk or fork
Optional but helpful: a cookie scoop for uniform cookies!
Step-by-Step Instructions
Let’s break it down. This recipe is super simple, but the order and speed matter once things start heating up!
1. Prepare the Pan
Line a large baking sheet with parchment paper and set it aside. This will keep your cookies from sticking and make cleanup a breeze.
2. Make the Caramel Mixture
In a medium saucepan, combine peanut butter, brown sugar, and corn syrup. Heat over medium, stirring constantly. The goal is to melt and mix everything until it’s smooth and just starting to bubble gently — about 2 to 3 minutes. Don’t let it boil too hard, or the caramel can get too thick or grainy.
Once smooth and hot, remove from heat and stir in the vanilla extract.
3. Coat the Cereal
Quickly pour the hot caramel mixture over the rice cereal in a large bowl. Stir immediately and quickly to coat every piece. This sets fast, so be ready to move!
4. Form the Cookies
Using a spoon (or cookie scoop), drop generous spoonfuls onto the parchment-lined tray. Press gently into rough clusters with your fingers or the back of the spoon. You’re aiming for that “imperfectly perfect” homemade cookie look — just like in the photo!
5. Make the Icing Drizzle
In a small bowl, whisk together the powdered sugar, milk, and vanilla extract. Start with 2 tablespoons of milk and add a third only if needed. You want the icing to be smooth and pourable, but not too runny.
6. Decorate
Drizzle the icing generously over each cookie — let it flow in ribbons or zig-zags for a fun, snowy effect. While the icing is still wet, sprinkle those red and green sprinkles right on top. They’ll stick beautifully.
7. Let Them Set
Leave the cookies at room temperature for 45–60 minutes until firm. The icing will harden slightly, giving that pretty, glossy finish.
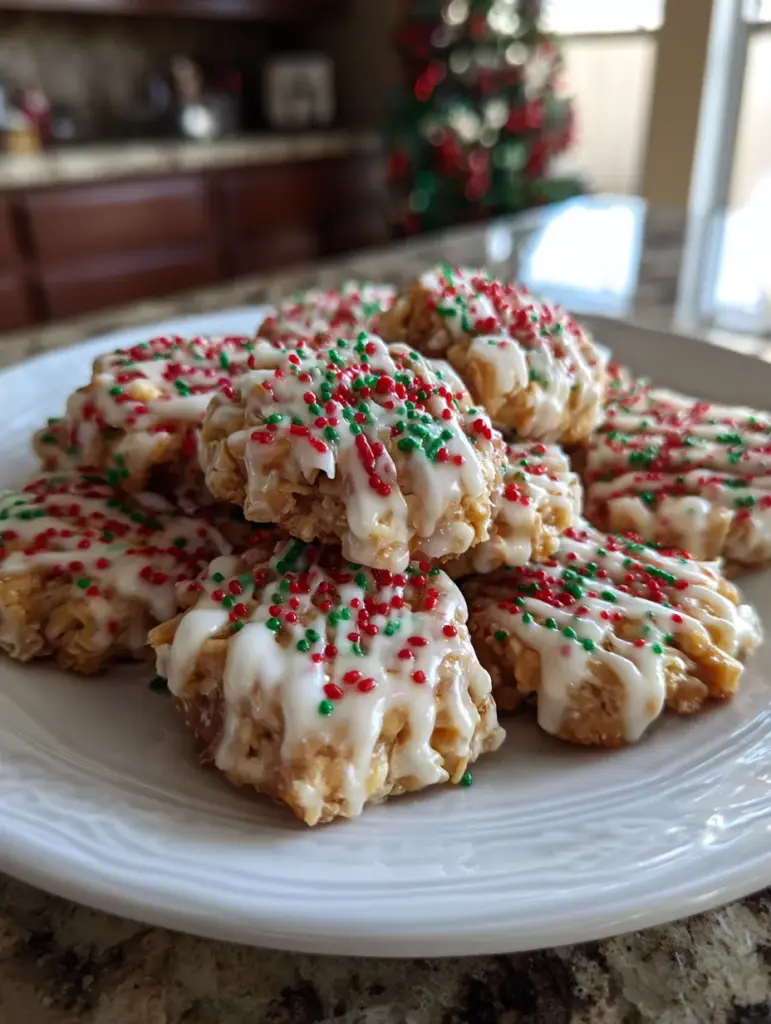
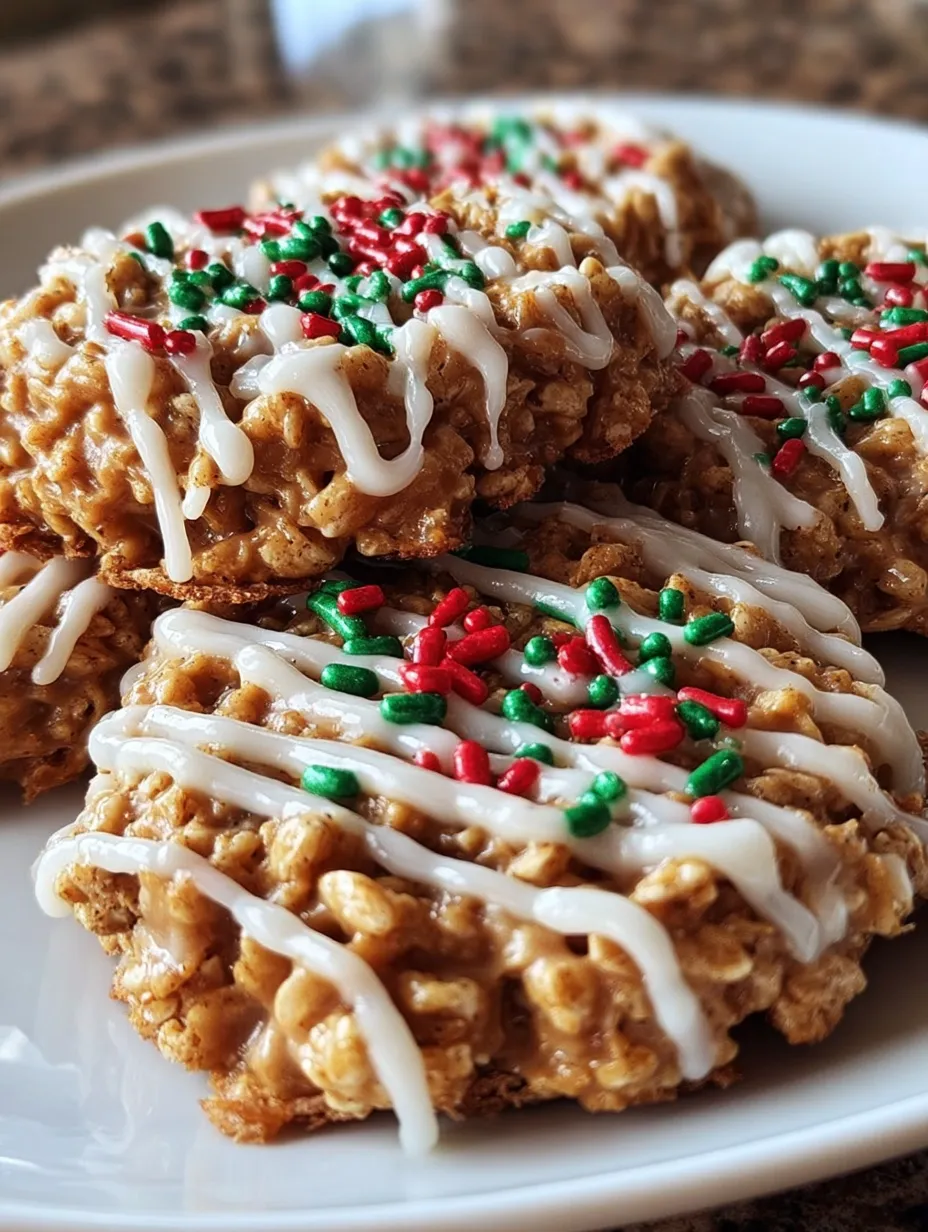
Visual Guide: What These Cookies Should Look Like
If you’re aiming to match the look of the cookies in the photo:
- Golden caramel: The peanut butter-caramel coating should give the cereal a glossy golden-brown shine.
- Thick clusters: They should be chunky, not flat — don’t press them down too much.
- Generous icing drizzle: Go big with the white icing — it makes them pop!
- Sprinkles galore: The more, the merrier. Think festive.
Tips to Nail These Caramel Christmas Cookies
Let’s talk about how to make sure your cookies look and taste just right.
- Don’t overcook the caramel: Once it starts bubbling, remove it quickly — overcooking makes it hard and brittle.
- Use fresh cereal: Sounds obvious, but stale cereal = sad cookies.
- Move quickly: The caramel sets fast, so work with speed when mixing and scooping.
- Chill if needed: If your kitchen is warm, you can pop the tray in the fridge for 15 minutes to speed up setting.

No-Bake Christmas Crunch Cookies (Caramel-Style)
- Prep Time: 15 minutes
- Total Time: 1 hour 15 minutes
- Category: No-Bake Holiday Cookies • Christmas Desserts • Easy Sweet Treats
Description
🎄 Sweet, chewy, and perfectly festive! ✨ These no-bake Christmas Crunch Cookies are loaded with caramel-peanut butter flavor, crispy rice crunch, and finished with a glossy vanilla drizzle and holiday sprinkles. Easy, nostalgic, and impossible to resist! 🍪😍
Ingredients
5 cups crispy rice cereal
1 cup creamy peanut butter
¾ cup light brown sugar
½ cup light corn syrup
1 teaspoon vanilla extract
Icing Drizzle
1 cup powdered sugar
2–3 tablespoons milk
½ teaspoon vanilla extract
Topping
Red & green holiday sprinkles
Instructions
Line a large baking sheet with parchment paper and set aside. ⏱️ 5 minutes
In a saucepan over medium heat, combine peanut butter, brown sugar, and corn syrup. Stir constantly until smooth and gently bubbling, about 2–3 minutes. Remove from heat and stir in vanilla. ⏱️ 5 minutes
Pour the hot mixture over the crispy rice cereal in a large bowl and stir until evenly coated and glossy. ⏱️ 5 minutes
Drop heaping spoonfuls onto the prepared baking sheet and lightly press into rough clusters. ⏱️ 5 minutes
Whisk powdered sugar, milk, and vanilla until smooth and pourable. ⏱️ 3 minutes
Drizzle icing over each cookie and immediately top with red and green sprinkles for a festive finish. 🎅✨ ⏱️ 5 minutes
Let cookies set at room temperature until firm. ⏱️ 45–60 minutes
Notes
Nutrition
- Serving Size: 20–24 cookies
- Calories: ~190 kcal
Make It Your Own – Variations to Try
One of the best things about these cookies is how customizable they are. While the original version is a total crowd-pleaser, here are some fun twists to make them even more exciting:
1. Add-ins
- Mini chocolate chips: Stir them in once the caramel mixture has cooled slightly so they don’t melt.
- Mini marshmallows: Adds an extra chewy, gooey bite — think “s’mores” energy.
- Crushed candy canes: For a minty, wintery crunch.
2. Nut-Free Version
Swap out peanut butter for sunflower seed butter or WowButter to make them school-safe and allergy-friendly without losing that rich flavor.
3. Change the cereal
Crispy rice is classic, but try cornflakes, Cheerios, or even Golden Grahams for a new texture and flavor. Just keep the ratio similar.
4. Different Drizzles
Not a fan of vanilla icing? Try:
- Melted white chocolate
- Cream cheese glaze
- Dark chocolate drizzle with crushed pistachios
Holiday Gifting Ideas
These cookies aren’t just great for eating — they’re perfect for gifting too!
- Holiday tins: Line a festive tin with parchment and stack them high.
- Clear treat bags: Tie with ribbon and a cute tag.
- Cookie boxes: Pair with other no-bake or easy holiday treats for a DIY cookie assortment.
They stay fresh for several days, so they’re a great option for neighbors, teachers, or that last-minute gift you totally forgot about (we’ve all been there).
You may also like :
Perfect Grinch Cookies Recipe: A Festive Holiday Treat Everyone Will Love 💚
Dense Holiday Fruitcake Cookies – Sweet, Chewy & Packed with Festive Flavor 🎄✨
Storage Tips
Keeping these cookies fresh is easy, but there are a few tricks to make sure they don’t get sticky or stale.
At Room Temperature
- Store in an airtight container at room temp.
- They’ll stay good for 4–5 days, but best within the first 3.
Layering
- If stacking, place a sheet of wax paper or parchment between layers so the icing doesn’t stick.
Can You Freeze Them?
Yes! Freeze them in a single layer first, then transfer to a freezer bag.
- To serve, thaw at room temp for 15–20 minutes.
- The texture holds up surprisingly well, just don’t add the icing until after thawing if possible.
FAQs About No-Bake Christmas Crunch Cookies
1. Can I use crunchy peanut butter instead of creamy?
You can! It’ll add a bit more texture to the cookie. Just make sure it melts smoothly with the sugar and syrup.
2. What if I don’t have corn syrup?
You can try honey or maple syrup, but the texture will be a bit different — slightly softer and more sticky.
3. How do I make them less sweet?
You can reduce the brown sugar to ½ cup, and the icing drizzle can be done more lightly or skipped altogether (but it’s sooo good).
4. Can I make them gluten-free?
Yes — just make sure your crispy rice cereal is labeled gluten-free (some brands contain malt flavoring which has gluten).
5. Can kids help with this recipe?
Absolutely! Kids can help mix the cereal, form the clusters, drizzle the icing, and add sprinkles. It’s a super fun, hands-on holiday kitchen activity.
What to Serve With These Cookies
Sure, they’re amazing on their own, but here are some great pairings to make them part of a cozy holiday moment:
- Hot cocoa with whipped cream
- Eggnog lattes
- Peppermint tea
- Milkshakes for Santa’s plate
Or just stack them up next to a gingerbread house for a super cute dessert table setup.
Fun With Kids: Holiday Cookie Decorating Party
These cookies are a perfect centerpiece for a kids’ holiday cookie party. Since there’s no oven involved, it’s safe and mess-friendly. Set up a little decorating station with:
- Extra icing in squeeze bottles
- Bowls of festive sprinkles
- Mini chocolate chips
- Candy eyes or snowflake decorations
Let each kid “design” their own cookie cluster — and trust me, they’ll be so proud of their creations.
Final Thoughts – Make These Cookies a New Family Tradition
There’s just something about no-bake desserts during the holidays that feels magical. Maybe it’s the nostalgia, maybe it’s the ease, maybe it’s the fact that your house still smells like Christmas even without the oven running for hours.
These No-Bake Christmas Crunch Cookies are exactly the kind of treat you’ll find yourself craving every December — and probably making more than once. They’re festive, chewy, gooey, and bring all the caramel-and-cookie cheer without the stress. Perfect for cookie swaps, class parties, holiday movie nights, or just because.
Whip up a batch, drizzle on that icing, toss on some sprinkles, and take a bite. It’s Christmas in cookie form — and your new holiday obsession. 🎄🍪✨
Similar recipes :
🎄 Soft Christmas Cookies Recipe: A Melt-in-Your-Mouth Holiday Delight
Peppermint Chocolate-Dipped Sandwich Cookies: A Festive Holiday Treat You’ll Crave All Year Round
5 Unique FAQs
1. Can I use almond butter instead of peanut butter?
Yes! Almond butter gives a slightly nuttier and milder flavor. It works beautifully in this recipe, especially if you’re aiming for a gourmet twist.
2. How long do these cookies take to harden completely?
They usually set in about 45–60 minutes at room temperature. You can speed it up by placing them in the fridge for 15–20 minutes.
3. Can I double the recipe?
Definitely — just make sure to stir in the caramel quickly and divide the mixture into batches when scooping so it doesn’t set before you form the cookies.
4. What kind of sprinkles work best?
Use jimmies-style (long and thin) sprinkles for a classic look, or go all out with holiday confetti, sugar pearls, or snowflake shapes.
5. Can I make these in advance for a party?
Absolutely. Make them 1–2 days ahead, store in an airtight container, and they’ll still be chewy and fresh when it’s time to serve.