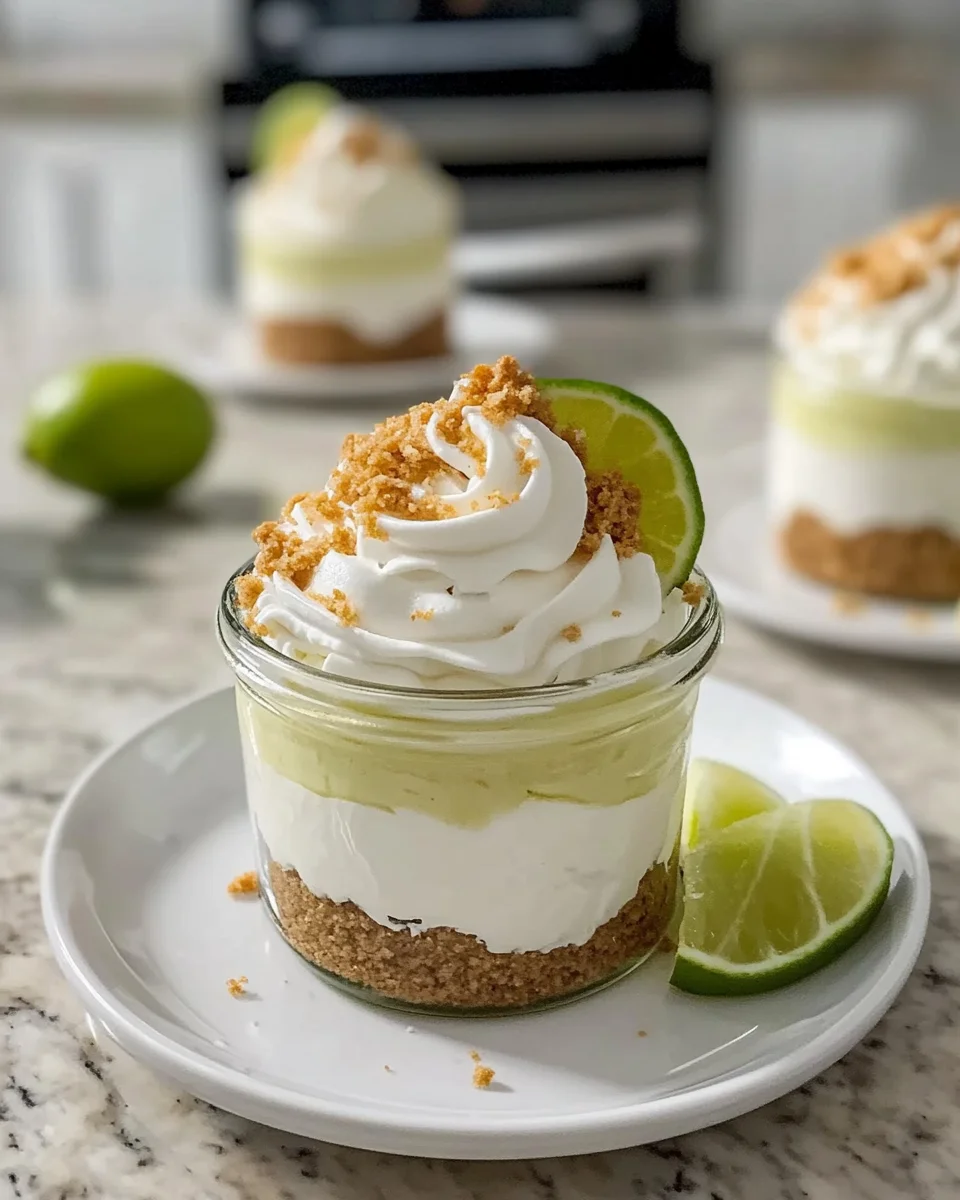
Introduction to No-bake Key Lime Cheesecake Jars
As a busy mom, I know how precious time can be, especially when it comes to whipping up something sweet. That’s why I absolutely adore these No-bake Key Lime Cheesecake Jars! They’re a delightful treat that requires minimal effort but delivers maximum flavor. Imagine creamy cheesecake layered in a jar, ready to impress your family or friends without the fuss of baking. Whether it’s a last-minute gathering or a simple weeknight dessert, this recipe is your go-to solution. Trust me, once you try it, you’ll be hooked on the ease and deliciousness!
Why You’ll Love This No-bake Key Lime Cheesecake Jars
These No-bake Key Lime Cheesecake Jars are a dream come true for anyone short on time but big on flavor. They come together in just 20 minutes, making them perfect for busy days. Plus, the refreshing tang of key lime paired with creamy cheesecake is simply irresistible. You can whip them up ahead of time, so you can focus on what really matters—enjoying sweet moments with your loved ones!
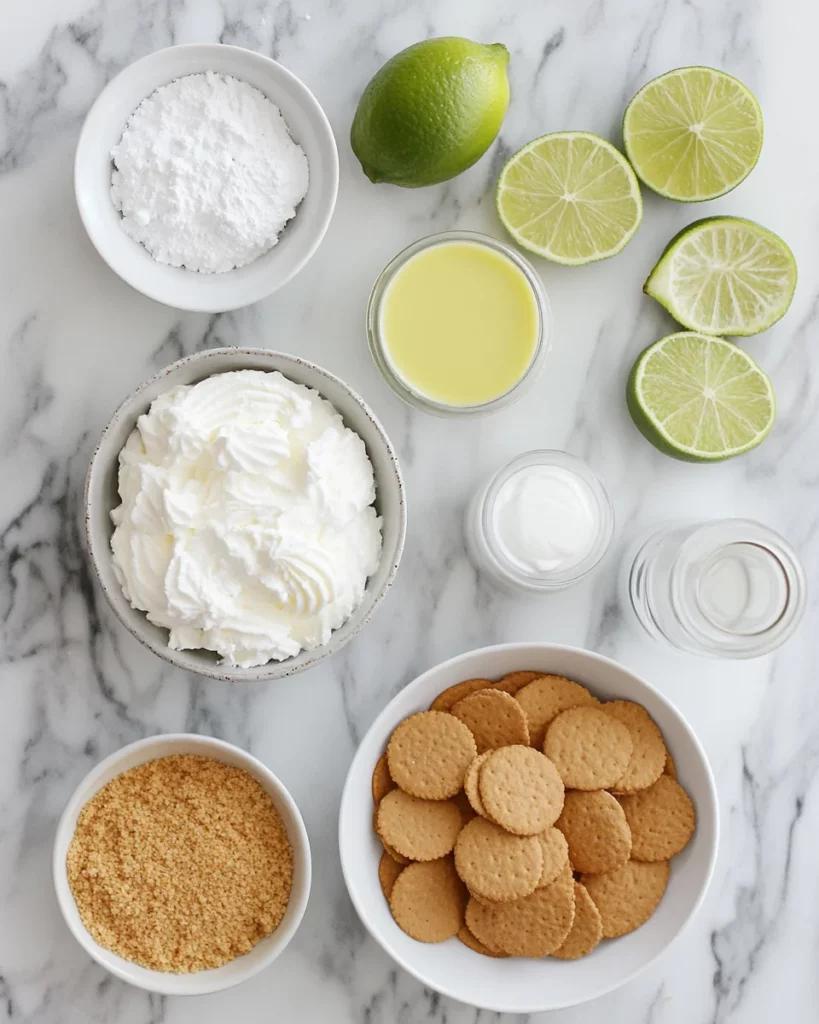
Ingredients for No-bake Key Lime Cheesecake Jars
Gathering the right ingredients is the first step to creating these delightful No-bake Key Lime Cheesecake Jars. Here’s what you’ll need:
- Crushed graham crackers: These form the base of your cheesecake, adding a sweet crunch. You can use store-bought or crush your own for a fresher taste.
- Melted butter: This binds the graham cracker crumbs together, creating a rich, buttery crust. Don’t skip this step; it’s essential for texture!
- Cream cheese: The star of the show! Softened cream cheese gives the cheesecake its creamy, luscious texture. Make sure it’s at room temperature for easy mixing.
- Powdered sugar: This sweetens the filling without the graininess of granulated sugar. It blends beautifully into the cream cheese.
- Key lime juice: Freshly squeezed is best! It adds that zesty, tangy flavor that makes this dessert so refreshing. If you can’t find key limes, regular limes work too.
- Vanilla extract: A splash of vanilla enhances the overall flavor, balancing the tartness of the key lime.
- Whipped topping: This lightens the cheesecake mixture, making it airy and fluffy. You can use store-bought or homemade whipped cream.
- Lime slices and zest: Optional garnishes that add a pop of color and extra zing. They make your jars look as good as they taste!
For exact measurements, check the bottom of the article where you can find everything listed for easy printing. Happy cooking!
How to Make No-bake Key Lime Cheesecake Jars
Now that you have all your ingredients ready, let’s dive into the fun part—making these No-bake Key Lime Cheesecake Jars! Follow these simple steps, and you’ll have a delicious dessert in no time.
Step 1: Prepare the Crust
Start by combining your crushed graham crackers and melted butter in a bowl. Mix them until they resemble wet sand. This is the foundation of your cheesecake, so make sure it’s well combined.
Next, take your mixture and press it firmly into the bottom of each jar. You want a nice, even layer that will hold up when you add the cheesecake filling. I like to use the back of a spoon for this—it makes it easier to get a smooth surface!
Step 2: Make the Cheesecake Filling
In a large mixing bowl, beat the softened cream cheese until it’s smooth and creamy. This step is crucial; you want to avoid any lumps in your filling. Gradually add in the powdered sugar, key lime juice, and vanilla extract. Mix until everything is fully incorporated.
Now, here’s the secret to a light and fluffy cheesecake: gently fold in the whipped topping. Use a spatula and be careful not to deflate the mixture. You want it airy and delightful, just like a cloud of sweetness!
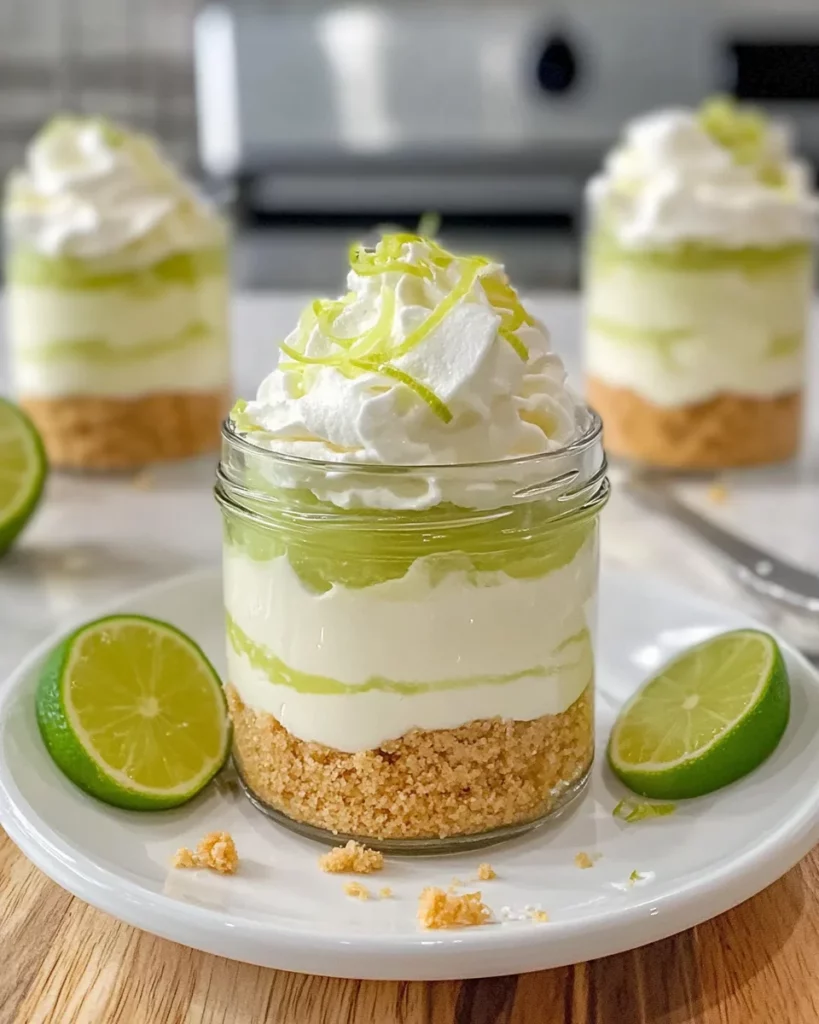
Step 3: Assemble the Jars
It’s time to layer your jars! Spoon the cheesecake mixture over the crust in each jar. Aim for a smooth, even layer. You can use a piping bag for a fancy touch, or just a spoon works perfectly fine.
Feel free to get creative with the layers! You can alternate between crust and filling if you want a fun visual effect. Just remember to leave some space at the top for garnishing later.
Step 4: Chill and Serve
Once your jars are assembled, it’s time to chill them in the refrigerator. Let them sit for at least 2 hours. This allows the flavors to meld beautifully and the cheesecake to set.
When you’re ready to serve, take them out and garnish with lime slices and zest if you like. It adds a lovely touch and makes your No-bake Key Lime Cheesecake Jars look even more inviting!
Tips for Success
- Use fresh key lime juice for the best flavor; it makes a world of difference!
- Ensure your cream cheese is softened to room temperature for easy mixing.
- Don’t rush the chilling process; it’s key for the cheesecake to set properly.
- Feel free to make these jars a day in advance; they taste even better after a night in the fridge!
- Experiment with different toppings like berries or coconut for a fun twist!
Equipment Needed
- Mixing bowls: A large bowl for the filling and a smaller one for the crust.
- Electric mixer: A hand mixer works great, but a whisk can do the job too if you’re feeling strong!
- Spoons or spatula: For mixing and layering the cheesecake.
- Jars: Any small jars or cups will work; just ensure they’re clear to show off those beautiful layers!
Variations
- Chocolate Key Lime Cheesecake: Add melted chocolate to the cheesecake filling for a rich twist. Just fold in about 1/4 cup of melted chocolate before layering.
- Fruit-Infused Cheesecake: Mix in pureed strawberries or raspberries for a fruity flavor. This adds a beautiful color and a sweet contrast to the tangy lime.
- Gluten-Free Option: Substitute crushed gluten-free cookies for the graham crackers to make this dessert suitable for gluten-sensitive friends.
- Vegan Version: Use vegan cream cheese and coconut whipped cream instead of regular cream cheese and whipped topping for a plant-based delight.
- Mini Cheesecake Bites: Instead of jars, use mini muffin tins lined with cupcake liners for bite-sized treats. Just adjust the chilling time accordingly!
Serving Suggestions
- Pair your No-bake Key Lime Cheesecake Jars with a refreshing glass of iced tea or lemonade for a perfect summer treat.
- Serve alongside fresh berries like strawberries or blueberries for a pop of color and flavor.
- For a beautiful presentation, arrange the jars on a colorful platter with lime slices and mint leaves.
FAQs about No-bake Key Lime Cheesecake Jars
Can I use regular limes instead of key limes?
Absolutely! While key limes offer a unique flavor, regular limes work just as well in these No-bake Key Lime Cheesecake Jars. Just make sure to adjust the amount to your taste!
How long do these cheesecake jars last in the fridge?
These delightful jars can last up to 3 days in the fridge. Just make sure to cover them tightly to keep them fresh and tasty!
Can I make these jars ahead of time?
Yes! In fact, making them a day in advance allows the flavors to meld beautifully. Just chill them overnight, and they’ll be ready to impress!
What can I use instead of whipped topping?
If you prefer a homemade touch, you can use freshly whipped cream instead of store-bought whipped topping. It adds a lovely richness to your No-bake Key Lime Cheesecake Jars!
Can I freeze these cheesecake jars?
While it’s best to enjoy them fresh, you can freeze the jars for up to a month. Just remember to thaw them in the fridge before serving for the best texture!
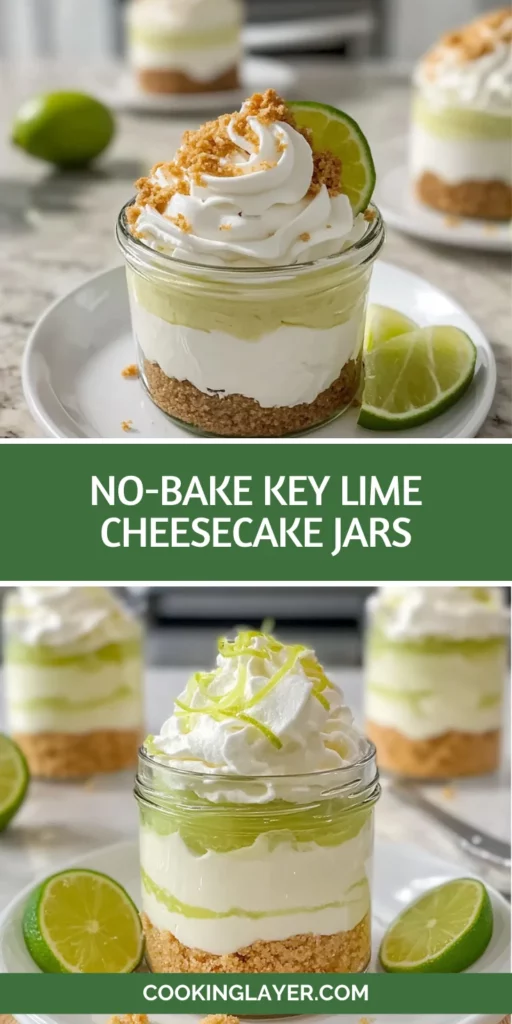
Final Thoughts
Creating these No-bake Key Lime Cheesecake Jars is more than just making a dessert; it’s about crafting sweet memories with loved ones. The joy of seeing their faces light up with each creamy, tangy bite is priceless. Plus, the simplicity of this recipe means you can focus on what truly matters—sharing laughter and stories around the table. Whether it’s a special occasion or a casual weeknight treat, these jars bring a burst of sunshine to any gathering. So, roll up your sleeves, gather your ingredients, and let the delightful flavors of key lime whisk you away!
Print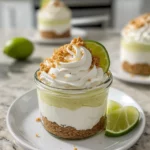
No-bake Key Lime Cheesecake Jars that Delight Every Bite!
- Prep Time: 20 minutes
- Cook Time: 0 minutes
- Total Time: 2 hours 20 minutes
- Yield: 4 servings 1x
- Category: Dessert
- Method: No-bake
- Cuisine: American
- Diet: Vegetarian
Description
A delightful no-bake dessert featuring creamy key lime cheesecake layered in jars, perfect for any occasion.
Ingredients
- 1 cup crushed graham crackers
- 1/4 cup melted butter
- 12 oz cream cheese, softened
- 1 cup powdered sugar
- 1/2 cup key lime juice (freshly squeezed preferred)
- 1 tsp vanilla extract
- 1 cup whipped topping
- Lime slices and zest for garnish (optional)
Instructions
- In a bowl, combine crushed graham crackers and melted butter. Mix until well combined.
- Press the graham cracker mixture into the bottom of each jar to form the crust layer.
- In a large mixing bowl, beat the softened cream cheese until smooth. Gradually add powdered sugar, key lime juice, and vanilla extract, mixing until fully incorporated.
- Fold in the whipped topping gently until the mixture is light and fluffy.
- Spoon the cheesecake mixture over the crust in each jar, layering smoothly.
- Chill in the refrigerator for at least 2 hours before serving to allow the flavors to meld.
- Serve chilled, garnished with lime slices and zest if desired.
Notes
- For best results, use fresh key lime juice.
- Make sure the cream cheese is softened to room temperature for easy mixing.
- This dessert can be made a day in advance for convenience.
Nutrition
- Serving Size: 1 jar
- Calories: 350
- Sugar: 25g
- Sodium: 200mg
- Fat: 22g
- Saturated Fat: 12g
- Unsaturated Fat: 8g
- Trans Fat: 0g
- Carbohydrates: 30g
- Fiber: 1g
- Protein: 4g
- Cholesterol: 50mg


