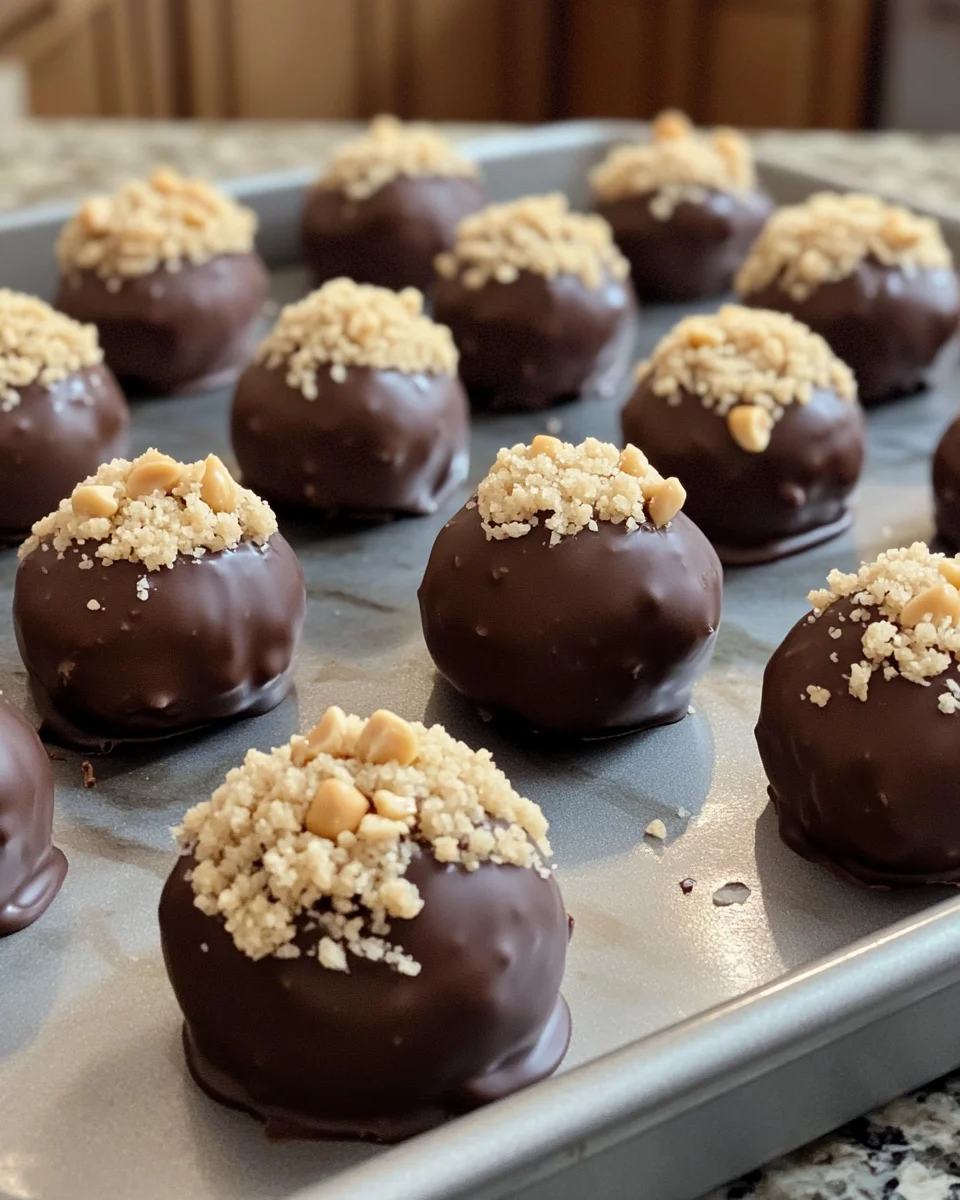
Introduction to No-Bake Peanut Butter Cheesecake Balls
Hey there, fellow food lovers! If you’re anything like me, balancing work, family, and a social life can feel like juggling flaming torches. That’s why I absolutely adore these No-Bake Peanut Butter Cheesecake Balls; they’re a quick solution for those busy days when you still want to whip up something special. These little delights combine creamy peanut butter and rich chocolate into an irresistible treat that’s sure to impress loved ones. Whether you’re hosting friends or just treating the family, this recipe is here to save the day—and your sanity!
Why You’ll Love This No-Bake Peanut Butter Cheesecake Balls
Let me tell you, the charm of these No-Bake Peanut Butter Cheesecake Balls lies in their simplicity. With just a handful of ingredients, you can create a dessert that’s as delicious as it is effortless. They come together in no time, making them perfect for busy moms like us. Plus, who can resist that rich peanut butter flavor paired with chocolate? Sweet cravings, consider yourselves satisfied!
Ingredients for No-Bake Peanut Butter Cheesecake Balls
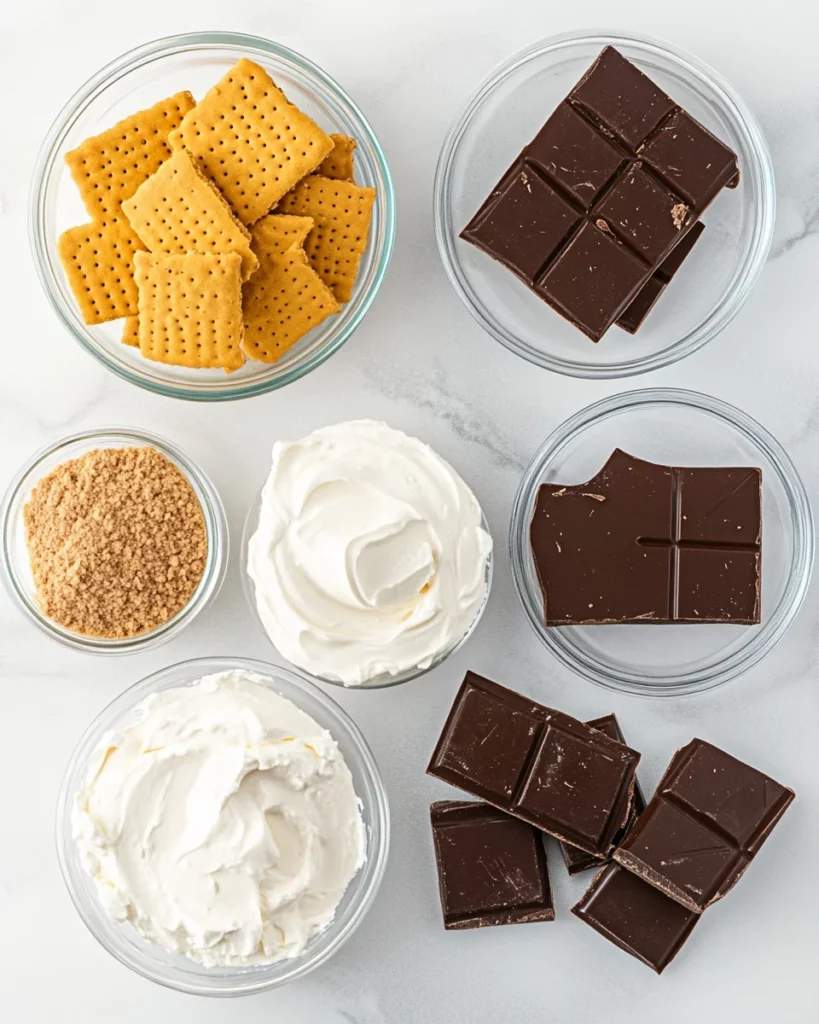
Gathering the right ingredients is half the fun! Here’s what you need to create these delightful No-Bake Peanut Butter Cheesecake Balls:
- Cream Cheese: This creamy base is essential for that rich texture. Make sure it’s softened so you can mix it smoothly!
- Peanut Butter: Adds that nutty, delicious flavor we all love. Choose creamy for a smooth consistency or crunchy if you prefer a little texture.
- Powdered Sugar: A quick and easy way to sweeten without grittiness. It blends perfectly with cream cheese for an ultra-smooth filling.
- Vanilla Extract: Just a splash brings out the sweetness and enhances the overall flavor profile. Pure vanilla is always a lovely choice!
- Graham Cracker Crumbs: They not only provide a hint of sweetness but also give these balls that classic cheesecake texture. You can crush them easily with a rolling pin.
- Chocolate Chips: Whether you choose milk or dark chocolate, this is the final touch that makes these treats irresistible. The choice depends on your personal taste!
- Crushed Peanuts: This is optional, but rolling the balls in crushed peanuts offers an extra crunchy coating that complements the creamy filling beautifully.
Don’t worry if you’re feeling adventurous! You can find exact measurements at the bottom of the article for those who want to print the recipe. Happy cooking!
How to Make No-Bake Peanut Butter Cheesecake Balls
Ready to indulge in some deliciousness? Making No-Bake Peanut Butter Cheesecake Balls is surprisingly simple. Just follow these easy steps, and you’ll be on your way to a delightful treat that everyone will love.
Step 1: Mix the Cream Cheese and Peanut Butter
Start by placing your softened cream cheese and creamy peanut butter into a large mixing bowl. Use a hand mixer to blend them until smooth and creamy. This step is crucial for creating a luscious base that’s neither too stiff nor runny.
Step 2: Add Sugar and Vanilla
Next, sprinkle in the powdered sugar and pour in the vanilla extract. These ingredients are game-changers, enhancing the flavor and sweetness of the filling. The powdered sugar helps to keep that velvety texture we’re aiming for, making each bite a delight!
Step 3: Incorporate Graham Cracker Crumbs
Now it’s time for the graham cracker crumbs. Slowly fold them into the mixture until well combined. These crumbs not only add sweetness but also give your cheesecake balls that iconic cheesecake texture, making each bite feel indulgent and satisfying.
Step 4: Roll Into Balls
With your mixture ready, it’s time to roll! Use your hands or a small cookie scoop to form 1-inch balls. This size is perfect for popping in your mouth, so take your time to achieve a consistent shape and size. They will look delightful once coated!
Step 5: Prepare Chocolate Coating
For the chocolate coating, melt your chocolate chips carefully. You can use a microwave, heating them in 20-30 second intervals, or a double boiler if you prefer. This step is crucial; a perfectly melted chocolate coats the balls smoothly, giving them a glossy finish.
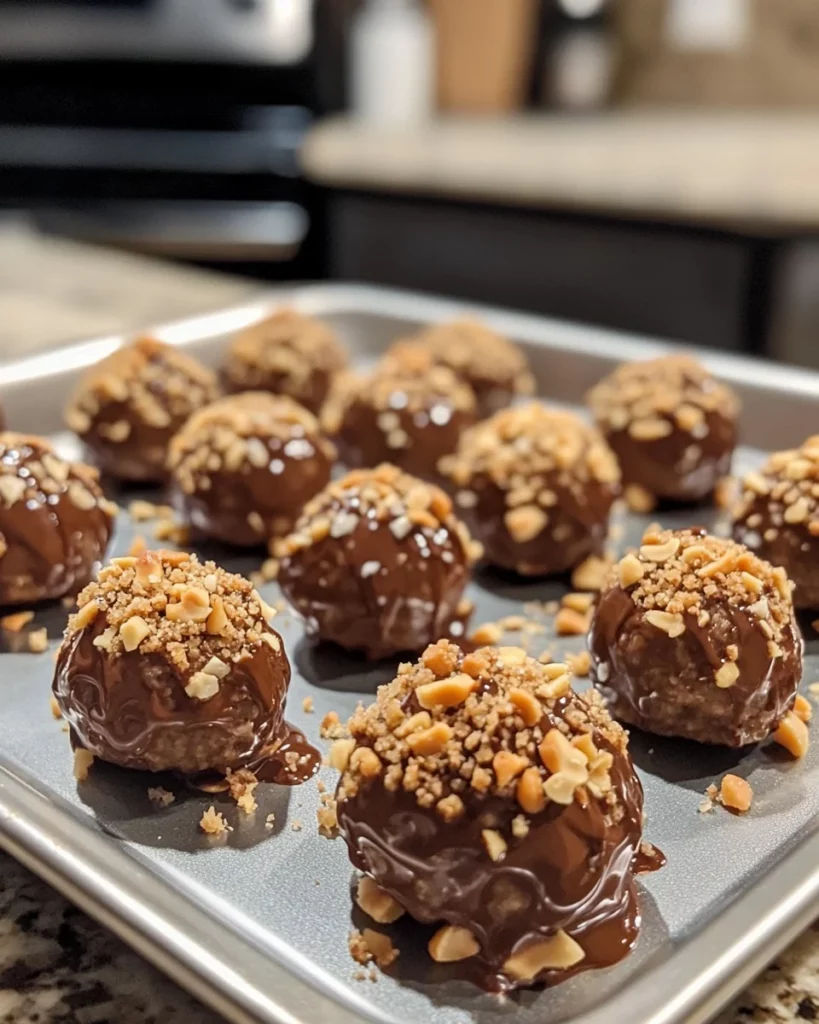
Step 6: Dip and Coat the Cheesecake Balls
Once the chocolate is melted, dip each cheesecake ball in, ensuring they are fully coated. This is where the presentation comes alive! A thorough coat not only improves the look but adds a rich chocolatey flavor that beautifully complements the peanut butter.
Step 7: Chill and Serve
Finally, place your chocolate-covered cheesecake balls back on a parchment-lined tray and refrigerate for at least 30 minutes. Chilling not only sets the chocolate but also allows all the flavors to meld together, creating a more delicious treat. Now, you’re ready to serve!
Tips for Success
- For the creamiest texture, ensure your cream cheese is at room temperature before mixing.
- Use a cookie scoop for uniform balls, making them visually appealing and easy to serve.
- Don’t rush melting the chocolate; slow and steady ensures a smooth, glossy coating.
- Experiment with different chocolate types for variety—dark, milk, or even white chocolate!
- For extra flavor, try adding a pinch of sea salt on top before serving—it’s divine!
Equipment Needed
- Mixing Bowl: A large bowl to combine ingredients. A glass bowl works well as it’s easy to clean.
- Electric Mixer: A hand mixer speeds up the process, but a wooden spoon does the trick too.
- Scoop: A cookie scoop ensures uniform balls, but you can also use your hands.
- Microwave or Double Boiler: For melting chocolate, either method works; just choose what’s easiest for you.
- Parchment Paper: Perfect for lining your tray to prevent sticking. Wax paper can be used as a substitute.
Variations
- Nut-Free Version: Substitute creamy sunflower seed butter for peanut butter if you need a nut-free option. The flavor is still delicious!
- Dark Chocolate Delight: Use dark chocolate chips for the coating if you’re a chocolate lover. It pairs beautifully with the richness of peanut butter.
- Protein-Packed: Add a scoop of protein powder to the mixture for an extra nutritional boost. This is great for post-workout snacking!
- Mint Chocolate: Stir in a few drops of mint extract for a refreshing mint chocolate twist that will surprise your taste buds!
- Gluten-Free Option: Ensure you use gluten-free graham crackers or swap with crushed gluten-free cookies for an equally delightful texture.
Serving Suggestions
- Pair with Fresh Fruit: Serve these No-Bake Peanut Butter Cheesecake Balls alongside sliced strawberries or bananas for a fresh contrast.
- Gourmet Drinks: A glass of cold milk or a rich mocha pairs beautifully with these treats.
- Presentation: Arrange the balls on a decorative platter or tiered cake stand for an eye-catching display at gatherings.
- Mini Dessert Cups: Place each ball in mini cupcake liners for easy serving and a cute touch.
FAQs about No-Bake Peanut Butter Cheesecake Balls
Can I make No-Bake Peanut Butter Cheesecake Balls ahead of time?
Absolutely! These treats can be prepared a day in advance. Just store them in an airtight container in the fridge until you’re ready to serve. They actually taste even better after the flavors have melded!
What type of peanut butter should I use?
I recommend using creamy peanut butter for the best texture. Crunchy peanut butter is fun too, adding an extra crunch. Just make sure it’s a good quality brand for the richest flavor!
How do I store leftovers?
Leftovers can be kept in an airtight container in the fridge for up to a week. If they last that long! Just remember to bring them to room temperature for the best flavor before enjoying.
Can I use sugar substitutes in this recipe?
Yes, you can! Feel free to swap out powdered sugar for a sugar substitute if you’re looking for a lower-calorie option. Just keep in mind that the texture might vary slightly.
How can I customize the chocolate coating?
Getting creative with the chocolate coating is encouraged! You can use milk, dark, or even white chocolate. Add sprinkles or drizzle melted chocolate on top for a festive flair. Enjoy experimenting!
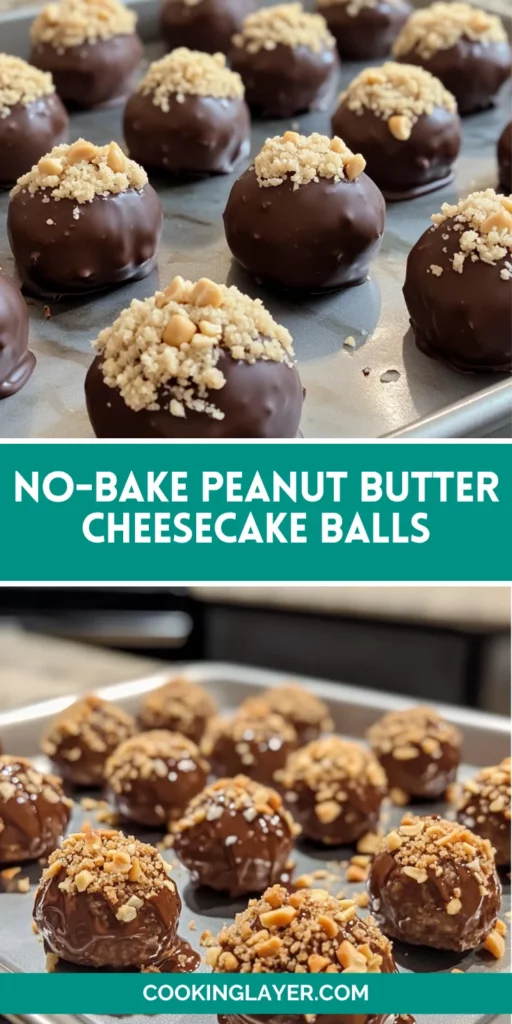
Final Thoughts
Creating these No-Bake Peanut Butter Cheesecake Balls brings sheer joy to my busy kitchen. They combine convenience and indulgence into a simple treat that feels like a little slice of heaven. Whether you’re surprising your kids after school or bringing a dessert to a potluck, these little bites won’t disappoint. Plus, the smiles on your loved ones’ faces make all the effort worthwhile. Embrace the sweet simplicity and delight in sharing these delectable bites. I promise they’ll leave everyone asking for more and wondering when the next batch will be ready!
Print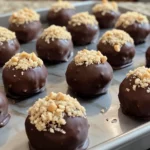
No-Bake Peanut Butter Cheesecake Balls are Irresistible!
- Prep Time: 15 minutes
- Cook Time: 0 minutes
- Total Time: 1 hour 15 minutes
- Yield: 24 balls 1x
- Category: Dessert
- Method: No-Bake
- Cuisine: American
- Diet: Vegetarian
Description
No-Bake Peanut Butter Cheesecake Balls are a delightful and easy-to-make dessert that combines creamy peanut butter and rich chocolate for an indulgent treat.
Ingredients
- 8 oz cream cheese, softened
- 1 cup creamy peanut butter
- 1/2 cup powdered sugar
- 1 teaspoon vanilla extract
- 1 cup graham cracker crumbs
- 1 cup chocolate chips (milk or dark)
- 1/4 cup crushed peanuts (for rolling, optional)
Instructions
- In a large mixing bowl, combine the softened cream cheese and peanut butter. Use a hand mixer or stand mixer to beat the mixture until smooth and creamy.
- Add the powdered sugar and vanilla extract to the bowl, mixing well. Then, gradually fold in the graham cracker crumbs until fully combined.
- Using your hands or a small cookie scoop, roll the mixture into 1-inch balls. Place the balls onto a parchment-lined baking sheet or plate.
- While the cheesecake balls are chilling, melt the chocolate chips in 20-30 second intervals in the microwave or using a double boiler method.
- Dip each cheesecake ball into the melted chocolate, ensuring they are completely coated, then place them back onto the parchment-lined tray.
- If desired, roll the chocolate-covered balls in crushed peanuts for additional texture.
- Return the balls to the fridge and chill for at least 30 minutes, or until the chocolate is set.
- Serve these delicious no-bake peanut butter cheesecake balls as a sweet treat and enjoy!
Notes
- Store leftovers in an airtight container in the fridge for up to a week.
- Feel free to experiment with different types of chocolate for dipping.
- For a low-calorie option, consider using reduced-fat cream cheese or sugar substitutes.
Nutrition
- Serving Size: 1 ball
- Calories: 150
- Sugar: 8g
- Sodium: 70mg
- Fat: 9g
- Saturated Fat: 4g
- Unsaturated Fat: 5g
- Trans Fat: 0g
- Carbohydrates: 15g
- Fiber: 1g
- Protein: 3g
- Cholesterol: 15mg


