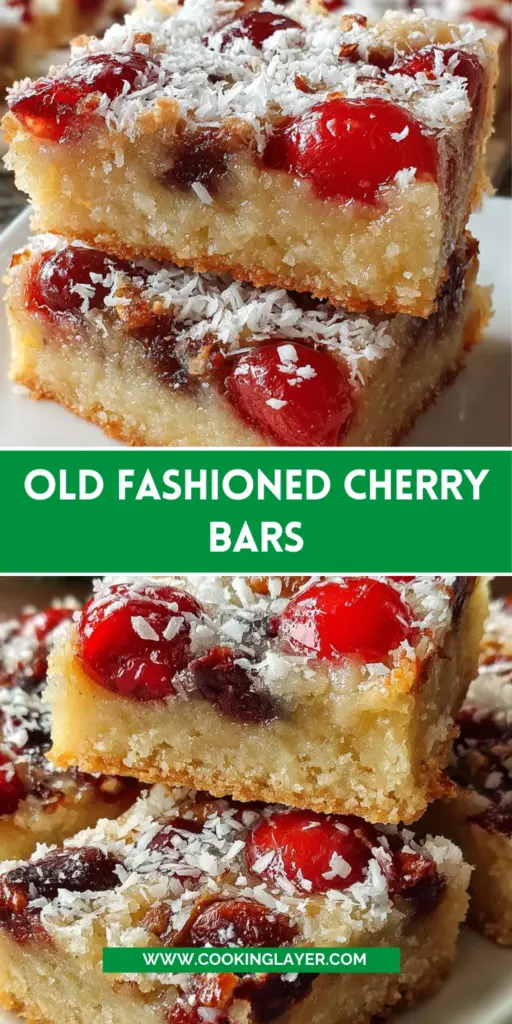
Introduction to Old Fashioned Cherry Bars
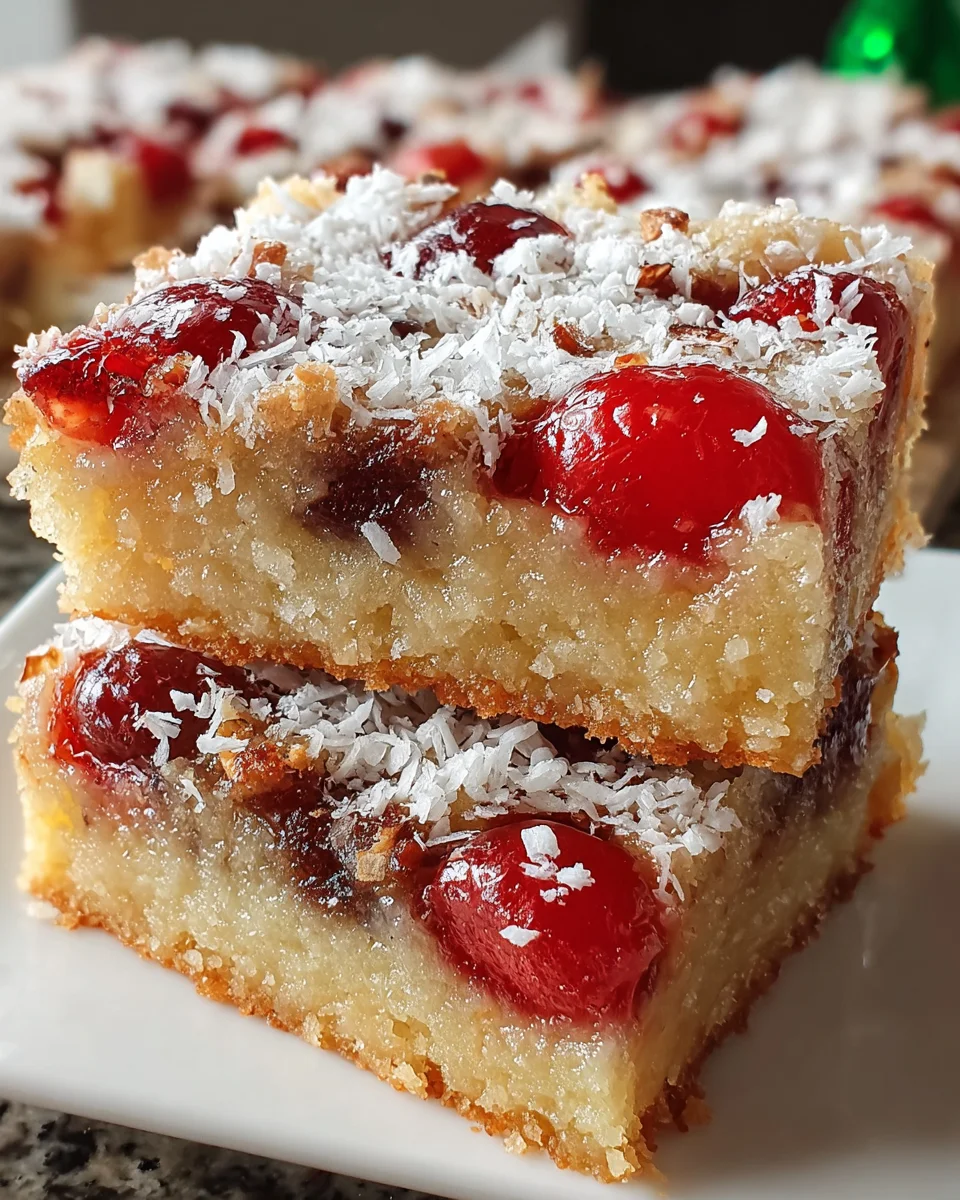
Every bustling kitchen has its showstoppers, and for me, that’s the Old Fashioned Cherry Bars. These gems are like a sweet hug on a plate. With their buttery base, vibrant cherries, and a sprinkle of coconut, they bring us warmth and nostalgia in every bite.
As a busy mom, I often find myself racing against time, but these delightful cherry bars are a quick solution for a satisfying dessert. Whether you want to impress your loved ones or simply indulge in a treat after dinner, this recipe is your go-to for a delightful retro experience!
Why You’ll Love This Old Fashioned Cherry Bars
These Old Fashioned Cherry Bars are a total winner! They combine ease and flavor in one delicious package. You can whip them up quickly, perfect for those busy weekdays or unexpected guests. Plus, the combination of cherry and coconut offers a taste of nostalgia that transports you back to carefree days. Everyone will be asking for the recipe, making you the star of your own kitchen!
Ingredients for Old Fashioned Cherry Bars
When it comes to whipping up Old Fashioned Cherry Bars, gathering the right ingredients makes all the difference. Here’s what you’ll need:
- All-Purpose Flour: This forms the heart of the buttery base. It gives that wonderful crumbly texture.
- Icing Sugar: Also known as powdered sugar, it sweetens the base and creates a melt-in-your-mouth feel.
- Unsalted Butter: I love using unsalted butter for control over the saltiness. It adds richness and flavor.
- Brown Sugar: It offers a deep, sugary richness and moisture that elevates the entire dish.
- Glacè Cherries: These little fruity gems add brightness and a juicy burst. Quartered, they mix easily throughout the bars.
- Eggs: They provide structure and help bind everything together. You want fluffy, not dense bars!
- Dried Coconut: The fine cut coconut brings a delightful chewiness and enhances the flavor profile.
- Vanilla Extract: A splash of this warm, fragrant extract rounds out the sweetness beautifully.
- Chopped Pecans (optional): If you like a bit of crunch, these are a fantastic addition. They bring nutty flavors to each bite.
Keep in mind, the exact measurements for each ingredient can be found at the bottom of this article, along with an easy-to-print version for your convenience. Enjoy gathering your ingredients; you’re about to create something truly lovely!
How to Make Old Fashioned Cherry Bars
Making Old Fashioned Cherry Bars is easier than you might think! Follow these simple steps, and you’ll have a delightful treat that will quickly become a family favorite.
Step 1: Prepare Your Baking Pan
Start by lightly greasing a 23 x 33 cm baking pan. Then line it with parchment paper for easy removal later. This little trick saves a mess while ensuring your bars stay intact. Preheat your oven to 175°C, so it’s nice and hot when you’re ready to bake!
Step 2: Mix the Base
In a mixing bowl, combine the all-purpose flour, icing sugar, and unsalted butter. Use your fingers to rub the butter into the dry ingredients until it resembles coarse crumbs. If you prefer, you can pulse it in a food processor for speed.
Step 3: Bake the Base
Now, press the crumb mixture evenly into the bottom of your prepared baking pan. This creates a sturdy base for your bars. Bake in the preheated oven for about 20 minutes or until the edges just begin to brown. The smell? Absolutely divine!
Step 4: Prepare the Topping
While the base is baking, let’s whip up the topping. In a large bowl, whisk together the brown sugar, eggs, vanilla extract, fine cut dried coconut, quartered glacé cherries, and optional pecans. Combine until everything is nicely blended. You can already taste the joy in your kitchen!
Step 5: Spread and Bake Again
Take your cherry mixture and spread it evenly over the pre-baked base. Make sure it fills every nook and cranny—it’ll sink into the best parts! Slide the pan back into the oven and bake for another 25-30 minutes. You want the topping to be set and lightly golden. Keep an eye on it—this is where your bars transition from good to sublime!
Step 6: Cool and Cut
Once baked, allow the cherry bars to cool completely in the pan before lifting them out using the parchment paper. This is crucial! Once cool, cut them into squares or bars for serving. Trust me; taking that first bite will be a nostalgic journey you won’t forget!
Tips for Success
- Allow the bars to rest for a few hours after baking; it enhances the flavors.
- For a crispier bottom, try baking the base a bit longer, just until golden.
- Don’t skip the parchment paper; it makes removal effortless!
- Feel free to experiment with nuts—walnuts or almonds work great too.
- Store any leftovers in an airtight container to keep them fresh.
Equipment Needed
- Baking pan (23 x 33 cm) – A similar size glass or metal pan works too!
- Parchment paper – If you’re out, greasing the pan directly will do.
- Mixing bowls – A large bowl for the topping and a smaller one for the base.
- Whisk – A fork can be a handy stand-in if needed.
- Measuring cups and spoons – Accurate measurements make a difference!
Variations
- For a chocolatey twist, add chocolate chips to the cherry mixture before baking.
- Try using dried cranberries or blueberries instead of glacé cherries for a fruity spin.
- Opt for gluten-free flour to make a gluten-free version of these delightful bars.
- For a tropical vibe, replace half the icing sugar with pineapple juice and add a touch of shredded coconut.
- Swapping out pecans for walnuts gives a different nutty flavor that pairs beautifully with cherries.
Serving Suggestions for Old Fashioned Cherry Bars
- Serve warm with a scoop of vanilla ice cream for a delightful contrast.
- Pair with a dollop of whipped cream for added decadence.
- Drizzle with chocolate or caramel sauce for an extra treat.
- Enjoy alongside a hot cup of coffee or tea.
- Garnish with a sprinkle of powdered sugar for an elegant touch.
FAQs about Old Fashioned Cherry Bars
Can I make Old Fashioned Cherry Bars ahead of time?
Absolutely! These bars actually taste better when they sit for a few hours or even overnight. Just make sure to store them in an airtight container to maintain freshness.
What can I substitute for glacé cherries?
If glacé cherries aren’t your thing, feel free to use dried cranberries or blueberries. They still add a pop of color and flavor to your bars!
How do I store leftover bars?
Store your Old Fashioned Cherry Bars in an airtight container at room temperature for up to four days. If you want to keep them longer, refrigeration will work fine!
Can I freeze Old Fashioned Cherry Bars?
Yes! They freeze very well. Just wrap them individually in plastic wrap and place them in a freezer-safe container. Enjoy them within three months for the best flavor!
What’s a perfect drink pairing for these bars?
These cherry bars are divine with a hot cup of coffee or a smooth cup of tea. It enhances the sweet and fruity notes, making a delightful pairing!
Final Thoughts
Making Old Fashioned Cherry Bars isn’t just about baking; it’s about creating moments filled with joy and nostalgia. Each bite brings a comforting wave of sweetness that feels like a warm hug, perfect for sharing with family or enjoying on a quiet afternoon.
I love how these bars can brighten up a hectic week or make special occasions even more memorable. So, whether you’re gathering around the kitchen table or enjoying them solo, let each square of cherry goodness remind you of simpler times, allowing you to savor life’s delicious moments. Happy baking!
Print
Old Fashioned Cherry Bars
- Prep Time: 15 minutes
- Cook Time: 50 minutes
- Total Time: 1 hour 5 minutes
- Yield: 16 servings 1x
- Category: Dessert
- Method: Baking
- Cuisine: American
- Diet: Vegetarian
Description
Old Fashioned Cherry Bars are a delightful retro treat featuring a buttery base topped with cherries, nuts, and coconut.
Ingredients
- 250 grams all-purpose flour
- 30 grams icing sugar (powdered sugar)
- 227 grams unsalted butter
- 330 grams firmly packed brown sugar
- 300 grams glacé cherries, cut in quarters
- 4 large eggs
- 80 grams fine cut dried coconut
- 5 millilitres vanilla extract
- 110 grams chopped pecans (optional)
Instructions
- Lightly grease a 23 x 33 cm baking pan and line with parchment paper. Preheat oven to 175°C.
- Combine the flour, icing sugar, and butter in a bowl. Rub the butter through the mixture by hand until the texture resembles coarse crumbs, or pulse in a food processor until crumbly.
- Press the crumb mixture evenly into the base of the prepared pan. Bake for 20 minutes, or until edges just begin to brown. Remove from oven.
- In a large bowl, whisk together brown sugar, eggs, vanilla extract, dried coconut, glacé cherries, and chopped pecans (if using) until well combined.
- Spread the cherry mixture evenly over the pre-baked base. Return pan to oven and bake for 25–30 minutes, until the topping is set and lightly golden.
- Allow to cool completely in the pan. Lift out with parchment, then cut into bars or squares for serving.
Notes
- For a better flavor, allow the bars to sit for a few hours before cutting.
- Store in an airtight container to maintain freshness.
- Optional: Add a sprinkle of shredded coconut on top for decoration.
Nutrition
- Serving Size: 1 bar
- Calories: 250
- Sugar: 20 grams
- Sodium: 150 mg
- Fat: 15 grams
- Saturated Fat: 8 grams
- Unsaturated Fat: 5 grams
- Trans Fat: 0 grams
- Carbohydrates: 30 grams
- Fiber: 1 gram
- Protein: 3 grams
- Cholesterol: 50 mg


