There’s something deeply comforting about peanut butter. It’s familiar, cozy, and nostalgic in a way few ingredients can match. One bite can instantly take you back to childhood snacks, late-night spoonfuls from the jar, or homemade treats shared around the kitchen table. These Creamy Peanut Butter Bliss Balls capture all of that comfort in a single, perfectly smooth bite—and then take it a step further.
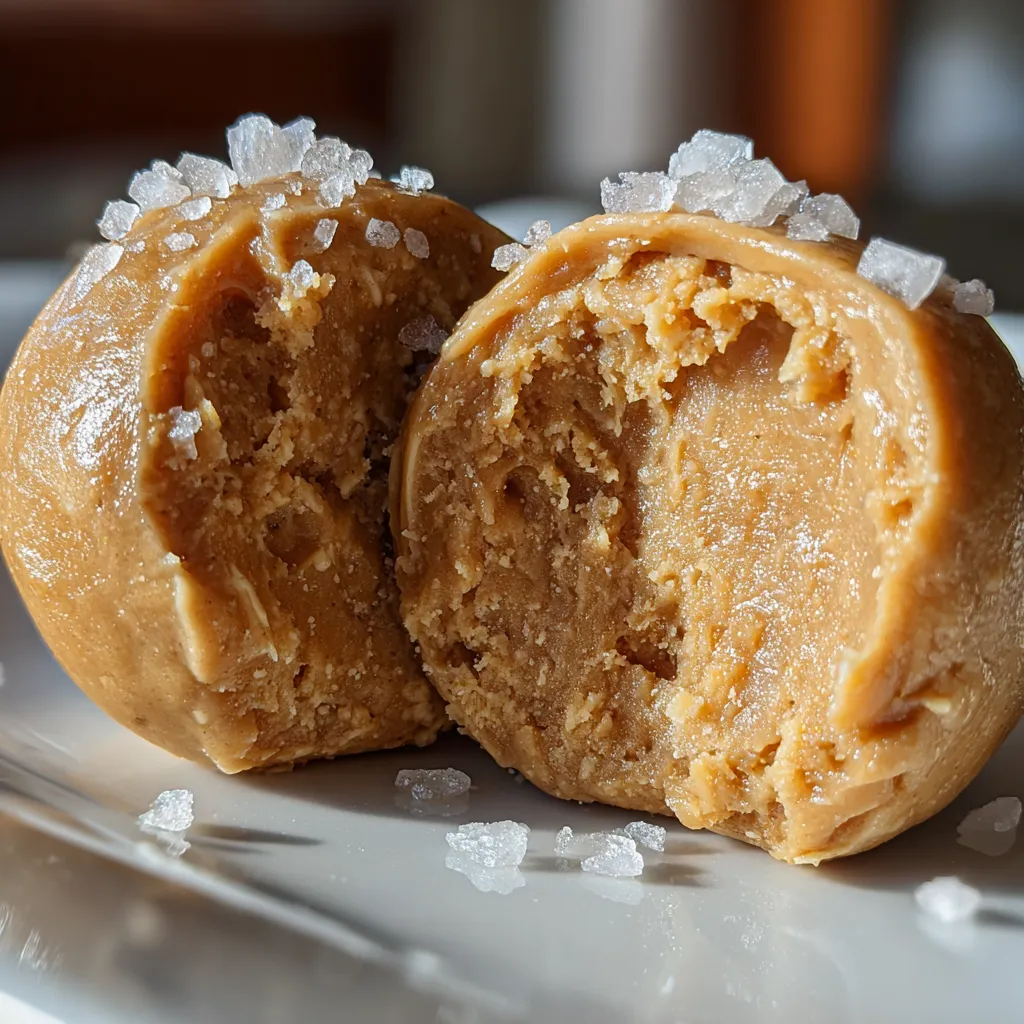
These bliss balls are ultra-smooth, glossy, and melt-in-your-mouth soft, just like the image you see. No cracks. No crumbs. No baking. Just rich peanut butter sweetness finished with a delicate sprinkle of flaky sea salt that makes every bite feel intentional and indulgent. They’re the kind of treat that looks fancy but secretly couldn’t be easier to make.
Whether you’re craving something sweet, need a quick no-bake dessert, or want a reliable recipe that always impresses, this one checks every box. Let’s break it down, step by step, and make sure your final result looks exactly like the photo—soft, creamy, and absolutely irresistible.
Why This Recipe Is Pure Comfort in One Bite
Not all desserts need layers, ovens, or complicated techniques to feel special. Sometimes, the simplest recipes deliver the most joy—and that’s exactly what’s happening here. These peanut butter bliss balls are built around texture and balance, not complexity.
The moment you bite into one, it gently gives way. No chewiness. No dryness. Just a smooth, creamy center that slowly melts on your tongue. That’s not an accident—it’s the result of carefully chosen ingredients and a method designed to keep everything soft and glossy.
Another reason this recipe works so well? It’s no-bake. That means no worrying about oven temperatures, overbaking, or timing disasters. You mix, roll, chill, and enjoy. It’s approachable, stress-free, and perfect for beginners or seasoned home cooks alike.
And let’s not forget the salt. That light dusting of flaky sea salt on top doesn’t just look pretty—it sharpens the sweetness and makes the peanut butter flavor pop. Sweet and salty is a classic for a reason, and here, it’s done just right.
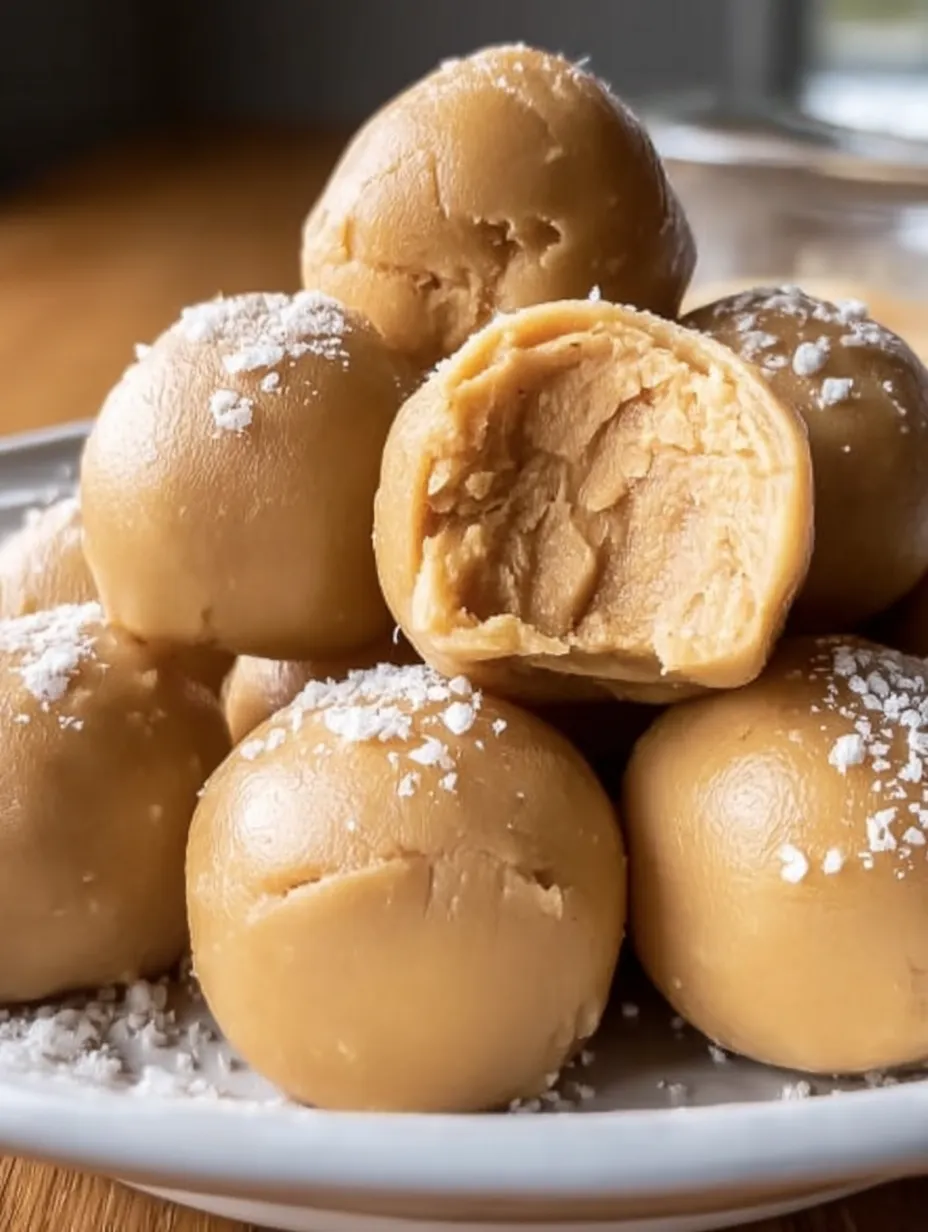
A Closer Look at the Bliss Balls in the Photo
The image tells us everything we need to know about how these bliss balls should turn out. They’re smooth and glossy, with a soft, almost truffle-like appearance. The color is a warm, light peanut butter beige—not too dark, not oily, and definitely not crumbly.
One of the balls is cut open, and that cross-section is key. You can see the interior is dense yet creamy, with no graininess. That tells us the dough was mixed thoroughly, the powdered sugar was sifted, and the chilling time was just enough to set the shape without hardening the center.
The flaky salt sprinkled on top is subtle and uneven, which is exactly what you want. It shouldn’t cover the surface or dissolve completely—it should sit delicately on top, catching the light and adding contrast.
To match this final product, a few small but important adjustments matter:
- Using powdered sugar, not granulated
- Choosing no-stir creamy peanut butter
- Mixing long enough to create gloss
- Chilling just until set, not firm
Stick with these details, and your bliss balls will look just like the photo.
What Makes These Peanut Butter Bliss Balls Different
You might be thinking, “Aren’t these just peanut butter balls?” Not quite. Traditional peanut butter balls are often firmer, sometimes dipped in chocolate, and usually more dense or chewy. These bliss balls are different by design.
First, the texture. These are intentionally soft. They hold their shape but yield easily when bitten. That melt-in-your-mouth quality comes from the balance of fat (peanut butter), liquid sweetener (honey or maple syrup), and finely milled sugar.
Second, the sweetness level. They’re sweet, but not aggressively so. The honey or maple syrup adds depth rather than just sugariness, and the salt keeps everything in check.
Finally, the finish. The glossy exterior and flaky salt topping give these a refined, almost bakery-style appearance—without any complicated steps. They feel special, even though they’re incredibly simple.
Ingredient Breakdown: Simple, Purposeful, Perfect
Creamy Peanut Butter
This recipe lives or dies by the peanut butter you choose. For the smooth, polished look in the photo, creamy, no-stir peanut butter is essential. This type of peanut butter is fully emulsified, meaning the oils are evenly distributed throughout.
Natural peanut butter, where oil separates on top, tends to create a looser, greasier dough that won’t hold the same smooth shape. It can also make the interior grainy instead of creamy.
Stick with a classic creamy peanut butter for:
- Smooth texture
- Consistent structure
- That glossy, uniform finish
Honey or Light Maple Syrup
This ingredient does more than sweeten. Honey or light maple syrup adds moisture, shine, and helps bind everything together. Honey creates a slightly firmer set and a floral sweetness, while maple syrup gives a softer texture and a warm, caramel-like note.
Both work beautifully, so the choice comes down to personal preference. Just make sure it’s a light-colored syrup, not something dark or strongly flavored, to maintain the color and look seen in the image.
Powdered Sugar
Powdered sugar is the secret to that silky interior. Unlike granulated sugar, it dissolves instantly into the dough, creating a smooth, almost fudge-like consistency.
Sifting the powdered sugar is not optional if you want a flawless result. Even small lumps can ruin the texture and prevent that melt-in-your-mouth feel.
Salt: The Secret Weapon
A tiny pinch of fine sea salt in the dough enhances the peanut butter flavor without making the balls taste salty. Then, the flaky sea salt on top adds contrast and visual appeal.
This two-layer approach to salt is what makes the sweetness feel balanced and intentional instead of flat.
How These Ingredients Work Together
At its core, this recipe is about balance. The fat from the peanut butter creates richness. The liquid sweetener provides moisture and shine. The powdered sugar thickens and stabilizes the mixture. Salt sharpens everything.
There’s no baking because nothing needs to cook. The dough sets through chilling, not heat. As it cools, the fats firm up just enough to hold shape while staying creamy inside.
That’s why over-chilling can be a mistake. Too much time in the fridge will make them hard instead of soft. The goal is set, not solid.
Step-by-Step Instructions (With Pro Tips)
Ingredients
- 1 cup creamy peanut butter (smooth & no-stir)
- ½ cup honey or light maple syrup
- 1½ cups powdered sugar, sifted
- Pinch of fine sea salt (optional)
- Flaky sea salt, for topping
Step 1: Creating the Glossy Base
In a mixing bowl, beat the peanut butter and honey together for 2–3 minutes. This step matters more than it sounds. You’re not just combining—you’re emulsifying.
The mixture should look:
- Smooth
- Shiny
- Slightly lighter in color
If it looks dull or thick, keep mixing.
Step 2: Building the Dough
Gradually add the sifted powdered sugar while mixing on low speed. Don’t dump it all in at once. Slow addition prevents lumps and keeps the dough silky.
After 3–4 minutes, you should have a soft, pliable dough that doesn’t stick aggressively to your fingers.
Step 3: Flavor Balancing
Add a small pinch of fine sea salt and mix briefly. This step is subtle but important—it wakes up the peanut butter flavor and keeps the sweetness from feeling heavy.
Step 4: Rolling Perfect Bliss Balls
Scoop small portions and roll gently between your palms. Don’t press too hard. Let the warmth of your hands smooth the surface naturally.
Aim for uniform size so they chill evenly.
Step 5: The Finishing Touch
Place the balls on a parchment-lined plate and sprinkle lightly with flaky sea salt. A little goes a long way. You want contrast, not coverage.
Step 6: Chilling for the Ideal Texture
Chill for 20–30 minutes. This is just enough time for them to set while staying creamy inside.
Texture, Taste, and Mouthfeel: What to Expect
The first bite is soft and yielding. The peanut butter flavor is front and center—rich but not overwhelming. The sweetness comes through gently, followed by a subtle salty finish.
At room temperature, they become even softer, almost truffle-like. That’s when the melt-in-your-mouth quality really shines.
Why This Is the Perfect No-Bake Dessert
This recipe is forgiving, fast, and reliable. It doesn’t require special equipment or advanced skills. It’s the kind of dessert you can make on a whim and still feel proud to serve.
It’s also endlessly shareable. Few people say no to peanut butter, especially when it looks this good.
Serving Ideas and Presentation Tips
Serve them on a simple plate, stacked casually like in the photo. The natural gloss and salt flakes do all the work. For gifting, place them in mini paper cups inside a small box.
They also shine on dessert boards alongside fruit, chocolate, or cookies.
Print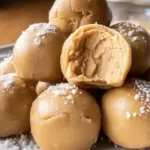
Creamy Peanut Butter Bliss Balls
- Prep Time: 10 minutes
- Total Time: 35 minutes
- Category: No-Bake Desserts / Sweet Treats / Snack Bites
Description
🥜 Ultra-smooth, melt-in-your-mouth, and perfectly sweet! ✨ These little peanut butter bites are glossy, soft, and irresistibly rich, finished with a delicate sprinkle of flaky sea salt that melts into every bite. They’re the kind of treat that quietly disappears from the fridge, one by one, because everyone keeps coming back for “just one more.” 🍬💛
Ingredients
1 cup creamy peanut butter (smooth & no-stir for the silkiest texture) 🥜
½ cup honey or light maple syrup 🍯
1½ cups powdered sugar, sifted for a smooth finish
A small pinch of fine sea salt (optional, for balance) 🧂
Flaky sea salt, for topping ✨
Instructions
In a mixing bowl, beat the creamy peanut butter and honey together until silky smooth and glossy. 🥄✨
⏱️ 2–3 minutesGradually add the powdered sugar, mixing slowly until a soft, creamy dough forms that pulls cleanly from the bowl. 🤍
⏱️ 3–4 minutesAdd a small pinch of fine sea salt, if using, and mix briefly to bring out the sweetness of the peanut butter. 🧂
⏱️ 30 secondsScoop small portions and gently roll between your palms to form smooth, round balls. There’s something soothing about this step, like shaping little bites of comfort. 😋
⏱️ 5 minutesPlace the balls on a parchment-lined plate and lightly sprinkle with flaky sea salt for that photo-perfect, bakery-style finish. ✨
⏱️ 1 minuteChill until set on the outside but still creamy inside, the way they melt softly as soon as you bite in. ❄️
⏱️ 20–30 minutes
Notes
These bliss balls are best made with no-stir creamy peanut butter to keep the texture ultra-smooth and glossy. Natural peanut butter can work, but the consistency may be softer.
If the mixture feels too sticky, chilling it for 5 minutes before rolling makes shaping much easier.
The flavor deepens after a short chill, making them even more melt-in-your-mouth the next day.
A light sprinkle of flaky sea salt on top balances the sweetness and gives that irresistible bakery-style finish.
Store in an airtight container in the refrigerator for up to 5 days—if they last that long.
Nutrition
- Serving Size: 18–20 balls
- Calories: ~120 kcal per ball
Storage, Shelf Life, and Make-Ahead Tips
Store in an airtight container in the fridge for up to 7 days. Let them sit at room temperature for a few minutes before serving to soften.
They can be frozen, but for the best texture, fresh or refrigerated is ideal.
You may also like :
Peanut Butter Cornflake Cookies (No-Bake Classic)
No-Bake Chocolate Peanut Butter Rice Krispie Squares (Thick & Bakery-Style)
Easy Variations (Without Losing the Look)
- Dip halfway in melted chocolate for contrast
- Use almond butter for a slightly different flavor
- Add a touch of vanilla for warmth
Keep changes minimal to preserve that smooth, glossy appearance.
Common Mistakes and How to Avoid Them
- Using natural peanut butter → results in oily texture
- Skipping sifting → causes graininess
- Over-chilling → makes them too firm
Stick to the method, and you’ll nail it.
Nutrition Breakdown (Approximate)
- ~120 kcal per ball
- Rich and satisfying, so one or two is plenty
This is indulgence done right.
Why These Bliss Balls Are Always a Crowd Favorite
They’re familiar but elevated. Simple but polished. Sweet, salty, creamy, and comforting. Whether for guests or just yourself, they never disappoint.
Final Thoughts: Simple Ingredients, Big Joy
These Creamy Peanut Butter Bliss Balls prove that you don’t need complicated steps to create something special. With the right technique and a little attention to detail, you get a dessert that looks beautiful, tastes incredible, and feels like pure comfort in every bite.
Save this recipe. Make it once, and it’ll become a favorite.
Similar recipes :
Peanut Butter Rice Krispie Treats with M&M’s and Chocolate Chips
Peanut Butter Rice Krispie Balls – Your New Favorite No-Bake Treat
Frequently Asked Questions
1. Can I use natural peanut butter?
It’s not recommended for this texture. No-stir works best.
2. Can I reduce the sugar?
Reducing sugar will affect structure and smoothness.
3. How long do they last?
Up to 7 days refrigerated.
4. Can I make them vegan?
Yes, use maple syrup instead of honey.
5. Why aren’t mine as smooth as the photo?
Most likely the sugar wasn’t sifted or the mixture wasn’t beaten long enough.


