
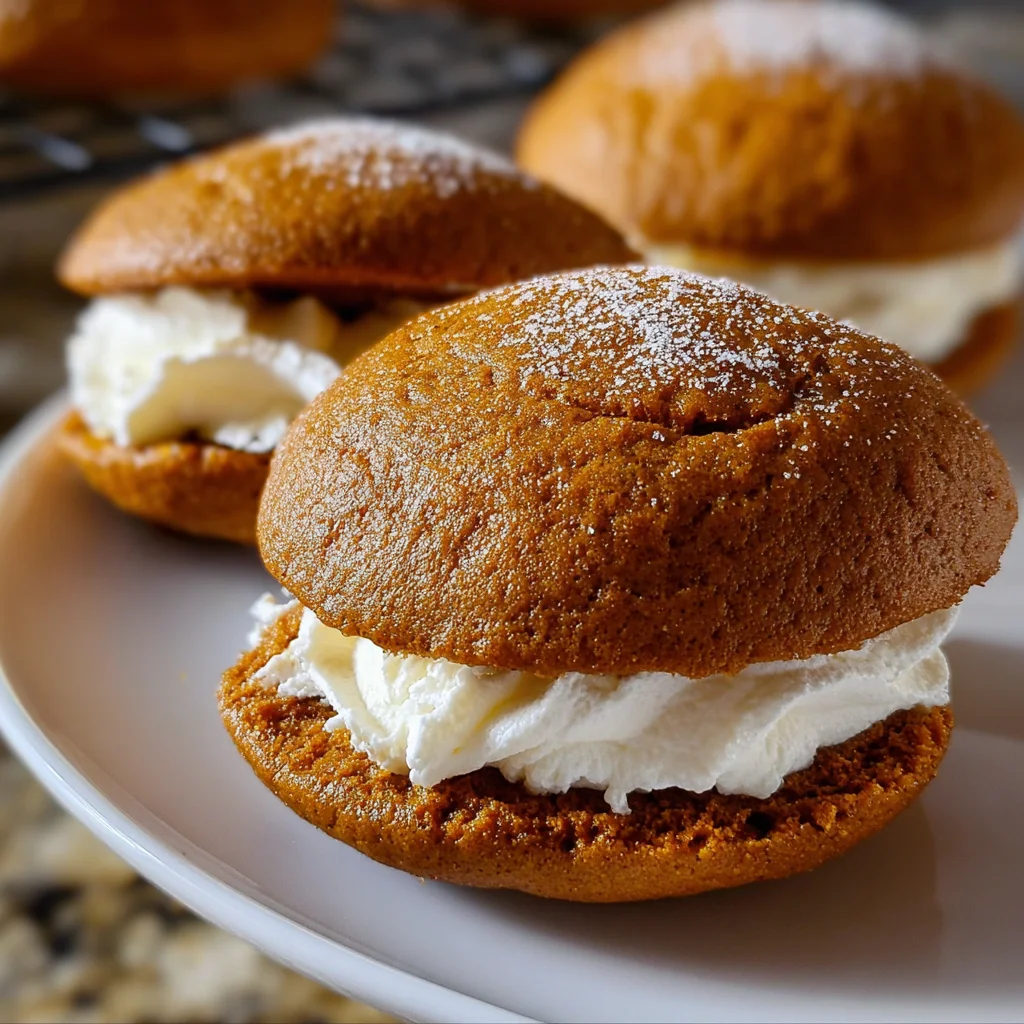
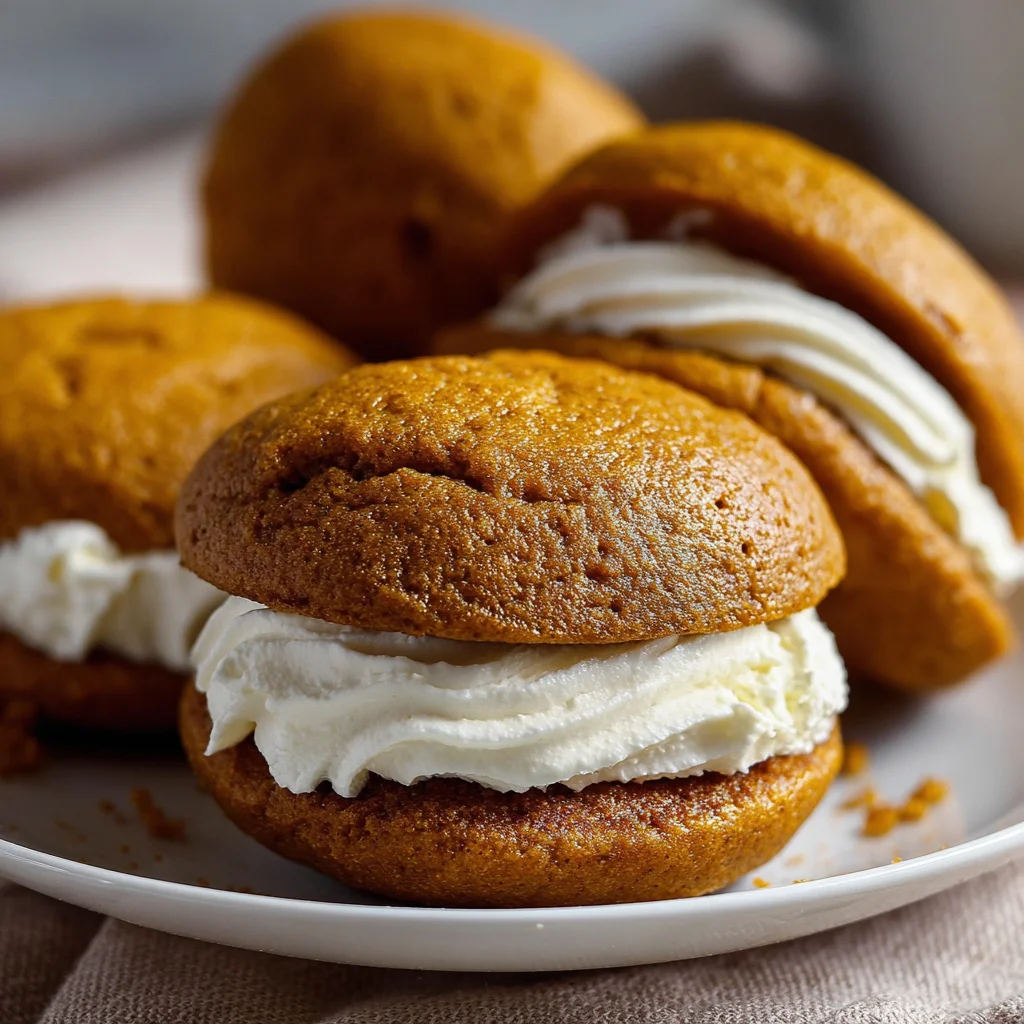
Introduction to Pumpkin Whoopie Pies
As the leaves begin to crisp and the air turns cool, I can’t help but crave the comforting aromas of fall. That’s where my delightful Pumpkin Whoopie Pies come into play! These little cakes are not just a seasonal treat; they’re a warm hug in cookie form. If you’re like me juggling a busy day as a mom or a professional—this recipe is a quick solution for those sweet cravings. Plus, who wouldn’t want to impress their loved ones with such a delightful fall dessert? Trust me, they’ll be begging for seconds!
Why You’ll Love This Pumpkin Whoopie Pies
These Pumpkin Whoopie Pies are a dream for busy hands! They come together quickly, making them perfect for last-minute gatherings or cozy family nights. The taste? Absolutely divine! Each bite offers a soft, spiced cookie paired with creamy filling that dances on your taste buds. Plus, they’re a crowd-pleaser a sweet surprise for those cozy evenings at home. You’ll find everyone asking for more!
Ingredients for Pumpkin Whoopie Pies
Let’s gather all the essential ingredients for these delightful Pumpkin Whoopie Pies! Each component plays its part in creating that perfect blend of flavors and textures. Here’s what you’ll need:
- All-purpose flour: The backbone of our whoopie pies, providing structure and chewiness.
- Baking powder: This little helper adds lift, creating that soft and airy texture we adore.
- Baking soda: It works alongside the baking powder to ensure our pies rise beautifully.
- Salt: A touch of salt enhances sweetness and balances flavors.
- Ground cinnamon: This warming spice embodies fall and adds a cozy aroma.
- Ground nutmeg, ginger, and cloves: These spices create a pumpkin pie spice mix that elevates our treats to the next level.
- Canned pumpkin puree: A must-have for moisture and that vibrant pumpkin flavor. Fresh pumpkin works too if you’re adventurous!
- Granulated sugar and brown sugar: A blend that gives the right sweetness and chewiness, making each bite irresistible.
- Vegetable oil: This adds moisture and keeps the whoopie pies tender.
- Large eggs: Acts as a binder and contributes to the rich texture of each pie.
- Vanilla extract: This classic flavor brightens up the cookies, making them taste homemade.
- Cream cheese: The star of our filling! It brings smoothness and tanginess to each pie.
- Unsalted butter: Adds richness to the filling, creating that dreamy consistency we crave.
- Powdered sugar: This sweetens the filling and helps it achieve that fluffy frosting texture.
If you’re curious about quantities, don’t worry! You’ll find all the exact measurements at the bottom of the article, ready for printing when you’re ready to start baking.
How to Make Pumpkin Whoopie Pies
Ready to embrace the sweet magic of fall? Making these Pumpkin Whoopie Pies is simpler than you might think! Follow these easy steps, and you’ll have a delightful treat to share with your loved ones in no time. Here’s how to make them:
Step 1: Preheat the Oven
First things first! Preheat your oven to 350°F (175°C). This step is crucial. A hot oven ensures that our whoopie pies bake evenly, creating those fluffy little cakes we all adore.
Step 2: Prepare the Dry Ingredients
Next, in a medium bowl, whisk together the all-purpose flour, baking powder, baking soda, salt, and those warm spices. Take a moment to inhale that aromatic mix; it’s pure autumn! Set this mixture aside for later.
Step 3: Mix the Wet Ingredients
In a large bowl, combine the canned pumpkin puree, granulated sugar, brown sugar, vegetable oil, eggs, and vanilla extract. Beat these ingredients together until smooth. I love watching the vibrant orange pumpkin transform into a luscious mixture. It’s the heartbeat of our whoopie pies!
Step 4: Combine Ingredients
Now, it’s time to marry our wet and dry ingredients! Gradually add your dry mix to the wet mixture. Stir gently until combined—this is where the magic happens. Just remember, overmixing can lead to tough cookies, and nobody wants that!
Step 5: Scoop the Batter
Grab a tablespoon or a small cookie scoop. Drop rounded spoonfuls of batter onto the prepared baking sheets, spacing them about 2 inches apart. The cookies will spread a bit as they bake. Picture tiny pumpkin clouds waiting to rise in the oven!
Step 6: Bake the Cookies
Pop those trays in the oven and bake for 12-15 minutes. Keep an eye on them! You’ll know they’re ready when the tops spring back when lightly touched. Remove them from the oven and let them cool completely on a wire rack. The anticipation is almost too much!
Step 7: Prepare the Filling
In a clean bowl, beat the softened cream cheese and butter until smooth. The consistency should be creamy and dreamy. Slowly add the powdered sugar and vanilla extract, mixing until it’s fluffy. Trust me; this filling is hard to resist!
Step 8: Assemble the Whoopie Pies
Once your cookies have cooled, it’s time to assemble! Spread or pipe the cream cheese filling onto the flat side of one cookie. Sandwich it with another cookie, flat side down. Repeat with the rest—an irresistible collection of whoopie pies is coming to life!
Step 9: Chill and Serve
Finally, chill the assembled whoopie pies in the fridge for at least 30 minutes. This helps the filling set nicely. The waiting will be worth it, I promise! Then, serve these beauties at your next gathering or as a cozy treat at home.
Tips for Success
- Always measure your flour accurately—too much can lead to dry cookies.
- Let your ingredients, especially eggs and cream cheese, come to room temperature for better blending.
- Experiment with spices to find your perfect flavor blend—don’t be shy!
- Use a cookie scoop for uniform sizes, ensuring even baking.
- Allow the cookies to cool completely before frosting to prevent melting.
Equipment Needed
- Baking sheets: If you don’t have non-stick ones, just use regular ones lined with parchment paper.
- Mixing bowls: Any size will do! Just make sure they’re large enough for the task.
- Whisk: You can use a fork if you don’t have one handy.
- Cookie scoop or tablespoon: A spoon works too, but a scoop gives you perfect portions!
- Wire rack: If you don’t have one, a plate will work for cooling the cookies.
Variations of Pumpkin Whoopie Pies
- Chocolate Chips: Add a half cup of chocolate chips to the batter for a delightful chocolate twist!
- Gluten-Free: Swap the all-purpose flour for a gluten-free flour blend, ensuring that it’s suitable for baking.
- Vegan: Replace eggs with flaxseed meal and use a plant-based cream cheese for the filling. Coconut cream is a great alternative too!
- Spiced Pumpkin: Enhance the flavor by incorporating a tablespoon of pumpkin pie spice into your batter.
- Maple Cream Filling: Substitute maple syrup for sugar in the filling for a sweet, autumnal flavor boost.
Serving Suggestions for Pumpkin Whoopie Pies
- Pair with a cup of cider: The warm spices in cider perfectly complement the whoopie pies.
- Serve with ice cream: A scoop of vanilla or cinnamon ice cream makes a delightful addition.
- Garnish with a sprinkle of cinnamon: A light dusting elevates presentation and flavor.
- Enjoy with coffee or tea: These treats are perfect for a cozy afternoon break!
- Arrange on a festive platter: Show off your creations at gatherings for a beautiful display!
FAQs about Pumpkin Whoopie Pies
Let’s dive into some frequently asked questions about these delightful Pumpkin Whoopie Pies! I’ve gathered the most common inquiries to help you out on your baking journey.
Can I use fresh pumpkin instead of canned? Yes, absolutely! Just make sure to cook and puree it until smooth. Canned pumpkin provides convenience, but fresh offers unique flavor.
How should I store Pumpkin Whoopie Pies? Keep them in an airtight container in the refrigerator. They’ll stay fresh for about a week. Trust me, they won’t last long!
Can I freeze whoopie pies? Yes, you can! Wrap them individually in plastic wrap and store them in a freezer bag. They’ll be ready whenever those sweet cravings strike!
What can I substitute for cream cheese in the filling? If you’re looking for an alternative, try using mascarpone cheese or a dairy-free cream cheese. It’ll still be creamy and delicious!
Are Pumpkin Whoopie Pies suitable for kids? Definitely! These treats are not only tasty but also fun to make with little ones. They can help scoop the batter and assemble the pies!
Final Thoughts
Baking these Pumpkin Whoopie Pies has turned into a cherished ritual in my kitchen. The scent of warm spices blends with laughter, creating memories that fill our home with joy. Whether it’s for family gatherings or cozy evenings with a cup of tea, these little treats never fail to please. Imagine the smiles on your loved ones’ faces when they take that first bite! Each pie encapsulates the essence of fall, wrapping warmth and sweetness in every mouthful. So roll up your sleeves, let your creativity flow, and indulge in the cozy delight these whoopie pies bring!
Print
Pumpkin Whoopie Pies
- Prep Time: 15 minutes
- Cook Time: 15 minutes
- Total Time: 1 hour (including chilling)
- Yield: 12 pies 1x
- Category: Dessert
- Method: Baking
- Cuisine: American
- Diet: Vegetarian
Description
Pumpkin Whoopie Pies are delightful cookies filled with a creamy frosting, perfect for fall.
Ingredients
- 2 cups all-purpose flour
- 1 teaspoon baking powder
- 1/2 teaspoon baking soda
- 1/2 teaspoon salt
- 1 teaspoon ground cinnamon
- 1/2 teaspoon ground nutmeg
- 1/4 teaspoon ground ginger
- 1/4 teaspoon ground cloves
- 1 cup canned pumpkin puree
- 3/4 cup granulated sugar
- 1/2 cup brown sugar, packed
- 1/2 cup vegetable oil
- 2 large eggs
- 1 teaspoon vanilla extract
- 8 oz cream cheese, softened
- 1/4 cup unsalted butter, softened
- 2 cups powdered sugar
- 1 teaspoon vanilla extract
Instructions
- Preheat oven to 350°F (175°C). Line two baking sheets with parchment paper.
- In a medium bowl, whisk together flour, baking powder, baking soda, salt, and spices. Set aside.
- In a large bowl, beat together pumpkin puree, sugars, oil, eggs, and vanilla until smooth.
- Gradually add dry ingredients to wet ingredients, mixing until just combined.
- Using a tablespoon or small cookie scoop, drop rounded spoonfuls onto prepared baking sheets, spacing about 2 inches apart.
- Bake for 12-15 minutes or until tops spring back when lightly touched. Remove and cool completely on wire racks.
- Meanwhile, beat cream cheese and butter until smooth. Gradually add powdered sugar and vanilla, beating until fluffy.
- Once cakes are cooled, spread or pipe cream cheese filling onto the flat side of one cake, then sandwich with another. Repeat with remaining cakes.
- Chill the whoopie pies for at least 30 minutes before serving to set filling.
Notes
- Store in an airtight container in the refrigerator.
- These can be made a day ahead for convenience.
- Feel free to experiment with different spices according to your taste.
Nutrition
- Serving Size: 1 whoopie pie
- Calories: 280


