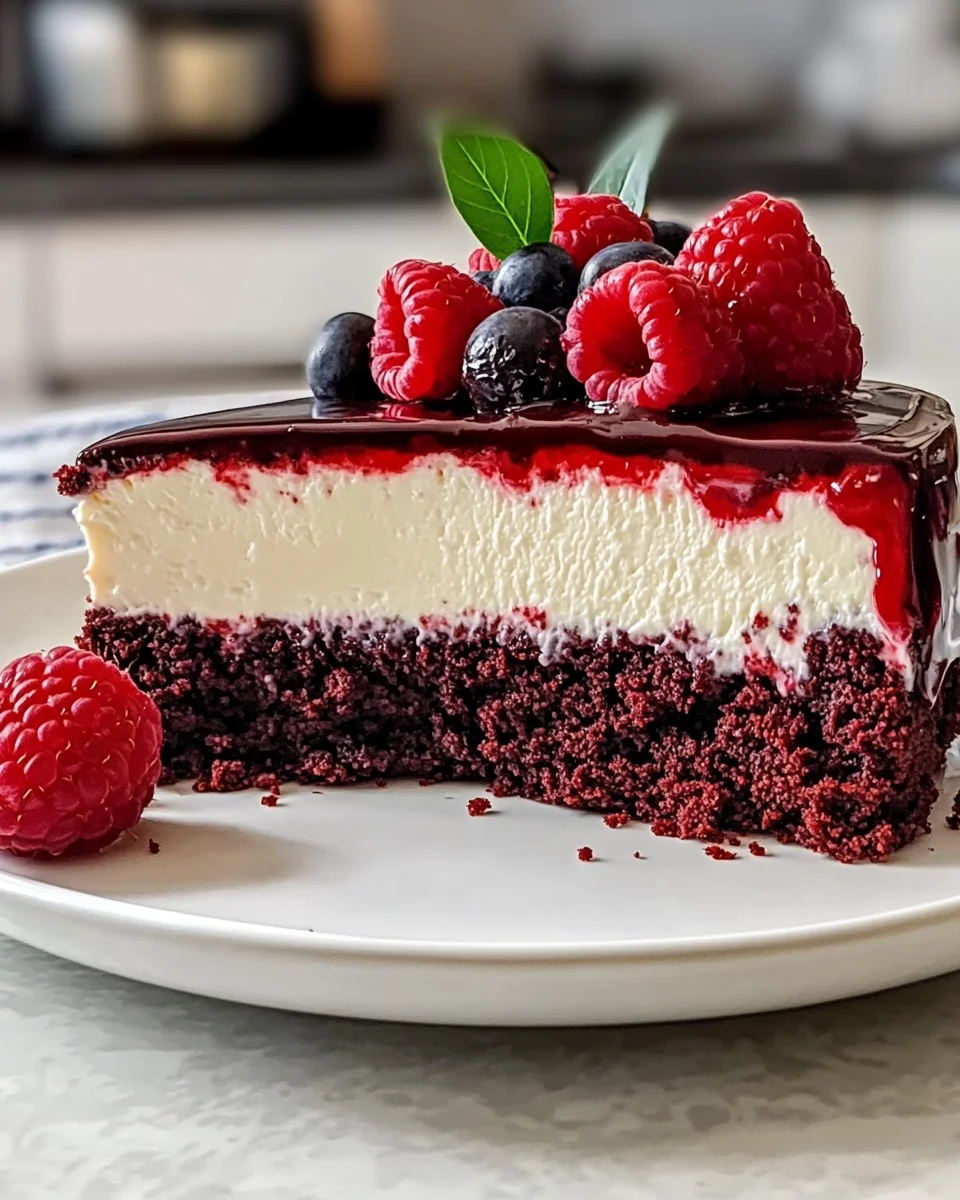
Introduction to Red Velvet Cheesecake Bliss
Welcome to the world of Red Velvet Cheesecake Bliss! If you’re like me, juggling a busy life while trying to whip up something special can feel overwhelming. This dessert is a delightful solution that combines the rich, velvety flavors of red velvet cake with the creamy goodness of cheesecake. It’s perfect for impressing your loved ones or simply treating yourself after a long day. Trust me, this recipe will not only satisfy your sweet tooth but also bring a smile to your face. Let’s dive into this delicious adventure together!
Why You’ll Love This Red Velvet Cheesecake Bliss
This Red Velvet Cheesecake Bliss is a true crowd-pleaser! It’s not just about the stunning looks; the taste is out of this world. The combination of rich chocolatey notes and creamy cheesecake creates a symphony of flavors that dance on your palate. Plus, it’s surprisingly easy to make, even on your busiest days. You’ll love how quickly it comes together, making it a go-to dessert for any occasion!
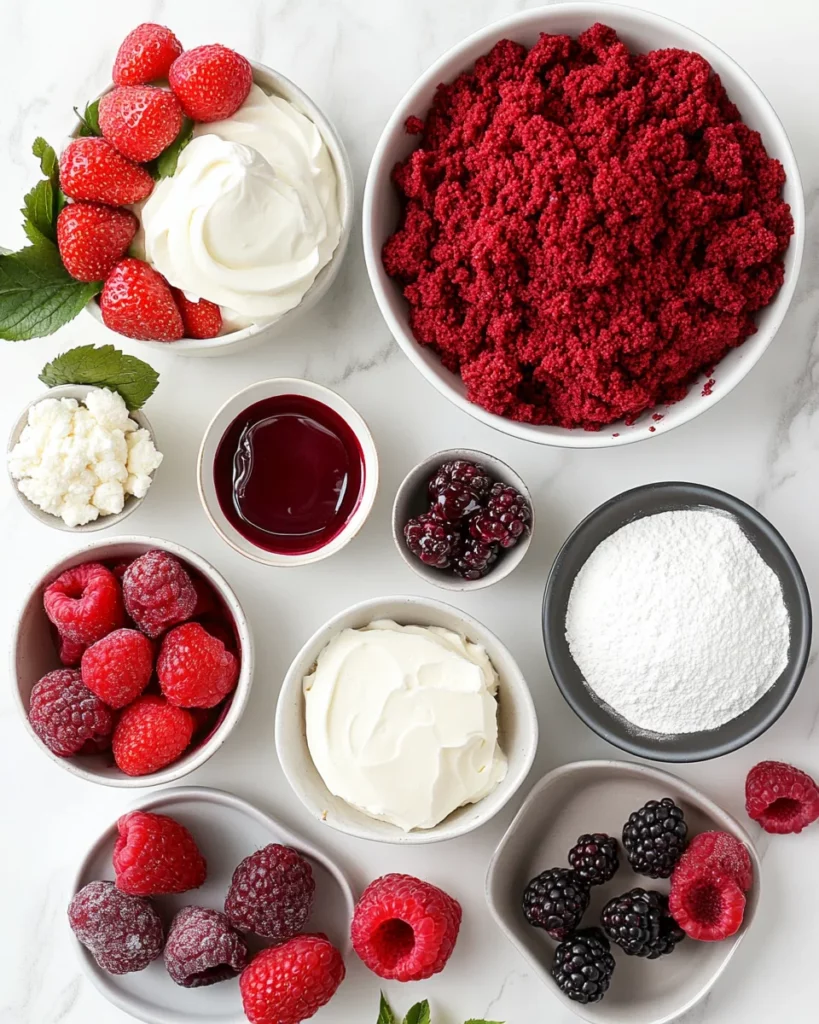
Ingredients for Red Velvet Cheesecake Bliss
Gathering the right ingredients is the first step to creating this stunning dessert. Here’s what you’ll need:
- All-purpose flour: The backbone of both the cake and cheesecake layers, providing structure.
- Granulated sugar: Sweetens the cake and cheesecake, balancing the flavors beautifully.
- Cocoa powder: Adds a subtle chocolate flavor, enhancing the red velvet experience.
- Baking powder and baking soda: These leavening agents help the cake rise, giving it that fluffy texture.
- Salt: A pinch of salt enhances the sweetness and rounds out the flavors.
- Buttermilk: This ingredient adds moisture and a slight tang, making the cake tender.
- Egg: Acts as a binder, helping to hold everything together.
- Vegetable oil: Keeps the cake moist and adds richness.
- Red food coloring or beetroot powder: Gives the cake its signature vibrant color; beetroot is a healthier, natural option.
- Vanilla extract: A must-have for flavor, adding warmth and depth.
- White vinegar: This might sound odd, but it reacts with the baking soda to create a lighter texture.
- Cream cheese: The star of the cheesecake layer, providing that creamy, dreamy texture.
- Sour cream: Adds richness and a slight tang to the cheesecake filling.
- Heavy cream: Used for whipping, it creates a luscious topping that complements the cheesecake.
- Powdered sugar: Sweetens the whipped cream, making it light and fluffy.
- Fresh berries (optional): A lovely garnish that adds a pop of color and freshness.
- Red velvet cake crumbs (optional): For an extra touch of elegance, sprinkle these on top!
For exact measurements, check the bottom of the article where you can find everything listed for easy printing. Happy baking!
How to Make Red Velvet Cheesecake Bliss
Step 1: Preheat and Prepare
Let’s get started! First, preheat your oven to 350°F (175°C). This step is crucial for ensuring your cake bakes evenly. While the oven warms up, grab a 9-inch springform pan. Grease it well with butter or cooking spray, then line the bottom with parchment paper. This will help your cake release easily later. Trust me, there’s nothing worse than a stuck cake! Once your pan is ready, you’re all set to move on to the next step.
Step 2: Make the Red Velvet Cake Layer
Now, let’s dive into making the red velvet cake layer! In a large bowl, whisk together the dry ingredients: flour, sugar, cocoa powder, baking powder, baking soda, and salt. In another bowl, mix the wet ingredients: buttermilk, egg, vegetable oil, red food coloring, vanilla extract, and white vinegar. The vibrant color is what makes this cake so special!
Once both mixtures are ready, pour the wet ingredients into the dry ingredients. Stir gently until just combined; be careful not to overmix. The batter should be smooth and luscious. Now, pour this beautiful red batter into your prepared springform pan. It’s time to bake!
Step 3: Bake the Cake Layer
Place the pan in your preheated oven and bake for 20-25 minutes. You’ll know it’s done when a toothpick inserted in the center comes out clean. Once baked, remove the cake from the oven and let it cool in the pan for about 10 minutes. Then, carefully transfer it to a wire rack to cool completely. This cooling step is essential, as it prevents the cheesecake layer from melting into the cake. Patience is key here!
Step 4: Prepare the Cheesecake Filling
While your cake cools, let’s whip up the cheesecake filling! In a mixing bowl, beat the softened cream cheese until it’s smooth and creamy. This is where the magic happens! Add in the sour cream, sugar, eggs, vanilla extract, and flour. Beat everything together until it’s silky and well combined.
Once your cheesecake mixture is ready, pour it over the cooled red velvet cake layer in the springform pan. Make sure to spread it evenly. This layer is going to be the creamy crown on your cake, so take your time to make it look perfect!
Step 5: Bake the Cheesecake
Now, it’s time to bake the cheesecake! Lower the oven temperature to 325°F (165°C) and place the cheesecake in the oven. Bake for 50-60 minutes. You want the edges to be set while the center remains slightly jiggly. This will give you that perfect creamy texture.
Once baked, turn off the oven and crack the door open. Let the cheesecake cool in the oven for about an hour. This gentle cooling helps prevent cracks. After that, transfer it to the fridge and chill for at least 4 hours. Trust me, the wait will be worth it!
Step 6: Whip the Cream and Garnish
Finally, let’s add the finishing touches! In a mixing bowl, whip the heavy cream with powdered sugar and vanilla extract until soft peaks form. This fluffy cloud of cream will be the perfect topping for your cheesecake.
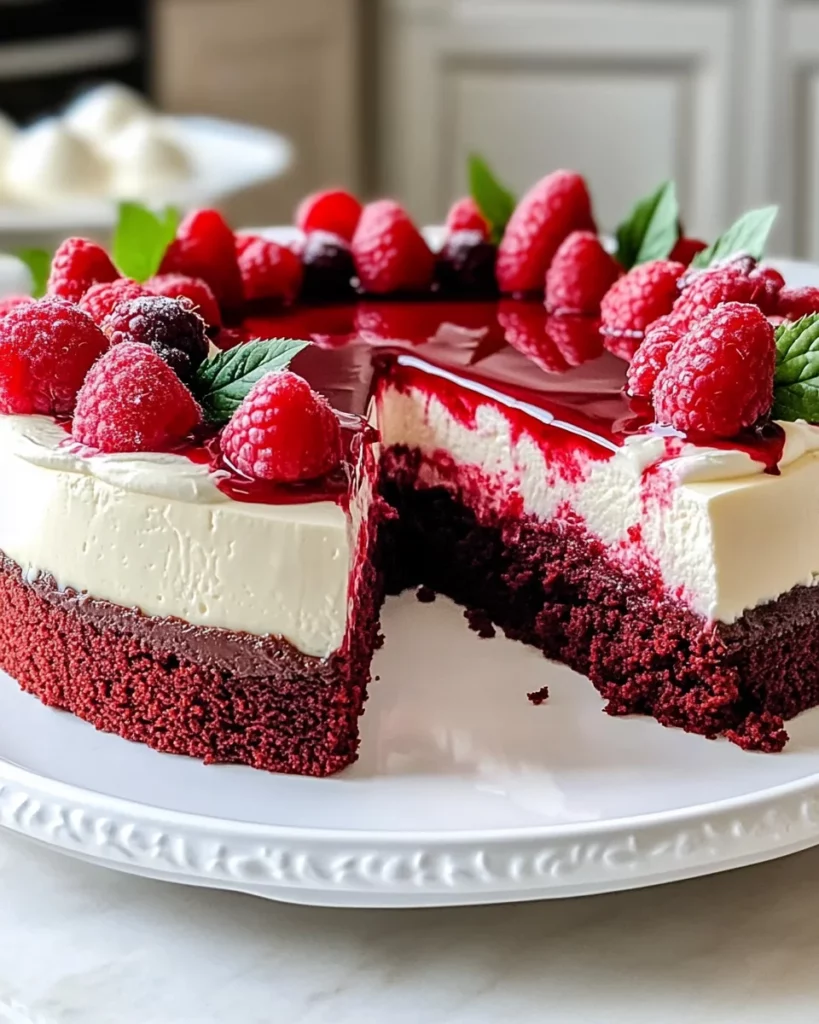
Once your cheesecake is chilled and set, spread the whipped cream over the top. For a beautiful presentation, garnish with fresh berries and a sprinkle of red velvet cake crumbs. This adds a pop of color and a touch of elegance. Your Red Velvet Cheesecake Bliss is now ready to be devoured!
Tips for Success
- Always use room temperature cream cheese for a smooth filling.
- Don’t skip the chilling time; it’s crucial for the best texture.
- For a healthier twist, opt for natural beetroot powder instead of food coloring.
- Keep an eye on the cheesecake while baking to avoid overcooking.
- Use a toothpick to check for doneness; it should come out clean.
Equipment Needed
- 9-inch springform pan: Essential for easy removal; a regular cake pan works too, but be careful when serving.
- Mixing bowls: Use a large bowl for dry ingredients and a medium one for wet; any size will do.
- Electric mixer: A hand mixer is perfect; a whisk can work, but it’ll take longer.
- Measuring cups and spoons: Accurate measurements are key; you can use a kitchen scale if you prefer.
- Rubber spatula: Great for scraping down the sides of bowls; a wooden spoon can substitute.
Variations of Red Velvet Cheesecake Bliss
- Gluten-Free Option: Substitute all-purpose flour with a gluten-free blend to make this dessert suitable for gluten-sensitive friends.
- Chocolate Lovers: Add chocolate chips to the cheesecake filling for an extra layer of indulgence.
- Nutty Twist: Incorporate crushed walnuts or pecans into the cake batter for a delightful crunch.
- Vegan Version: Use a plant-based cream cheese and replace eggs with flaxseed meal mixed with water for a vegan-friendly treat.
- Mini Cheesecakes: Make individual servings by using a muffin tin; just adjust the baking time accordingly.
- Fruit-Infused: Swirl in some raspberry or strawberry puree into the cheesecake filling for a fruity flavor boost.
Serving Suggestions for Red Velvet Cheesecake Bliss
- Pair with a scoop of vanilla ice cream for a delightful contrast in temperature and texture.
- Serve alongside a cup of rich coffee or a glass of sweet dessert wine.
- For a festive touch, garnish with mint leaves or edible flowers.
- Present on a beautiful cake stand to elevate the dessert’s visual appeal.
FAQs about Red Velvet Cheesecake Bliss
As you embark on your journey to create this delightful Red Velvet Cheesecake Bliss, you might have a few questions. Here are some common queries that can help you along the way:
Can I make this cheesecake ahead of time?
Absolutely! In fact, making it a day in advance allows the flavors to meld beautifully. Just be sure to keep it covered in the fridge to maintain its freshness.
What can I substitute for buttermilk?
If you don’t have buttermilk on hand, you can easily make a substitute. Just mix one cup of milk with one tablespoon of vinegar or lemon juice. Let it sit for about 5 minutes, and you’re good to go!
How do I know when the cheesecake is done baking?
The edges should be set, while the center remains slightly jiggly. A toothpick inserted into the center should come out mostly clean. Remember, it will continue to set as it cools!
Can I freeze Red Velvet Cheesecake Bliss?
Yes, you can freeze it! Just wrap it tightly in plastic wrap and then in aluminum foil. It can last up to three months in the freezer. Thaw it in the fridge before serving.
What’s the best way to store leftovers?
Store any leftovers in an airtight container in the fridge. It should stay fresh for about 3-4 days. Just be sure to enjoy it before it disappears!
Final Thoughts
Creating this Red Velvet Cheesecake Bliss is more than just baking; it’s about crafting a moment of joy. Each slice is a celebration of flavors that brings smiles to faces, whether it’s a family gathering or a quiet evening treat. I love how this dessert transforms an ordinary day into something special. The vibrant red color and creamy texture make it a feast for the eyes and the taste buds. So, roll up your sleeves, embrace the process, and enjoy the delightful experience of sharing this heavenly dessert with those you love. Happy baking!
Print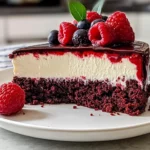
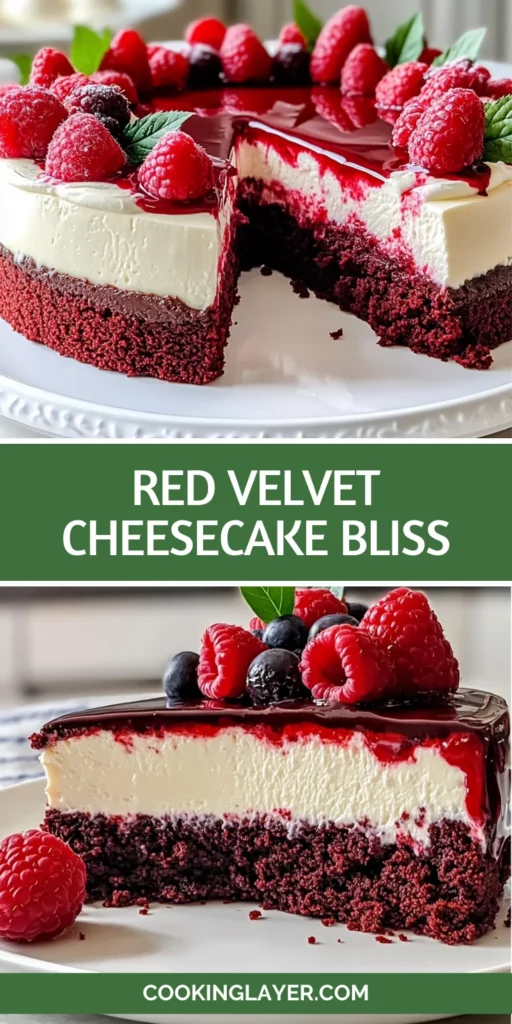
Red Velvet Cheesecake Bliss: Discover the Ultimate Recipe!
- Prep Time: 30 minutes
- Cook Time: 1 hour 15 minutes
- Total Time: 5 hours 45 minutes (including chilling time)
- Yield: 8–10 servings 1x
- Category: Dessert
- Method: Baking
- Cuisine: American
- Diet: Vegetarian
Description
A delicious and decadent dessert that combines the rich flavors of red velvet cake with creamy cheesecake, perfect for any special occasion.
Ingredients
- 1 ½ cups all-purpose flour
- 1 cup granulated sugar
- 1 tbsp cocoa powder
- 1 tsp baking powder
- ½ tsp baking soda
- ½ tsp salt
- 1 cup buttermilk
- 1 large egg
- ½ cup vegetable oil
- 2 tbsp red food coloring or beetroot powder (natural option)
- 1 tsp vanilla extract
- 1 tsp white vinegar
- 16 oz cream cheese, softened
- ½ cup sour cream
- ½ cup granulated sugar
- 2 large eggs
- 1 tsp vanilla extract
- 2 tbsp all-purpose flour
- 1 cup heavy cream
- 2 tbsp powdered sugar
- 1 tsp vanilla extract
- Fresh berries (optional for garnish)
- Red velvet cake crumbs (optional for garnish)
Instructions
- Preheat the oven to 350°F (175°C). Grease and line a 9-inch springform pan.
- Mix dry ingredients for the red velvet cake layer and wet ingredients in separate bowls. Combine and pour the batter into the pan. Bake for 20-25 minutes.
- Cool the cake layer completely.
- Beat cream cheese, sour cream, sugar, eggs, vanilla, and flour until smooth. Pour over the cooled cake layer.
- Bake at 325°F (165°C) for 50-60 minutes. Cool in the oven, then chill in the fridge for at least 4 hours.
- Whip heavy cream with powdered sugar and vanilla until soft peaks form. Frost the cheesecake and garnish with berries and crumbs.
Notes
- Ensure the cream cheese is at room temperature for easy mixing.
- For a natural coloring option, use beetroot powder instead of red food coloring.
- Chilling the cheesecake for at least 4 hours is crucial for the best texture.
Nutrition
- Serving Size: 1 slice
- Calories: 450
- Sugar: 30g
- Sodium: 300mg
- Fat: 30g
- Saturated Fat: 15g
- Unsaturated Fat: 10g
- Trans Fat: 0g
- Carbohydrates: 40g
- Fiber: 1g
- Protein: 6g
- Cholesterol: 100mg


Looks so beautiful and delicious. What is the red drizzle sauce on top?! And how do I make that also? 🥰