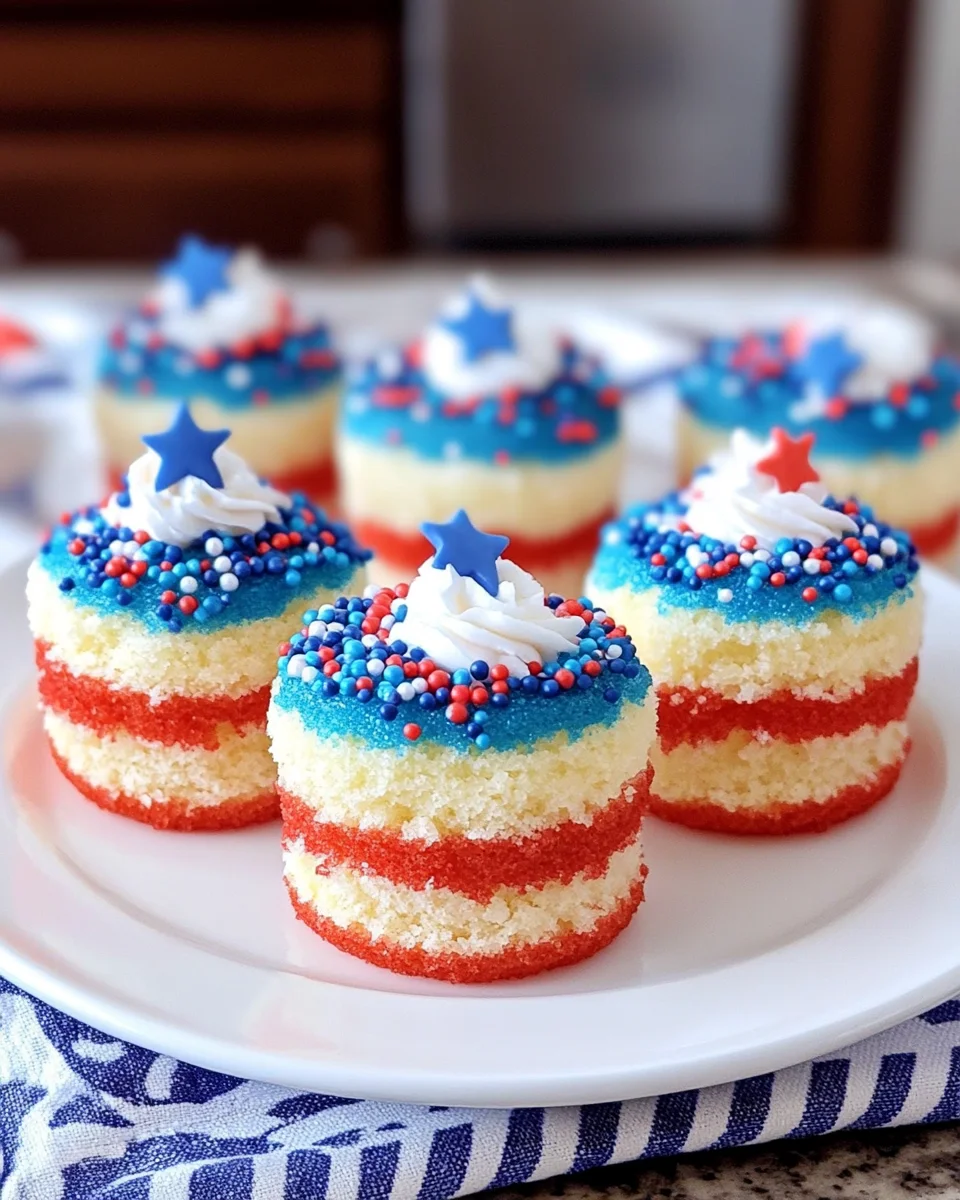
Introduction to Red, White, and Blue Mini Cakes
As a busy mom, I know how challenging it can be to whip up something special for a gathering. That’s why I adore these Red, White, and Blue Mini Cakes! They’re not just a feast for the eyes; they’re a quick solution for those last-minute celebrations. Whether it’s a backyard barbecue or a festive holiday, these mini cakes will impress your loved ones without taking hours in the kitchen. Plus, they’re a fun way to get the kids involved in baking. Let’s dive into this delightful recipe that’s sure to bring smiles all around!
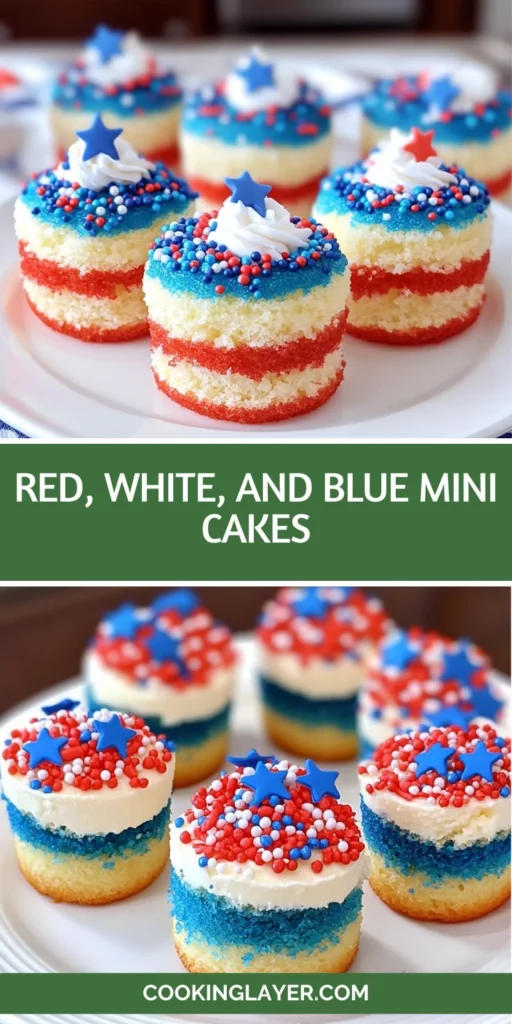
Why You’ll Love This Red, White, and Blue Mini Cakes
These Red, White, and Blue Mini Cakes are a dream come true for busy moms like me! They’re incredibly easy to make, taking just about an hour from start to finish. The vibrant colors make them visually stunning, perfect for any patriotic celebration. Plus, the taste is simply delightful—soft, fluffy cake layered with creamy frosting. You’ll love how they bring joy to your table without the stress of complicated baking!
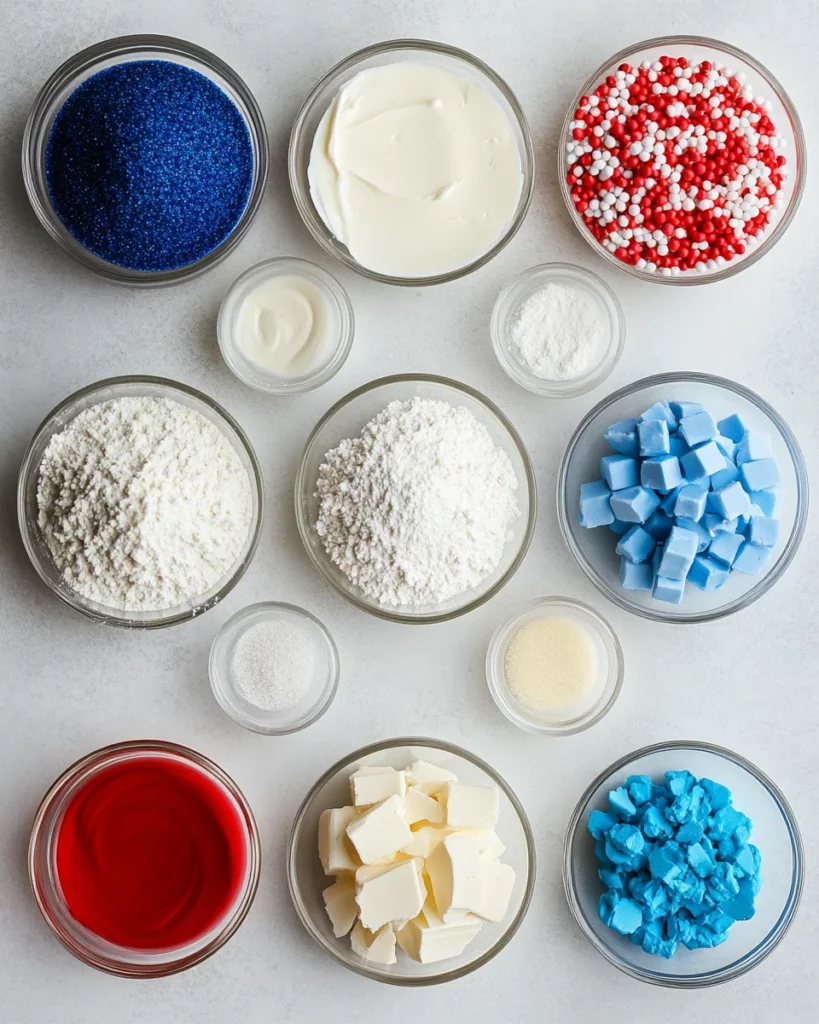
Ingredients for Red, White, and Blue Mini Cakes
Gathering the right ingredients is the first step to creating these delightful Red, White, and Blue Mini Cakes. Here’s what you’ll need:
- White cake mix: This is the base of our mini cakes. It’s quick and easy, perfect for busy days.
- Red and blue food coloring: These vibrant colors will bring your cakes to life! I recommend using gel food coloring for a more intense hue.
- Butter: Softened butter adds richness to the frosting. It’s the secret to that creamy texture we all love.
- Powdered sugar: This sweet ingredient is essential for the frosting. Adjust the amount to suit your taste—more for sweetness, less for a milder flavor.
- Heavy cream or milk: A splash of cream or milk helps achieve the perfect frosting consistency. You can use whichever you have on hand.
- Vanilla extract: This adds a lovely depth of flavor to the frosting. It’s a must-have in my kitchen!
- Pinch of salt: Just a tiny bit enhances the sweetness and balances the flavors.
- Optional: Patriotic sprinkles: These are a fun way to add a festive touch to your mini cakes. They’re not necessary, but they sure do make a statement!
For exact measurements, check the bottom of the article where you can find everything listed for easy printing. Happy baking!
How to Make Red, White, and Blue Mini Cakes
Now that we have our ingredients ready, let’s get to the fun part—making these delightful Red, White, and Blue Mini Cakes! Follow these simple steps, and you’ll have a colorful treat that’s sure to impress.
Step 1: Preheat and Prepare
First things first, preheat your oven to 350°F (175°C). While it’s warming up, prepare the white cake mix according to the package instructions. This is where the magic begins, and the aroma of baking cake will soon fill your kitchen!
Step 2: Divide and Color the Batter
Once your batter is ready, divide it evenly into three bowls. Tint one bowl with red food coloring, another with blue, and leave the last one white. Don’t be shy with the color—this is what makes your Red, White, and Blue Mini Cakes pop!
Step 3: Bake the Cake Layers
Next, pour each colored batter into separate greased and floured 8-inch round cake pans. If you don’t have three pans, you can bake in batches. Bake them for about 15–18 minutes, or until a toothpick inserted in the center comes out clean. The anticipation will be worth it!
Step 4: Cut Out Cake Rounds
Once the cakes are completely cool, it’s time to cut out small rounds. Use a round cookie cutter or biscuit cutter to create mini cake circles from each color layer. This is where the fun really begins, and you can get creative with the shapes!
Step 5: Make the Frosting
Now, let’s whip up that delicious frosting! In a mixing bowl, beat the softened butter until it’s creamy. Gradually add the powdered sugar, then mix in the vanilla extract, salt, and a splash of heavy cream or milk. Beat until it’s smooth and fluffy. Trust me, you’ll want to taste it!
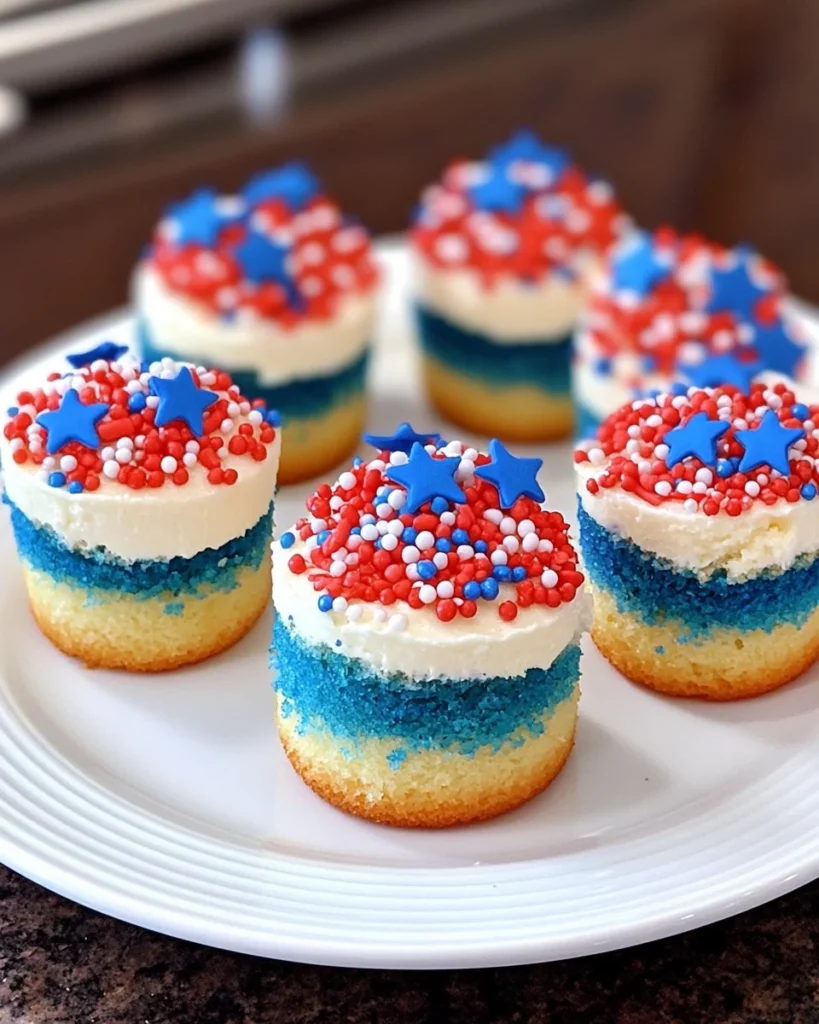
Step 6: Assemble the Mini Cakes
It’s assembly time! Start with a red cake round, add a layer of frosting, then place a white round on top, followed by more frosting, and finally, the blue round. Frost the tops and sides if you like, or leave the sides exposed for a trendy “naked cake” look. Either way, it’s going to be beautiful!
Step 7: Chill Before Serving
Finally, refrigerate your assembled mini cakes for at least 30 minutes. This helps the frosting set and makes for easier serving. Plus, it gives you a moment to relax before the big reveal!
Tips for Success
- Make sure your cake layers are completely cool before cutting and assembling to avoid a messy situation.
- Use gel food coloring for vibrant hues that won’t water down your batter.
- Adjust the powdered sugar in the frosting to achieve your desired sweetness and consistency.
- Don’t skip the chilling step; it helps the frosting set beautifully.
- Get the kids involved! They’ll love helping with the decorating.
Equipment Needed
- 8-inch round cake pans: If you don’t have three, use one and bake in batches.
- Mixing bowls: Any size will do, just make sure they’re large enough for mixing.
- Electric mixer: A hand mixer works great, but a stand mixer is even better!
- Cookie cutter: A round cutter is ideal, but you can use a glass if needed.
- Spatula: Essential for frosting and layering your mini cakes.
Variations
- Gluten-Free Option: Use a gluten-free cake mix to make these mini cakes suitable for those with gluten sensitivities.
- Flavor Twist: Add a teaspoon of almond extract to the frosting for a delightful flavor change.
- Fruit Filling: Layer in some fresh berries or fruit preserves between the cake rounds for added flavor and texture.
- Vegan Version: Substitute the butter with vegan butter and use a plant-based milk for the frosting.
- Chocolate Variation: Use chocolate cake mix instead of white for a rich twist on the classic recipe.
Serving Suggestions
- Pair these mini cakes with fresh fruit, like strawberries or blueberries, for a refreshing contrast.
- Serve with a scoop of vanilla ice cream for an indulgent treat.
- For drinks, consider lemonade or iced tea to complement the festive vibe.
- Present on a colorful platter, garnished with extra sprinkles for a cheerful touch.
FAQs about Red, White, and Blue Mini Cakes
Can I make these Red, White, and Blue Mini Cakes ahead of time?
Absolutely! You can bake the cake layers a day in advance. Just store them in an airtight container in the fridge. Assemble them the day you plan to serve for the freshest taste!
What can I use instead of food coloring?
If you prefer a natural option, you can use beet juice for red and blueberry juice for blue. Just keep in mind that the colors may be less vibrant.
How do I store leftover mini cakes?
Store any leftovers in an airtight container in the fridge. They should stay fresh for up to three days. Just be sure to keep them chilled!
Can I freeze these mini cakes?
Yes! You can freeze the assembled mini cakes. Wrap them tightly in plastic wrap and then foil. They’ll be good for up to three months. Just thaw in the fridge before serving.
What’s the best way to decorate these mini cakes?
Get creative! Use whipped cream, fresh berries, or even edible flowers for a beautiful presentation. Don’t forget those patriotic sprinkles for that extra festive touch!
Final Thoughts
Creating these Red, White, and Blue Mini Cakes is more than just baking; it’s about making memories. The joy on my family’s faces as they dive into these colorful treats is priceless. They’re perfect for any celebration, big or small, and they bring a festive spirit to the table. Plus, the ease of preparation means I can spend more time enjoying the moment rather than stressing in the kitchen. So, gather your loved ones, roll up your sleeves, and let’s make some delicious memories together with these delightful mini cakes!
Print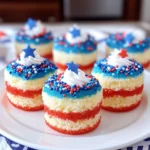
Red, White, and Blue Mini Cakes You’ll Adore Today!
- Prep Time: 30 minutes
- Cook Time: 18 minutes
- Total Time: 1 hour
- Yield: 12 mini cakes 1x
- Category: Dessert
- Method: Baking
- Cuisine: American
- Diet: Vegetarian
Description
Delicious mini cakes in red, white, and blue, perfect for patriotic celebrations.
Ingredients
- 1 box white cake mix, plus ingredients listed on box
- Red and blue food coloring
- 1 cup butter, softened
- 3–4 cups powdered sugar
- 2–3 tablespoons heavy cream or milk
- 1 teaspoon vanilla extract
- Pinch of salt
- Optional: patriotic sprinkles for garnish
Instructions
- Preheat oven to 350°F (175°C). Prepare the white cake mix according to package instructions.
- Divide the batter evenly into three bowls. Tint one bowl red, one blue, and leave one white.
- Pour each batter into a separate greased and floured 8-inch round cake pan (or bake in batches if needed).
- Bake for 15–18 minutes or until a toothpick inserted in the center comes out clean. Let cool completely.
- Using a round cookie cutter or biscuit cutter, cut out small cake rounds from each color layer.
- Make the frosting by beating softened butter until creamy. Add powdered sugar gradually, then vanilla, salt, and cream until smooth and fluffy.
- To assemble, layer one red, one white, and one blue cake circle with frosting between each layer.
- Frost the tops and sides if desired, or leave sides exposed for a “naked cake” look. Garnish with sprinkles.
- Refrigerate for at least 30 minutes before serving to help set the frosting.
Notes
- Ensure the cake layers are completely cool before cutting and assembling.
- Use gel food coloring for more vibrant colors.
- Adjust the amount of powdered sugar in the frosting to achieve desired sweetness and consistency.
Nutrition
- Serving Size: 1 mini cake
- Calories: 200
- Sugar: 18g
- Sodium: 150mg
- Fat: 8g
- Saturated Fat: 5g
- Unsaturated Fat: 2g
- Trans Fat: 0g
- Carbohydrates: 30g
- Fiber: 0g
- Protein: 2g
- Cholesterol: 30mg


