There’s something unmistakably magical about holiday baking. The scent of vanilla in the air, the golden glow of fairy lights, and the joy of sharing treats with the ones you love. And if you’re searching for a treat that captures that spirit in every bite, look no further than Santa’s Snowy Sugar Puffs!
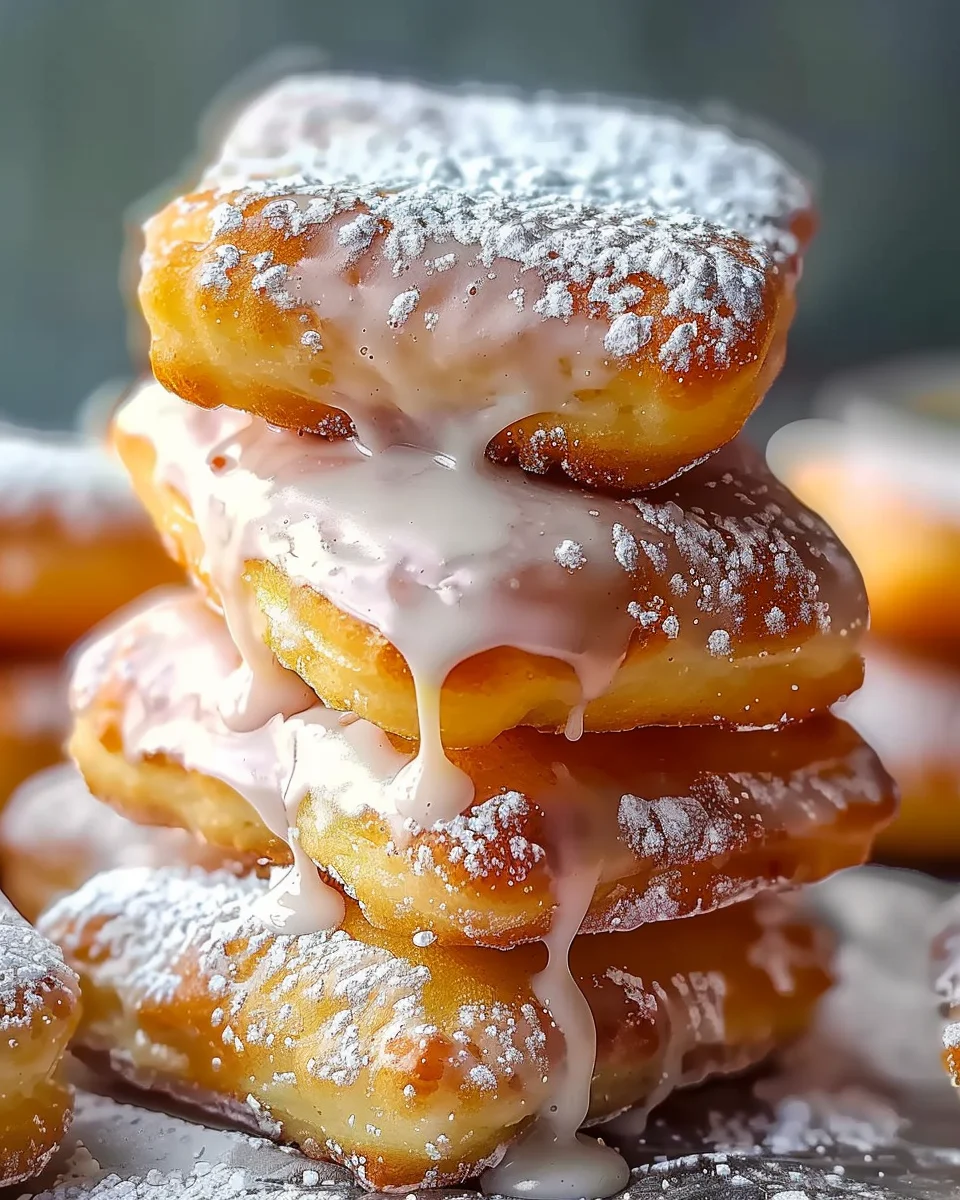
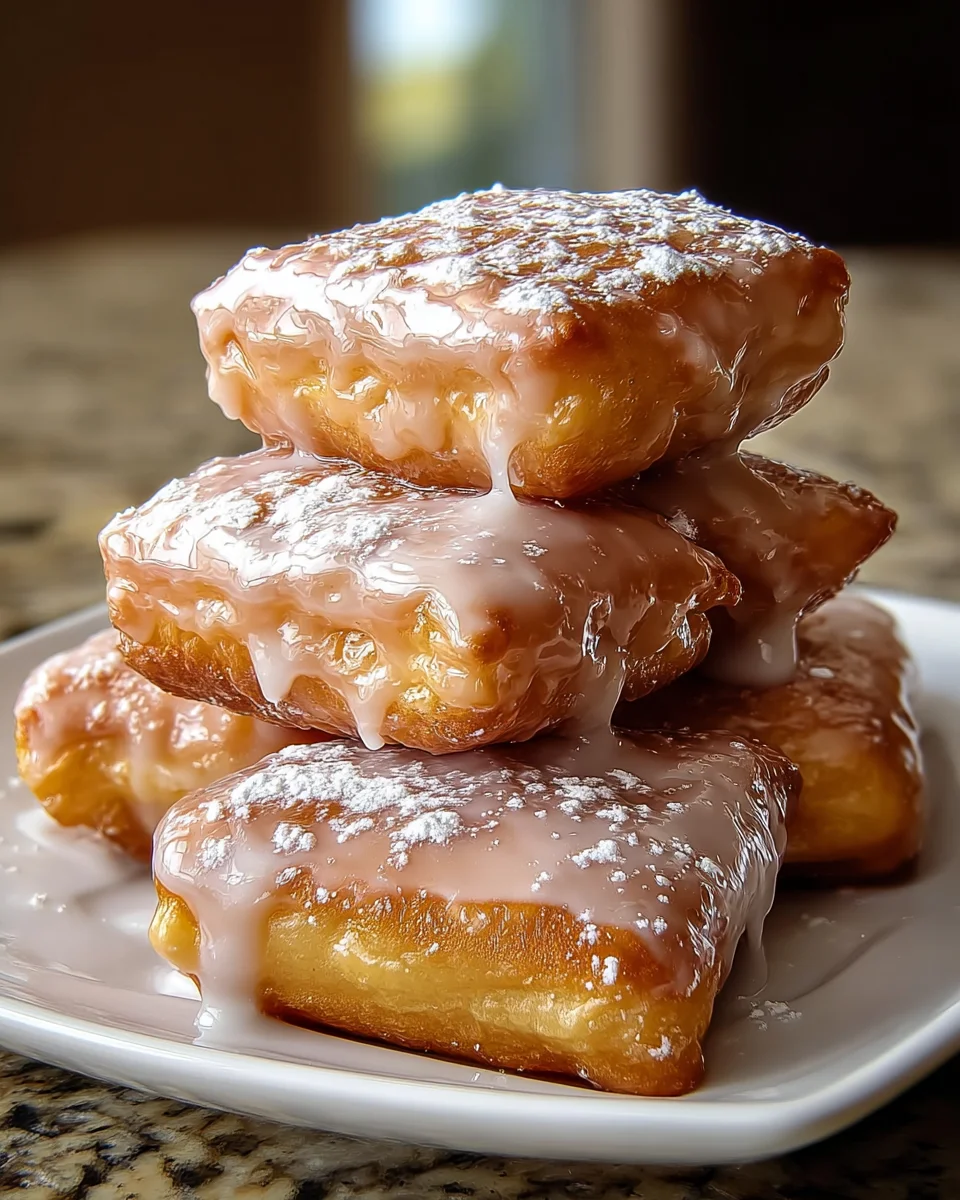
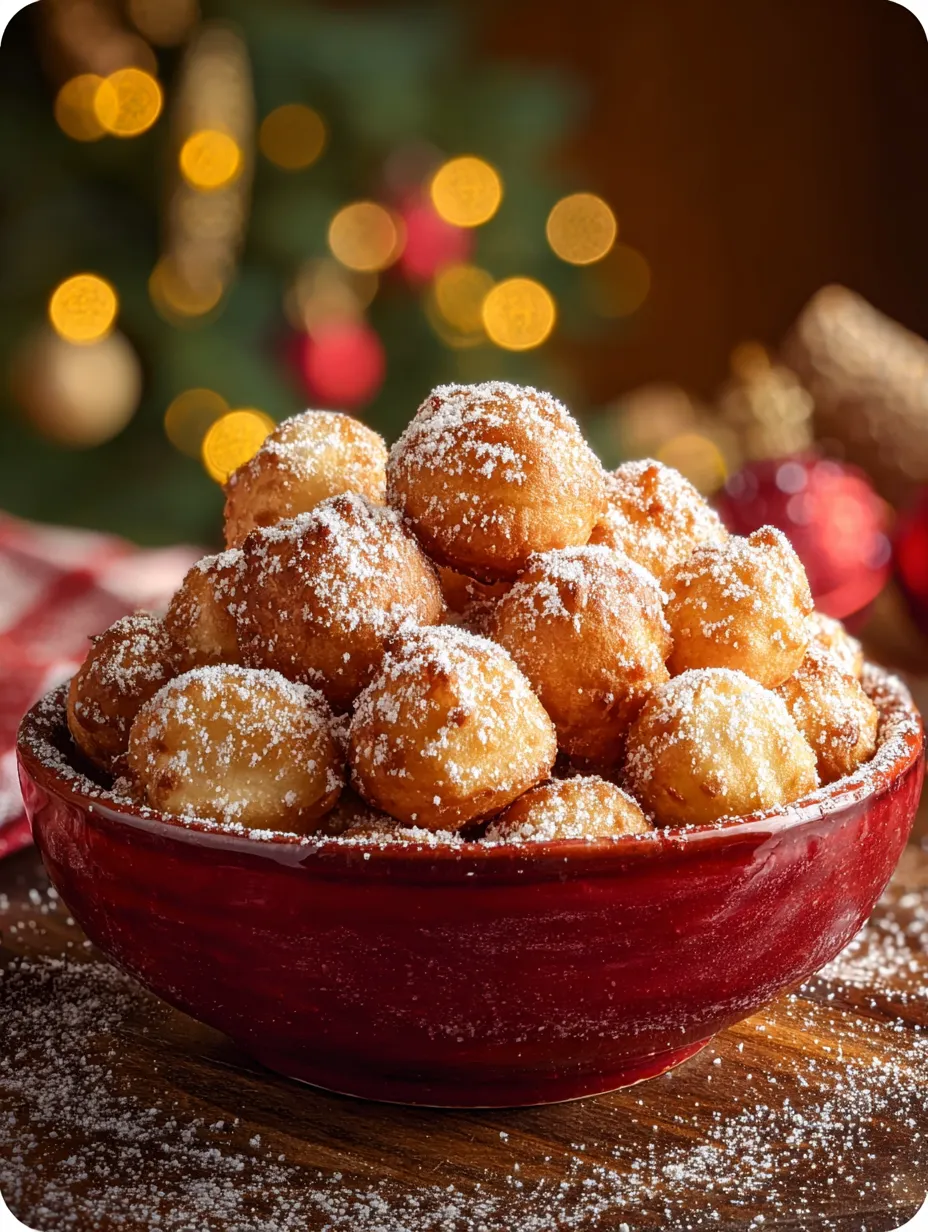
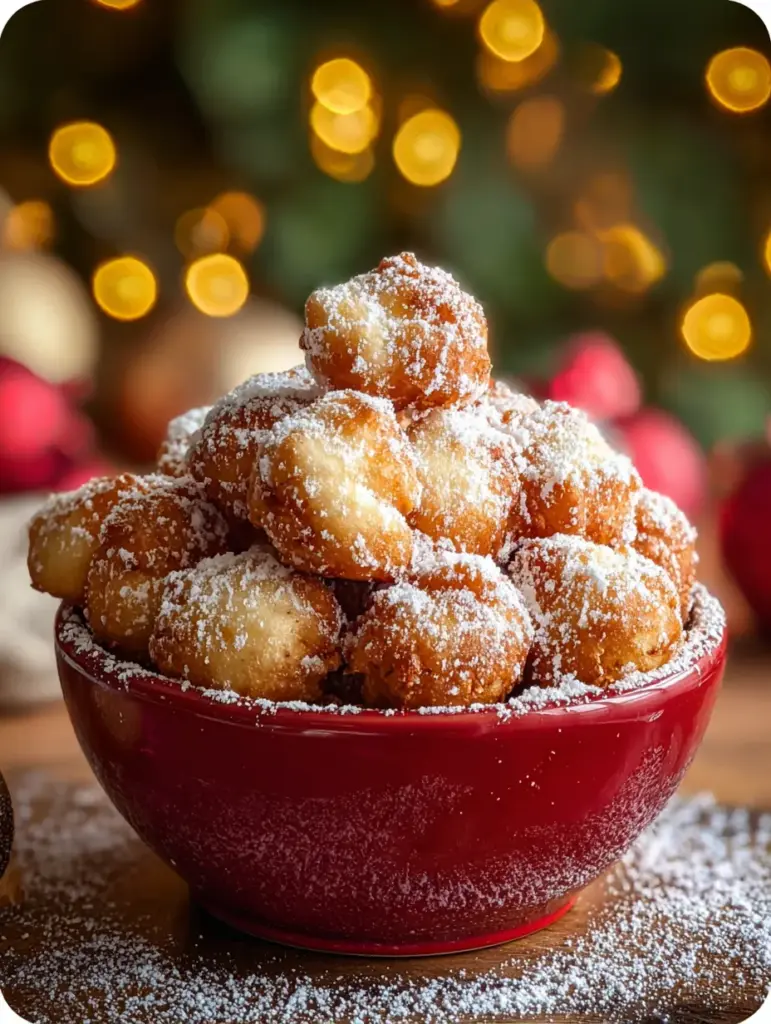
These delightful little golden puffs are a Christmas miracle in miniature form: crispy on the outside, meltingly soft on the inside, and covered in a glistening coat of snowy sugar that makes them look like they’ve been touched by the North Pole itself. Think of them as doughnut holes that went to a holiday party — dressed to the nines in sparkling sweetness and bringing joy to every table they land on.
So let’s make some sweet holiday magic together. This recipe is as easy as it is enchanting, and you’ll want to whip up a batch (or three!) all December long.
The Inspiration Behind Santa’s Snowy Sugar Puffs
The holidays are all about tradition — twinkling lights, cozy evenings, and, of course, sweet treats. Santa’s Snowy Sugar Puffs were inspired by those childhood moments of sneaking cookies off the plate before anyone noticed and waking up to the magic of snow outside your window.
These puffs are a nostalgic nod to Italian ricotta fritters (or zeppole) but with a whimsical, wintery twist. We’ve dialed up the sugar to resemble freshly fallen snow, giving each puff a sparkling white coat that screams holiday cheer.
Whether you’re baking with kids, preparing for a Christmas brunch, or just looking to treat yourself during a chilly evening, these puffs bring a little slice of holiday magic to your home.
What Makes These Sugar Puffs So Special?
You know how some desserts look fancy but are secretly super easy to make? This is one of them. The beauty of these puffs lies in their simplicity and their wow factor. Here’s what makes them stand out:
- Crispy outside: Thanks to hot oil and the right batter consistency.
- Soft, fluffy inside: The ricotta cheese and eggs do all the heavy lifting.
- Snow-dusted look: A combo of granulated and powdered sugar gives them that frosted magic.
- Speedy treat: They’re ready in 20 minutes, start to finish.
Plus, they look just like the photo — golden, sugar-coated perfection — making them an easy showstopper for any Christmas gathering.
Ingredients Breakdown: The Magic in Every Bite
Let’s take a quick peek at what goes into these charming little puffs. You only need a few simple pantry staples to make them shine.
| Ingredient | Why It’s Important |
|---|---|
| Ricotta Cheese (1 cup) | Gives the puffs a soft, moist, and creamy interior |
| Eggs (2 large) | Binds the batter and adds richness |
| Granulated Sugar (1/3 cup inside + 1 cup for coating) | Sweetens the batter and creates a sweet crust |
| Vanilla Extract (1 tsp) | Adds that cozy holiday aroma |
| All-Purpose Flour (1 cup) | The base of the dough that gives structure |
| Baking Powder (2 tsp) | Helps the puffs rise and stay airy |
| Salt (1/4 tsp) | Balances the sweetness |
| Vegetable Oil | For frying to golden perfection |
| Powdered Sugar (2–3 tbsp) | Mixed with granulated sugar for a snowy finish |
Everything comes together to create a dough that’s thick and spoonable — not too runny, not too firm.
Tools You’ll Need
Nothing fancy here! You’ll likely already have everything:
- Mixing bowls (one for wet, one for dry)
- A sturdy whisk or hand mixer
- A small cookie scoop or teaspoon
- Deep heavy-bottomed pot for frying
- Thermometer (a must for consistent oil temp)
- Slotted spoon or tongs
- Paper towels for draining
- Shallow bowl or tray for sugar coating
With the right tools in hand, you’re ready to fry up a winter wonderland.
Step-by-Step: Making Santa’s Snowy Sugar Puffs
1. Whip Up the Batter
Start by whisking together the ricotta cheese, eggs, sugar, and vanilla in a bowl until the mixture is silky smooth. The ricotta gives the batter a soft texture, while the eggs help it puff up when fried.
In a separate bowl, combine the flour, baking powder, and salt. Gently mix the dry ingredients into the wet ingredients just until combined. Don’t overmix — we want light and airy puffs, not dense dough balls.
The final batter should be thick and spoonable — if you scoop it, it should hold its shape for a second before falling off the spoon. That’s the texture we’re aiming for.
2. Heat the Oil Like a Pro
Pour 2–3 inches of vegetable oil into a heavy-bottomed pot. Heat it slowly over medium heat until it reaches 350°F (175°C). Use a thermometer to keep it steady — too hot and the outside will burn before the inside cooks; too cool and you’ll end up with greasy puffs.
Keep the temperature consistent throughout the frying process. This helps every puff come out perfectly golden and crispy on the outside.
3. Frying to Golden Perfection
Once your oil is ready, drop in small spoonfuls of batter using a teaspoon or small cookie scoop. Don’t overcrowd the pot — fry about 4–6 puffs at a time.
Fry each batch for 2–3 minutes, turning occasionally with a slotted spoon or tongs. The puffs should become a deep golden color and puff up into perfect little balls.
When they’re done, remove them with a slotted spoon and place them briefly on a plate lined with paper towels to drain excess oil.
4. The Sugar Snow Coating
While the puffs are still warm (not hot), it’s time to give them their snow makeover.
Mix 1 cup of granulated sugar with 2–3 tablespoons of powdered sugar in a shallow bowl. Roll each puff generously in the mixture, making sure every bit is coated.
The result? A shimmering, frosty finish that looks like fresh snow — and tastes even better.
Pro Tips for Perfect Snowy Sugar Puffs
To make sure your Santa’s Snowy Sugar Puffs turn out just as magical as they look in the photo, keep these pro tips in mind. These little details can make the difference between “just okay” and “can’t stop eating them!”
- Don’t overmix the batter – It’s tempting to stir until everything’s perfectly smooth, but resist! Overmixing develops gluten in the flour, which can make your puffs dense instead of airy.
- Use a cookie scoop – For consistent size and roundness, a small cookie scoop (or even a melon baller) works like a charm. Uniform puffs = even frying.
- Control your oil temp – Keep your thermometer handy. If the oil drops below 340°F, the puffs will soak up too much oil and turn greasy. If it gets too hot (above 360°F), the outsides will burn before the inside is cooked.
- Work in batches – Give your puffs enough room to float and puff up. Crowding the pot drops the temperature and causes uneven cooking.
- Coat while warm – The sugar coating sticks best when the puffs are still warm but not wet with oil. Give them a few seconds on a paper towel, then roll them straight into that snowy sugar.
Follow these steps and your puffs will come out looking like edible snowballs — golden, fluffy, and frosted just like the ones in the image.
Flavor Twists and Variations
Want to add your own spin on these festive favorites? Here are some playful (and delicious!) twists to try:
- Spiced Snowy Puffs – Add 1/2 tsp cinnamon or nutmeg to the flour mix for a warm, cozy flavor that screams Christmas.
- Citrus Burst – Mix in a little orange or lemon zest to the batter for a fresh, zesty kick.
- Stuffed Puffs – Use a piping bag to inject the puffs with Nutella, raspberry jam, or even pastry cream once they’ve cooled a bit. Total surprise inside!
- Chocolate Dipped – After rolling in sugar, dip the tops in white or dark chocolate and let them harden for an extra fancy finish.
- Coconut Snow – Mix shredded coconut into the sugar coating for a snowy texture with a tropical twist.
Make them your own! Santa’s Snowy Sugar Puffs are versatile enough to be dressed up for any crowd.
Serving Ideas to Wow Guests
Presentation counts — especially around the holidays. These puffs may be simple, but you can serve them in ways that totally elevate the vibe.
- Holiday Tower – Stack the puffs in a tall cone shape and dust with extra powdered sugar for a “snowy mountain” centerpiece.
- Festive Bowls – Use red and green bowls lined with a plaid napkin (like in the image) for an instant cozy holiday feel.
- With Sides – Serve with a small bowl of warm chocolate sauce, caramel, or whipped cream for dipping.
- On a Tray – Place them among fresh pine sprigs, cinnamon sticks, and cranberries for an Instagram-worthy dessert display.
And let’s not forget: they make an excellent snack for Santa himself on Christmas Eve. You might even want to leave out a few extras — just in case the elves get hungry too. 😉
Storing and Reheating Tips
While these sugar puffs are best fresh (seriously, they’re next-level warm!), you can still enjoy them later if you’ve made a big batch. Here’s how:
- To store: Place completely cooled puffs in an airtight container lined with paper towels to absorb moisture. Store at room temperature for up to 2 days.
- To reheat: Pop them in the oven at 300°F (150°C) for 5–7 minutes to revive the crispiness. Skip the microwave — it’ll make them soggy.
- To freeze (not ideal but possible): Freeze uncoated puffs in a single layer, then reheat and sugar coat right before serving.
Pro tip: If you know you’re going to store some, only coat the ones you plan to serve immediately. Sugar can dissolve or get sticky in storage.
How Kids Can Help
Santa’s Snowy Sugar Puffs aren’t just delicious — they’re also a fun family baking activity. Kids love being part of the magic, and there are plenty of safe, easy ways they can pitch in:
- Mixing the batter – Let little hands help stir (with supervision).
- Rolling the sugar – Once the puffs are warm and ready, kids will love rolling them in the “snow.”
- Counting and stacking – Turn plating into a playful challenge: how tall can they build a puff tower?
Of course, they’ll also be the first to volunteer for “taste testing” duty. It’s a sweet memory-making moment you’ll all cherish.
Pairings: What to Serve with Snowy Sugar Puffs
Want to complete your dessert table with some complementary treats? These puffs pair beautifully with:
- Hot chocolate – Classic cocoa or peppermint hot chocolate makes the perfect sweet-and-rich pairing.
- Spiced cider – The cinnamon-apple warmth brings out the cozy notes in the puffs.
- Coffee or espresso – The sugary puffs balance beautifully with a bold cup of coffee.
- Fruit and cream – A bowl of berries and whipped cream adds a fresh, light contrast.
They’re versatile enough to stand alone or join a holiday dessert spread like cookies, fudge, or mini pies.
Print
Santa’s Snowy Sugar Puffs
- Prep Time: 10 minutes
- Cook Time: 10 minutes
- Total Time: 20 minutes
- Category: Holiday Desserts · Christmas Sweets · Fried Treats · No-Yeast Pastries
Description
✨ Crispy on the outside, soft and airy on the inside, and coated in a magical snowy sugar finish! These golden holiday puffs are quick to make and bring instant Christmas cheer to every bite. ❄️🎄
Ingredients
1 cup full-fat ricotta cheese 🧀
2 large eggs 🥚
1/3 cup granulated sugar 🍚
1 teaspoon vanilla extract ✨
1 cup all-purpose flour 🌾
2 teaspoons baking powder
1/4 teaspoon salt 🧂
Vegetable oil, for frying
1 cup granulated sugar, for coating
2–3 tablespoons powdered sugar, for snowy finish ❄️
Instructions
In a large bowl, whisk together the ricotta cheese, eggs, granulated sugar, and vanilla extract until smooth and creamy. 😍
⏱ Duration: 5 minutesIn a separate bowl, mix the flour, baking powder, and salt. Gradually fold the dry ingredients into the wet mixture until thick and spoonable.
⏱ Duration: 2 minutesHeat 2–3 inches of vegetable oil in a deep pot to 350°F (175°C), keeping the temperature steady for even frying. 🔥
⏱ Duration: 8–10 minutesDrop small spoonfuls of batter into the hot oil, frying in batches until puffed, round, and deep golden on all sides. 😋
⏱ Duration: 2–3 minutes per batchRemove the puffs with a slotted spoon and drain briefly on paper towels.
⏱ Duration: 1 minuteCombine granulated sugar and powdered sugar in a bowl, then roll the warm puffs generously in the mixture until fully coated in “snow.” ❄️💛
⏱ Duration: 2 minutes
Notes
These sugar puffs are best enjoyed fresh and warm, when the inside is soft and airy.
Keep the oil temperature steady at 350°F (175°C) to ensure even cooking and a perfectly golden exterior.
Use full-fat ricotta for the richest flavor and the fluffiest texture.
For extra festive flair, add a pinch of cinnamon or nutmeg to the sugar coating.
If serving later, lightly rewarm and recoat with powdered sugar for a fresh “snowy” look.
Nutrition
- Serving Size: 18–20 puffs
- Calories: ~85 kcal per puff
Why You’ll Make These Every Christmas
Let’s be real — once you’ve made these once, they’re going to become your go-to holiday treat. Here’s why:
- Fast and easy – You’re not spending hours in the kitchen. They’re quick enough for spontaneous holiday cravings.
- Crowd-pleasers – Everyone loves them, from toddlers to grandparents.
- Budget-friendly – No fancy ingredients or tools needed.
- Customizable – Make them spicy, citrusy, stuffed, dipped — whatever suits your holiday vibe.
Whether you serve them as dessert, snack, brunch treat, or Christmas Eve surprise, these puffs bring joy in every bite.
Troubleshooting: When Things Go Wrong
Even the best bakers hit a few bumps. If your Snowy Sugar Puffs aren’t turning out as expected, here’s what could be going on:
- Too flat? The batter may be too loose, or the oil wasn’t hot enough. Make sure your oil is 350°F and your batter is thick.
- Too oily? Oil too cold or over-frying. Keep the oil temp steady and don’t leave them in too long.
- Too dense? Overmixed batter or old baking powder. Be gentle when combining ingredients and make sure your baking powder is fresh.
- Sugar not sticking? You waited too long to coat them. Sugar adheres best when the puffs are still warm.
A little tweaking, and you’ll be back on the sweet track in no time.
You may also like :
Perfect Grinch Cookies Recipe: A Festive Holiday Treat Everyone Will Love 💚
Santa’s No-Bake Sugar Cookie Bars Recipe: A Magical Holiday Treat That’s Almost Too Easy! 🎅
Final Thoughts: The Magic of Homemade Holiday Treats
Santa’s Snowy Sugar Puffs are more than just a dessert — they’re a moment. They’re that “ooooh!” when you bring them to the table, that “Mmmm!” with the first bite, and that warm glow that lingers after.
Whether you’re making them solo on a quiet winter night or whipping up a big batch with the family, these puffs are your ticket to Christmas joy in under 30 minutes. Cozy, nostalgic, and oh-so-pretty — they’re a holiday tradition waiting to happen.
So grab your mixing bowl, heat that oil, and let it snow… sugar-style. ❄️✨
Similar recipes :
White Chocolate Christmas Chex Mix: The Ultimate Festive Treat
🎄 Christmas Trifle Dessert Recipe: A Stunning, Festive Showstopper for Your Holiday Table
FAQs
1. Can I use another cheese instead of ricotta?
Yes! You can try mascarpone or cottage cheese (drained well). However, ricotta gives the lightest, creamiest texture.
2. Are these sugar puffs gluten-free?
Not as written, but you can substitute with a good 1:1 gluten-free flour blend. Texture may vary slightly.
3. What oil is best for frying these?
Vegetable oil, canola, or sunflower oil all work great. Use a neutral-tasting oil with a high smoke point.
4. Can I bake instead of fry them?
These are really designed for frying. Baking won’t give you the same puff or crisp, but you can try it at 375°F for about 15–20 minutes in a mini muffin tin.
5. Can I freeze Snowy Sugar Puffs?
You can, but freeze them uncoated. Reheat in the oven, then coat in fresh sugar before serving.