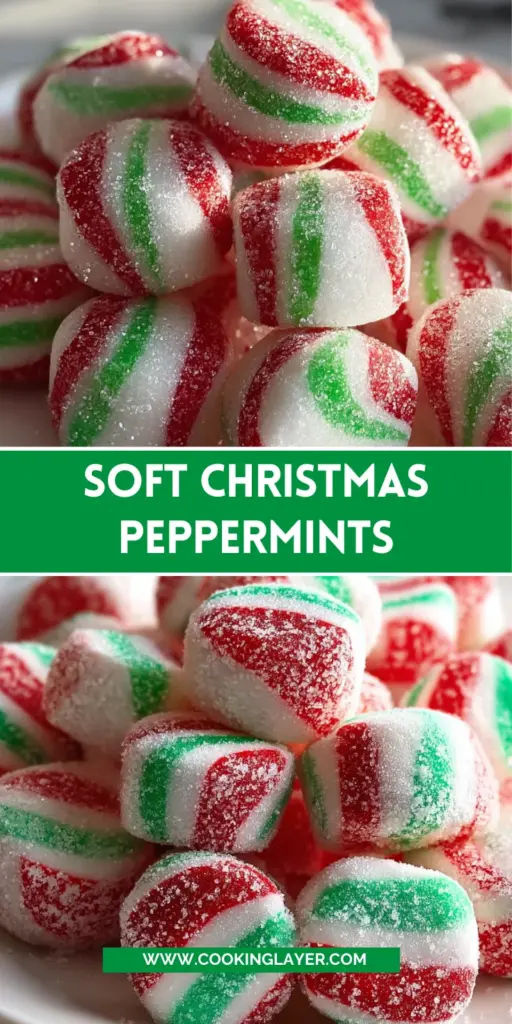
Introduction to Soft Christmas Peppermints
Ah, the holidays! A time filled with joy, laughter, and yes, the irresistible scent of peppermint wafting through the air. When I think of festive treats, Soft Christmas Peppermints always come to mind. They’re not just a delicious candy; they’re a little taste of nostalgia and warmth.
This recipe is perfect for busy moms and professionals like myself. With just a bit of time and a handful of ingredients, you’ll have a delightful treat to share with family and friends. Trust me, they will love these soft, melt-in-your-mouth candies!
Why You’ll Love This Soft Christmas Peppermints
You’ll adore these Soft Christmas Peppermints for so many reasons. First, they’re incredibly easy to whip up, making them a fantastic last-minute treat. Plus, the vibrant colors add a festive flair to any holiday gathering. Each bite melts in your mouth, offering that sweet, minty burst that brings holiday cheer. Whether you’re a kitchen novice or a seasoned pro, these peppermint candies cater to everyone!
Ingredients for Soft Christmas Peppermints
Let’s gather our essentials for these delightful Soft Christmas Peppermints! While I can’t provide exact measurements just yet, I’ll guide you through each ingredient and its purpose. You’ll find the specific amounts at the end of the article, ready for your printing pleasure. Here’s what you need:
- Powdered Sugar: The star of our candy, this silky sugar forms the base and gives that delightful softness.
- Sweetened Condensed Milk: This creamy goodness adds richness and contributes to the chewy texture we all crave. You could substitute it with evaporated milk if you’re in a pinch, but it won’t be quite as sweet!
- Peppermint Extract: This is where the magic happens! It delivers a burst of festive flavor, embodying that classic holiday vibe. Feel free to experiment with other flavors, like vanilla or chocolate, if you’re feeling adventurous.
- Food Coloring Gel: Brighten up these festive treats with red and green colors. Gel food coloring works best because it won’t alter the dough’s consistency too much. Liquid colors can be used, but be careful: too much can make your candies runny!
- Granulated Sugar: A simple coating that adds just the right crunch to balance the soft texture. You might also want to consider flavored sugars, like cinnamon or even peppermint for an extra kick!
Remember, the creativity you bring to these ingredients is what makes them your own. So gather these simple yet effective items, and let’s transform them into delightful festive treats this holiday season!
How to Make Soft Christmas Peppermints
Prepare the Sugar Mixture
Begin your adventure by gathering all your ingredients, ensuring a smooth process. Start by sifting the powdered sugar into a large bowl. This step is crucial because it removes any lumps, leading to a silky sugar mixture for our soft peppermint candies. Just picture that fluffy cloud of sugar!
Once sifted, create a well in the center. This is where the magic begins! Pour in the sweetened condensed milk and peppermint extract. Using a spatula, mix everything together until you see a sticky dough forming. If it feels a tad too wet, don’t panic. Simply add more powdered sugar, one tablespoon at a time, until you reach the right sticky yet manageable consistency suitable for our festive treats.
Create the Dough
Once your mixture looks good for your Soft Christmas Peppermints, it’s time to embrace the dough! Use your hands to knead in the sweetened condensed milk and peppermint extract thoroughly. This part of the process gets a little sticky, so take your time!
The dough should be soft but not overly wet. If it sticks too much to your hands, sprinkle in more powdered sugar gradually. A dash here and a sprinkle there can make all the difference. Remember, the goal is a smooth, pliable dough that’s easy to roll.
As you knead, breathe in that minty goodness building excitement for your candy-making adventure!
Color and Shape the Dough
Now comes the fun part—adding color! Divide your dough into three portions: one left plain and the others colored with red and green gel food coloring. As you knead each colored portion, make sure the hues are evenly mixed throughout. It’s like creating your own holiday masterpiece.
Once the colors are blended, it’s time to shape the dough. Dust your work surface with a light layer of powdered sugar to prevent sticking. Roll each colored portion into ropes, about half an inch thick. Feel the texture in your hands and enjoy the process.
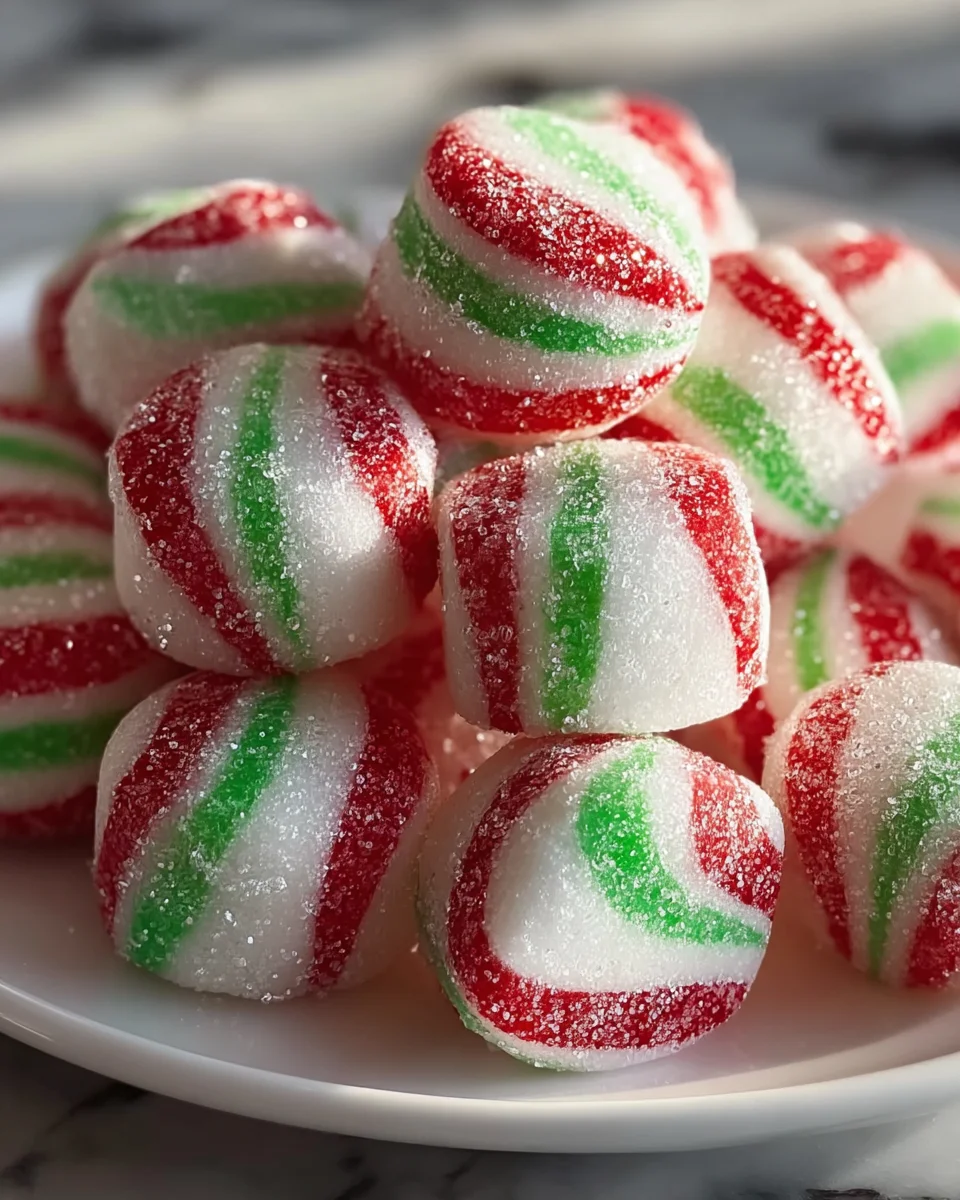
The vibrant red and green colors will evoke festive spirit! This is where your soft peppermint creations start to take shape, inviting you to twist them into delightful candy canes. When you twist the ropes together, imagine the smiles they’ll bring when shared with family and friends over the holiday season!
Form the Peppermints
After preparing your colorful ropes, it’s time to create the candy itself! Gently twist your red, green, and the plain ropes together. This step not only creates a beautiful pattern but also enhances the visual appeal of your Soft Christmas Peppermints.
Once twisted, slice the long candy cane into 2-inch segments using a sharp knife or a pizza cutter. Feel free to experiment with shapes—small rounds or discs work beautifully, too!
As you shape each piece, think about their presentation. The unique designs will add charm to your holiday gatherings. Plus, the anticipation of enjoying these sweet delights only makes the process more exciting!
Finalizing Your Peppermints
The final touch is all about enhancing flavors and ensuring they look delicious too! Lightly roll each shaped peppermint in granulated sugar. This adds a sweet crunch that perfectly complements the soft candy underneath.
Next, place your coated candies onto a parchment-lined baking sheet, giving them room to breathe. Now, let your creations dry at room temperature. This crucial waiting period can take several hours or even overnight, so be patient!
The end result will be firm but melt-in-your-mouth treats that are simply irresistible. Once dried, these Soft Christmas Peppermints will be ready to be stored in an airtight container or shared with loved ones. Enjoy this festive treat that packs joy and flavor into each delicious piece!
Tips for Success
- Always sift powdered sugar to prevent lumps in your dough.
- Use gel food coloring for vibrant, consistent colors.
- Keep your hands dusted with powdered sugar to manage the sticky dough.
- Experiment with different shapes and sizes for fun variations.
- Allow ample drying time to ensure your candies firm up nicely.
- Share with family and friends—these treats are all about spreading joy!
Equipment Needed for Soft Christmas Peppermints
- Large Mixing Bowl: Any mixing bowl will do; a glass or stainless steel one works great.
- Spatula: A flexible silicone spatula helps mix everything smoothly.
- Measuring Cups: Essential for getting your ingredients just right.
- Sharp Knife or Pizza Cutter: Use a knife or pizza cutter for easy, even cutting.
- Parchment Paper: Perfect for lining your baking sheet to prevent sticking.
Variations of Soft Christmas Peppermints
- Chocolate Peppermints: Add cocoa powder to the dough for a rich and delightful chocolate flavor. A perfect twist for chocolate lovers!
- Mint Fusion: Mix in crushed peppermint candies for texture and a burst of extra minty flavor. It takes these candies to the next level!
- Allergen-Friendly: Substitute sweetened condensed milk with a dairy-free alternative, such as coconut cream, for a vegan version without losing creaminess.
- Flavorful Hints: Replace peppermint extract with other extracts like almond or orange for a unique and refreshing twist—think holiday cheer in different flavors!
- Holiday Spice: Incorporate a pinch of cinnamon or nutmeg into the dough for added warmth and a deliciously festive flavor profile!
- Mini Peppermint Poppers: Shape your soft candies into smaller pieces for bite-sized treats that are perfect for snacking or decorating desserts!
Serving Suggestions for Soft Christmas Peppermints
- Pair these delightful candies with a warm cup of hot cocoa for a cozy treat that screams holiday spirit.
- Wrap them in festive packaging to give as thoughtful homemade gifts to family and friends.
- Serve them on a beautiful platter alongside other holiday sweets for a colorful dessert spread.
- Add a sprinkle of crushed peppermint on top of frosted cupcakes for a festive touch.
- Use them as a delicious decoration for your holiday cookie trays or dessert tables.
FAQs about Soft Christmas Peppermints
Can I use liquid food coloring instead of gel?
While you can use liquid food coloring, I strongly recommend gel. Gel offers better color without altering the candy’s consistency, which is crucial for that perfect soft peppermint texture.
How long do Soft Christmas Peppermints last?
When stored in an airtight container, these candies can last up to two weeks. Just remember, they’re often best enjoyed fresh, with that delightful melt-in-your-mouth texture!
What if my dough is too sticky?
If you find your dough clinging too much to your hands, don’t sweat it! Simply dust your hands with a little powdered sugar and continue adding small amounts of powdered sugar to the dough until it reaches that ideal consistency.
Can I make these ahead of time?
Absolutely! In fact, making Soft Christmas Peppermints ahead of time is a great idea. Just be sure to let them dry completely before storing to preserve that soft texture.
What are some creative ways to serve Soft Christmas Peppermints?
Apart from enjoying them as is, try using them as festive decorations on cakes or cupcakes. You can also package them beautifully as gifts or include them in holiday cookie trays for that extra festive flair.
Final Thoughts
Making Soft Christmas Peppermints is more than just a recipe; it’s a chance to create cherished memories during the holiday season. As you mix, roll, and shape these delightful candies, you’ll feel the warmth of tradition and the joy of sharing with loved ones. Each piece is like a little hug, filled with festive spirit and deliciousness. So, whether you savor them yourself or gift them with love, these soft peppermint treats are sure to spread happiness and cheer. Embrace this holiday season with the joy these candies bring, and watch as smiles light up around your table!
Print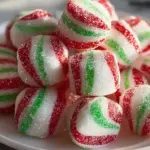
Soft Christmas Peppermints
- Prep Time: 30 minutes
- Cook Time: 0 minutes
- Total Time: Several hours (with drying time)
- Yield: Approximately 30 pieces 1x
- Category: Dessert
- Method: No-bake
- Cuisine: American
- Diet: Vegetarian
Description
A festive and soft treat perfect for the holiday season.
Ingredients
- 3¾ cups powdered sugar plus extra for dusting
- ⅓ cup sweetened condensed milk
- ½ teaspoon peppermint extract
- Red and green food coloring gel preferred
- Granulated sugar for coating
Instructions
- In a large bowl, sift the powdered sugar to remove lumps, reserving a small amount for dusting your work surface.
- Add the sweetened condensed milk and peppermint extract to the powdered sugar, mixing until a sticky dough forms. If it’s too wet, add more powdered sugar a tablespoon at a time.
- Divide the dough into three portions. Leave one portion plain, and color the others red and green using gel food coloring. Knead until colors are evenly distributed.
- Dust your work surface with powdered sugar. Roll each colored dough into thin ropes, about ½ inch thick.
- Twist the red, green, and plain ropes together gently to create a candy cane effect.
- Cut into 2-inch segments and shape into small rounds or discs.
- Roll each peppermint in granulated sugar to coat.
- Place on a parchment-lined baking sheet and let dry at room temperature for several hours or overnight until firm.
Notes
- Use gel food coloring for the best color intensity.
- Ensure the candies are completely firm before storing.
- These can be stored in an airtight container for several weeks.
Nutrition
- Serving Size: 1 piece
- Calories: 50
- Sugar: 9g
- Sodium: 5mg
- Fat: 0g
- Saturated Fat: 0g
- Unsaturated Fat: 0g
- Trans Fat: 0g
- Carbohydrates: 12g
- Fiber: 0g
- Protein: 0g
- Cholesterol: 0mg


