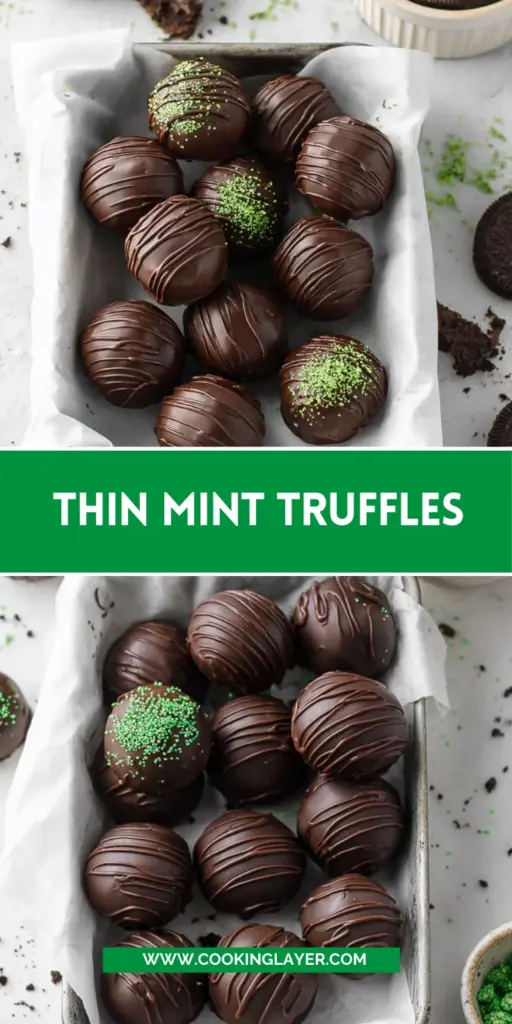
Introduction to Thin Mint Truffles
Hey there, fellow food lovers! Have you ever craved something sweet yet sophisticated? Allow me to introduce you to the world of Thin Mint Truffles. These delightful treats are not just a feast for your taste buds but also a quick solution for a busy day. With just a handful of ingredients, you’ll create an indulgence that impresses friends and family alike. Imagine receiving compliments while knowing you barely lifted a finger! Trust me, once you make these, they’ll become a go-to recipe that satisfies those sweet cravings with ease and flair.
Why You’ll Love This Thin Mint Truffles
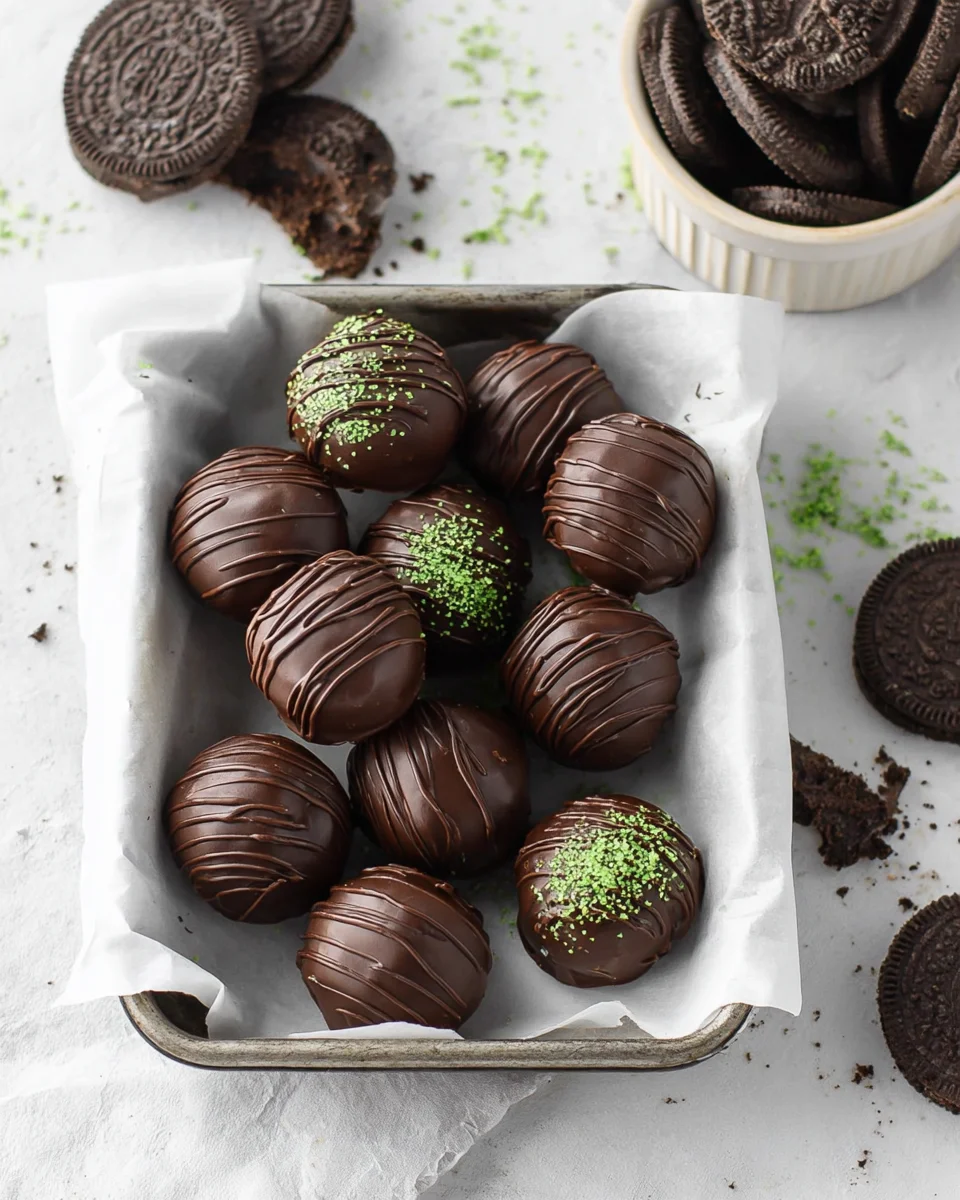
These Thin Mint Truffles bring together the classic flavors we love in just 35 minutes, combining ease with delightful taste. They require no baking, making them perfect for busy days when time is of the essence. Plus, the crunchy mint cookies paired with creamy chocolate create a treat that truly melts in your mouth. It’s like capturing the best parts of your favorite cookies and turning them into irresistible little bites of joy!
Ingredients for Thin Mint Truffles
For these scrumptious Thin Mint Truffles, you’ll need a handful of simple ingredients. Here’s what to gather:
- Thin Mint Cookies: These iconic cookies provide the signature mint flavor and crunch. They are the heart of this recipe.
- Cream Cheese: Softened cream cheese adds a creamy texture that binds the cookie crumbs together. Feel free to use light cream cheese if you’re watching calories.
- Chocolate Chips: Rich and delicious, they will form the main coating. Opt for semi-sweet for that perfect balance of sweetness.
- Chocolate Bark or Candy Coating: This gives the truffles a glossy finish. You can use chocolate melts if that’s what you have on hand.
Don’t worry if you’re short on any ingredients — you can easily substitute mint wafers for the Thin Mints or use different types of chocolate based on your preference. If you’re feeling adventurous, consider tossing in a hint of peppermint extract for an extra kick!
Remember, exact quantities and additional tips are available at the bottom of this article for easy printing.
How to Make Thin Mint Truffles
Now, let’s get to the fun part—making these mouthwatering Thin Mint Truffles! I promise it’s as easy as 1-2-3, or in this case, 6 simple steps. Grab your ingredients, and let’s dive right in!
Step 1: Prepare the Cookie Crumbs
First, we need to turn those crispy Thin Mint cookies into fine crumbs. I love using my food processor for this. Just toss the cookies into the bowl and pulse until they resemble sand.
If you don’t have a food processor handy, you can also place them in a plastic bag and crush them with a rolling pin. It’s a bit of a workout but oh-so-satisfying!
Step 2: Combine with Cream Cheese
Once you’ve got those cookie crumbs ready, it’s time to mix things up. Add the softened cream cheese to the bowl of crumbs. Pulse again until it forms a dough-like consistency.
This part gets heavenly! The creamy texture paired with the mint flavors will have you almost wanting to taste it raw. Just a little warning—don’t eat it all at this stage!
Step 3: Shape the Truffles
Now, it’s time to get a little hands-on. Scoop out tablespoon-sized portions of the mixture and roll them into smooth balls. I like to think of it as making tiny edible snowballs—so much fun for the kids, too!
Once shaped, place the truffles on a parchment-lined baking sheet. Then, pop them in the freezer for about 20 minutes. This helps them firm up nicely for the next step.
Step 4: Melt the Chocolate
While the truffles chill, let’s melt the chocolate. Combine the chocolate chips and chopped chocolate bark in a microwave-safe bowl. Microwave for about 1.5 minutes, stirring every 30 seconds.
You want it smooth and glossy, a silky blanket for your truffles. Use high-quality chocolate for the best flavor, trust me, it makes a difference!
Step 5: Dip and Decorate
Now comes the exciting part—dipping! Take each chilled truffle and dip it into the melted chocolate, making sure it’s fully coated. Gently shake off any excess chocolate before placing it back on the baking sheet.
If you’re feeling fancy, sprinkle some colored sprinkles on top before the chocolate sets. Or, you can drizzle some extra chocolate over them once they harden. The choice is yours!
Step 6: Chill and Set
After decorating, return the truffles to the fridge again and let them set for about 15 minutes. This is the hardest part, waiting! But good things come to those who wait.
Once they’re firm, you can proudly serve them at parties or just enjoy them as your little secret indulgence. Each bite will be a burst of minty goodness, making every effort totally worth it!
Tips for Success
- Make sure your cream cheese is softened for easy blending. It’ll mix in seamlessly.
- Use high-quality chocolate for the coating for a richer flavor and smoother texture.
- Chill the shaped truffles thoroughly before dipping to keep them from falling apart.
- Consider adding different toppings like crushed nuts or coconut for an exciting twist.
- These truffles can be made in advance and stored in the fridge for an easy sweet treat!
Equipment Needed for Thin Mint Truffles
- Food Processor: Ideal for crushing cookies; you can also use a rolling pin and a ziplock bag as an alternative.
- Microwave-Safe Bowl: Perfect for melting chocolate; a double boiler works well too if you prefer that method.
- Parchment Paper: Great for lining baking sheets; silicone mats are a fantastic reusable option.
- Measuring Spoons: Helps in consistent portioning; you can eyeball it if you’re confident!
Variations of Thin Mint Truffles
- Dark Chocolate Coating: For a richer flavor, use dark chocolate instead of semi-sweet. It enhances the mint and adds a decadent twist.
- Mint Chocolate Chip: Fold in some mini chocolate chips into the dough for an extra chocolatey surprise in every bite.
- Nutty Crunch: Roll the truffles in crushed nuts or crushed Thin Mint cookies for added texture and flavor.
- Vegan Option: Substitute the cream cheese with vegan cream cheese and use dairy-free chocolate to keep them plant-based.
- Gluten-Free Version: Use gluten-free mint cookies to accommodate those with gluten sensitivities while keeping the taste, of course!
- Alcohol Infusion: For a sophisticated spin, add a splash of peppermint schnapps or your favorite liqueur to the mixture for an adult treat!
Serving Suggestions for Thin Mint Truffles
- Pair these delectable truffles with a steaming cup of coffee or a refreshing mint tea for a delightful afternoon treat.
- Serve them on a beautiful dessert platter, garnished with fresh mint leaves for an eye-catching presentation.
- Try them alongside vanilla ice cream for an indulgent dessert experience that balances the richness of the truffles.
- For festive occasions, place them in decorative cupcake liners for a charming touch.
FAQs about Thin Mint Truffles
As a passionate home cook, I often get questions about these delightful Thin Mint Truffles. Here are some of the most common inquiries and their answers!
Can I use other types of cookies instead of Thin Mints?
Absolutely! While Thin Mints are iconic, you can experiment with other mint-flavored cookies or even classic chocolate sandwich cookies. Just keep in mind the flavor profile will change!
How should I store these truffles?
Store your Thin Mint Truffles in an airtight container in the refrigerator. They will stay fresh for up to a week. You can also freeze them for longer storage, making sure they are well-wrapped!
Can I make these truffles ahead of time?
Yes, you can make them a day or two in advance! Just prepare the truffles, coat them in chocolate, and store them in the fridge until you’re ready to serve.
What if my chocolate seizes while melting?
This can happen if water gets into your chocolate. If this happens, don’t panic! You can try adding a small amount of vegetable oil or shortening to the seized chocolate and re-melt gently; it should smooth out.
Can I make Thin Mint Truffles vegan?
Definitely! Simply substitute the cream cheese with a vegan cream cheese alternative and use dairy-free chocolate. You’ll still enjoy all the delicious minty goodness without the dairy!
Final Thoughts
Making these Thin Mint Truffles is truly an experience filled with joy, simplicity, and a touch of elegance. Each bite transports you to a place of creamy mint delight, bringing back fond memories of your favorite cookies. They’re not just a treat; they’re a testament to what can be created in a short amount of time, infused with love and creativity. Whether you’re surprising guests or indulging in a personal moment, these truffles surely make any day a little sweeter. So, roll up your sleeves, embrace this culinary adventure, and revel in the joyous art of homemade treats!
Print
Thin Mint Truffles
- Prep Time: 15 minutes
- Cook Time: 20 minutes
- Total Time: 35 minutes
- Yield: 24 truffles 1x
- Category: Dessert
- Method: No-bake
- Cuisine: American
- Diet: Vegetarian
Description
Indulge in these irresistible Thin Mint Truffles made with crunchy mint cookies and creamy chocolate coating.
Ingredients
- 1 box (9 ounces) thin mint cookies
- 4 ounces cream cheese (softened and cut into cubes)
- 3/4 cup chocolate chips
- 4 ounces chocolate bark or candy coating (chopped)
Instructions
- Add the thin mints to the bowl of a food processor and pulse until they are a fine crumb.
- Add the softened cream cheese and pulse until the mixture forms a loose dough.
- Scoop out 1-tablespoon sized portions and roll them into smooth balls. Place the truffles on a parchment lined baking sheet and freeze them for 20 minutes.
- When the truffles are chilled, combine the chocolate chips and chocolate bark in a small microwave-safe bowl.
- Microwave for 1 1/2 minutes, stirring every 30 seconds – or until the chocolate is melted.
- Dip each truffle (one at a time) into the chocolate and shake off any excess. Then place it back on the parchment lined baking sheet and repeat with the remaining truffles. If decorating with sprinkles, make sure to add them before the chocolate has fully set. If decorating with a chocolate drizzle, allow the first layer of chocolate to fully harden before adding the drizzle.
- Place the truffles back into the fridge and allow them to set for 15 minutes before serving.
Notes
- Ensure cream cheese is softened for easy mixing.
- Use high-quality chocolate for better flavor.
- Truffles can be made in advance and stored in the refrigerator.
Nutrition
- Serving Size: 1 truffle
- Calories: 120
- Sugar: 10g
- Sodium: 50mg
- Fat: 7g
- Saturated Fat: 4g
- Unsaturated Fat: 2g
- Trans Fat: 0g
- Carbohydrates: 15g
- Fiber: 1g
- Protein: 2g
- Cholesterol: 10mg


