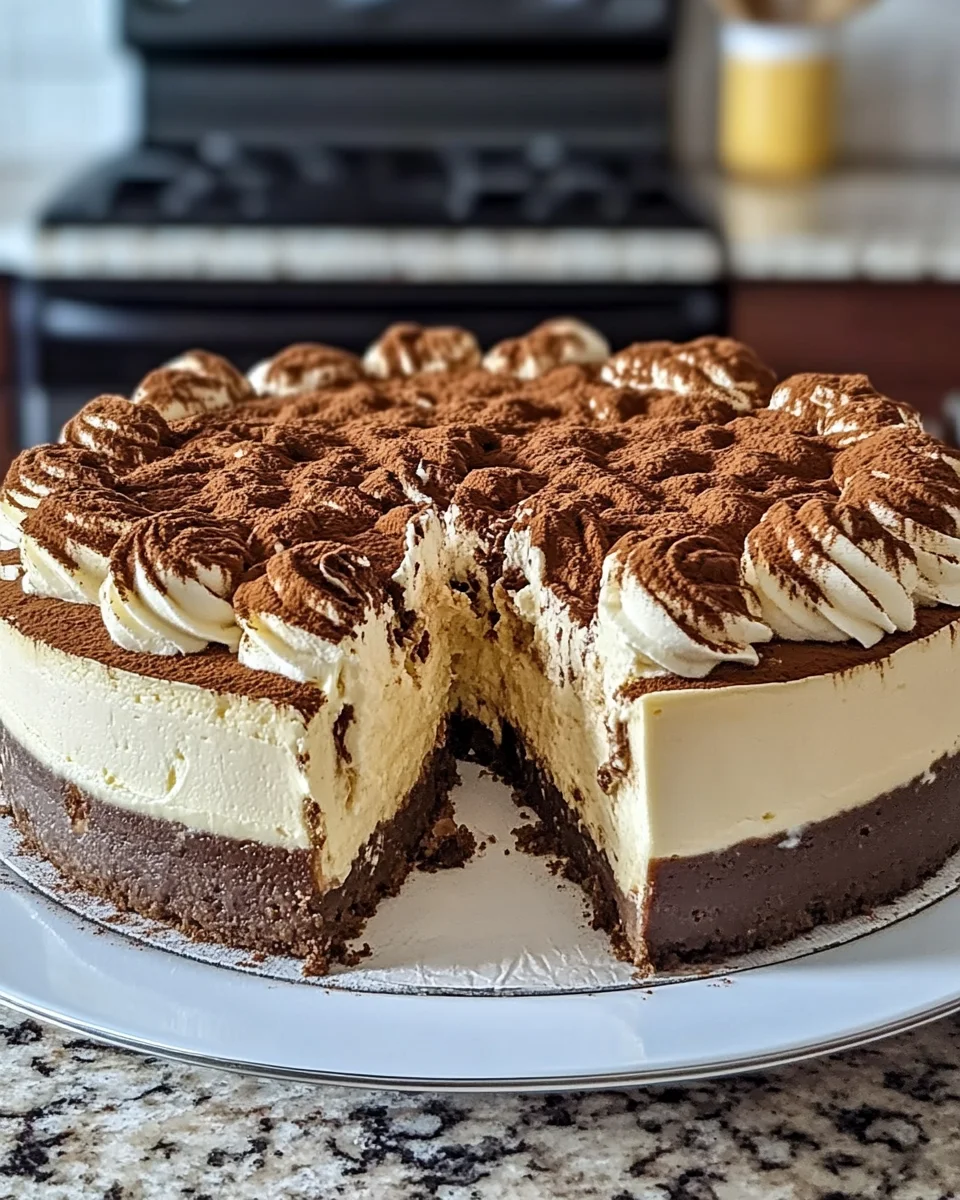
Introduction to Tiramisu Cheesecake
As a passionate home cook, I know how hectic life can get, especially for busy moms and professionals. That’s why I’m excited to share my Tiramisu Cheesecake recipe with you! This creamy delight combines the classic flavors of tiramisu with the rich, velvety texture of cheesecake. It’s perfect for impressing your loved ones or simply treating yourself after a long day. With just a few simple steps, you can create a dessert that feels indulgent yet is surprisingly easy to make. Trust me, this Tiramisu Cheesecake will become a favorite in your home!
Why You’ll Love This Tiramisu Cheesecake
This Tiramisu Cheesecake is a game-changer for busy days. It’s quick to prepare, yet it tastes like you spent hours in the kitchen. The combination of creamy cheesecake and rich espresso flavors will have your taste buds dancing with joy. Plus, it’s a crowd-pleaser! Whether it’s a family gathering or a cozy night in, this dessert will surely impress everyone at the table.
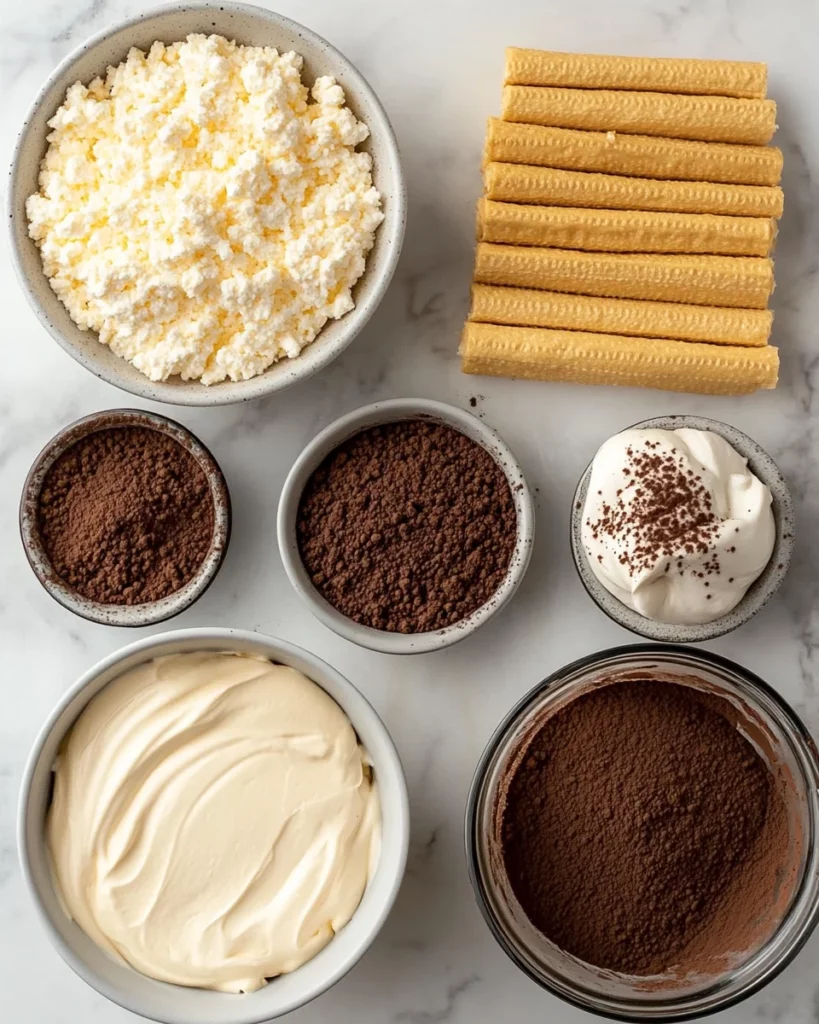
Ingredients for Tiramisu Cheesecake
Gathering the right ingredients is the first step to creating your Tiramisu Cheesecake masterpiece. Here’s what you’ll need:
- Crushed ladyfingers: These delightful cookies form the base of your cheesecake. They add a unique texture and flavor.
- Melted unsalted butter: This binds the ladyfingers together, creating a rich crust. Unsalted is best to control the sweetness.
- Cream cheese: The star of the show! It gives the cheesecake its creamy texture and tangy flavor.
- Mascarpone cheese: This Italian cheese adds a luxurious creaminess that elevates the cheesecake to new heights.
- Granulated sugar: Sweetens the filling. You can adjust the amount based on your taste preferences.
- Large eggs: These help bind the ingredients together and provide structure to the cheesecake.
- Brewed espresso or strong coffee: This is where the classic tiramisu flavor comes from. Use high-quality coffee for the best taste.
- Pure vanilla extract: A splash of vanilla enhances the overall flavor profile, making it even more delicious.
- All-purpose flour: This helps stabilize the filling, ensuring a perfect texture.
- Heavy cream: Adds richness and helps create a smooth filling. It’s essential for that creamy mouthfeel.
- Extra ladyfingers (optional): For layering on top, these can add an extra touch of authenticity.
- Brewed coffee or espresso for dipping (optional): Dipping the ladyfingers in coffee adds an extra layer of flavor.
- Whipped cream or whipped mascarpone topping: This is for that final touch of indulgence on top of your cheesecake.
- Unsweetened cocoa powder: Dusting this on top gives your cheesecake that classic tiramisu finish.
For exact measurements, check the bottom of the article where you can find everything listed for easy printing. Happy baking!
How to Make Tiramisu Cheesecake
Make the Crust
Let’s start with the crust, which is the foundation of our Tiramisu Cheesecake. First, crush the ladyfingers into fine crumbs. You can use a food processor or place them in a zip-top bag and crush them with a rolling pin. Once you have your crumbs, mix them with melted unsalted butter until everything is well combined. This mixture should feel like wet sand.
Now, press the crumb mixture firmly into the bottom of a greased springform pan. You want it to be compact, so it holds together nicely. If you prefer a no-bake option, chill the crust in the fridge for about 30 minutes. If you’re in the mood for a baked crust, pop it in a preheated oven at 325°F (160°C) for 10 minutes. This will give it a lovely golden color and a bit of crunch!
Prepare the Filling
Now, let’s whip up that luscious filling! In a large mixing bowl, beat the softened cream cheese and mascarpone cheese together until they’re smooth and creamy. I like to use an electric mixer for this, as it makes the process quicker and easier. Gradually add in the granulated sugar, mixing until it’s fully incorporated.
Next, add the eggs one at a time, mixing well after each addition. This helps to create a silky texture. Then, pour in the brewed espresso and pure vanilla extract, mixing until everything is combined. Finally, sprinkle in the all-purpose flour and heavy cream, and mix until the batter is smooth and velvety. This filling is where the magic happens, so take your time to get it just right!
Bake the Cheesecake
It’s time to bake our Tiramisu Cheesecake! First, wrap the bottom of your springform pan with aluminum foil to prevent water from seeping in. Place the pan in a larger baking dish and fill it with hot water, creating a water bath. This method helps the cheesecake bake evenly and prevents cracks.
Now, bake the cheesecake in your preheated oven at 325°F (160°C) for 50 to 60 minutes. You’ll know it’s done when the edges are set, but the center still has a slight jiggle. Once baked, turn off the oven and crack the door open, letting the cheesecake cool inside for about an hour. This gentle cooling helps prevent it from sinking or cracking. Patience is key here!
Add Tiramisu Layers (Optional)
If you want to take your cheesecake to the next level, consider adding some tiramisu layers! After the cheesecake has cooled, lightly dip extra ladyfingers in brewed espresso. Layer them on top of the cheesecake, creating a beautiful pattern. Then, spread a generous layer of whipped cream or whipped mascarpone topping over the ladyfingers. This adds an extra touch of indulgence and makes it look stunning!
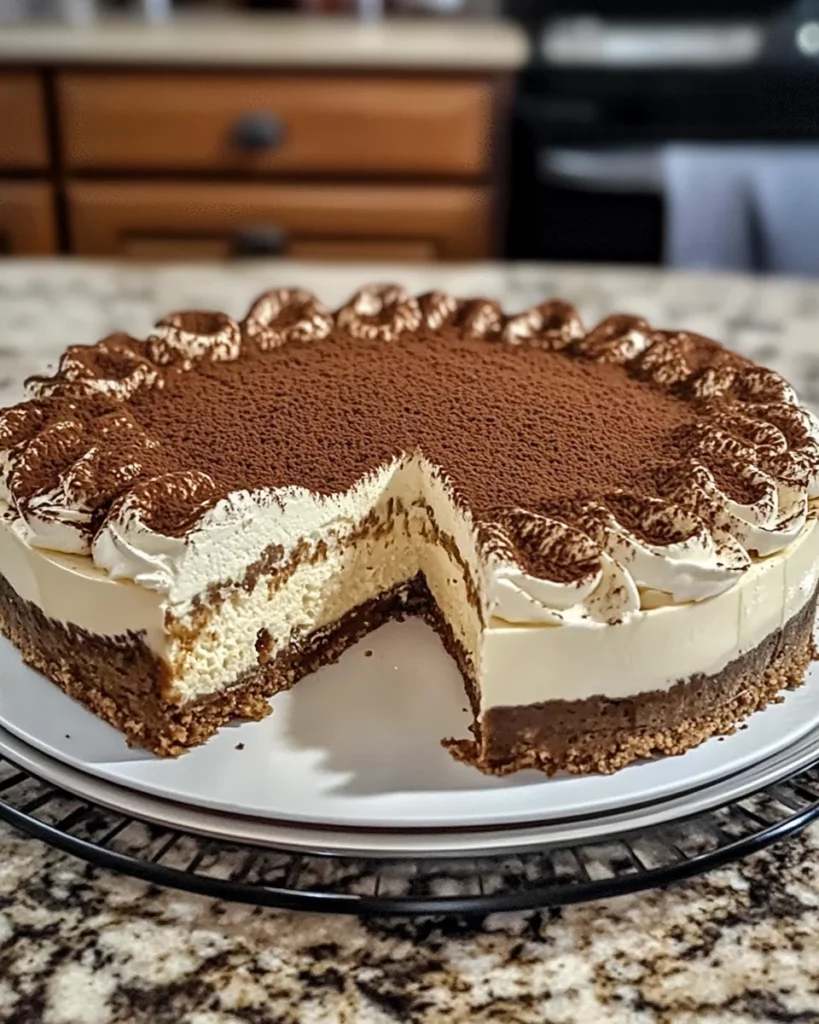
Chill and Dust
Chilling is crucial for the perfect Tiramisu Cheesecake. Cover the cheesecake with plastic wrap and refrigerate it for at least 6 hours, but overnight is even better. This allows the flavors to meld beautifully. Just before serving, dust the top with unsweetened cocoa powder for that classic tiramisu finish. It adds a lovely touch and makes your cheesecake look irresistible!
Tips for Success
- Use room temperature ingredients for a smoother filling.
- Don’t skip the water bath; it prevents cracks and keeps the cheesecake moist.
- For a stronger coffee flavor, use espresso instead of regular coffee.
- Chill the cheesecake overnight for the best texture and flavor.
- Dust with cocoa powder just before serving for a fresh look.
Equipment Needed
- Springform pan: Essential for easy removal. A regular cake pan works too, but it may be harder to serve.
- Mixing bowls: Use a large bowl for the filling. Any size will do, just ensure it’s sturdy.
- Electric mixer: This speeds up the mixing process. A whisk works, but it’ll take longer.
- Aluminum foil: For wrapping the pan in a water bath. Parchment paper can be a substitute.
- Baking dish: Needed for the water bath. Any oven-safe dish will work.
Variations
- Chocolate Tiramisu Cheesecake: Add melted chocolate to the filling for a rich, chocolatey twist.
- Fruit-Infused: Incorporate fresh berries or a fruit puree into the filling for a refreshing flavor.
- Gluten-Free Option: Substitute crushed gluten-free cookies for the ladyfingers to make it gluten-free.
- Vegan Version: Use vegan cream cheese and a flaxseed mixture instead of eggs for a plant-based treat.
- Nutty Delight: Add crushed nuts like hazelnuts or almonds to the crust for an extra crunch.
Serving Suggestions
- Pair your Tiramisu Cheesecake with a cup of freshly brewed espresso for a delightful coffee experience.
- Serve with a dollop of whipped cream or a scoop of vanilla ice cream for added creaminess.
- Garnish with chocolate shavings or fresh berries for a pop of color and flavor.
- Present on a beautiful cake stand to impress your guests.
FAQs about Tiramisu Cheesecake
Can I make Tiramisu Cheesecake ahead of time?
Absolutely! In fact, making it a day in advance is ideal. This allows the flavors to meld beautifully, resulting in a richer taste. Just remember to chill it overnight for the best texture.
What can I use instead of mascarpone cheese?
If you can’t find mascarpone, a mixture of cream cheese and heavy cream can work as a substitute. Just blend them until smooth for a similar creamy texture.
How do I store leftover Tiramisu Cheesecake?
Store any leftovers in an airtight container in the refrigerator. It should stay fresh for about 3 to 4 days. Just be sure to dust with cocoa powder right before serving!
Can I freeze Tiramisu Cheesecake?
Yes, you can freeze it! Wrap it tightly in plastic wrap and then in aluminum foil. It can last up to 2 months in the freezer. Thaw it in the fridge overnight before serving.
Is Tiramisu Cheesecake suitable for special diets?
It can be adapted! For a gluten-free version, use gluten-free ladyfingers. For a vegan option, substitute with plant-based cream cheese and flaxseed eggs. There’s a delicious option for everyone!
Final Thoughts
Creating this Tiramisu Cheesecake is more than just baking; it’s about sharing joy and indulgence with those you love. The creamy layers and rich coffee flavors transport you to a cozy Italian café, even if you’re just at home. Each slice is a celebration, perfect for special occasions or a simple weeknight treat. I hope this recipe brings as much happiness to your kitchen as it has to mine. So, gather your loved ones, slice into this delightful cheesecake, and savor every moment together. Trust me, it’s a dessert that will create sweet memories!
Print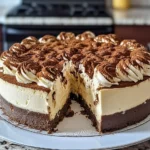
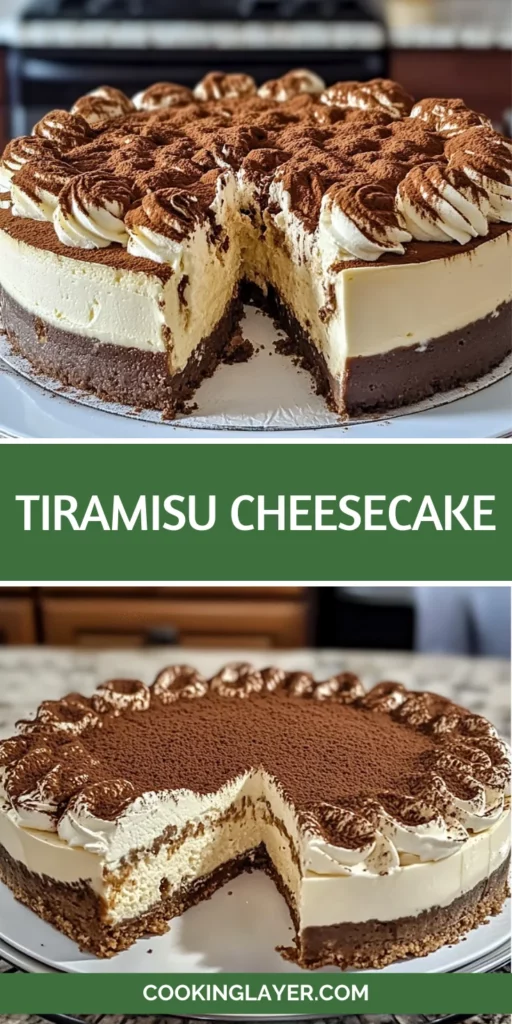
Tiramisu Cheesecake: Indulge in this Creamy Delight!
- Prep Time: 30 minutes
- Cook Time: 1 hour
- Total Time: 7 hours 30 minutes (including chilling time)
- Yield: 12 servings 1x
- Category: Dessert
- Method: Baking
- Cuisine: Italian
- Diet: Vegetarian
Description
Indulge in this creamy Tiramisu Cheesecake that combines the classic flavors of tiramisu with a rich cheesecake.
Ingredients
- 1 1/2 cups crushed ladyfingers (about 18 cookies)
- 1/4 cup melted unsalted butter
- 16 oz cream cheese, softened
- 8 oz mascarpone cheese, softened
- 3/4 cup granulated sugar
- 2 large eggs
- 1/4 cup brewed espresso or strong coffee
- 1 tsp pure vanilla extract
- 2 tbsp all-purpose flour
- 1/2 cup heavy cream
- Extra ladyfingers (optional, for layering)
- 1/2 cup brewed coffee or espresso for dipping (optional)
- 1 cup whipped cream or whipped mascarpone topping
- Unsweetened cocoa powder for dusting
Instructions
- Make the Crust: Crush the ladyfingers into fine crumbs, then mix them with melted butter until well combined. Press the mixture into the bottom of a greased springform pan. Bake at 325°F (160°C) for 10 minutes or chill in the fridge for 30 minutes if you prefer a no-bake crust.
- Prepare the Filling: In a large bowl, beat the softened cream cheese and mascarpone until smooth. Add sugar and mix until combined. Beat in the eggs one at a time, followed by espresso and vanilla extract. Mix in flour and heavy cream until the batter is silky and smooth.
- Bake the Cheesecake: Wrap the pan with foil and place it in a water bath. Bake at 325°F (160°C) for 50–60 minutes. When the center is set but slightly jiggly, turn off the oven and let the cheesecake cool inside for 1 hour with the oven door slightly open.
- Add Tiramisu Layers (Optional): After the cheesecake cools, lightly dip ladyfingers in espresso and layer them on top. Spread a layer of whipped cream or mascarpone topping evenly across the ladyfingers.
- Chill and Dust: Refrigerate the cheesecake for at least 6 hours, preferably overnight. Right before serving, dust with unsweetened cocoa powder for that classic tiramisu finish.
Notes
- For a richer flavor, use high-quality espresso.
- Allow the cheesecake to chill overnight for the best texture.
- Feel free to adjust the sweetness by adding more or less sugar.
Nutrition
- Serving Size: 1 slice
- Calories: 350
- Sugar: 25g
- Sodium: 200mg
- Fat: 22g
- Saturated Fat: 12g
- Unsaturated Fat: 8g
- Trans Fat: 0g
- Carbohydrates: 30g
- Fiber: 1g
- Protein: 6g
- Cholesterol: 80mg


