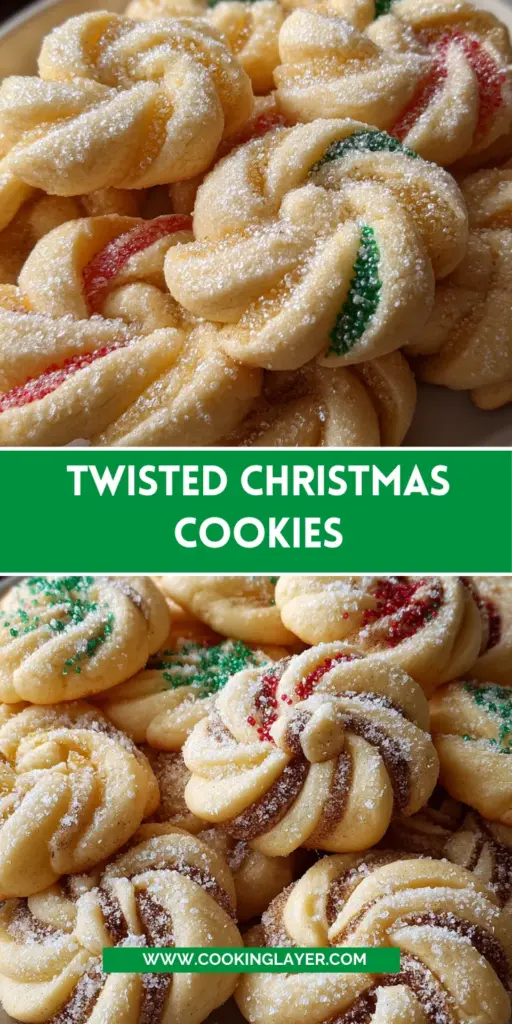
Introduction to Twisted Christmas Cookies
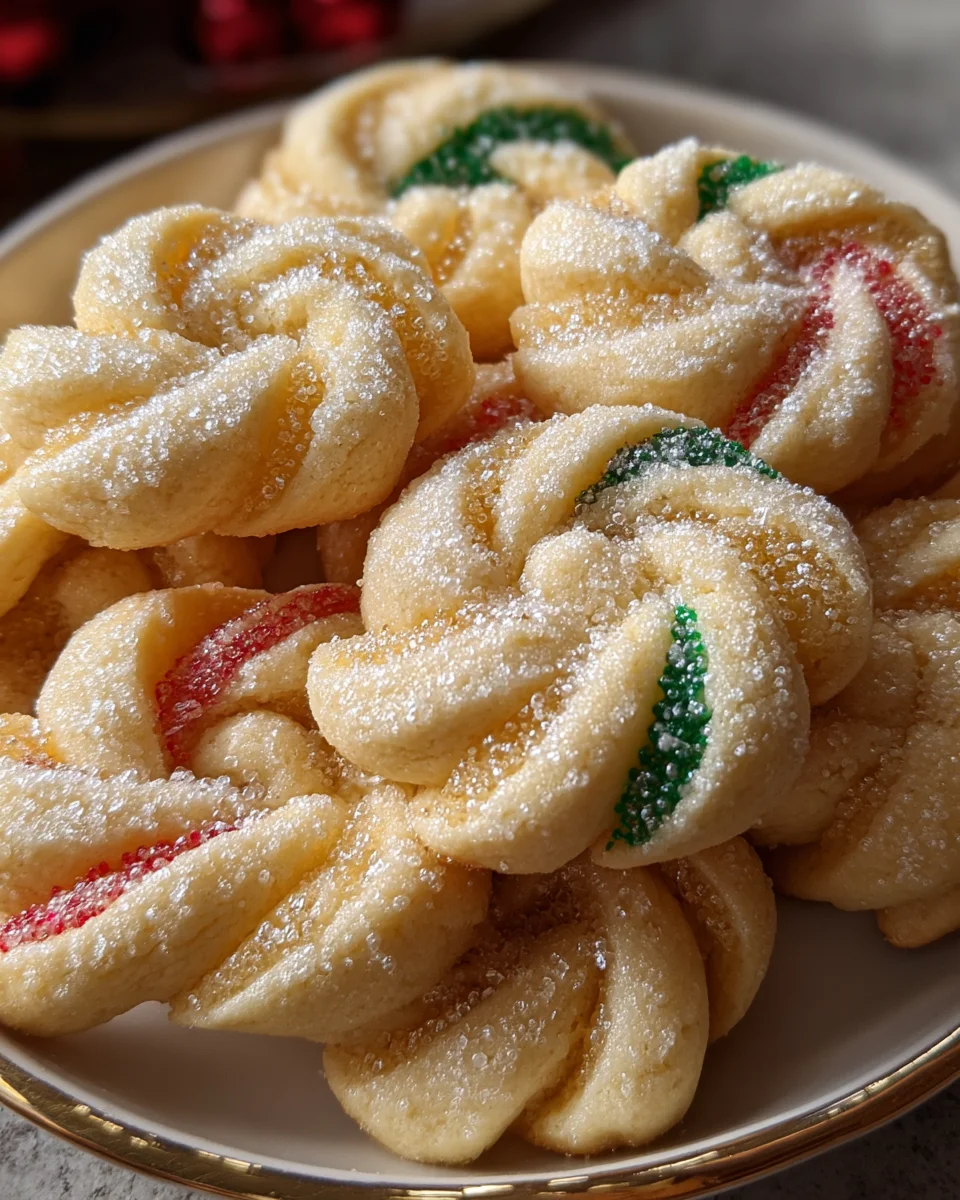
As the holiday season approaches, my kitchen transforms into a lively workshop filled with the sweet scent of baked goods. One of my favorite creations is Twisted Christmas Cookies. These festive little delights are not only decoratively charming, but they’re also incredibly easy to whip up, even on busy days. Whether you’re looking to impress loved ones or simply want to enjoy a tasty treat while sipping hot cocoa, these cookies are a perfect choice. With just a few ingredients, you’ll have a platter of whimsical cookies ready to spread holiday cheer!
Why You’ll Love This Twisted Christmas Cookies
Let me tell you, these Twisted Christmas Cookies are a game changer. They come together in just under half an hour, making them ideal for busy days filled with holiday chaos. The warm aroma of spices and buttery goodness wafts through the house, making everything merry and bright. Plus, their playful twisty shapes are sure to bring smiles to your family’s faces. Trust me, you won’t be able to eat just one!
Ingredients for Twisted Christmas Cookies
Gathering the right ingredients is half the fun of baking. For these Twisted Christmas Cookies, you’ll need a mix of essentials that you likely already have in your pantry. Here’s what you’ll need:
- All-purpose flour: This is the backbone of your cookies, providing structure and a nice chewy texture.
- Baking powder: This handy leavening agent helps the cookies rise, giving them that delightful softness we adore.
- Salt: Just a pinch adds balance, enhancing all the sweet flavors in the cookies.
- Unsalted butter: Using real butter adds rich flavor and keeps the cookies tender. Be sure it’s softened for easy creaming.
- Granulated sugar: This sweetener not only brings sweetness but also helps with the cookie’s texture, making it beautifully golden.
- Large eggs: Eggs contribute moisture, richness, and aid in binding the dough together. They’re crucial for the perfect cookie foundation!
- Vanilla extract: This aromatic delight is a must for enhancing flavor. Always opt for pure vanilla for the best taste.
- Ground cinnamon: Adding warmth and holiday cheer, cinnamon is what makes these cookies feel festive and cozy.
- Ground nutmeg: This spice brings a unique flavor profile, reminiscent of classic holiday treats.
While I’ve listed the main ingredients above, feel free to experiment with optional ones. For instance, you can add chocolate chips for a sweet surprise or nuts for some crunch.
The specific quantities of these ingredients can be found at the bottom of this article for easy printing. Happy baking!
How to Make Twisted Christmas Cookies
Now that we have all our ingredients ready, let’s dive into the fun part: making our Twisted Christmas Cookies! Follow these simple steps to achieve beloved holiday treats that everyone will enjoy. Trust me, your kitchen will soon smell like the essence of Christmas!
Step 1 – Preheat and Prepare
First things first, preheat your oven to 350°F (175°C). This helps your cookies bake evenly. While the oven is warming up, line two baking sheets with parchment paper. This not only makes cleanup easier but also prevents cookies from sticking. If you’re like me and tend to forget the parchment, keep a sticky note on your kitchen counter as a friendly reminder!
Step 2 – Mix Dry Ingredients
In a mixing bowl, whisk together the all-purpose flour, baking powder, salt, ground cinnamon, and nutmeg. This blend gives our Twisted Christmas Cookies their unique flavor and texture. Whisking ensures there are no lumps, creating a more uniform dough. Plus, it’s a good arm workout for all the holiday feasting ahead!
Step 3 – Cream Butter and Sugar
In another bowl, cream the softened unsalted butter and granulated sugar together. Using an electric mixer or a sturdy wooden spoon, beat until the mixture is light and fluffy—about 2-3 minutes. This step is crucial as it aerates the butter, making our cookies tender and delightful. The sweet, buttery aroma will make you eager to continue!
Step 4 – Add Eggs and Vanilla
Now, let’s add the eggs, one at a time, mixing well after each addition. Then, stir in the vanilla extract. This step makes your cookies rich and flavorful. I always look forward to this part because the smell of vanilla really fills the kitchen with warmth. It’s like a hug in a bowl!
Step 5 – Combine Wet and Dry Ingredients
Gradually add your dry mixture to the wet ingredients until just combined. Be careful not to overmix; a few dry spots are okay. Overmixing can lead to tough cookies. It’s like making a delightful dance party in a bowl—twirl and mix, but don’t get carried away!
Step 6 – Shape the Cookies
Scoop generous tablespoons of the dough and shape them into twists on your prepared baking sheets. I find it helpful to slightly roll the dough between my palms before twisting. This little trick makes for more uniform cookies and can be quite a fun task if you have little helpers eager to assist!
Step 7 – Bake the Cookies
Place the baking sheets in the preheated oven and bake for 10-12 minutes. Keep an eye on them! The edges should turn golden brown, while the centers remain soft—they will firm up as they cool. It’s a beautiful sight watching those cookies puff up! I always recommend setting a timer, or you might get sidetracked by a holiday movie.
Step 8 – Cool and Serve
Once your cookies are out of the oven, let them cool on wire racks. Patience is key here! Although the warm cookies smell heavenly, letting them cool completely will ensure they hold their shape. For an extra festive touch, sprinkle powdered sugar on top once they’re cooled. It’s that cherry on top that makes everything merry and bright!
Tips for Success
- Make sure your butter is softened to room temperature for easy creaming.
- Don’t skip the whisking of dry ingredients; it helps prevent lumps.
- Use a cookie scoop for even-sized cookies—this ensures they bake uniformly.
- Check cookies around the 10-minute mark to avoid overbaking.
- Let the cookies cool on the rack to maintain their soft centers.
Equipment Needed
- Mixing bowls: Use large bowls for mixing ingredients—if you’re in a pinch, any sturdy dish will do.
- Electric mixer or whisk: An electric mixer saves time, but a good old-fashioned whisk works just as well.
- Baking sheets: Parchment-lined sheets are ideal, but any flat oven-safe tray will suffice.
- Cookie scoop: A scoop provides uniform cookies; a tablespoon can also do the job.
- Wire racks: Essential for cooling cookies, but you can use any flat surface.
Variations
- Chocolate Chip Twists: Add a cup of chocolate chips to the dough for a rich and delightful twist on traditional flavors.
- Nutty Delight: Incorporate chopped walnuts or pecans into the dough for a crunchy texture and nutty flavor that balances the sweetness.
- Spiced Orange Zest: Grate some orange zest into the dough for a citrusy pop that complements the warm spices beautifully.
- Gluten-Free Option: Swap all-purpose flour with a 1:1 gluten-free flour blend for a delicious gluten-free treat.
- Vegan Variation: Replace the eggs with flaxseed meal mixed with water and use plant-based butter for a vegan-friendly option.
Serving Suggestions
- Pair warm Twisted Christmas Cookies with a comforting cup of hot cocoa or spiced apple cider for a cozy treat.
- Plate them on a festive holiday platter to share, garnished with fresh mint leaves for a vibrant touch.
- Try stacking them with a sprinkle of powdered sugar on top for an eye-catching dessert display.
FAQs about Twisted Christmas Cookies
Let’s tackle some common questions about these delightful Twisted Christmas Cookies to make your baking experience even smoother. I bet you’re curious about a few details, so here we go!
Can I freeze Twisted Christmas Cookies?
Absolutely! These cookies freeze wonderfully. Just bake them, let them cool completely, then place them in an airtight container or a resealable bag. They’ll stay fresh for up to three months. Perfect for making ahead of time!
How do I store the cookies?
To keep your Twisted Christmas Cookies fresh, store them in an airtight container at room temperature. They should last for about a week, although they rarely last that long at my house!
Can I add different flavors to the dough?
You can certainly experiment! Consider incorporating options like almond extract, peppermint extract, or even a hint of espresso powder for a unique twist. Just remember, balance is key!
Are these cookies suitable for kids to help make?
Yes! This recipe is perfect for involving kids. From mixing to shaping the dough, there’s plenty of fun to be had. They’ll love twisting the dough, guaranteed to make lasting memories in the kitchen together!
Can I use whole wheat flour instead of all-purpose flour?
You can, but I would recommend using half whole wheat and half all-purpose flour for the best results. This will give your cookies a slight nuttiness while keeping them soft and chewy!
Final Thoughts
As the cookies cool and the delightful aroma lingers, I can’t help but feel a wave of holiday spirit wash over me. These Twisted Christmas Cookies are more than just a treat; they’re a celebration of memories made in the kitchen with loved ones. With their whimsical shapes and spices that warm your heart, each bite is a reminder of the joy the season brings. Whether you’re making them alone or with little helpers, this recipe allows for creativity, laughter, and a delicious way to connect with family and friends. Happy baking, and may your holidays be filled with sweet moments!
Print
Twisted Christmas Cookies
- Prep Time: 20 minutes
- Cook Time: 12 minutes
- Total Time: 32 minutes
- Yield: 24 cookies 1x
- Category: Dessert
- Method: Baking
- Cuisine: American
- Diet: Vegetarian
Description
Twisted Christmas Cookies are festive and delicious cookies that are fun to make and perfect for the holiday season.
Ingredients
- 2 cups all-purpose flour
- 1 tsp baking powder
- 1/4 tsp salt
- 1/2 cup unsalted butter, softened
- 1 cup granulated sugar
- 2 large eggs
- 1 tsp vanilla extract
- 1 tsp ground cinnamon
- 1/4 tsp ground nutmeg
Instructions
- Preheat oven to 350°F (175°C) and line two baking sheets with parchment paper.
- In a bowl, whisk together flour, baking powder, salt, cinnamon, and nutmeg.
- In another bowl, cream butter and sugar until light and fluffy. Add eggs one at a time; mix well after each addition. Stir in vanilla.
- Gradually add dry ingredients to wet ingredients until just combined.
- Scoop dough into generous tablespoons and twist into shapes on the baking sheets.
- Bake for 10-12 minutes until edges are golden but centers remain soft. Cool on wire racks.
Notes
- For added flavor, you can sprinkle some powdered sugar on top after cooling.
- Store cookies in an airtight container to maintain freshness.
- These cookies can also be decorated with icing for a festive touch.
Nutrition
- Serving Size: 1 cookie
- Calories: 150
- Sugar: 10g
- Sodium: 50mg
- Fat: 7g
- Saturated Fat: 4g
- Unsaturated Fat: 2g
- Trans Fat: 0g
- Carbohydrates: 20g
- Fiber: 0g
- Protein: 2g
- Cholesterol: 30mg


