
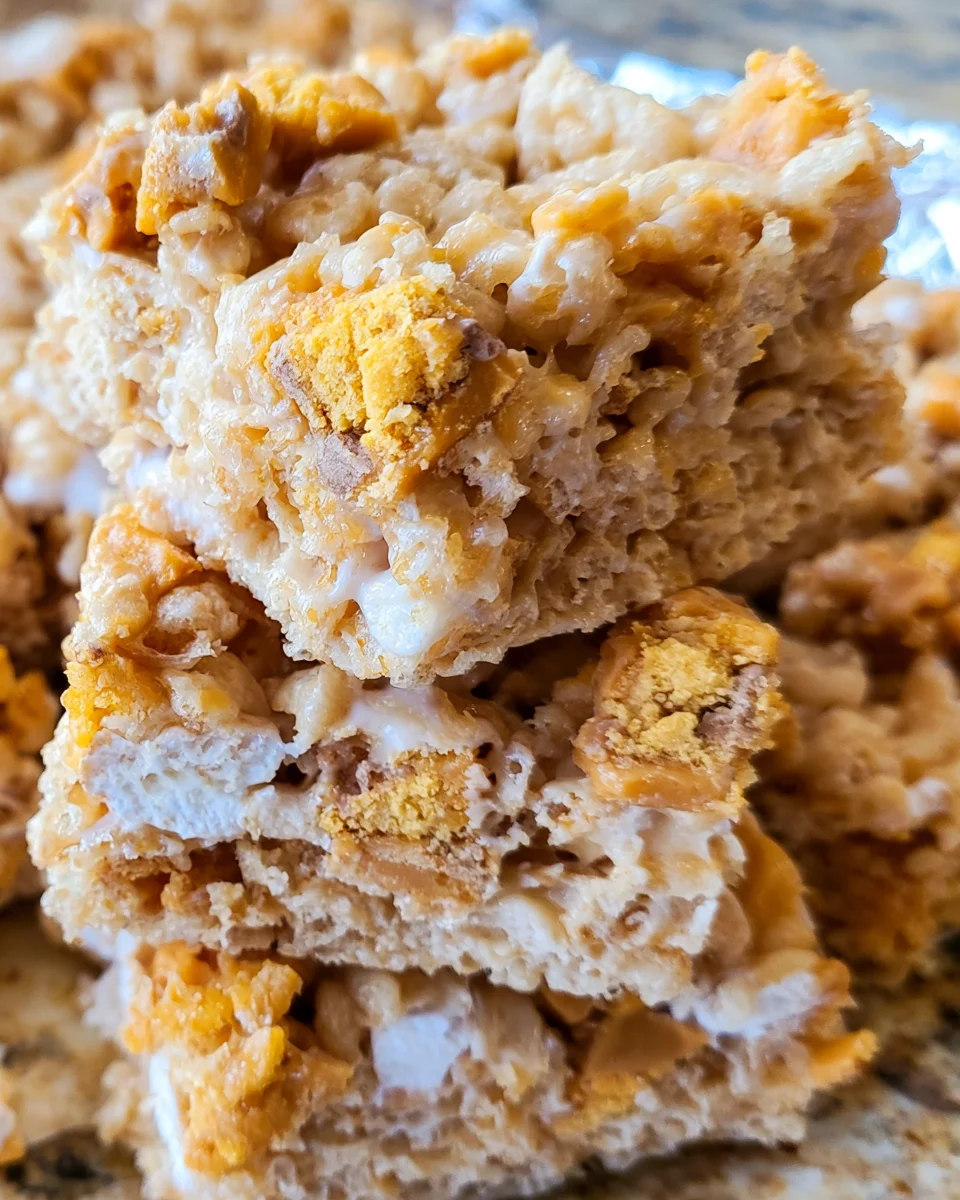
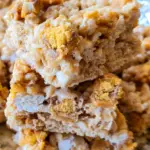
Introduction to Butterfinger Krispie Treats
Hey there, fellow food lovers! If you’re like me, you know how chaotic life can get, especially when juggling work, family, and everything in between. That’s why I’m thrilled to introduce you to my delightful Butterfinger Krispie Treats! These are the perfect treat for busy days—quick to whip up, irresistibly tasty, and guaranteed to bring smiles to your loved ones. With just a handful of ingredients, you can create sweet memories in no time. So, grab your apron, and let’s dive into this simple recipe that’s sure to become a family favorite!
Why You’ll Love This Butterfinger Krispie Treats
You’re going to fall head over heels for these Butterfinger Krispie Treats! They come together in a snap, making them perfect for when you’re pressed for time. Plus, the tantalizing combo of marshmallows and crunchy Butterfinger bars hits just right! Whether it’s a sunny picnic or a cozy family movie night, these sweet treats are a hit for everyone, turning any occasion into a celebration. They’re simply irresistible!
Save this recipe and cook smarter
Keep your favorite Cooking Layer recipes in one place, plan your weekly meals, and quickly find dinner ideas whenever you need them.
Free to download • Fast and easy to use
Ingredients for Butterfinger Krispie Treats
Let’s gather our goodies! Making Butterfinger Krispie Treats is a breeze, and you’ll only need a few simple ingredients that you might already have in your pantry. Here’s what you’ll need:
- Butter: Whether you go with salted or unsalted, butter brings richness and a creamy texture to your treats.
- Mini marshmallows: These sweet little puffs are the heart of any Krispie treat, melting down to create that gooey, delightful base.
- Vanilla extract: Just a hint of vanilla adds a wonderful depth of flavor. It makes your treats taste even more special!
- Rice Krispie cereal: This classic cereal provides the perfect crunch and lightness, balancing out the sweetness of the other ingredients.
- Butterfinger candy bars: The star of the show! These candy bars introduce a delightful chocolatey crunch and that unmistakable peanut butter flavor.
You can also sprinkle extra Butterfinger bits on top for a crunchier finish! If you’re looking for alternatives, feel free to use dark chocolate instead of Butterfinger bars or swap in gluten-free cereal if you have dietary restrictions. The exact measurements for all these ingredients are listed below and available for printing, making your shopping a breeze.
How to Make Butterfinger Krispie Treats
Ready to create some mouthwatering Butterfinger Krispie Treats? Let’s go step by step! Trust me, this recipe is as easy as pie. Follow along, and you’ll have a delightful dessert in no time!
Step 1: Prepare Your Pan
First things first, let’s get your pan ready! Line a 9×13″ pan with aluminum foil. This makes it super easy to lift your treats out later. Don’t forget to spray it well with cooking spray. This will prevent any sticky situations, ensuring your treats slide right out without a hitch!
Step 2: Melt Butter and Marshmallows
Now, it’s time to melt the magic! Grab a large microwave-safe bowl and add the butter and mini marshmallows. Heat them together on 50% power in one-minute intervals. Remember to stir each time to get everything nice and smooth. It usually takes 2-3 minutes in an 1100W microwave. Be careful; that mixture will be hot and sticky!
Step 3: Combine Cereal and Butterfinger Bars
While your marshmallow mixture is cooling slightly, measure out your Rice Krispie cereal into another bowl. Once the marshmallows are perfectly melted, pour the cereal and chopped Butterfinger bars into the bowl. Stir everything together until every piece of cereal is coated in that sweet, gooey mixture. Your kitchen will smell amazing!
Step 4: Mix in Vanilla and Final Touches
After you’ve combined everything, it’s time to add a splash of vanilla extract to elevate the flavor. Stir it gently to incorporate everything evenly. This is also a great moment to sneak a taste—if you can resist the urge to devour everything! If you’re feeling fancy, you can also sprinkle some extra Butterfinger pieces into the mix.
Step 5: Press and Cool
Now comes the fun part! Pour your delicious mixture into the prepared pan. Here’s a little tip: Spray your hands with cooking spray to avoid stickiness, making it much easier to press the mixture firmly into the pan. Aim for an even layer. Let it cool completely at room temperature before cutting into squares. Patience is key—trust me, it’s worth the wait!
Tips for Success
- Use fresh mini marshmallows for the best gooey texture.
- Don’t rush the melting process; stir gently to avoid burning.
- Keep a glass of water nearby to dip your fingers in while pressing the mixture.
- For a fun twist, consider drizzling melted chocolate over the top before cutting.
- Store leftovers in an airtight container to maintain freshness.
Equipment Needed
- 9×13″ pan: Essential for shaping your treats; you can use any similar-sized dish.
- Microwave-safe bowl: For melting the butter and marshmallows; a large mixing bowl works too.
- Spoon or spatula: Use for stirring; a silicone spatula is great for scraping every last bit.
- Aluminum foil: Helps with easy cleanup; parchment paper is a good alternative.
Variations on Butterfinger Krispie Treats
- Peanut Butter Lovers: Swap some of the butter for creamy peanut butter for a richer flavor. It’ll taste like a Butterfinger explosion!
- Chocolate Drizzle: Drizzle melted chocolate over the cooled treats for an extra layer of sweetness and visual appeal.
- Nutty Additions: Toss in some chopped nuts like peanuts or almonds for a crunchy texture alongside the Butterfinger pieces.
- Gluten-Free Version: Use gluten-free rice cereal to make these treats suitable for those with dietary restrictions.
- Dairy-Free Option: Substitute the butter with coconut oil and use dairy-free chocolate for a vegan-friendly treat.
Serving Suggestions for Butterfinger Krispie Treats
- Ice Cream: Serve these treats alongside a scoop of vanilla or chocolate ice cream for a scrumptious dessert combo.
- Fruit Platter: Pair with fresh fruits like strawberries or bananas for a refreshing balance.
- Presentation: Cut into fun shapes using cookie cutters to make them extra enticing for kids!
- Drinks: Enjoy with a glass of cold milk or a warm cup of hot chocolate for a cozy treat.
FAQs about Butterfinger Krispie Treats
Can I make these Butterfinger Krispie Treats ahead of time?
Absolutely! You can make these delightful treats a day in advance. Just store them in an airtight container at room temperature to keep them fresh. They’re perfect for making ahead for parties or family gatherings!
What can I use instead of Butterfinger bars?
If you’re looking to switch it up, you can use other candy bars like Reese’s or Snickers for a different flavor profile. You could also try combining various chocolates for a mix of textures and tastes!
How should I store leftover Butterfinger Krispie Treats?
Keep any leftovers in an airtight container at room temperature. They should stay fresh for about 3 to 4 days. Trust me; they won’t last long with how delicious they are!
Can I freeze Butterfinger Krispie Treats?
Yes, you can freeze these treats! Just wrap them tightly in plastic wrap before placing them in a freezer-safe container. Thaw them at room temperature before serving for the best taste and texture.
Are these treats suitable for kids?
Definitely! Kids absolutely love Butterfinger Krispie Treats. They’re filled with fun flavors and textures, making them a fantastic snack for any kid-friendly gathering. Just be mindful of allergies if you’re serving them to others!
Final Thoughts
Creating these Butterfinger Krispie Treats is more than just making a dessert; it’s about bringing joy to those you love. The delightful mix of marshmallows, Butterfinger bars, and crunchy cereal creates a flavor explosion that can turn any ordinary day into a special occasion. I cherish the laughter and smiles that come when I share these treats with family or friends. So whether it’s a spontaneous snack or a sweet addition to a gathering, these treats are bound to create lasting memories! Grab your ingredients, and let the good times roll!
Enjoyed this recipe?
Discover more delicious recipes, save your favorites, and plan your meals with the Cooking Layer app.
Free to download • Fast and easy to use
Butterfinger Krispie Treats
- Prep Time: 10 minutes
- Cook Time: 5 minutes
- Total Time: 15 minutes
- Yield: 12 servings 1x
- Category: Dessert
- Method: Microwave
- Cuisine: American
- Diet: Vegetarian
Description
Delicious and easy-to-make Butterfinger Krispie Treats that combine marshmallows, butter, and Butterfinger candy bars for a delightful treat.
Ingredients
- 4 tablespoons (57g) butter, salted or unsalted
- 1 (10 ounce) bag mini marshmallows
- 1 teaspoon vanilla extract
- 6 cups rice krispie cereal
- 2 cups chopped Butterfinger candy bars
Instructions
- Line a 9×13″ pan with foil and spray well with cooking spray.
- Place butter and marshmallows in a large microwave safe bowl and heat on 50% power in 1 minute increments, stirring after each, until melted and smooth (about 2-3 minutes in an 1100W microwave).
- While the mixture is heating, measure the cereal into another bowl.
- Once the marshmallows are melted, stir the vanilla into the marshmallow mixture.
- Add the cereal and Butterfinger bars, and stir until combined.
- Pour into prepared pan and spray your hands with cooking spray to press the mixture into the pan.
- Allow to cool before cutting into squares.
Notes
- Using foil makes it easier to remove the bars for slicing.
- Be careful when handling the hot mixture to avoid burns.
- Optional: You can add chocolate drizzle on top for extra sweetness.
Nutrition
- Serving Size: 1 square
- Calories: 150
- Sugar: 10g
- Sodium: 100mg
- Fat: 5g
- Saturated Fat: 3g
- Unsaturated Fat: 1g
- Trans Fat: 0g
- Carbohydrates: 23g
- Fiber: 1g
- Protein: 1g
- Cholesterol: 10mg


