Introduction to Buttermilk Chocolate Cake
Ah, the sweet aroma of chocolate baking in the oven—it’s like a warm hug for the soul! If you’ve ever craved a moist and decadent dessert, then this Buttermilk Chocolate Cake is your new best friend. As a busy mom, I know that sometimes you just need to whip up something special with little fuss. This cake is a delightful solution for those hectic days, perfect for surprising your loved ones or indulging in a personal treat. So, grab your apron, and let’s dive into making a chocolate masterpiece that will surely brighten your day!
Why You’ll Love This Buttermilk Chocolate Cake
This Buttermilk Chocolate Cake is a joy to make and even more delightful to eat. It’s incredibly quick to prepare, which I appreciate after a long day. The taste? Simply divine! Each bite melts in your mouth, thanks to the buttermilk adding that extra creaminess. Plus, it’s versatile enough for birthdays or a weeknight pick-me-up. Trust me; once you take your first bite, you’ll be hooked!
Save this recipe and cook smarter
Keep your favorite Cooking Layer recipes in one place, plan your weekly meals, and quickly find dinner ideas whenever you need them.
Free to download • Fast and easy to use
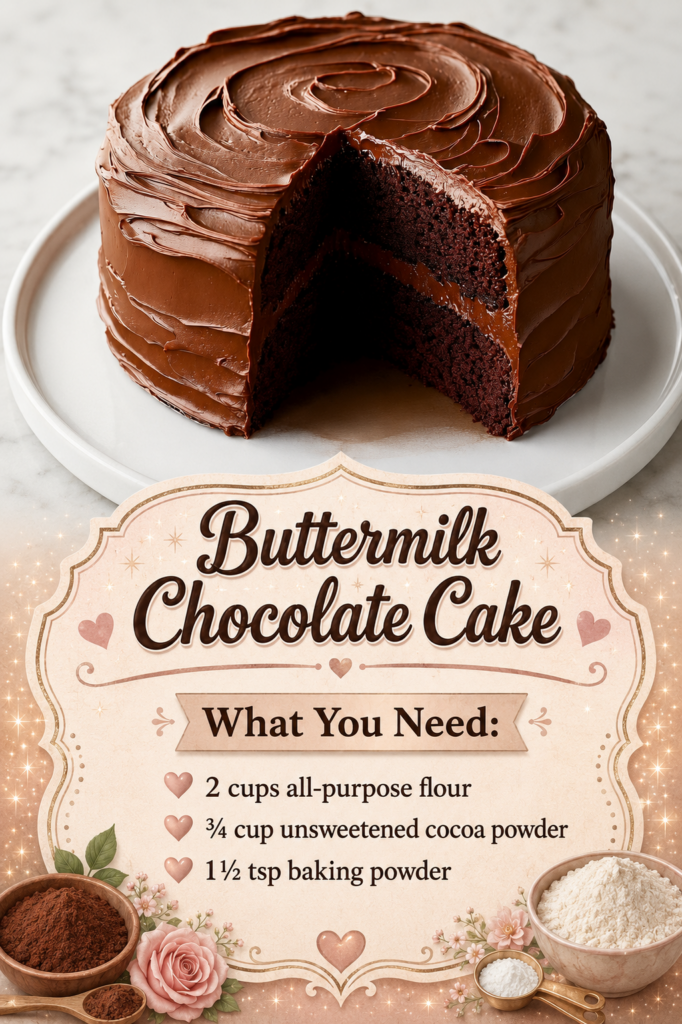
Ingredients for Buttermilk Chocolate Cake
Gathering the right ingredients sets the tone for success in your baking journey. For this Buttermilk Chocolate Cake, you’ll need a selection of pantry staples that combine to create rich flavors and a moist texture. Here’s what to look for:
- All-purpose flour: The backbone of any cake, providing structure.
- Unsweetened cocoa powder: Brings that deep, chocolatey flavor to the table.
- Baking powder and baking soda: These leavening agents help your cake rise beautifully.
- Salt: Enhances the sweetness and balances the flavor profile.
- Granulated sugar: Adds sweetness and contributes to the rich texture.
- Large eggs: Serve as a binding agent, bringing everything together.
- Buttermilk: Key to achieving moistness; its acidity tenderizes the cake.
- Vegetable oil: Keeps the cake lovely and moist without adding heaviness.
- Hot water: This might surprise you, but it enhances the cocoa’s flavor!
- Vanilla extract: A splash of vanilla brings warmth and depth to the cake.
For the creamy frosting, you’ll need:
- Unsalted butter: Softened, it adds richness and a smooth texture.
- Unsweetened cocoa powder: Yes, another helping for that chocolatey goodness!
- Powdered sugar: Offers sweetness with a smooth consistency for frosting.
- Heavy cream or milk: Helps create that luscious, spreadable texture.
- Extra vanilla extract: Enhances the frosting’s flavor, bringing it all together.
- A pinch of salt: Elevates sweetness, making it more dynamic.
You’ll find precise measurements for each ingredient at the bottom of the article, where you can also print the recipe. Happy baking!
How to Make Buttermilk Chocolate Cake
Now that we’ve gathered our ingredients, it’s time to embark on the fun part: baking! Making this Buttermilk Chocolate Cake is a breeze. Follow my detailed, step-by-step instructions, and you’ll have a delightful cake ready to impress in no time.
Step 1: Preheat and Prepare
First, preheat your oven to 350°F. This ensures an even bake, so you don’t end up with a half-baked cake. Next, grab your two 8-inch or 9-inch round cake pans. Greasing and flouring these pans is key to preventing sticking. I like to use a little butter or cooking spray followed by a dusting of flour. This little step makes all the difference!
Step 2: Sift Dry Ingredients
Once your pans are ready, it’s time to sift! In a large bowl, combine the all-purpose flour, cocoa powder, baking powder, baking soda, and salt. Sifting is essential as it removes lumps and aerates the ingredients. This makes for a lighter, fluffier cake. I love watching the cocoa powder dance as it falls, creating a beautifully inviting mixture!
Step 3: Mix Wet Ingredients
Now for the wet ingredients! In a separate large mixing bowl, whisk together the granulated sugar, eggs, buttermilk, vegetable oil, and vanilla extract. Keep whisking until the mixture is smooth and glossy—it should feel like pouring liquid silk! This step is crucial for achieving that creamy texture in your Buttermilk Chocolate Cake.
Step 4: Combine Mixtures
Time to bring it all together! Gradually add the sifted dry ingredients into the wet mixture. I find gently folding works best, but you can use a whisk if you prefer. Now, pour in that hot water—yes, it’s a key secret! It intensifies the flavor of the cocoa. Whisk gently until the batter becomes smooth and luscious. Your patience will be rewarded!
Step 5: Bake the Cake
With the batter ready, it’s time to divide it evenly between the prepared pans. Use a spatula to spread it into an even layer. Pop those pans into the preheated oven and bake for 30 to 35 minutes. How do you know when they’re done? A toothpick inserted in the center should come out clean. I often peek through the oven door and smile at the cake rising like a fluffy cloud.
Step 6: Cooling the Cakes
When the baking time is up, remove the cakes from the oven and let them cool in the pans for about 10 minutes. This helps them firm up a bit. After that, gently flip them onto a wire rack to cool completely. The aroma wafting through your kitchen will have everyone asking what’s cooking!
Step 7: Prepare the Frosting
While the cakes are cooling, it’s time to whip up that creamy frosting. In a mixing bowl, beat the softened unsalted butter until it’s light and fluffy. Gradually add in the cocoa powder, then sift in the powdered sugar. Alternate this with heavy cream or milk until your frosting becomes irresistibly fluffy. A pinch of salt will elevate all that sweetness, making each bite pop!
Step 8: Frost the Cake
Once the cakes are completely cool, it’s frosting time! Place one layer on a serving plate and spread a generous layer of frosting on top. Carefully add the second layer and frost the entire cake’s top and sides. Don’t hold back—this is the best part! Feel free to get creative with decorations, whether it’s a sprinkle of cocoa or some chocolate shavings. Your masterpiece is now ready for friends and family to adore!
Tips for Success
- Always use room temperature ingredients for a smoother batter.
- Measure your flour accurately; too much can lead to a dense cake.
- Don’t skip sifting; it’s essential for lightness.
- Monitor baking time closely to avoid overbaking.
- Let the cake cool completely before frosting for the best results.
Equipment Needed
- Two 8-inch or 9-inch round cake pans (or use a 9×13 pan for a single layer).
- Mixing bowls in various sizes for wet and dry ingredients.
- Whisk or electric mixer to blend ingredients smoothly.
- Sifter for dry ingredients (or a fine-mesh strainer).
- Spatula for spreading frosting and scraping bowls.
Variations for Buttermilk Chocolate Cake
- Gluten-free: Substitute all-purpose flour with a gluten-free blend for those with dietary restrictions.
- Vegan: Replace eggs with flaxseed meal and use non-dairy milk in place of buttermilk. Coconut oil can substitute vegetable oil.
- Chocolate Chip Surprise: Fold in some chocolate chips into the batter for an extra chocolatey treat.
- Mint Chocolate: Add a few drops of pure peppermint extract for a refreshing twist that’s perfect for the holidays!
- Fruit Enhancements: Incorporate mashed bananas or applesauce for added moisture and flavor.
- Mocha Delight: Mix in a tablespoon of instant coffee granules to the dry ingredients for a delightful mocha flavor.
Serving Suggestions
- Pair your Buttermilk Chocolate Cake with a dollop of whipped cream for added creaminess.
- Serve alongside a scoop of vanilla ice cream for a comforting classic.
- Drizzle with rich chocolate sauce for an indulgent touch.
- A cup of freshly brewed coffee perfectly complements the chocolate flavor.
- For a festive presentation, garnish with fresh berries or mint leaves.
FAQs about Buttermilk Chocolate Cake
Every cake comes with its own set of questions, and this Buttermilk Chocolate Cake is no exception. Here are some common queries that may pop up while you’re on your baking adventure.
Can I use regular milk instead of buttermilk?
You can definitely use regular milk! Just add a tablespoon of vinegar or lemon juice per cup of milk to mimic buttermilk’s acidity. It will help keep that delicious moisture in the cake.
How do I store my Buttermilk Chocolate Cake?
To keep your cake fresh, store it in an airtight container at room temperature for up to three days. If you need it to last longer, consider refrigerating it for a week or freezing slices for future cravings!
Can I make this cake ahead of time?
Absolutely! You can bake the cake layers a day or two in advance. Just wrap them tightly in plastic wrap and store them at room temperature until you’re ready to frost and serve. It’s a great time-saver!
What makes this cake so moist?
The secret lies in the buttermilk! Its acidity tenderizes the cake, making it soft and moist. Plus, adding hot water enhances the cocoa flavor, creating that melt-in-your-mouth experience.
Can I modify the recipe to make cupcakes?
Yes, you can! Simply pour the batter into cupcake liners in a muffin tin and bake at the same temperature. Check them after 18-20 minutes, as they’ll bake quicker than the layers. Happy cupcake making!
Final Thoughts
Creating this Buttermilk Chocolate Cake has been an absolute joy, from mixing the batter to frosting that luscious cake. It’s not just a dessert; it’s a delightful experience that fills your home with irresistible aromas and warmth. Whether it’s a special celebration or just a Wednesday craving, this cake brings happiness to every bite. I hope you find as much joy in baking and sharing this sweet treat as I do! As you enjoy this rich, decadent cake, know that you’re creating cherished moments with loved ones, one slice at a time. Happy baking!
Enjoyed this recipe?
Discover more delicious recipes, save your favorites, and plan your meals with the Cooking Layer app.
Free to download • Fast and easy to use
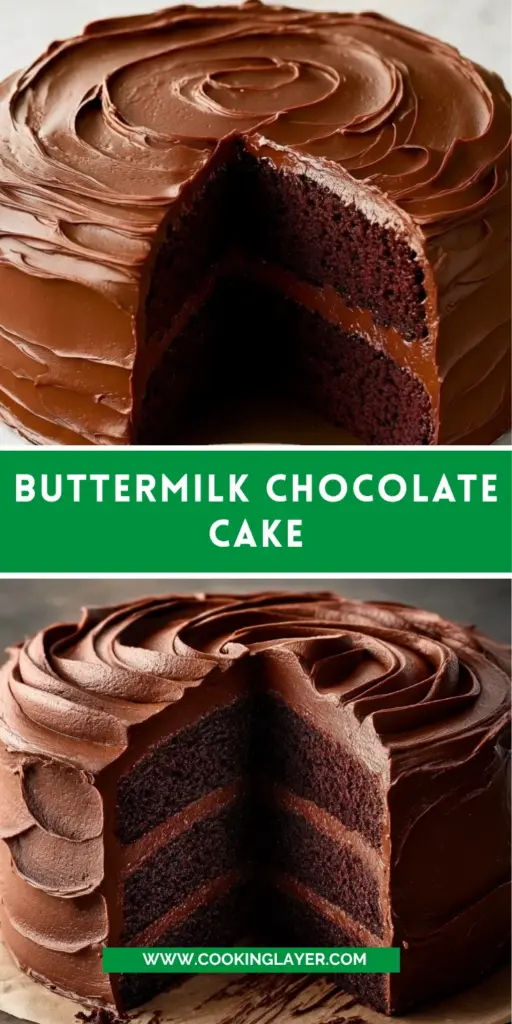
Buttermilk Chocolate Cake
- Prep Time: 20 minutes
- Cook Time: 35 minutes
- Total Time: 55 minutes
- Yield: 16 servings 1x
- Category: Dessert
- Method: Baking
- Cuisine: American
- Diet: Vegetarian
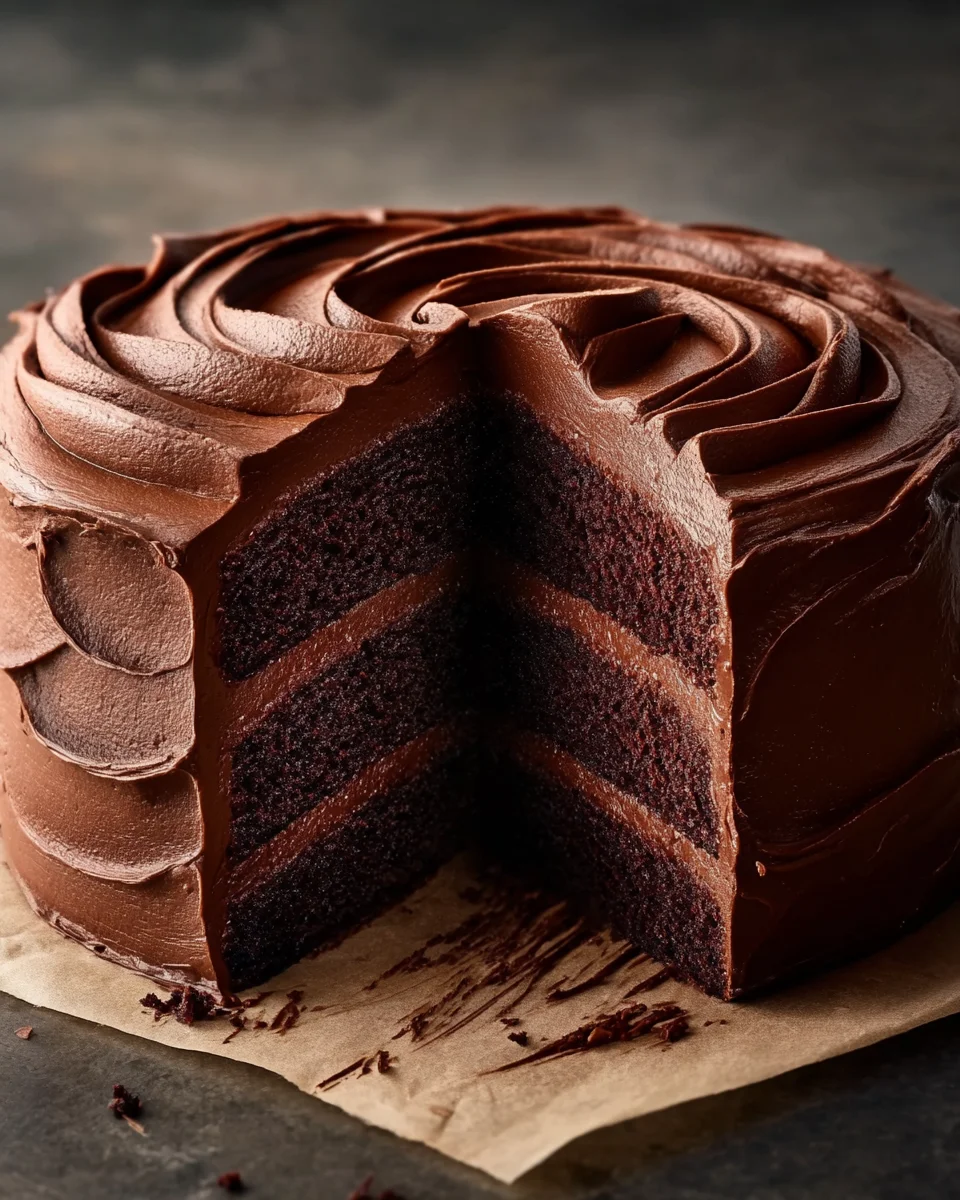
Description
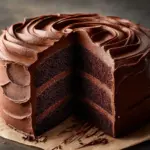
A moist and decadent chocolate cake made with buttermilk for extra richness, topped with a creamy chocolate frosting.
Ingredients
- 2 cups all-purpose flour
- ¾ cup unsweetened cocoa powder
- 1½ tsp baking powder
- 1½ tsp baking soda
- ½ tsp salt
- 2 cups granulated sugar
- 2 large eggs
- 1 cup buttermilk
- ½ cup vegetable oil
- 1 cup hot water
- 2 tsp vanilla extract
- 1 cup unsalted butter, softened
- ¾ cup unsweetened cocoa powder
- 3½ cups powdered sugar
- ¼ cup heavy cream or milk, plus more if needed
- 1½ tsp vanilla extract
- A pinch of salt
Instructions
- Preheat the oven to 350°F. Grease and flour two 8-inch or 9-inch round cake pans, then set them aside.
- In a bowl, sift together the flour, cocoa powder, baking powder, baking soda, and salt.
- In a large mixing bowl, whisk the sugar, eggs, buttermilk, vegetable oil, and vanilla extract until smooth and glossy.
- Gradually add the dry ingredients to the wet mixture. Pour in the hot water and whisk gently until the batter is smooth.
- Divide the batter evenly between the prepared pans. Bake for 30 to 35 minutes.
- Let the cakes cool in the pans for 10 minutes, then turn them out onto a wire rack to cool completely.
- To make the frosting, beat the softened butter until creamy. Add cocoa powder and mix until rich.
- Gradually add powdered sugar, alternating with heavy cream or milk, and beat until fluffy.
- Frost one cake layer, add the second layer, and frost the top and sides. Decorate as desired.
Notes
- Ensure all ingredients are at room temperature for best results.
- Store the cake in an airtight container at room temperature for up to 3 days.
- For extra flavor, add a splash of coffee to the batter.
Nutrition
- Serving Size: 1 slice
- Calories: 400
- Sugar: 35g
- Sodium: 250mg
- Fat: 20g
- Saturated Fat: 10g
- Unsaturated Fat: 8g
- Trans Fat: 0g
- Carbohydrates: 55g
- Fiber: 2g
- Protein: 4g
- Cholesterol: 50mg