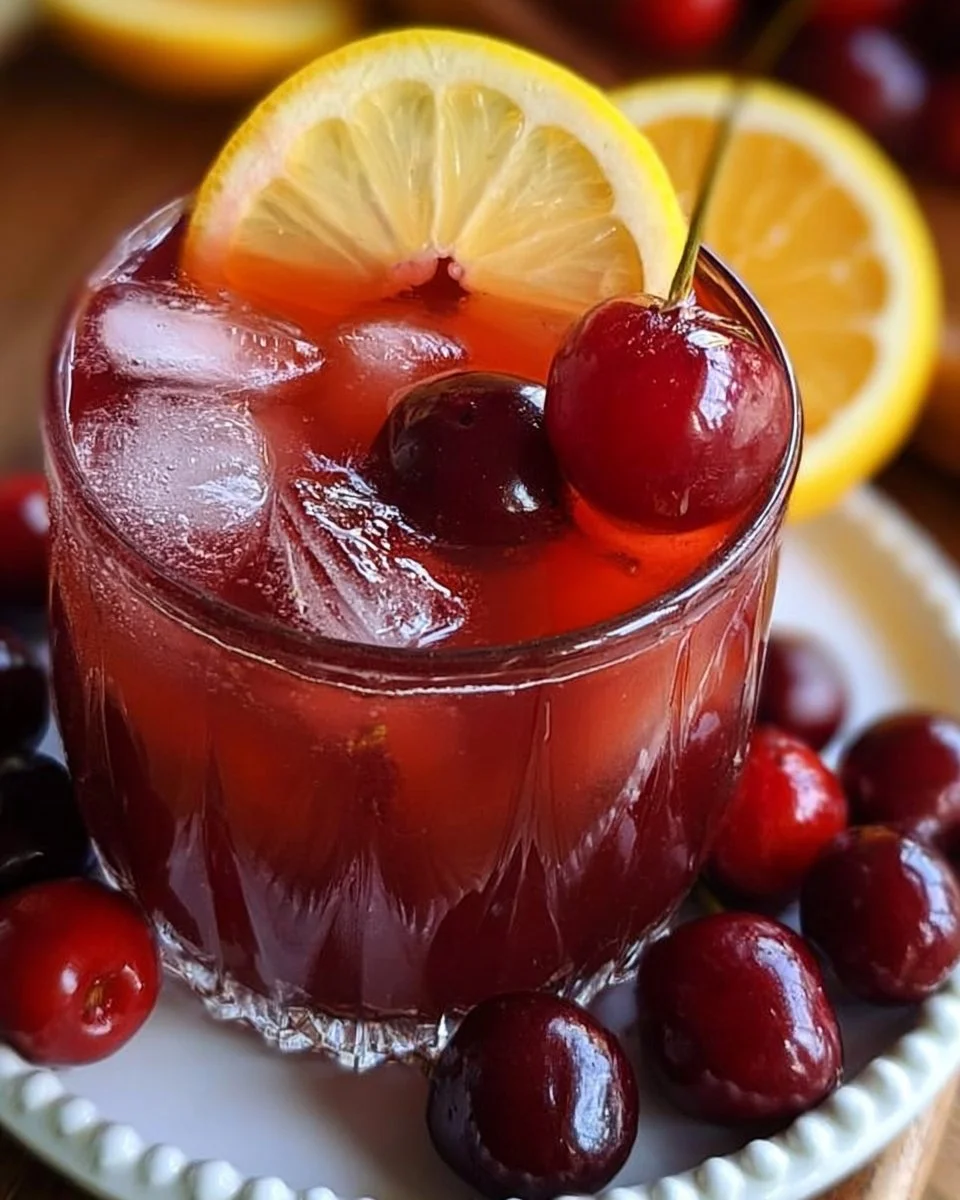
Buttery Cherry Pie Bars That Are Perfectly Sweet and Fruity You may also find Amaretto Island Punch Tropical Drink Recipe useful.
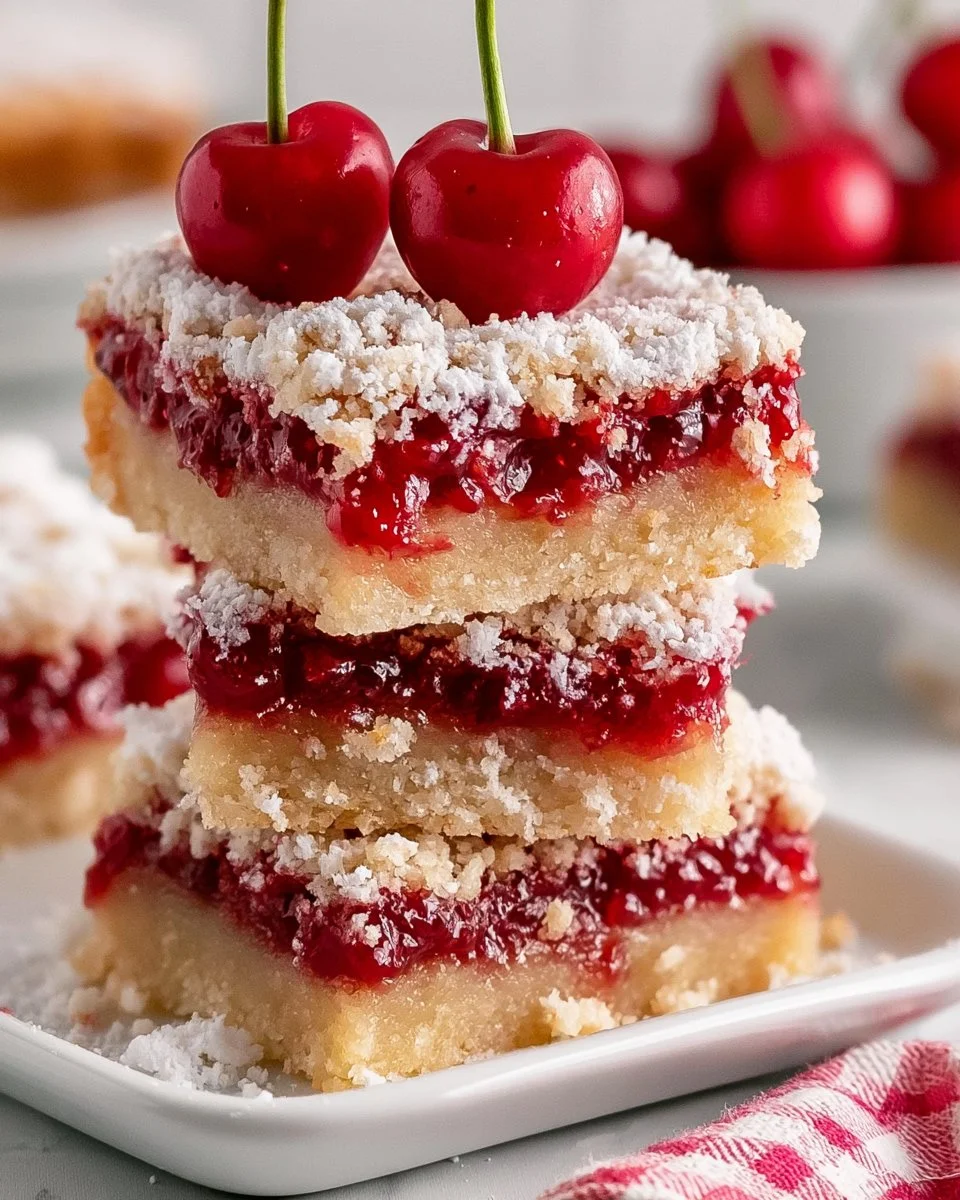
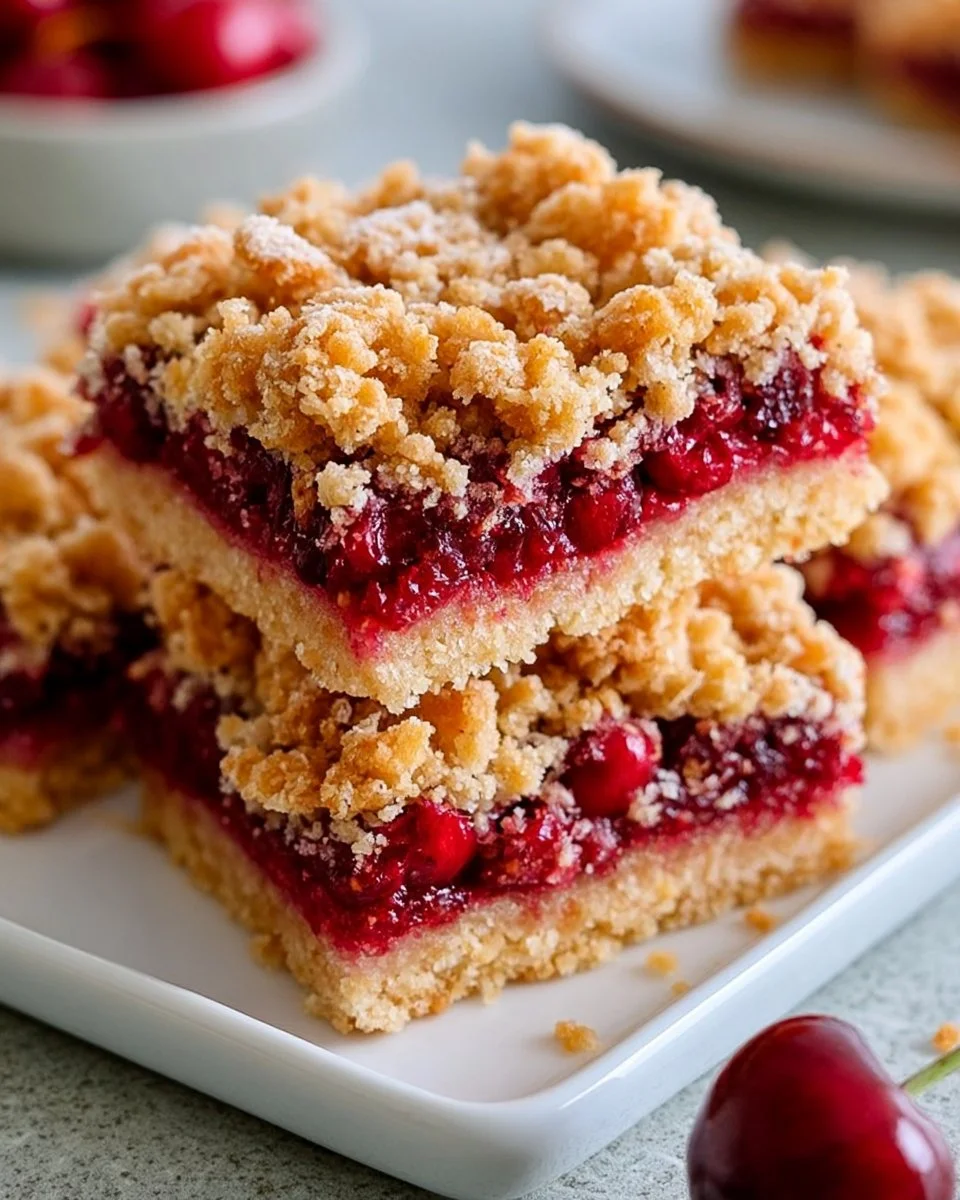
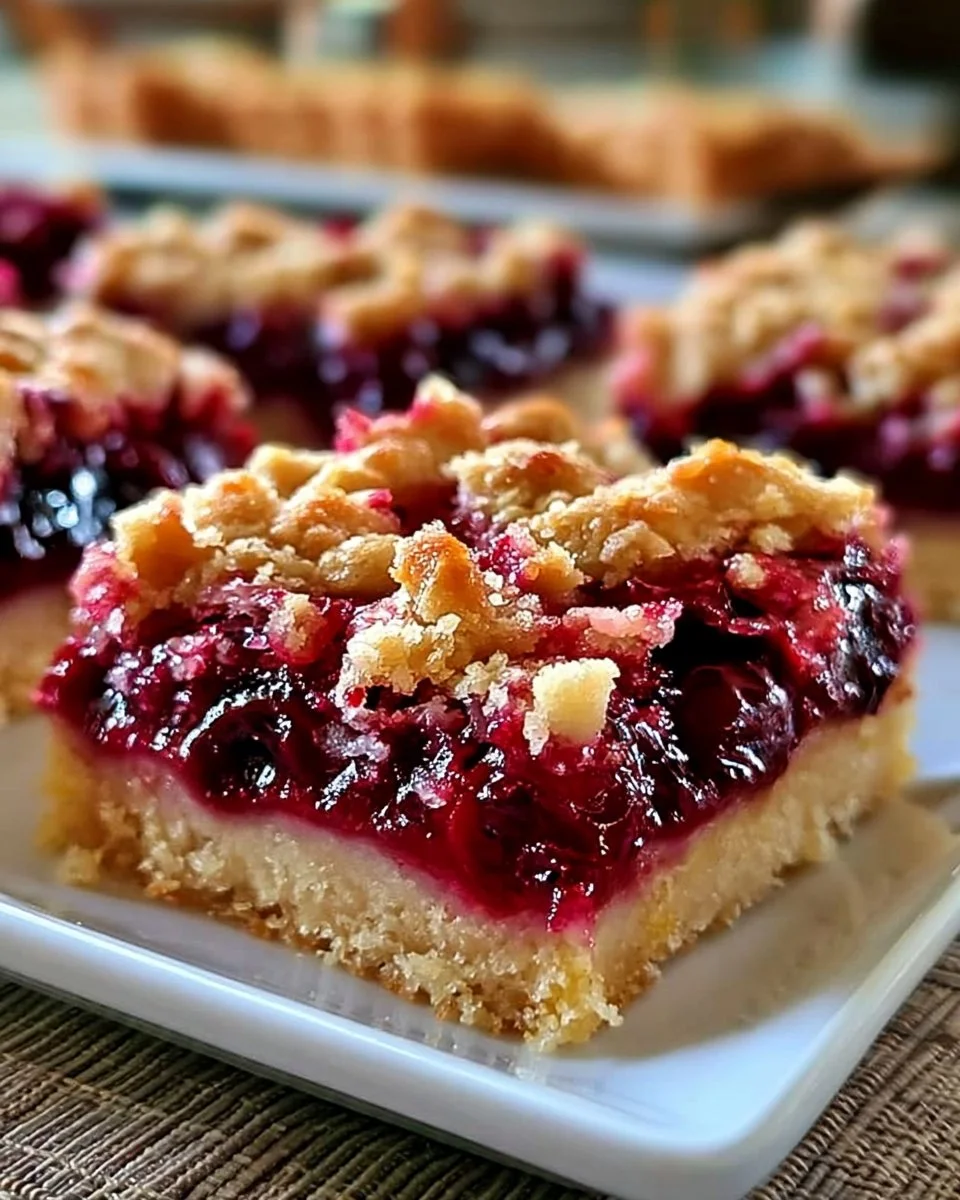
Imagine walking into a warm kitchen, the scent of sweet cherries and buttery crust greeting you like an old friend. Those Cherry Pie Bars resting on the countertop invite you with their golden crumble and a glistening cherry filling peeking through. Each square promises a delightful bite—crunchy on top, soft and fruity on the inside, and just the right amount of sweetness to dance on your palate. This dessert encapsulates the essence of comfort food, making it perfect for family gatherings, potlucks, or simply a cozy evening treat.
These Cherry Pie Bars are not just easy to make; they’re a family favorite for a reason. The combination of tart cherries with a buttery crumb topping creates a mouthwatering experience that’s hard to resist. If you’re in the mood for something equally delightful, you might also enjoy these chocolate cherry cheesecake bars, which bring a rich twist to the classic cherry pie theme. With just a few simple ingredients and steps, you’ll find yourself indulging in this delectable dessert in no time.
Why You’ll Love This Recipe
Bursting with flavor and adorned with a satisfying crumb topping, these Cherry Pie Bars are a timeless treat. The sweet and tart cherry filling serves as the star of the show, balancing beautifully with the buttery crust. Perfect for summer picnics or winter gatherings, they provide both nostalgia and comfort. You can cut them into generous squares, making them easy to share—or to keep all to yourself!
Preparation Phase & Tools to Use
To create these irresistible Cherry Pie Bars, you’ll need a few essential tools. A quality mixing bowl is vital for combining your dry ingredients and ensuring a uniform texture. A pastry cutter or fork will help you beautifully blend the butter into the flour, creating that flaky crust that we all crave. Additionally, a greased 9×13-inch baking dish will serve as the home for your dessert, ensuring even cooking and easy removal of the bars once cooled.
Moreover, always have your measuring cups and spoons handy. Accurate measurements can make or break your baking experience. Another tip: preheat your oven while preparing the ingredients so it’s hot and ready for those mouthwatering bars the moment you’re finished.
Ingredients for Buttery Cherry Pie Bars
- 2 cups all-purpose flour: This creates the base, forming that delightful crumbly texture.
- 1/2 cup granulated sugar: Sweetens the bars just right; swap with brown sugar for deeper flavor notes.
- 1/2 teaspoon baking powder: Helps the bars rise to a delightful fluffiness.
- 1/4 teaspoon salt: Balances sweetness and enhances flavor.
- 1 cup unsalted butter: Ensure it’s cold and cut into pieces for a perfectly flaky crust.
- 1 cup cherry pie filling: You can use homemade or canned; fresh cherries add vibrant flavor.
- 1/4 teaspoon almond extract: Optional but recommended for an additional layer of flavor.
Each ingredient plays a beautiful role in crafting bars that are simply irresistible. If you prefer a fruit medley, feel free to mix in other fruits for a new twist!
How to Make Buttery Cherry Pie Bars
- Preheat the oven to 350°F (175°C).
- In a large bowl, whisk together the flour, sugar, baking powder, and salt until well combined.
- Add the cold, cubed butter to the mixture. Using a pastry cutter or fork, mix until it resembles coarse crumbs.
- Firmly press half of the crumbly mixture into a greased 9×13-inch baking dish to form the crust.
- Evenly spread the cherry pie filling over the crust, ensuring every corner is filled with that luscious cherry goodness.
- Crumble the remaining dough over the cherry filling, covering it generously for that perfect crunchy topping.
- Bake for 30-35 minutes or until the top is golden brown and fragrant.
- Allow the Cherry Pie Bars to cool completely in the dish for at least 1 hour before slicing into squares.
Remember, be cautious not to rush the cooling phase—this allows the flavors to meld beautifully.
Chef’s Notes & Helpful Tips
- Make-ahead tips: These bars can be prepared a day in advance. Simply store them covered at room temperature or in the fridge.
- Cooking alternatives: For a quicker option, consider using an air fryer if you have one that accommodates baking dishes.
- Customization ideas: Feel free to experiment! Add nuts for extra crunch, or explore different pie fillings like blueberry or peach for seasonal variations.
Common Mistakes to Avoid
- Overmixing the crust: This can lead to tough bars rather than the tender crumb you desire. Mix just until combined.
- Not cooling before slicing: Slicing too soon can lead to a messy presentation. Patience is key!
- Using room temperature butter: Cold butter is essential for achieving that flaky texture, so don’t skip this detail.
What to Serve With Buttery Cherry Pie Bars
- Vanilla Ice Cream: A scoop on the side complements the fruity bars perfectly.
- Fresh Whipped Cream: Light and airy, it adds an indulgent touch.
- Coffee: A hot cup pairs beautifully with the sweetness of the bars.
- Almond Milk: The nutty flavor pairs well with cherries.
- Sparkling Water: A refreshing contrast to the sweetness.
- Cheese: A bit of sharp cheese can create a delightful balance.
Storage & Reheating Instructions
To keep your Cherry Pie Bars fresh, store them in an airtight container. They’ll last up to a week in the fridge and can also be frozen for up to three months. To reheat, simply pop them in the microwave for a few seconds or enjoy them at room temperature straight from the fridge.
Estimated Nutrition Information
This is an approximation per bar and may vary depending on specific ingredients used:
- Calories: 250
- Protein: 2g
- Carbohydrates: 35g
- Fat: 12g
- Fiber: 1g
FAQs
1. Can I use fresh cherries instead of cherry pie filling?
Absolutely! Fresh cherries can be cooked down with a bit of sugar and cornstarch to create a delicious filling that’s bursting with flavor.
2. Can I make these bars gluten-free?
Yes, simply replace all-purpose flour with a gluten-free blend. Ensure your other ingredients (like baking powder) are also gluten-free.
3. How do I prevent the bars from becoming soggy?
Make sure to let them cool completely before slicing, and consider adding a layer of cornstarch to the cherry filling to thicken it.
4. What is the best way to slice the bars?
Use a sharp knife, and wipe it clean between cuts. This helps to create neat, attractive squares without the filling oozing out.
5. Are these bars suitable for freezing?
Yes! Just make sure they are completely cooled before wrapping them tightly and freezing them for later.
Conclusion
There’s nothing quite like biting into a soft, fruity Cherry Pie Bar with a buttery crumble. Whether you’re sharing them at a gathering or enjoying them on a quiet evening, these bars bring a sense of joy to any occasion. If you’re interested in exploring more scrumptious cherry recipes, check out a Cherry Pie Crumb Bars Recipe or learn about a unique twist with Cherry Pie Bars. Whip up a batch today, and delight in the incredible flavor and texture!
Print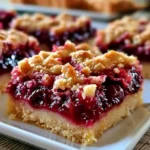
Buttery Cherry Pie Bars
- Prep Time: 15 minutes
- Cook Time: 35 minutes
- Total Time: 50 minutes
- Yield: 12 servings 1x
- Category: Dessert
- Method: Baking
- Cuisine: American
- Diet: Vegetarian
Description
Delightful Cherry Pie Bars with a crunchy topping and sweet cherry filling, perfect for any occasion.
Ingredients
- 2 cups all-purpose flour
- 1/2 cup granulated sugar
- 1/2 teaspoon baking powder
- 1/4 teaspoon salt
- 1 cup unsalted butter, cold and cut into pieces
- 1 cup cherry pie filling
- 1/4 teaspoon almond extract (optional)
Instructions
- Preheat the oven to 350°F (175°C).
- Whisk together the flour, sugar, baking powder, and salt in a large bowl until well combined.
- Add the cold, cubed butter to the mixture and mix until it resembles coarse crumbs.
- Press half of the crumbly mixture into a greased 9×13-inch baking dish to form the crust.
- Spread the cherry pie filling evenly over the crust.
- Crumble the remaining dough over the cherry filling.
- Bake for 30-35 minutes or until the top is golden brown.
- Allow to cool completely in the dish for at least 1 hour before slicing into squares.
Notes
Store in an airtight container for up to a week or freeze for up to three months. Enjoy with vanilla ice cream or whipped cream.
Nutrition
- Serving Size: 1 serving
- Calories: 250
- Sugar: 10g
- Sodium: 200mg
- Fat: 12g
- Saturated Fat: 7g
- Unsaturated Fat: 5g
- Trans Fat: 0g
- Carbohydrates: 35g
- Fiber: 1g
- Protein: 3g
- Cholesterol: 30mg