
Introduction to Cherry Poke Cake
Hey there, fellow busy bees! If you’re juggling work, kids, and life’s endless demands, finding that perfect dessert can feel daunting. That’s where my beloved Cherry Poke Cake comes in! This delightful treat is not only simple to whip up, but it’s also a sure-fire way to dazzle your loved ones. Imagine a moist cake, joyously filled with luscious cherry flavor and topped with fluffy frosting. It’s like a hug in every bite! Plus, with just a handful of ingredients, you’ll cherish this easy go-to for your next gathering or cozy family night.
Why You’ll Love This Cherry Poke Cake
This Cherry Poke Cake is a time-saving gem perfect for busy schedules! It takes minimal effort to prepare and delivers maximum flavor. The delightful combination of moist cake and cherry jello creates an explosion of taste in every bite. Plus, it looks gorgeous on the table, making it an excellent option for any gathering. Trust me, everyone will be asking for seconds, and you’ll bask in the compliments!
Save this recipe and cook smarter
Keep your favorite Cooking Layer recipes in one place, plan your weekly meals, and quickly find dinner ideas whenever you need them.
Free to download • Fast and easy to use
Ingredients for Cherry Poke Cake
Let’s gather our stars for this delightful dessert! Here’s what you’ll need:
- White cake mix: This is the foundation of our cake, providing that delightful softness.
- Egg whites: They help keep the cake light and fluffy, ensuring a gorgeous rise.
- Water: Essential for mixing; it brings all the dry ingredients together.
- Vegetable or canola oil: Adds moisture, making each bite irresistibly tender.
- Cherry jello: This is where the magic happens! It infuses the cake with sweet cherry goodness.
- Boiling water: Helps dissolve the jello completely, creating that vibrant flavor.
- Cold water: Balances the temperature of the jello mixture, so it’s ready to soak into our cake.
- Cream cheese: This adds a delightful richness to our frosting that you won’t want to miss!
- Powdered sugar: It sweetens the frosting while ensuring a smooth texture.
- Heavy whipping cream: This is the secret to a luscious, fluffy topping that complements the cake perfectly.
- Cherry pie filling: A final crowning touch that adds a burst of cherry flavor and a pop of color.
Don’t worry; the ingredient amounts are conveniently listed at the bottom of the article for easy printing. So, let’s get cooking and make this Cherry Poke Cake a reality!
How to Make Cherry Poke Cake
Prepare the Oven and Baking Dish
First things first, let’s get that oven ready! Preheat it to 350℉. This step is vital for baking the perfect Cherry Poke Cake, ensuring it’s fluffy and cooked just right. While the oven warms up, grab a 9×13 baking dish and spray it with non-stick cooking spray. This will prevent any sticky surprises later!
Make the Cake Batter
Now, let’s create that delicious cake batter! In a large mixing bowl, combine the white cake mix, egg whites, water, and vegetable oil. Grab your electric mixer and beat everything until the batter is smooth, like a baby’s bottom! Achieving the right consistency here is key—too lumpy, and your cake won’t rise as beautifully.
Bake the Cake
Once your batter is ready, pour it into your prepared baking dish. Smooth the top as best as you can. Bake in your preheated oven for 25-30 minutes. You’ll know it’s done when a toothpick inserted into the center comes out clean, and the edges are a lovely golden brown. Just remember, a little overbaking can turn it into a dry affair, so keep an eye on it!
Poke the Holes
After baking, let the cake cool for 10 minutes. This is a crucial step before the fun part—poking holes! Using the end of a wooden spoon, poke holes about 1-inch apart all over the cake. These holes will be the magic portals for our cherry jello to seep in and infuse flavor throughout the cake.
Prepare the Cherry Jello
In a heat-proof bowl, mix the cherry jello powder with 1 cup of boiling water. Stir it like you mean it until the jello is completely dissolved. Then, add ½ cup of cold water and keep whisking. This mixture is what will soak into those lovely holes we just created and enhance the cherry flavor of the cake. It’s a game changer!
Refrigerate the Cake
Now that you’ve poured the cherry jello over the cake, it’s time to let it chill. Cover the baking dish with plastic wrap or a lid and pop it into the refrigerator for at least 4 hours. This wait is essential! It allows the jello to set and seep into that cake, turning it heavenly.
Make the Whipped Cream Cheese Frosting
While the cake is chilling, let’s whip up that sinful frosting! In a mixing bowl, combine softened cream cheese and powdered sugar. Blend until it’s nice and creamy. Then, pour in the heavy whipping cream. Keep mixing until stiff peaks form. This dreamy frosting is what will take your Cherry Poke Cake over the top!
Frost and Finish the Cake
Once the cake is chilled and set, it’s time to frost! Spread the whipped cream cheese frosting evenly over the top, being sure to fill in the holes with this luscious topping. Finally, top it off with a generous layer of cherry pie filling for a vibrant splash of flavor. Cut into squares, serve, and watch it disappear in a flash!
Tips for Success
- Always measure your ingredients accurately for the best results.
- Let the cake cool completely before poking holes to prevent messiness.
- Use fresh cherry pie filling for extra flavor if you’re feeling adventurous!
- Try adding a splash of almond extract to the cream cheese frosting for a unique twist.
- For a festive touch, decorate with chocolate shavings or crushed nuts on top.
Equipment Needed
- 9×13 baking dish: Any similar-sized dish works, like a glass or metal pan.
- Mixing bowls: You can use a stand mixer or hand whisk if you prefer.
- Electric hand mixer: A whisk can work, but it requires more elbow grease!
- Wooden spoon: Any sturdy utensil can substitute for poking holes.
Variations of Cherry Poke Cake
- Chocolate Cherry Poke Cake: Swap out the white cake mix for chocolate cake mix for a rich, decadent twist!
- Pineapple Poke Cake: Replace the cherry jello with pineapple jello and top with crushed pineapple instead for a tropical flavor.
- Gluten-Free Option: Use a gluten-free cake mix and ensure that your jello and other ingredients are also gluten-free.
- Lower Sugar Version: Use sugar-free jello and whipped cream to reduce the sugar content while still enjoying the flavors.
- Nutty Cherry Poke Cake: Add chopped walnuts or pecans to the frosting or sprinkle on top for a delightful crunch.
Serving Suggestions
- Pair your Cherry Poke Cake with a scoop of vanilla ice cream for a delightful contrast.
- Serve alongside fresh berries to brighten the plate and palate.
- A glass of sweet iced tea or lemonade complements the flavors beautifully.
- For a festive presentation, garnish each slice with a mint leaf for a pop of color.
FAQs about Cherry Poke Cake
Can I make Cherry Poke Cake ahead of time?
Absolutely! This cake actually tastes better when made a day in advance. Just cover it well and refrigerate. The jello will soak in nicely, enhancing the flavor!
What can I use instead of cherry pie filling?
If cherry pie filling isn’t your thing, feel free to swap it out for any fruit topping you love. Blueberry or peach pie fillings are delightful alternatives!
Can I use a different flavor of jello?
Yes! This recipe is super versatile. Go ahead and experiment with different jello flavors like strawberry or lemon for a fun twist on the classic Cherry Poke Cake.
How should I store leftover cake?
Your leftover Cherry Poke Cake can be stored in the fridge for up to three days. Just keep it covered to maintain its moisture and flavor!
Is this cake suitable for kids?
Absolutely! Kids adore the bright cherry flavor and fun texture. Just keep an eye out for anyone with dietary restrictions before serving!
Final Thoughts
Making this Cherry Poke Cake is like crafting a little piece of happiness! It’s a simple recipe that transforms into something incredibly delicious and visually stunning. I love how it brings people together, sparking joy and laughter at family gatherings and celebrations. Each slice is a delightful treat, bursting with flavor, and oozing with nostalgia. Whether it’s for a birthday, a picnic, or just an ordinary Tuesday, this cake adds a special touch to any occasion. So why wait? Gather your ingredients, and let the Cherry Poke Cake create sweet memories in your kitchen!
Enjoyed this recipe?
Discover more delicious recipes, save your favorites, and plan your meals with the Cooking Layer app.
Free to download • Fast and easy to use

Cherry Poke Cake
- Prep Time: 20 minutes
- Cook Time: 30 minutes
- Total Time: 4 hours 50 minutes
- Yield: 12 servings 1x
- Category: Dessert
- Method: Baking
- Cuisine: American
- Diet: Vegetarian
Description
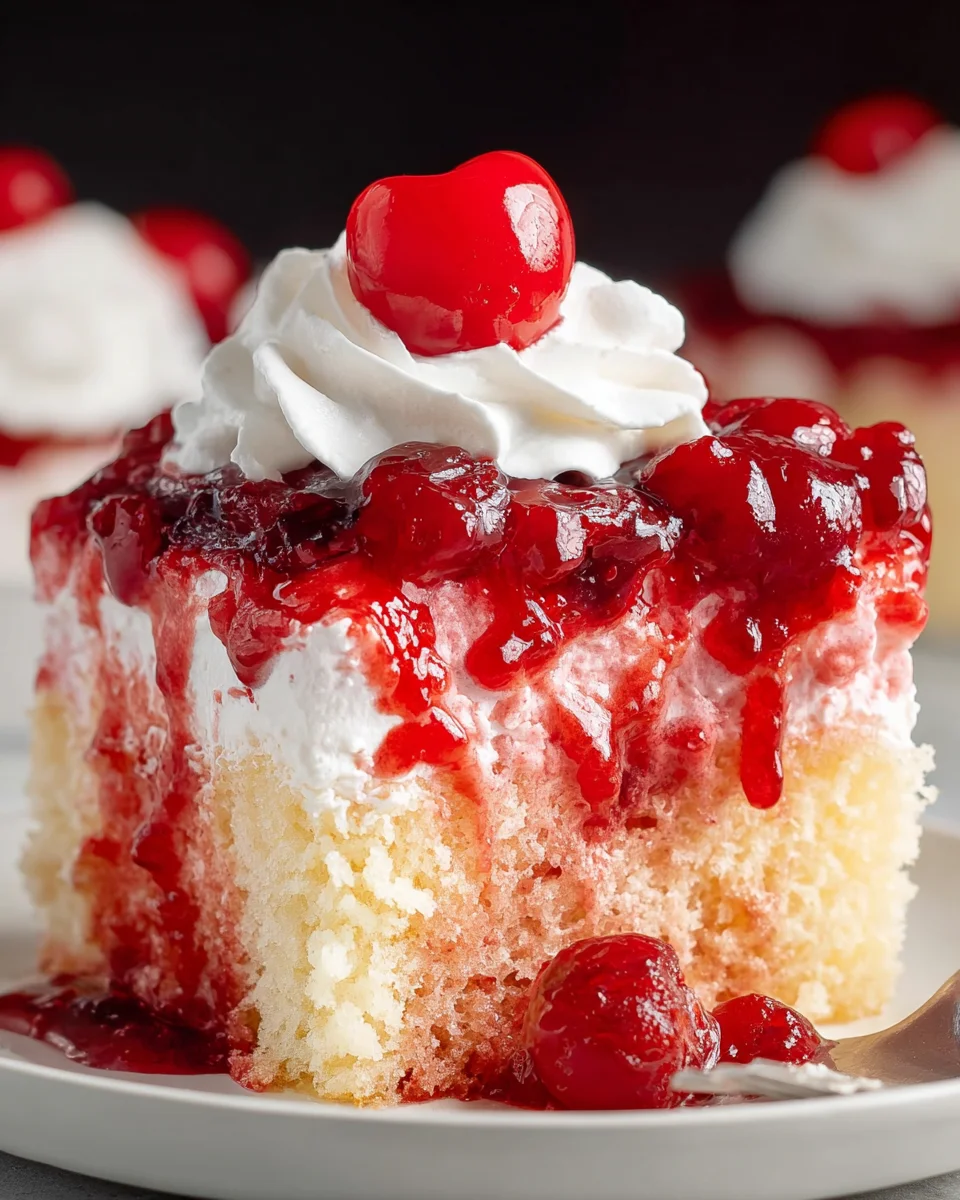
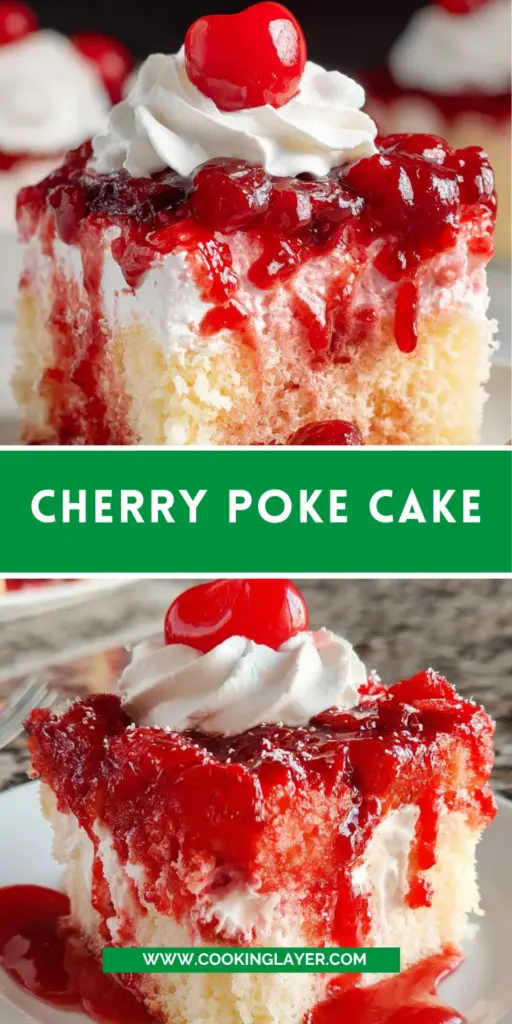
Cherry Poke Cake is a delightful dessert that features a moist white cake filled with cherry jello, topped with a creamy whipped cream cheese frosting and cherry pie filling.
Ingredients
- 1 box (14.25 oz) white cake mix
- 4 large egg whites
- 3/4 cup water
- 1/2 cup vegetable or canola oil
- 1 box (3 oz) cherry jello
- 1 cup boiling water
- 1/2 cup cold water
- 4 ounces cream cheese softened
- 1/2 cup powdered sugar
- 1½ cups heavy whipping cream
- 1 can (21 oz) cherry pie filling
Instructions
- Preheat the oven to 350℉. Spray a 9×13 baking dish with non-stick cooking spray and set it aside.
- In a large mixing bowl, add the white cake mix, egg whites, water, and oil. Use an electric hand mixer to beat until the batter is smooth. Pour the cake batter into the prepared pan and smooth out the top.
- Bake for 25-30 minutes or until a toothpick poked into the center of the cake comes out clean. The edges of the cake should be pulled away from the pan and lightly golden brown.
- Remove the cake from the oven and let it cool for 10 minutes before ‘poking the holes’ into the cake.
- Use the end of a wooden spoon to poke holes into the cake that are 1-inch apart from each other.
- In a small, heat-proof bowl, whisk together the cherry jell-o powder and boiling water until the jello has completely dissolved. While continuing to whisk, slowly add in the cold water. Pour gelatin mixture over the cake making sure that the jello goes into all of the holes.
- Cover the cake pan with plastic wrap, or a lid, and place it in the refrigerator for 4 hours.
- In a mixing bowl, using an electric hand mixer, beat the cream cheese and powdered sugar until smooth and creamy. Add in the heavy whipping cream and continue beating until stiff peaks form and the mixture is thick.
- Spread the whipped cream cheese frosting over top of the cake in an even layer, ensuring to fill the holes.
- Spread the cherry pie filling over the whipped topping layer. Cut into squares and serve!
Notes
- You can cover the cake with plastic wrap and refrigerate it for several hours before serving.
- Leave the cherry pie filling off of the cake if preferred and dollop spoonfuls over each slice before serving.
Nutrition
- Serving Size: 1 slice
- Calories: 350
- Sugar: 25g
- Sodium: 220mg
- Fat: 18g
- Saturated Fat: 10g
- Unsaturated Fat: 5g
- Trans Fat: 0g
- Carbohydrates: 40g
- Fiber: 0g
- Protein: 4g
- Cholesterol: 40mg


