Why Cherry Rice Krispie Treats Are So Irresistible
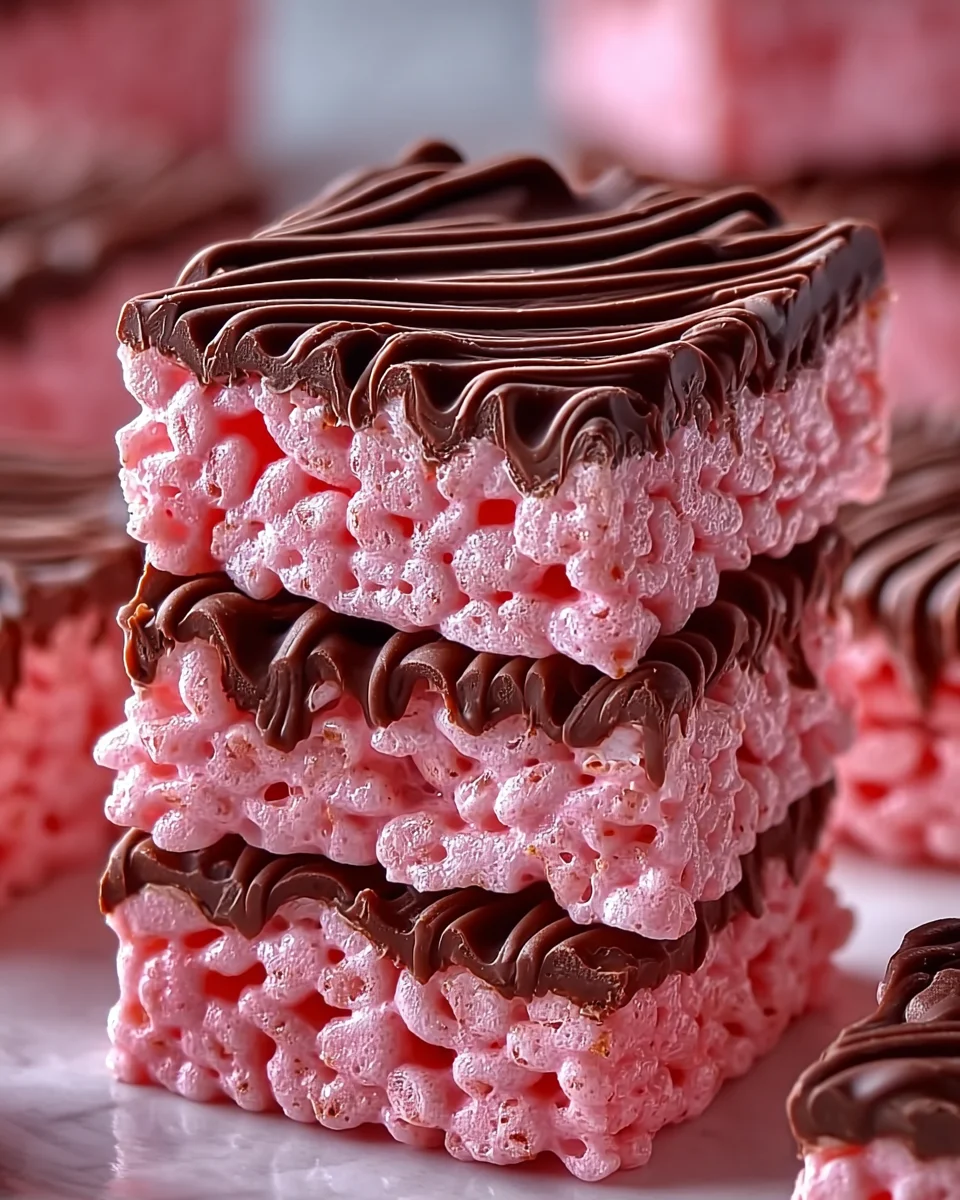
If you’ve ever had a classic Rice Krispie treat, you already know how addictive that chewy, gooey, slightly crispy texture can be. Now imagine adding a burst of cherry flavor and topping it with rich melted chocolate—that’s exactly what these Cherry Rice Krispie Treats bring to the table. They take something familiar and give it a bold, colorful upgrade that feels both nostalgic and new at the same time.
What makes these treats stand out isn’t just the flavor—it’s the contrast. You’ve got soft, chewy marshmallow-coated cereal infused with a fruity twist, paired with a smooth chocolate layer that adds depth and richness. It’s the kind of combination that keeps you going back for another bite, even when you think you’re done.
Save this recipe and cook smarter
Keep your favorite Cooking Layer recipes in one place, plan your weekly meals, and quickly find dinner ideas whenever you need them.
Free to download • Fast and easy to use
Another reason these treats are so popular is how easy they are to make. There’s no baking involved, no complicated steps, and no need for special equipment. In fact, this is one of those recipes that’s perfect for beginners, quick desserts, or even making with friends or family.
A Fun Upgrade to Classic Rice Krispie Treats
The classic version is great—but let’s be honest, it’s pretty straightforward. Adding cherry gelatin powder transforms both the flavor and appearance. Suddenly, you’ve got a vibrant pink treat that looks as fun as it tastes.
It’s a small change, but it completely reinvents the dessert. Instead of something plain, you get a treat that feels more playful and unique.
The Perfect Balance of Fruity and Chocolatey
Cherry and chocolate are a naturally great pairing. The slight tartness of cherry cuts through the sweetness of the marshmallow, while the chocolate adds richness that ties everything together.
It’s a balance that keeps the dessert from feeling one-dimensional. Every bite has a little bit of everything—sweet, fruity, and chocolatey.
Ingredients Breakdown and Flavor Profile
Each ingredient in this recipe plays a specific role, and understanding them helps you get the best results.
Marshmallow and Butter Base Explained
The foundation of any Rice Krispie treat is the combination of butter and mini marshmallows. The butter adds richness and helps prevent sticking, while the marshmallows create that signature gooey texture.
Melting them slowly is key. If you rush this step or use high heat, the mixture can become stiff, which leads to harder treats later.
The Role of Cherry Gelatin Powder
This is the ingredient that changes everything. Cherry gelatin powder adds both flavor and color, giving the treats their signature fruity taste and pink hue.
It blends into the melted marshmallow mixture, creating a smooth, evenly flavored base. The key is stirring thoroughly so there are no streaks or clumps.
Chocolate Topping and Garnish
The dark chocolate topping adds contrast—not just in flavor but in texture. Once it sets, it creates a thin, slightly firm layer that complements the soft base.
Sprinkles are optional, but they add a decorative touch that makes the treats feel more festive and fun.
Essential Tools for Perfect Treats
Basic Kitchen Equipment
You’ll need a large saucepan, a rubber spatula, and a baking dish. These basics are enough to complete the recipe successfully.
Optional Tools for Better Results
Using parchment paper or lightly greased foil can make removal easier. A sharp knife sprayed with cooking spray helps cut clean squares without sticking.
Step-by-Step Cherry Rice Krispie Treats Recipe
Melting the Marshmallow Base
Melt butter and marshmallows over low heat, stirring constantly. This creates a smooth, glossy mixture that forms the base of your treats.
Adding Cherry Flavor
Once melted, remove from heat and stir in the gelatin powder. Mix thoroughly until the color is even and vibrant.
Mixing and Pressing the Cereal
Fold in the cereal gently to avoid crushing it. Transfer to a pan and press lightly into an even layer.
Adding the Chocolate Layer
Melt the chocolate and spread or drizzle it over the top. Add sprinkles while the chocolate is still wet.
Setting and Cutting the Bars
Let the treats sit until the chocolate sets, then cut into squares. Use a greased knife for clean edges.
Pro Tips for Soft and Chewy Texture
Getting that perfect soft, chewy, pull-apart texture is what separates average Rice Krispie treats from the kind people can’t stop eating. It might seem like a simple recipe—and it is—but the way you handle a few key steps makes all the difference in the final result.
Avoiding Hard or Dry Treats
The number one mistake? Too much heat. Marshmallows are delicate. When overheated, they lose their elasticity and turn into a stiff, almost candy-like texture once cooled. That’s why low heat is non-negotiable here. Melt the butter and marshmallows slowly, stirring constantly, and remove from heat as soon as everything is smooth.
Another factor is how you press the mixture into the pan. It’s tempting to pack it down tightly so it looks neat, but pressing too hard compacts the cereal and squeezes out air, leading to dense, hard bars. Instead, use a light touch—just enough to level the surface without compressing it.
Moisture balance also plays a role. If the mixture feels slightly dry while mixing, it might be because the marshmallows were overheated or the cereal ratio is off. In that case, adding a small handful of extra marshmallows while the mixture is still warm can help restore softness.
Getting the Perfect Chocolate Finish
That glossy chocolate topping isn’t just for looks—it adds a smooth, rich contrast to the chewy base. To get it right, melt the chocolate slowly in short intervals, stirring often. Chocolate can burn easily, and once it does, there’s no saving it.
If you want a more professional finish, spread the chocolate evenly with an offset spatula rather than drizzling. This creates a clean, uniform layer that sets beautifully. On the other hand, if you’re going for a more casual, homemade look, a drizzle works perfectly and adds a bit of visual texture.
Timing matters here too. Add sprinkles or toppings immediately after spreading the chocolate so they stick before it sets.
Common Mistakes and How to Avoid Them
Even though this recipe is beginner-friendly, a few small missteps can change the texture or flavor. Knowing what to watch for helps you avoid frustration and get consistent results every time.
Overheating Marshmallows
This is easily the most common issue. High heat might seem like a shortcut, but it actually works against you. Overheated marshmallows become stiff and lose that gooey quality that makes these treats so good.
Stick to low heat and be patient. It only takes a few extra minutes, and the payoff is worth it.
Pressing Too Firmly
It’s easy to think pressing harder will make the bars hold together better, but it actually does the opposite. Overly compact treats become tough and less enjoyable to eat.
A gentle press keeps the texture light and chewy. If sticking is an issue, lightly dampen your hands or spatula instead of pressing harder.
Variations and Creative Twists
Once you’ve nailed the basic recipe, there’s a lot of room to experiment. This is one of those desserts that adapts easily to different flavors, colors, and occasions.
White Chocolate Cherry Version
Swap the dark chocolate for white chocolate, and you get a sweeter, creamier variation that pairs beautifully with the cherry flavor. It also creates a striking visual contrast against the pink base.
You can even drizzle both white and dark chocolate together for a marbled effect that looks impressive without extra effort.
Holiday and Color Variations
This recipe is perfect for seasonal twists. Change the gelatin flavor and color to match holidays—think strawberry for Valentine’s Day, lime for St. Patrick’s Day, or blue raspberry for themed parties.
Add matching sprinkles, and suddenly you’ve got a customized dessert that fits any occasion.
Serving and Presentation Ideas
Presentation can turn a simple treat into something memorable, especially if you’re serving these at gatherings or events.
Making Them Party-Ready
Cut the treats into uniform squares or even fun shapes using cookie cutters. This works especially well for themed parties or holidays.
Arrange them on a platter with a light drizzle of extra chocolate or a sprinkle of powdered sugar for a polished look. If you want to go a step further, stack them slightly or layer them with parchment paper for a bakery-style presentation.
Serving them at room temperature gives the best texture—soft, chewy, and easy to bite into. If they’ve been stored in a cooler environment, let them sit out for a few minutes before serving.
Storage and Shelf Life
One of the best things about Rice Krispie treats is how well they hold up when stored properly.
Keeping Them Fresh Longer
Store the treats in an airtight container at room temperature for up to 5 days. Keeping them sealed prevents them from drying out and helps maintain their chewy texture.
Avoid refrigerating them unless absolutely necessary, as cold temperatures can make them firm and less enjoyable. If you do refrigerate, let them come back to room temperature before serving.
For longer storage, you can freeze them. Wrap individual pieces in plastic wrap and store in a freezer-safe container. When ready to eat, let them thaw at room temperature—this helps bring back their original texture.
Conclusion
Cherry Rice Krispie Treats with chocolate are proof that a simple recipe can still feel exciting and new with just a small twist. By adding a burst of cherry flavor and a layer of rich chocolate, you transform a classic snack into something colorful, flavorful, and a little more special.
What makes this recipe stand out is how approachable it is. There’s no baking, no complicated steps—just a few ingredients and a bit of attention to detail. And once you’ve made it once, it becomes incredibly easy to customize, whether you’re changing flavors, colors, or toppings.
It’s the kind of dessert that works for almost any occasion—quick enough for a weekday treat, but fun and eye-catching enough for parties. And honestly, once you try them, it’s hard to go back to the plain version.
FAQs
1. Can I use regular marshmallows instead of mini?
Yes, just cut them into smaller pieces for easier melting.
2. What if I don’t have cherry gelatin?
You can substitute with any flavored gelatin for different variations.
3. Can I skip the chocolate topping?
Absolutely, but the chocolate adds a nice contrast in flavor and texture.
4. Why are my treats too hard?
This usually happens from overheating the marshmallows or pressing the mixture too firmly.
5. Can I make these ahead of time?
Yes, they store well for several days and can be made in advance.
Print
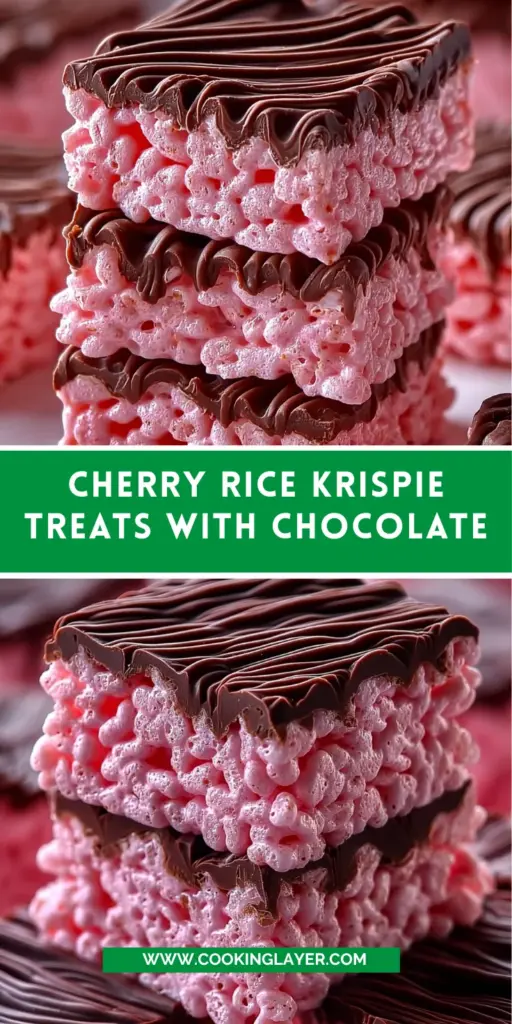
Cherry Rice Krispie Treats with Chocolate
Description
If you’ve ever had a classic Rice Krispie treat, you already know how addictive that chewy, gooey, slightly crispy texture can be. Now imagine adding a burst of cherry flavor and topping it with rich melted chocolate—that’s exactly what these Cherry Rice Krispie Treats bring to the table. They take something familiar and give it a bold, colorful upgrade that feels both nostalgic and new at the same time.
Ingredients
6 Tablespoons unsalted butter
1 (16 ounce) package mini marshmallows
1 ½ Tablespoons cherry gelatin powder
6 cups Rice Krispies cereal
10 ounces dark chocolate melting wafers, melted
Sprinkles for garnish (optional)
Instructions
Melt the base. In a large saucepan over low heat, melt the unsalted butter together with the mini marshmallows. Stir constantly with a rubber spatula until the mixture is completely smooth and no lumps of marshmallow remain. This takes about 5 to 7 minutes.
Add cherry flavor. Remove the saucepan from the heat. Sprinkle the cherry gelatin powder over the melted marshmallow mixture. Stir vigorously until the powder is fully dissolved and the color turns evenly pink, about 1 minute.
Mix in the cereal. Pour the Rice Krispies cereal into the saucepan. Fold gently with the spatula until every piece of cereal is coated in the pink marshmallow mixture. Do not overmix or the cereal will crush.
Press into the pan. Transfer the mixture into a buttered 13×9-inch baking dish. If you prefer thicker bars, use a 9-inch square pan instead. Lightly press the mixture into an even layer using your hands or a spatula. Do not press hard — gentle pressing keeps treats chewy instead of hard. To prevent sticking, lightly dampen your fingers with water before pressing.
Add the chocolate topping. Melt the dark chocolate wafers according to package directions (usually in a microwave in 20-second bursts, stirring between). Drizzle or spread the melted chocolate evenly over the pressed cereal mixture. If using sprinkles, add them immediately before the chocolate sets.
Let set and cut. Allow the treats to rest at room temperature for about 1 hour, until the chocolate is firm. Cut into squares with a knife lightly sprayed with cooking spray to prevent sticking. Store in a covered container at room temperature for up to 5 days.
Enjoyed this recipe?
Discover more delicious recipes, save your favorites, and plan your meals with the Cooking Layer app.
Free to download • Fast and easy to use