
What Is Cream Puff Cake?
The Origin of Cream Puff Desserts
If you’ve ever bitten into a light, airy cream puff, you already know how magical that texture feels—almost like a cloud with a creamy surprise tucked inside. Traditional cream puffs, also known as choux pastry, actually trace their roots back to France, where chefs perfected the art of combining simple ingredients like butter, water, flour, and eggs to create something surprisingly elegant. Over time, this delicate pastry became the base for many desserts, from éclairs to profiteroles. But somewhere along the way, home bakers decided to simplify things—and that’s how the cream puff cake was born.
Instead of piping individual pastries, this recipe transforms the classic into a single, easy-to-make dessert baked in a dish. It keeps the same airy texture but removes the stress of shaping each puff. Think of it like turning a complicated orchestra into a smooth, catchy tune you can play on repeat. The beauty lies in its simplicity, making it accessible even if you’ve never baked anything beyond cookies. And honestly, that’s part of why it’s become such a hit in modern kitchens.
Save this recipe and cook smarter
Keep your favorite Cooking Layer recipes in one place, plan your weekly meals, and quickly find dinner ideas whenever you need them.
Free to download • Fast and easy to use
Why This Cake Version Is So Popular
There’s something incredibly satisfying about desserts that look impressive but don’t demand hours of effort. This easy cream puff cake recipe checks all the boxes—it’s quick, forgiving, and delivers bakery-level results without requiring advanced skills. The crust puffs up beautifully in the oven, creating natural pockets that hold the creamy filling like a dream.
Another reason people love this dessert? It’s versatile. You can dress it up with chocolate drizzle, fruit toppings, or even a dusting of powdered sugar depending on your mood or occasion. It works just as well for a casual family dinner as it does for a birthday party or holiday gathering. Plus, the combination of textures—the slightly crisp crust, the silky filling, and the rich topping—makes every bite interesting.
And let’s be real: desserts that can be made ahead and chilled are lifesavers. This cake actually tastes better after a couple of hours in the fridge, giving the flavors time to blend together. It’s the kind of recipe you’ll come back to again and again, not just because it’s easy, but because it never fails to impress.

Ingredients Breakdown
Crust Ingredients Explained
At first glance, the crust ingredients might seem almost too simple to create something special. But that’s the magic of choux-style pastry—it transforms basic pantry staples into a light, airy base. The combination of unsalted butter and water is crucial because it creates steam during baking, which is what causes the dough to puff up dramatically. That puff is what gives the cake its signature structure.
The all-purpose flour acts as the backbone, holding everything together while still allowing the dough to expand. It’s important not to overthink this part—regular flour works perfectly, and there’s no need for specialty alternatives unless you’re experimenting. Then come the eggs, which are the real game-changer. They add richness, help bind the dough, and contribute to that slightly custardy interior texture.
What’s fascinating is how these ingredients work together almost like a science experiment. When heated, the moisture turns into steam, the eggs provide structure, and the flour stabilizes everything. The result? A crust that’s crisp on the outside and soft on the inside, ready to hold all that creamy filling.
Cream Filling Essentials
The filling is where things get indulgent—in the best way possible. The base starts with cream cheese, which brings a subtle tanginess that balances the sweetness of the dessert. It also adds a thicker, more luxurious texture compared to using pudding alone. Making sure it’s softened is key; otherwise, you’ll end up with lumps that are hard to smooth out.
Next comes the instant vanilla pudding mix, which does most of the heavy lifting in terms of flavor and consistency. It thickens quickly and gives the filling that classic dessert taste everyone recognizes. Combined with cold milk, it creates a smooth, creamy base that’s both light and satisfying.
The final touch is whipped heavy cream, which is gently folded in to keep the mixture airy. This step transforms the filling from dense to cloud-like, making each bite feel soft and balanced rather than heavy. It’s like turning a simple mixture into something that feels almost luxurious without adding complexity.
Topping Options and Variations
No cream puff cake is complete without a finishing touch, and the topping is where you can really make the dessert your own. The classic choice is chocolate syrup or melted chocolate, which adds a rich, slightly bitter contrast to the sweet filling. Drizzling it over the top not only enhances the flavor but also makes the cake look instantly more appealing.
If you’re feeling creative, you can experiment with other toppings. A dusting of powdered sugar gives it a simple, elegant look, while caramel drizzle or even crushed nuts can add extra texture. Some people like to layer fresh fruit on top for a refreshing twist, which works especially well if you’re serving this during warmer months.
What’s great is that there’s no single “right” way to finish this cake. Whether you keep it classic or get creative, the topping is your chance to personalize the dessert and make it feel special every time you make it.
Kitchen Tools You’ll Need
Before diving into the recipe, it helps to have your tools ready—not because this recipe is complicated, but because a little preparation makes everything smoother. At the center of it all is a 9×13-inch baking dish, which gives the cake enough space to puff up properly without overcrowding. Using the right size ensures the crust cooks evenly and achieves that golden, airy texture.
You’ll also need a medium saucepan for preparing the dough. This is where the butter and water come together before the flour is added, so having a sturdy pan makes a difference. A wooden spoon or silicone spatula works best for mixing since the dough gets thick quickly and needs a bit of muscle to combine properly.
For the filling, a mixing bowl and electric mixer are ideal, especially when beating the cream cheese until smooth. While you could do it by hand, using a mixer saves time and ensures a lump-free result. Finally, a whisk and spatula come in handy for folding in the whipped cream and spreading the filling evenly.
Having everything within reach might seem like a small detail, but it turns the baking process into a more relaxed and enjoyable experience. Instead of scrambling for tools mid-recipe, you can focus on the fun part—watching simple ingredients transform into something delicious.
Step-by-Step Instructions
Preparing the Perfect Crust
Making the crust might sound intimidating if you’ve never worked with this type of dough before, but it’s surprisingly straightforward once you get the hang of it. Start by preheating your oven to 400°F and greasing your baking dish well—this prevents sticking and helps the crust release easily later.
In your saucepan, combine the butter and water and bring them to a boil. Once it’s bubbling, add the flour all at once and start stirring immediately. This is where things move quickly—the mixture will thicken and pull away from the sides of the pan, forming a dough. That’s your signal that it’s ready. Let it cool slightly before adding the eggs, because adding them too soon can scramble them.
Once cooled, mix in the eggs one at a time until the dough becomes smooth and glossy. It might look a bit unusual at first, but trust the process—it comes together beautifully. Spread the dough evenly into your prepared dish, making sure to reach the corners.
Common Mistakes to Avoid
One of the biggest mistakes is not letting the dough cool before adding eggs, which can ruin the texture. Another is uneven spreading, which leads to inconsistent baking. Taking a few extra moments here makes a noticeable difference in the final result.
Baking Tips for a Fluffy Texture
Once your dough is spread evenly in the baking dish, the real transformation begins in the oven. This stage might seem passive—just waiting for the crust to bake—but it’s actually where the magic of a cream puff cake fully comes to life. As the heat builds, the moisture in the dough turns into steam, causing the mixture to rise and form those signature airy pockets. That’s exactly what you want, so resist the urge to open the oven door too early. Even a quick peek can release heat and disrupt the rising process, leaving you with a flatter, denser crust.
Bake the crust for about 30 minutes, or until it turns a rich golden brown. You’ll notice it puffing up unevenly in places, which is completely normal. In fact, those dips and ridges are perfect for holding the creamy filling later on. Think of it like a natural landscape designed to cradle every bit of flavor. If the top looks too pale, give it a few extra minutes—but keep a close eye to avoid overbaking, which can make the crust too dry.
Once baked, let it cool completely in the pan. This step is crucial, even if you’re tempted to move forward quickly. A warm crust can melt the filling and ruin the layered effect you’re aiming for. Cooling allows the structure to set and the texture to stabilize, giving you a sturdy yet tender base. Patience here pays off in a big way, turning a simple bake into a perfectly balanced dessert that feels both light and satisfying.
Making the Creamy Filling
Now comes the part that truly defines this dessert—the filling. It’s smooth, rich, and just the right amount of sweet, creating a contrast that complements the airy crust beautifully. Start by beating the softened cream cheese in a large bowl until it’s completely smooth. This step sets the tone for the entire filling, so don’t rush it. Any lumps left behind will carry through the mixture, and that’s not the texture you’re going for.
Next, add the instant vanilla pudding mix along with the cold milk. As you mix, you’ll see the consistency begin to thicken almost immediately. It’s one of those satisfying moments in baking where everything starts to come together quickly. The pudding brings both flavor and structure, creating a base that’s creamy but not overly heavy.
The final step is folding in the whipped heavy cream. This is where the filling transforms from simply thick to light and airy. Use a gentle hand here—folding rather than stirring helps preserve the airiness of the whipped cream. Imagine you’re combining clouds with silk; the goal is to keep that softness intact. The result should be a filling that feels luxurious yet balanced, not dense or overly rich.
Achieving the Perfect Consistency
Consistency is everything when it comes to this filling. Too thick, and it becomes hard to spread; too thin, and it won’t hold its shape. If your mixture feels overly thick, a small splash of milk can loosen it up. If it’s too runny, letting it chill for a few minutes can help it firm up. The ideal texture is smooth, spreadable, and slightly fluffy—something that glides easily over the crust without sinking into it.
Taking the time to get this right makes all the difference. It ensures every bite has that perfect balance of textures, with the filling sitting neatly on top of the crust rather than blending into it.
Assembling the Cake Like a Pro
With both the crust and filling ready, it’s time to bring everything together—and this is where the dessert really starts to look impressive. Start by spreading the filling evenly over the completely cooled crust. Use a spatula to guide it into every corner, making sure you don’t miss any edges. The uneven surface of the crust actually works in your favor here, helping to anchor the filling in place.
Once the filling is spread, it’s time for the finishing touch: the chocolate topping. Whether you’re using syrup or melted chocolate, drizzle it generously across the surface. There’s no need to be overly precise—those natural, slightly messy lines add character and make the dessert feel homemade in the best way possible. If you want a cleaner look, you can use a spoon or piping bag to control the drizzle pattern.
After assembling, refrigerate the cake for at least 2 hours. This chilling time isn’t just about temperature—it allows the layers to set and the flavors to meld together. Cutting into it too soon might result in a softer structure, while proper chilling gives you those clean, satisfying slices.
When you finally serve it, consider adding a light dusting of powdered sugar for a simple yet elegant touch. Each square should hold its shape while still feeling soft and creamy, delivering a dessert that’s both visually appealing and incredibly delicious.
Tips for the Best Cream Puff Cake
Creating a great cream puff cake isn’t just about following the recipe—it’s about understanding the little details that elevate it from good to unforgettable. One of the most important tips is to use room-temperature ingredients, especially for the filling. Cold cream cheese can create lumps, while properly softened cheese blends effortlessly into a silky base.
Another key factor is timing. Allowing the crust to cool completely before adding the filling might test your patience, but it’s essential for maintaining the structure. Rushing this step can lead to a melted, uneven layer that doesn’t hold up well when sliced. On the flip side, giving the assembled cake enough time to chill ensures that every layer sets properly and the flavors deepen.
You’ll also want to pay attention to balance. While it’s tempting to go heavy on the chocolate topping, keeping it moderate ensures it complements rather than overpowers the filling. Think of each component as part of a team—the crust provides texture, the filling adds richness, and the topping ties everything together.
Small adjustments can also make a big difference. For instance, adding a pinch of salt to the crust can enhance the overall flavor, while a splash of vanilla extract in the filling can deepen its sweetness. These subtle tweaks don’t complicate the recipe but add layers of flavor that make it feel more refined.
Storage and Shelf Life
One of the best things about this easy cream puff cake recipe is how well it stores, making it a practical choice for both planned events and spontaneous cravings. Once assembled, the cake should be kept in the refrigerator, covered tightly with plastic wrap or stored in an airtight container. This prevents it from absorbing other odors and helps maintain its fresh taste.
Typically, the cake stays fresh for about 3 to 4 days, though it’s often at its best within the first two days. During this time, the flavors continue to meld, and the texture remains perfectly balanced between soft and structured. After a few days, the crust may start to soften further, but it still remains delicious.
Freezing is possible, but it’s not always ideal due to the creamy filling. The texture can change slightly after thawing, becoming less smooth. If you do decide to freeze it, wrap individual portions tightly and thaw them in the refrigerator rather than at room temperature.
Proper storage not only preserves the cake but also gives you the flexibility to prepare it ahead of time. Whether you’re planning for a gathering or just want a ready-to-enjoy dessert in your fridge, this recipe fits seamlessly into your routine.
Nutritional Information
Understanding what goes into your dessert can help you enjoy it more mindfully, and cream puff cake is no exception. While it’s definitely an indulgent treat, it’s helpful to have a general idea of its nutritional profile. A typical serving contains a balance of carbohydrates, fats, and sugars, primarily from the crust and creamy filling.
Here’s a simplified breakdown per serving (approximate values):
| Nutrient | Amount |
|---|---|
| Calories | 320–380 |
| Carbohydrates | 30–35g |
| Fat | 20–25g |
| Protein | 5–7g |
| Sugar | 18–22g |
These numbers can vary depending on the exact ingredients and portion sizes, especially if you adjust the toppings or use alternative products. While it’s not an everyday health food, enjoying it occasionally as part of a balanced diet is perfectly reasonable.
What makes this dessert satisfying is its richness—meaning a smaller portion often feels enough. Instead of overindulging, you can savor each bite and appreciate the combination of textures and flavors that make it special.
Creative Variations to Try
Chocolate Lovers Version
If you’re someone who believes there’s no such thing as too much chocolate, this variation takes the original recipe to a whole new level. Start by adding a bit of cocoa powder to the crust or using chocolate pudding instead of vanilla in the filling. This creates a deeper, more intense flavor that chocolate fans will appreciate.
You can also mix in chocolate chips or chunks into the filling for added texture. When it comes to the topping, go all out with a rich ganache instead of simple syrup. The result is a dessert that feels more decadent and indulgent, perfect for special occasions or whenever you’re craving something extra satisfying.
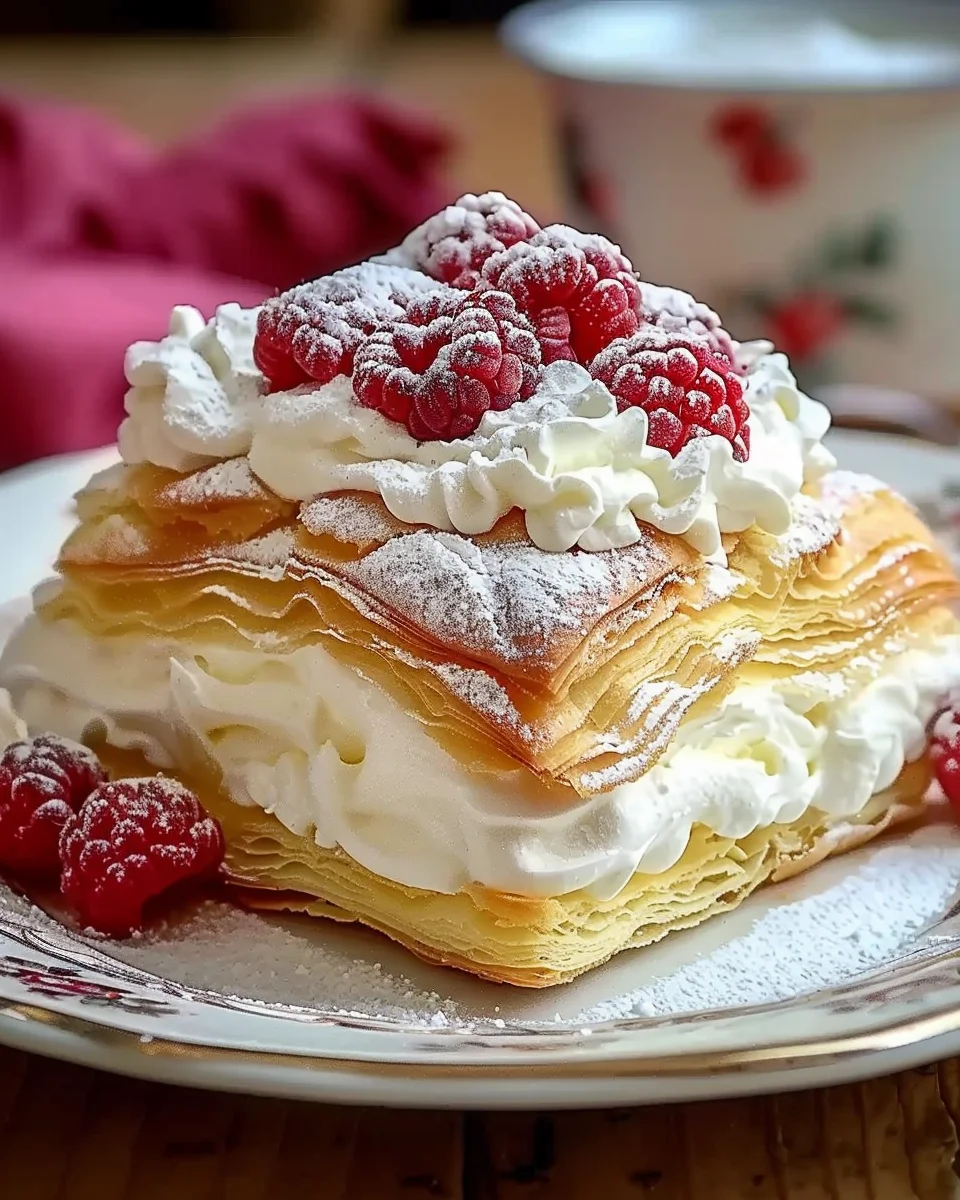
Fruit-Topped Cream Puff Cake
For a lighter, fresher twist, consider adding fruit to your cream puff cake. Berries like strawberries, blueberries, or raspberries work especially well because their natural tartness balances the sweetness of the filling. You can layer them on top or even fold some into the filling for bursts of flavor in every bite.
This version feels more refreshing and is particularly popular during warmer months. It’s also a great way to add color and visual appeal, turning the dessert into a centerpiece that looks as good as it tastes.
Serving Suggestions
Serving this cake is almost as enjoyable as making it. For clean slices, use a sharp knife and wipe it between cuts to maintain neat edges. Chilled cake holds its shape better, so take it out of the fridge just before serving rather than letting it sit at room temperature for too long.
Pairing it with a hot drink like coffee or tea creates a nice contrast, balancing the richness of the dessert with something warm and slightly bitter. If you’re serving it at a gathering, consider presenting it with a variety of toppings on the side so guests can customize their slices.
Presentation doesn’t have to be complicated. Even a simple dusting of powdered sugar or a few fresh berries can make the dessert feel special. It’s one of those recipes that proves you don’t need elaborate techniques to create something memorable.
Conclusion
Cream puff cake brings together simplicity and indulgence in a way that few desserts can. With its airy crust, creamy filling, and rich topping, it offers a balance of textures and flavors that feels both comforting and impressive. Whether you’re making it for a special occasion or just to satisfy a sweet craving, it’s a recipe that delivers consistent, delicious results without unnecessary complexity.
FAQs
1. Can I make cream puff cake ahead of time?
Yes, and it’s actually recommended. Preparing it a few hours in advance—or even the day before—allows the flavors to meld and the layers to set properly.
2. Why did my crust not puff up?
This usually happens if the oven temperature is too low or the dough wasn’t prepared correctly. Ensuring proper heat and mixing is key.
3. Can I use homemade pudding instead of instant?
You can, but it may change the texture slightly. Instant pudding provides a more stable and consistent result.
4. How do I keep the filling from becoming runny?
Make sure to use cold milk and allow the pudding mixture to thicken fully before folding in the whipped cream.
5. Can I make a gluten-free version?
Yes, by substituting the flour with a gluten-free blend designed for baking, though the texture may vary slightly.
Print
Easy Cream Puff Cake Recipe
Ingredients
Crust:
½ cup unsalted butter
1 cup water
1 cup all-purpose flour
4 large eggs
Cream Filling:
8 oz cream cheese (softened)
2 small boxes instant vanilla pudding mix (3.4 oz each)
3 cups cold milk
1 cup heavy whipping cream (whipped)
Topping:
1 cup chocolate syrup or melted chocolate
Optional: powdered sugar for garnish
Instructions
Prepare the crust: Preheat the oven to 400°F, grease a 9×13-inch dish, and boil butter and water in a saucepan. Stir in flour and mix until dough forms. Let it cool before adding eggs.
Bake the crust: Spread dough in the dish and bake for 30 minutes until golden and puffed. Cool completely.
Make the filling: Beat cream cheese until smooth, mix in pudding mix and milk, and fold in whipped cream.
Assemble the cake: Spread the cream filling over the crust, drizzle with chocolate, and refrigerate for 2 hours.
Serve: Slice into squares and garnish with powdered sugar if desired.
Enjoyed this recipe?
Discover more delicious recipes, save your favorites, and plan your meals with the Cooking Layer app.
Free to download • Fast and easy to use


