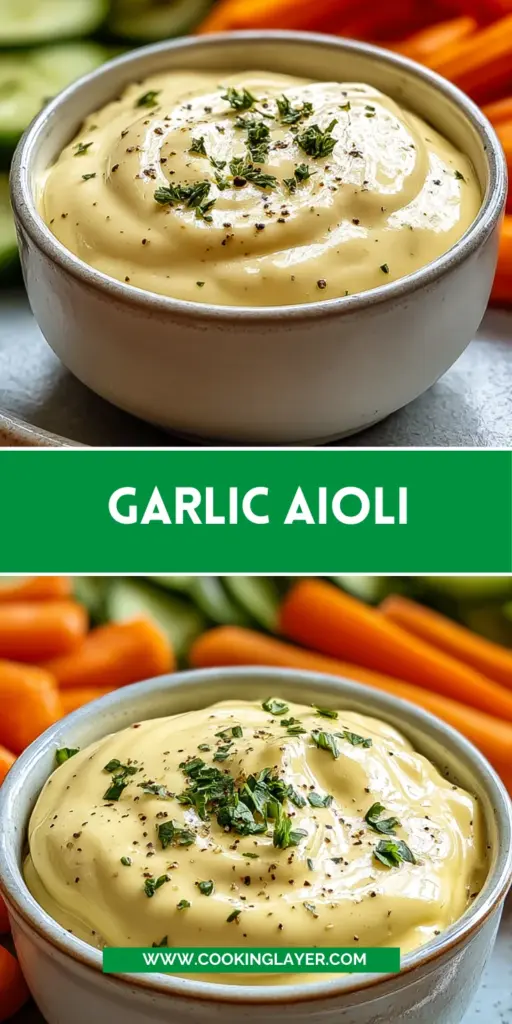
Introduction to Garlic Aioli
Let’s face it—busy days can leave little room for creativity in the kitchen, and that’s where Garlic Aioli comes to the rescue! This luscious sauce isn’t just a condiment; it’s a quick solution that can elevate any simple dish into something special.
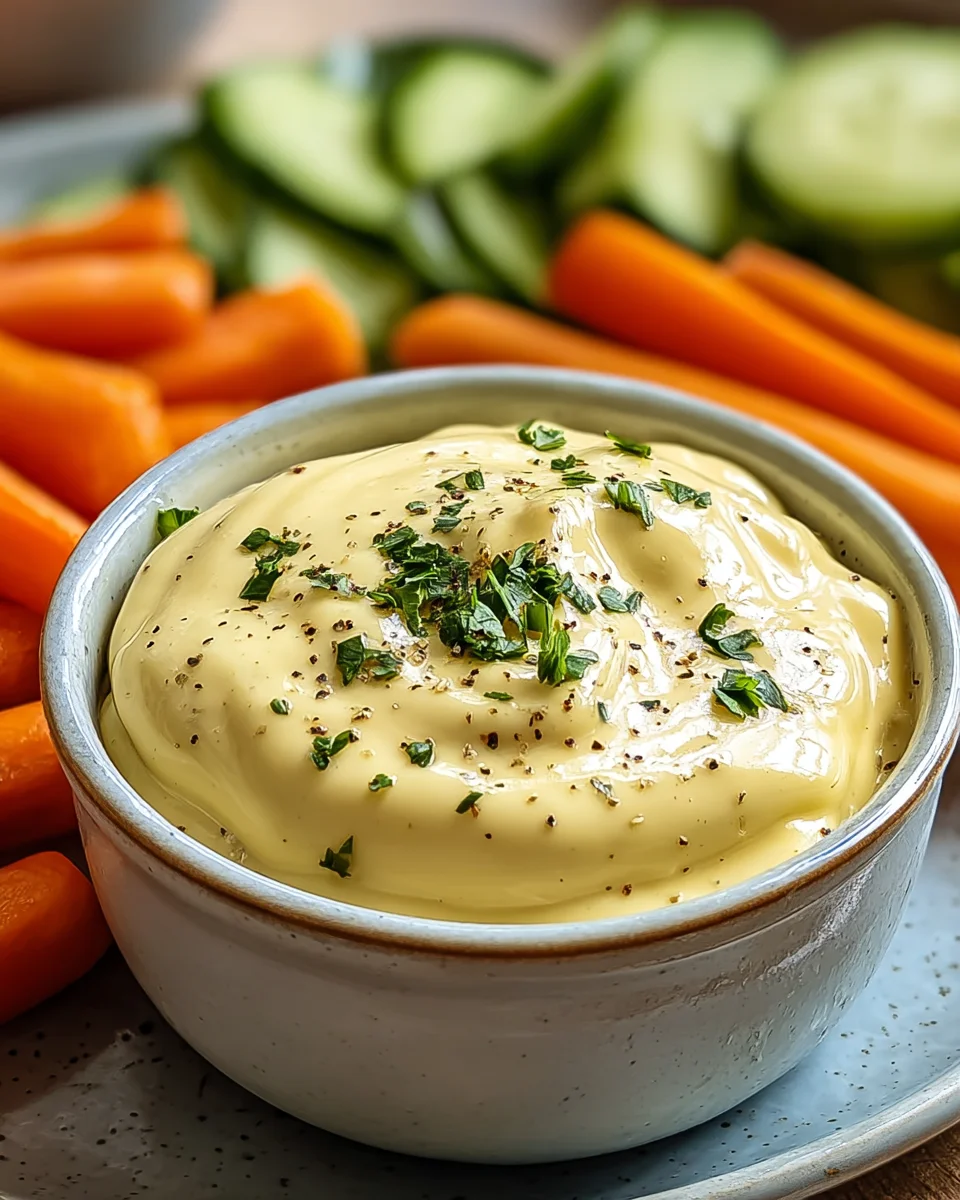
Imagine slathering it on a chicken sandwich or pairing it with crispy vegetables. It takes just a few minutes to whip up, making it perfect for those evenings when I want to impress my loved ones without a lot of fuss. Trust me, once you taste this creamy, garlicky delight, you’ll wonder how you ever lived without it!
Why You’ll Love This Garlic Aioli
Garlic Aioli is the perfect marriage of simplicity and flavor. It comes together in just 10 minutes, requiring minimal fuss for maximum taste. This creamy dip isn’t just a flavor boost; it’s a game-changer for your meals. Whether you’re looking to dress up a weeknight dinner or add some pizzazz to a lunch spread, Garlic Aioli delivers every time. You’ll love how it satisfies everyone’s taste buds without breaking a sweat!
Ingredients for Garlic Aioli
Gathering the right ingredients is the first step in creating a delightful Garlic Aioli. Here’s what you’ll need:
- Mayonnaise: The creamy base that gives the aioli its luscious texture. Consider using homemade mayonnaise for a fresher taste.
- Fresh Garlic: This ingredient packs in the flavor! You can adjust the number of cloves depending on your garlic love. More garlic means more zing!
- Lemon Juice: A splash of acidity that brightens up the aioli. Use fresh lemon juice for the best flavor.
- Olive Oil: A drizzle of extra virgin olive oil lends a rich, smooth finish. You might even try flavored olive oils for a twist!
- Salt: Essential for enhancing the flavors. Start with a pinch, then tweak to your taste.
- Black Pepper: A dash adds warmth. Freshly cracked is always best for a robust flavor.
- Fresh Herbs (optional): If you’re feeling adventurous, fold in some finely chopped fresh herbs like basil or parsley for an aromatic touch.
For exact measurements of each ingredient, feel free to scroll to the end of this article where you can find a printable version of the Garlic Aioli recipe.
How to Make Garlic Aioli
Now that you have all your ingredients ready, let’s dive into making that heavenly Garlic Aioli! Follow these simple steps, and I promise you’ll feel like a kitchen pro in no time.
Prepare the Garlic
First, grab those fresh garlic cloves. Peel off the skin and chop off the ends. Use a knife to finely mince the garlic or press it through a garlic press.
This step is crucial! Finely minced garlic releases its oils and flavor, intensifying your aioli’s taste. If you want an even milder flavor, let the minced garlic sit for a few minutes before using it in the recipe. Your house will smell amazing!
Combine Ingredients
Next, take a small mixing bowl and combine one cup of mayonnaise with the minced garlic. Add in 1-2 tablespoons of lemon juice along with a pinch of salt and black pepper.
Mix it well, and don’t be shy about getting in there with a good whisk! The goal is to blend the flavors together before moving on to the next step.
Emulsify the Mixture
Here’s where the magic happens. While whisking that creamy mixture, slowly drizzle in 1/4 cup of extra virgin olive oil.
This technique helps emulsify the oil into the mixture, resulting in a silky and creamy texture. Just keep whisking until you notice it becoming beautifully smooth and rich. Look at you, mastering that technique!
Adjust Seasonings
Time for a taste test! Sample a tiny spoonful of the aioli. This is your chance to add more salt, pepper, or lemon juice if needed.
Remember, you want the flavors to sing! Adjust according to your preferences, and don’t be afraid to experiment a little. Taste is subjective, after all!
Incorporate Fresh Herbs
If you’re feeling fancy, this is when you can fold in some finely chopped fresh herbs. Optional, but oh-so-delicious!
Basil or parsley are wonderful options that can elevate your aioli. Gently mix them into the aioli so the herbs are evenly distributed without losing that creamy texture.
Chill and Serve
Finally, cover your Garlic Aioli and pop it in the refrigerator for at least 30 minutes. Chilling helps the flavors meld together beautifully, perfecting the taste.
It also gives you the chance to clean up a bit while you wait. Just make sure it’s stored in an airtight container to retain all that goodness until it’s time to serve!
Tips for Success
- Always use fresh garlic for the best flavor—it’s worth it!
- If you’re sensitive to garlic’s intensity, consider roasting the cloves first.
- Adjust the lemon juice for a tangier aioli; this can brighten the overall flavor.
- Double the recipe if you’re serving a crowd—you’ll be glad you did!
- Store leftover aioli in the fridge for up to a week, if it lasts that long!
Equipment Needed
- Mixing Bowl: A medium-sized bowl works best, but any bowl will do.
- Whisk: If you don’t have one, a fork can do the trick.
- Knife: For mincing garlic; a garlic press is another good option.
- Airtight Container: Essential for chilling and storing your aioli.
Variations of Garlic Aioli
- Spicy Garlic Aioli: Add a pinch of cayenne pepper or a few dashes of hot sauce for a kick. Perfect for those who like a little heat!
- Roasted Garlic Aioli: Swap fresh garlic for roasted garlic cloves for a milder, sweeter flavor. Just mash the roasted cloves before mixing them in.
- Herbed Garlic Aioli: Incorporate a mix of fresh herbs like dill or cilantro for a vibrant twist. Feel free to experiment!
- Lemon-Herb Aioli: Increase the lemon juice and add zest to amplify both the tang and aroma, making it refreshing for summer dishes.
- Vegan Garlic Aioli: Substitute mayonnaise with a plant-based version or blend silken tofu with garlic and lemon for a creamy alternative!
Serving Suggestions for Garlic Aioli
- Serve with crispy French fries or sweet potato fries for a tasty dunk.
- Spread on sandwiches or wraps for an extra layer of flavor.
- Pair with grilled seafood like shrimp or salmon for a lovely complement.
- Offer as a dip alongside fresh vegetable sticks for a healthy snack.
- Drizzle over roasted vegetables to elevate their taste.
FAQs about Garlic Aioli
What can I serve Garlic Aioli with?
Garlic Aioli is incredibly versatile! You can serve it with fries, sandwiches, grilled seafood, or even fresh veggies. Its creamy texture complements so many dishes!
Can I make Garlic Aioli in advance?
Absolutely! Garlic Aioli can be made a day ahead. Just store it in an airtight container in the refrigerator to let the flavors develop. It actually tastes better after chilling!
How long does Garlic Aioli last in the fridge?
When stored properly in an airtight container, Garlic Aioli lasts up to a week in the refrigerator. Just remember to give it a stir before serving!
Can I adjust the garlic level in the aioli?
Of course! If you’re sensitive to garlic, feel free to use fewer cloves or even opt for roasted garlic for a milder flavor. It’s all about what suits your taste!
Is Garlic Aioli suitable for a vegan diet?
Yes! You can easily make Garlic Aioli vegan by using plant-based mayonnaise or blending silken tofu with garlic and lemon juice. Delicious and suitable for everyone!
Final Thoughts
Making Garlic Aioli has truly been a joyful culinary adventure for me. It’s not just a recipe; it’s a gateway to creativity in the kitchen that fits seamlessly into a busy lifestyle. This creamy sauce adds a punch of flavor that transforms ordinary meals into memorable experiences. Whether I’m dressing up a sandwich or dipping crisp veggies, Garlic Aioli never fails to impress. It symbolizes the little moments where cooking meets joy, and I can’t wait for you to share in that happiness. Give it a try, and let your taste buds revel in the magic!
Print
Garlic Aioli: Unlock Your Kitchen’s Secret Flavor Boost!
- Prep Time: 10 minutes
- Cook Time: 0 minutes
- Total Time: 40 minutes (including chilling time)
- Yield: Approximately 1 cup 1x
- Category: Sauce
- Method: Mixing
- Cuisine: Mediterranean
- Diet: Vegetarian
Description
Garlic Aioli is a creamy, flavorful sauce made with mayonnaise and fresh garlic, perfect for enhancing a variety of dishes.
Ingredients
- 1 cup Mayonnaise
- 2–3 cloves Fresh Garlic
- 1–2 tablespoons Lemon Juice
- 1/4 cup Olive Oil
- to taste Salt
- to taste Black Pepper
- Fresh Herbs (optional)
Instructions
- Peel 2-3 cloves of fresh garlic and finely mince them using a knife or garlic press.
- In a small mixing bowl, combine 1 cup of mayonnaise, minced garlic, 1-2 tablespoons of lemon juice, and a pinch of salt and black pepper.
- While whisking, slowly drizzle in 1/4 cup of extra virgin olive oil until the mixture is emulsified and creamy.
- Taste the Garlic Aioli and adjust the seasoning with more salt, pepper, or lemon juice as needed.
- If desired, enhance the aioli with finely chopped fresh herbs, folding them gently into the mix.
- Transfer the aioli to an airtight container and chill in the refrigerator for at least 30 minutes before serving.
Notes
- Opt for homemade mayonnaise for improved flavor and freshness.
- Adjust garlic and lemon juice based on your taste preference.
- This sauce pairs well with seafood, sandwiches, and vegetables.
Nutrition
- Serving Size: 2 tablespoons
- Calories: 100
- Sugar: 0g
- Sodium: 120mg
- Fat: 10g
- Saturated Fat: 1.5g
- Unsaturated Fat: 7g
- Trans Fat: 0g
- Carbohydrates: 1g
- Fiber: 0g
- Protein: 0g
- Cholesterol: 5mg


