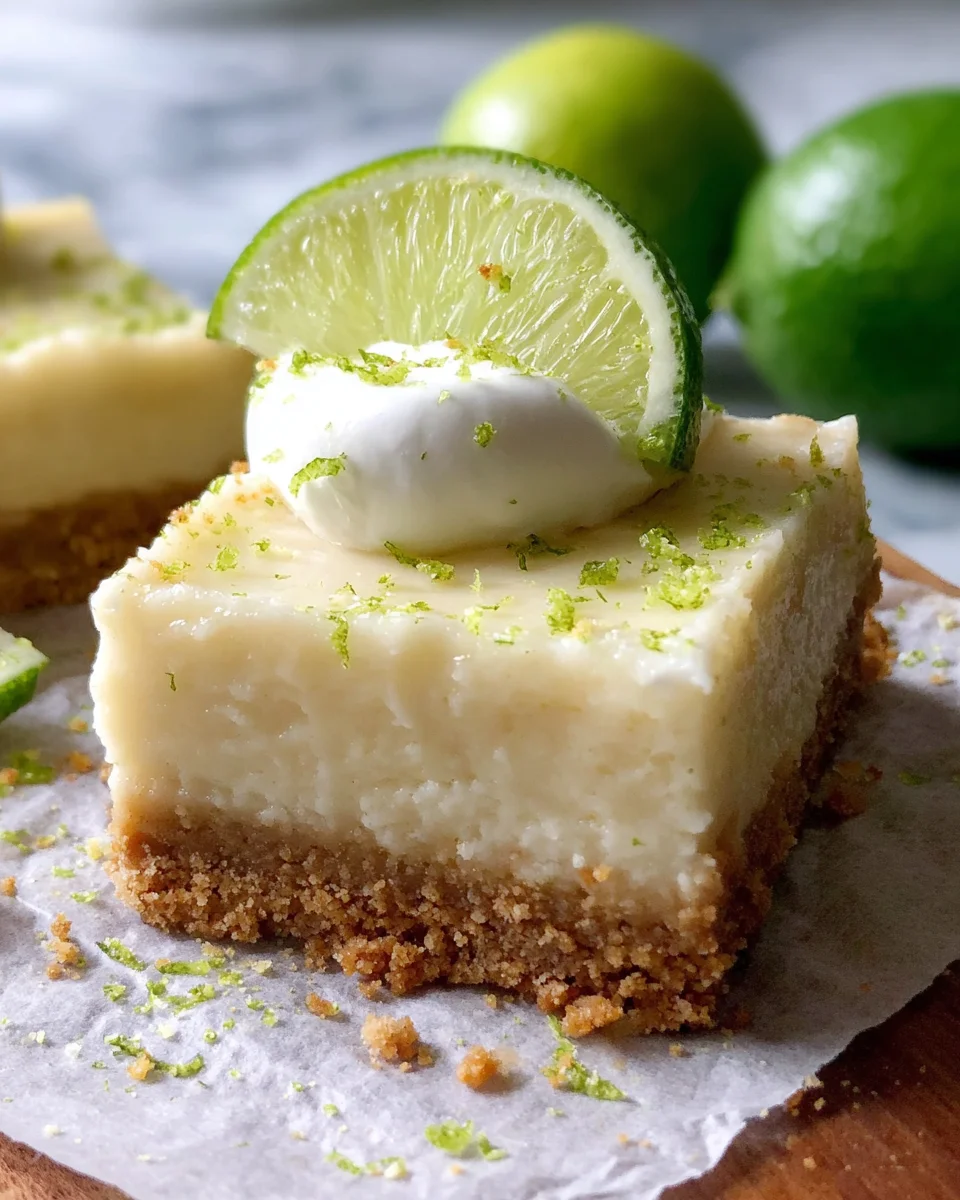
Introduction to Key Lime Pie Bars
Is there anything more delightful than a slice of Key Lime Pie Bars on a sunny afternoon? I don’t think so! These bars are the perfect treat when you’re juggling a busy schedule but still want to impress your loved ones. With their creamy filling and zesty lime flavor, they offer a refreshing escape from the everyday hustle. They’re easy to whip up, making them a quick solution for your dessert needs. Trust me, once you try these Key Lime Pie Bars, they’ll become a staple in your dessert repertoire!
Why You’ll Love This Key Lime Pie Bars
These Key Lime Pie Bars are a dream come true for any busy mom or professional. They’re incredibly easy to prepare, taking just 15 minutes of your time. Plus, the flavor is a burst of sunshine that can brighten even the longest day. They’re light, refreshing, and serve as the perfect sweet ending to a family meal or a casual gathering. You won’t just love making them; you’ll love sharing them too!
Save this recipe and cook smarter
Keep your favorite Cooking Layer recipes in one place, plan your weekly meals, and quickly find dinner ideas whenever you need them.
Free to download • Fast and easy to use
Ingredients for Key Lime Pie Bars
Creating delicious Key Lime Pie Bars starts with gathering some key ingredients. Here’s what you’ll need:
- Graham cracker crumbs: This is the foundation of your crust, offering that classic sweet crunch we all love.
- Sugar: Just a touch of sweetness to balance the tangy lime flavor. You could use coconut sugar for a slight twist!
- Unsalted butter: Melted butter helps to bind the crust together, contributing to its rich texture. You can substitute it with coconut oil for a dairy-free option.
- Fat-free cream cheese: This brings creaminess to your filling without the heaviness. For a vegan version, opt for a dairy-free cream cheese instead.
- Fat-free sweetened condensed milk: This ingredient is essential for that luscious filling that makes these bars uniquely delightful. If you prefer to avoid processed ingredients, homemade versions can also be delicious!
- Lime juice: Freshly squeezed is best! This brightens up the bars with zesty goodness.
- Lime zest: Packed with essential oils, it amplifies that fresh lime flavor. Don’t skip it!
For exact measurements, scroll down to the bottom of the article where the details are laid out clearly—ready for you to print and use.
How to Make Key Lime Pie Bars
Step 1: Preheat the Oven
First things first, preheating your oven to 350°F is crucial. This step ensures that your Key Lime Pie Bars bake evenly and develop that perfect texture. While the oven heats up, line a 9×9 baking pan with parchment paper. This helps with easy removal later on, which is a lifesaver! Your delicious bars will slide right out when they’ve cooled, making serving a breeze.
Step 2: Prepare the Crust
Now, let’s get started on that scrumptious graham cracker crust! In a medium-sized bowl, combine the graham cracker crumbs, melted unsalted butter, and sugar. Mix them together until it resembles wet sand. Make sure all the crumbs are well coated in butter for a rich flavor! Press the mixture firmly into the bottom of the prepared baking pan. Use the flat bottom of a measuring cup for an even, compact surface. This will prevent your crust from crumbling and create a sturdy base for your key lime filling. Bake the crust for 10 minutes, then let it cool completely before adding the filling.
Step 3: Mix the Filling
Once your crust is cooled, it’s time to whip up that creamy filling! In a medium bowl, add the softened fat-free cream cheese. Beat it using a hand mixer until it’s smooth and creamy, almost like a cloud! Now, slowly pour in the sweetened condensed milk, lime juice, and lime zest. Mix until everything is well incorporated and no lumps are left. The aroma of fresh lime will already be tantalizing! This creamy mixture is what will make your Key Lime Pie Bars so heavenly. Pour it evenly over the cooled crust, smoothing the top with a spatula.
Step 4: Bake and Chill
It’s time for the final bake! Place your assembled bars back in the oven and bake for an additional 10 minutes. You want them just set, so be careful not to overbake. Once done, remove them from the oven and allow them to cool completely at room temperature. This is a key moment—if you rush this step, the texture may not be as dreamy. After they’ve cooled, pop them in the fridge for at least 2 hours. This chilling time allows the flavors to meld beautifully, creating bars that are both refreshing and decadent!
Tips for Success
- Make sure your cream cheese is softened to avoid lumps in the filling.
- For a gluten-free option, use gluten-free graham cracker crumbs.
- Allow the bars to cool completely before chilling for a smooth texture.
- Use fresh limes for juice and zest; the flavor difference is worth it!
- Cut the bars after chilling for cleaner edges and easy serving.
Equipment Needed
- Baking pan (9×9 inches): A metal or glass pan works best; both yield great results.
- Mixing bowls: One medium bowl is perfect for both the crust and the filling. If you’re short on time, a large bowl could work for everything.
- Hand mixer: A whisk can do the job too, but it’ll require a bit more elbow grease!
- Parchment paper: For easy cleanup and to ensure your bars release without a hitch.
Variations for Key Lime Pie Bars
- Mango Key Lime Bars: Swap half of the lime juice for mango puree for a tropical twist that will transport you to the beach.
- Coconut-Key Lime Bars: Add shredded coconut to the crust for an extra depth of flavor, or use coconut cream in place of some cream cheese for a creamier texture.
- Vegan Key Lime Bars: Use non-dairy cream cheese and coconut milk instead of sweetened condensed milk to accommodate a vegan diet.
- Chocolate Drizzle: After chilling, drizzle melted dark chocolate on top for a decadent finish that beautifully complements the tartness of the key lime.
- Berry Blend: Top your bars with fresh berries like strawberries or raspberries for a pop of color and additional sweetness.
Serving Suggestions for Key Lime Pie Bars
- Pair your Key Lime Pie Bars with a scoop of vanilla ice cream for a delightful contrast.
- Serve with fresh mint leaves on top for an elegant presentation and refreshing aroma.
- A dollop of whipped cream adds indulgence; sprinkle some lime zest for flair.
- Enjoy with a glass of sweet tea or a refreshing lemonade to complement the tartness.
- For an extra special touch, serve them chilled with a side of fresh fruit salad.
FAQs about Key Lime Pie Bars
Got questions about these delicious Key Lime Pie Bars? I’ve got you covered! Here are some common queries you might have:
- Can I use bottled lime juice instead of fresh? While bottled lime juice is convenient, nothing compares to the vibrant flavor of fresh limes. Trust me, the taste will be worth it!
- How do I store leftover Key Lime Pie Bars? If you have any left, store them in an airtight container in the refrigerator. They’ll stay fresh for about a week, though I doubt they’ll last that long!
- Can I freeze Key Lime Pie Bars? Absolutely! Just make sure to wrap them tightly in plastic wrap and then in foil before freezing. They’ll keep well for up to three months. Thaw them in the fridge before serving.
- What can I substitute for fat-free cream cheese? You can use regular cream cheese or a dairy-free alternative if you prefer. Just know that this may change the texture slightly.
- Can I double the recipe? Yes! If you’ve got a crowd to impress, simply double the ingredients and use a larger baking pan. Just remember the bake time might vary slightly, so keep an eye on them!
Final Thoughts
Making Key Lime Pie Bars is not just about creating a dessert; it’s about crafting moments of joy. These bars capture the essence of sunny days and happy gatherings, bringing a sweet smile to the faces of those you love. As a busy mom, there’s something very satisfying about presenting a dish that’s both elegant and effortless. Whether it’s a family dinner or a potluck, these bars are sure to impress. So go ahead, indulge in this refreshing delight. Trust me, when life hands you limes, turn them into the most delightful Key Lime Pie Bars!
Enjoyed this recipe?
Discover more delicious recipes, save your favorites, and plan your meals with the Cooking Layer app.
Free to download • Fast and easy to use
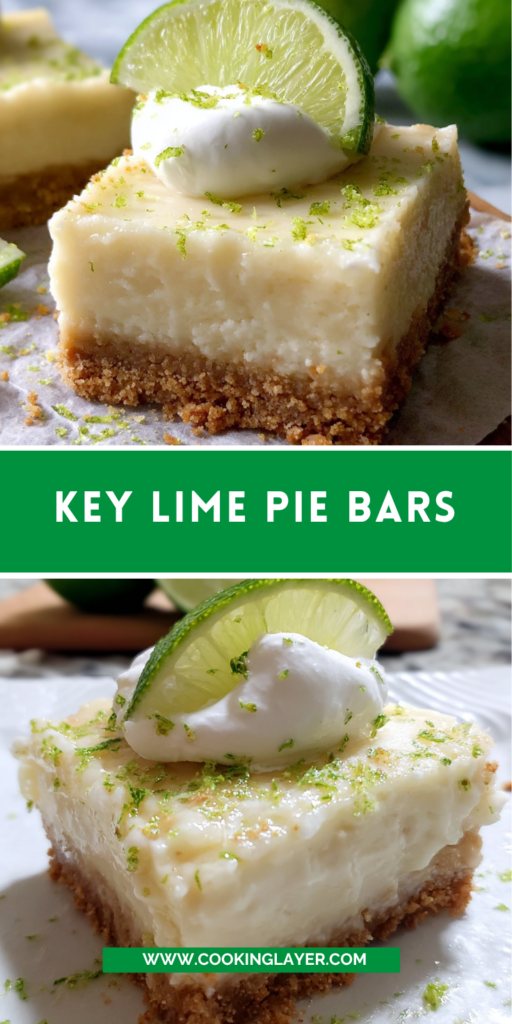
Key Lime Pie Bars
- Prep Time: 15 minutes
- Cook Time: 10 minutes
- Total Time: 2 hours 25 minutes
- Yield: 9 bars 1x
- Category: Dessert
- Method: Baking
- Cuisine: American
- Diet: Vegetarian
Description
Delicious Key Lime Pie Bars that are refreshing and easy to make, perfect for any dessert occasion.
Ingredients
- 1 1/2 cups graham cracker crumbs
- 1/3 cup sugar
- 6 Tbsp. unsalted butter, melted
- 4 oz. fat free cream cheese, softened
- 2 (14 oz.) fat free cans sweetened condensed milk
- 3/4 cup lime juice
- Zest of 2 limes
Instructions
- Preheat oven to 350F and line a 9×9 baking pan with parchment paper.
- In a medium size bowl combine graham cracker crumbs, melted butter, and sugar.
- Press into prepared baking sheet and place in the oven for 10 minutes. Remove from the oven and cool.
- Add softened cream cheese to a medium size mixing bowl and beat with a hand mixer until creamy.
- Add sweetened condensed milk, lime juice, and lime zest. Mix well with a hand mixer until fully combined.
- Pour key lime filling over cooled graham cracker crust and bake at 350F for 10 minutes.
- Remove from the oven and allow to cool completely.
- Chill in the fridge for up to 2 hours before serving. Top with whipped topping and grated lime zest if desired.
Notes
- Make sure to fully cool the bars before chilling for optimal texture.
- Serve with additional lime zest or whipped cream for an extra touch.
Nutrition
- Serving Size: 1 bar
- Calories: 150
- Sugar: 12g
- Sodium: 150mg
- Fat: 7g
- Saturated Fat: 4g
- Unsaturated Fat: 2g
- Trans Fat: 0g
- Carbohydrates: 22g
- Fiber: 1g
- Protein: 2g
- Cholesterol: 15mg