If you’ve ever wished there were a snack that sat somewhere between a cheese cracker, a crispy chip, and a savory cookie, this is it. These Rice Krispie Cheddar Crackers are light but deeply flavorful, ultra-crispy without being greasy, and so addictive that “just one more” quickly turns into an empty jar. They’re the kind of snack you casually make once and then somehow can’t live without afterward.
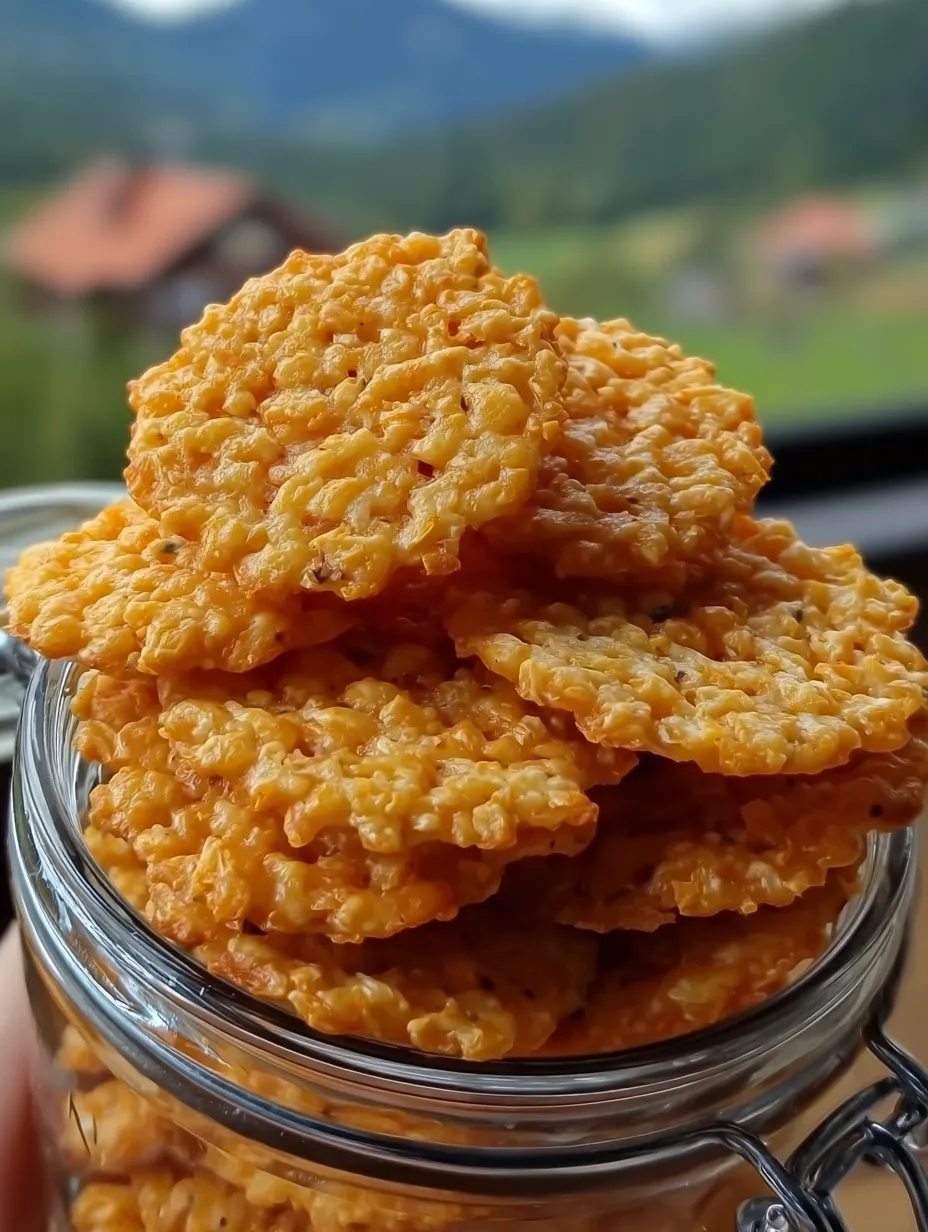
The image you shared says it all: thin, golden, irregular little rounds, stacked inside a glass jar, looking rustic, crunchy, and completely snack-worthy. These aren’t puffy cereal treats or thick baked bites. They’re flattened very thin, baked low and slow, and cooled until they turn into crisp, crackly cheese crackers that snap when you bite them. Think homemade artisan crackers—but easier, cheaper, and way more fun.
This article will walk you through everything:
- Why this recipe works
- How to get that exact ultra-crispy texture shown in the photo
- Ingredient tips and smart adjustments
- Step-by-step instructions (with visuals in mind)
- Storage, variations, serving ideas, and common mistakes
Let’s turn a simple box of Rice Krispies and some cheddar into something unforgettable.
Why Rice Krispies Make the Perfect Cracker Base
At first glance, Rice Krispies might not scream “cracker material,” but they are actually the secret weapon here. Their light, airy structure does something magical in the oven when combined with fat and cheese.
Rice Krispies are:
- Naturally dry and crisp, which helps them bake into something crunchy instead of cakey
- Neutral in flavor, letting sharp cheddar and spices shine
- Easy to flatten, creating thin, lacy crackers instead of dense clumps
When coated lightly in oil and butter, each rice grain toasts individually. The grated cheddar melts, flows around the cereal, and then sets into a crisp cheese matrix as it cools. The result? Crackers that feel light but taste rich, with a texture that’s closer to bakery crackers than cereal snacks.
This is exactly why the final product in the image looks delicate, golden, and evenly crisp, not chunky or sticky.
What Makes These Crackers “Ultra-Crispy”
Crispness isn’t an accident—it’s engineered. Every step in this recipe is designed to remove moisture and encourage browning without burning.
Here’s what creates that ultra-crispy, jar-snack texture:
- Very finely grated cheese
Thick shreds don’t melt evenly. Finely grated cheddar melts fast and binds the cereal into a thin layer. - A mix of oil and butter
Oil keeps things evenly coated and crisp. Butter adds flavor and helps browning. - Flattening the crackers VERY thin
This is crucial. Thick mounds stay chewy inside. Thin layers dry out completely and snap. - Low oven temperature (325°F / 165°C)
Too hot and the cheese burns before the crackers dry. Low and slow = deep golden crunch. - Cooling on the pan
They finish crisping as they cool. Touching them too early can make them seem soft when they’re not done yet.
If you follow these principles, your crackers will look just like the photo: golden, dry, and beautifully crisp, perfect for stacking in a jar.
Ingredients Breakdown (And Why Each One Matters)
Let’s take a closer look at the ingredient list and how each part contributes to the final result.
🛒 INGREDIENTS
- 4 cups Rice Krispies cereal
The structural base. Measure loosely, not packed. - 1½ cups extra-sharp cheddar, very finely grated
Extra-sharp is important. The flavor concentrates as the crackers bake. Mild cheese will taste bland. - ⅓ cup neutral oil (canola or vegetable)
Ensures even coating and consistent crispness. - 2 tablespoons melted butter
Adds richness and helps with browning. - ¾ teaspoon garlic powder
Savory backbone without overpowering. - ½ teaspoon smoked paprika (or regular paprika)
Adds color and subtle warmth. Smoked paprika gives a deeper, snack-bar vibe. - ½ teaspoon salt
Balances the richness of cheese and fat. - ¼ teaspoon black pepper
Just enough bite to keep things interesting. - Optional: pinch cayenne or chili flakes
For gentle heat. Totally optional but highly recommended if you like a kick.
Each ingredient works in harmony. Nothing is extra, and nothing is missing if you want that exact look and texture shown in the image.
Step-by-Step Instructions (With Texture in Mind)
👩🍳 INSTRUCTIONS
1️⃣ Preheat the Oven
Set your oven to 325°F (165°C).
Line two baking sheets with parchment paper. Parchment is essential here—it prevents sticking and allows the crackers to release cleanly once crisp.
Avoid greasing the pan. Extra grease can cause spreading and uneven browning.
2️⃣ Mix the Dry Ingredients
In a large bowl, combine:
- Rice Krispies
- Finely grated cheddar
- Garlic powder
- Paprika
- Salt
- Black pepper
- Optional cayenne or chili flakes
Use your hands or a large spoon to gently toss everything together. The goal is even distribution, so every cracker gets cheese and seasoning.
At this stage, the mixture should look dry but speckled evenly with cheese.
3️⃣ Add the Fats
Drizzle in:
- The neutral oil
- The melted butter
Toss gently but thoroughly. Every cereal piece should look lightly glossy, not soaked. If you squeeze a handful, it should hold together loosely without dripping oil.
This step is key to the golden color and even crispness seen in the photo.
4️⃣ Form and Flatten the Crackers
Scoop small spoonfuls onto the prepared baking sheets, leaving space between each.
Now comes the most important step:
Flatten them VERY thin using the back of a spoon.
You’re not making mounds—you’re making thin, uneven discs, almost lace-like at the edges. The thinner they are, the crispier they’ll be.
If they look too thick, flatten again. This single step determines whether your crackers are crunchy or chewy.
5️⃣ Bake Low & Slow
Place the trays in the oven and bake for 22–28 minutes, rotating the pans halfway through.
You’re looking for:
- Deep golden color
- Dry surface
- Slightly darker edges
They should look a bit darker than you think is safe—but not brown or burnt. Remember, pale crackers will soften instead of crisp.
6️⃣ Cool Completely
Remove the trays from the oven and do not touch the crackers right away.
Let them cool completely on the pan. As they cool, they firm up and become ultra-crispy.
Once cool, they should lift cleanly off the parchment and snap when broken.
What the Finished Crackers Should Look Like
Your final crackers should closely match the image:
- Thin and flat, not puffy
- Deep golden with visible rice texture
- Slightly irregular shapes (that’s the charm)
- Dry to the touch
- Crisp enough to snap cleanly
Stacked in a glass jar, they look rustic, homemade, and irresistibly snackable.
Storage and Shelf Life
🧊 STORAGE
- Store in a glass jar or airtight container
- Keep at room temperature
- Stays crispy for 5–7 days
If your environment is humid, add a small piece of dry bread or a food-safe silica packet to the jar to absorb moisture.
Avoid plastic bags—they trap humidity and soften the crackers.
Serving Ideas (Because You’ll Want to Show These Off)
These crackers are amazing on their own, but they also shine in other roles:
- Serve with soups instead of croutons
- Add to a cheese board for extra crunch
- Pair with hummus or soft spreads
- Pack in lunchboxes as a savory treat
- Serve with cold drinks as a bar snack
They feel fancy but are secretly simple—which makes them perfect for both casual snacking and entertaining.
Common Mistakes and How to Avoid Them
- Crackers not crispy?
They were probably too thick or underbaked. - Cheese burned?
Oven too hot or cheese grated too coarsely. - Greasy texture?
Too much oil or butter. Measure carefully. - Soft after storage?
Container wasn’t airtight or crackers weren’t fully cooled before storing.
Fixing these small things makes a huge difference.
Print
Rice Krispie Cheddar Crackers
- Prep Time: 10 minutes
- Cook Time: 25 minutes
- Total Time: 35 minutes
- Category: Savory Snacks / Homemade Crackers
Description
🧀✨ Thin, ultra-crispy, and dangerously addictive! These golden Rice Krispie cheddar crackers bake up crunchy and snack-worthy, with bold cheesy flavor and a perfectly crisp bite — just like the photo. Ideal for jars, boards, or straight-from-the-pan munching
Ingredients
4 cups Rice Krispies cereal 🥣
1½ cups extra-sharp cheddar cheese, very finely grated 🧀
⅓ cup neutral oil (canola or vegetable)
2 tablespoons melted butter 🧈
¾ teaspoon garlic powder
½ teaspoon smoked paprika (or regular paprika)
½ teaspoon salt 🧂
¼ teaspoon black pepper
Optional: pinch cayenne or chili flakes 🌶️
Instructions
Preheat oven to 325°F (165°C) 🔥
Line two baking sheets with parchment paper (5 minutes).Mix dry ingredients 🥣
In a large bowl, combine Rice Krispies, cheddar, garlic powder, paprika, salt, and pepper until evenly mixed (3 minutes).Add fats 🧈
Drizzle in oil and melted butter, tossing gently until every piece is lightly coated and glossy (2 minutes).Form crackers 🍘
Scoop small spoonfuls onto prepared sheets and flatten very thin with the back of a spoon for maximum crunch (5 minutes).Bake low & slow 🔥
Bake for 22–28 minutes, rotating pans halfway, until deeply golden, dry to the touch, and crisp around the edges (25 minutes).Cool completely ❄️
Let crackers cool on the pan so they crisp fully as they cool (10 minutes).
Notes
Thinly flattened crackers are key for that ultra-crispy, golden texture.
Extra-sharp cheddar gives the boldest flavor and best color.
These crackers crisp up even more as they cool, so don’t worry if they feel slightly soft right out of the oven.
Store in a glass jar or airtight container to keep them crunchy for up to a week.
Nutrition
- Serving Size: About 40 crackers
- Calories: 85 kcal
Easy Variations (Without Losing the Crunch)
Once you master the base recipe, you can experiment:
- Swap cheddar for parmesan (even crispier)
- Add dried herbs like rosemary or thyme
- Use smoked cheddar for deeper flavor
- Sprinkle sesame seeds before baking
Just keep the flatten-thin, bake-slow rule, and you’ll always get great results.
You may like also :
Peanut Butter Rice Krispie Balls – Your New Favorite No-Bake Treat
🍌 Banana Pudding Rice Krispie Treats Recipe: Sweet, Creamy, Crunchy Bliss!
Recipe Details at a Glance
📊 DETAILS
- Prep: 10 minutes
- Bake: 25 minutes
- Total: ~35 minutes
- Yield: ~40 thin crackers
Conclusion: A Snack Worth Making Again and Again
These Rice Krispie Cheddar Crackers are proof that great snacks don’t need complicated techniques or expensive ingredients. With a box of cereal, good cheese, and a little patience in the oven, you get something that looks artisanal, tastes addictive, and stays crispy for days.
They match the image perfectly: thin, golden, crunchy, and jar-snack worthy. Once you make them, you’ll start keeping a jar on the counter “just in case”—and somehow it’ll always be empty.
Similar recipes :
Peanut Butter Rice Krispie Treats with M&M’s and Chocolate Chips
Praline Crunch Delight 🍬 The Sweet, Crunchy Treat You’ll Never Forget
FAQs
1. Can I use pre-shredded cheese?
You can, but freshly grated cheese melts better and gives a crisper result.
2. Why do my crackers soften after cooling?
They likely needed a few more minutes in the oven or were stored before fully cooled.
3. Can I make these gluten-free?
Yes—Rice Krispies are gluten-free in some regions. Check the label to be sure.
4. Can I freeze them?
Freezing isn’t recommended. They lose crispness when thawed.
5. Can I double the recipe?
Absolutely. Just bake in batches and avoid overcrowding the pans.


