
Why Rice Krispie Treats Never Go Out of Style
A Nostalgic Dessert Everyone Loves
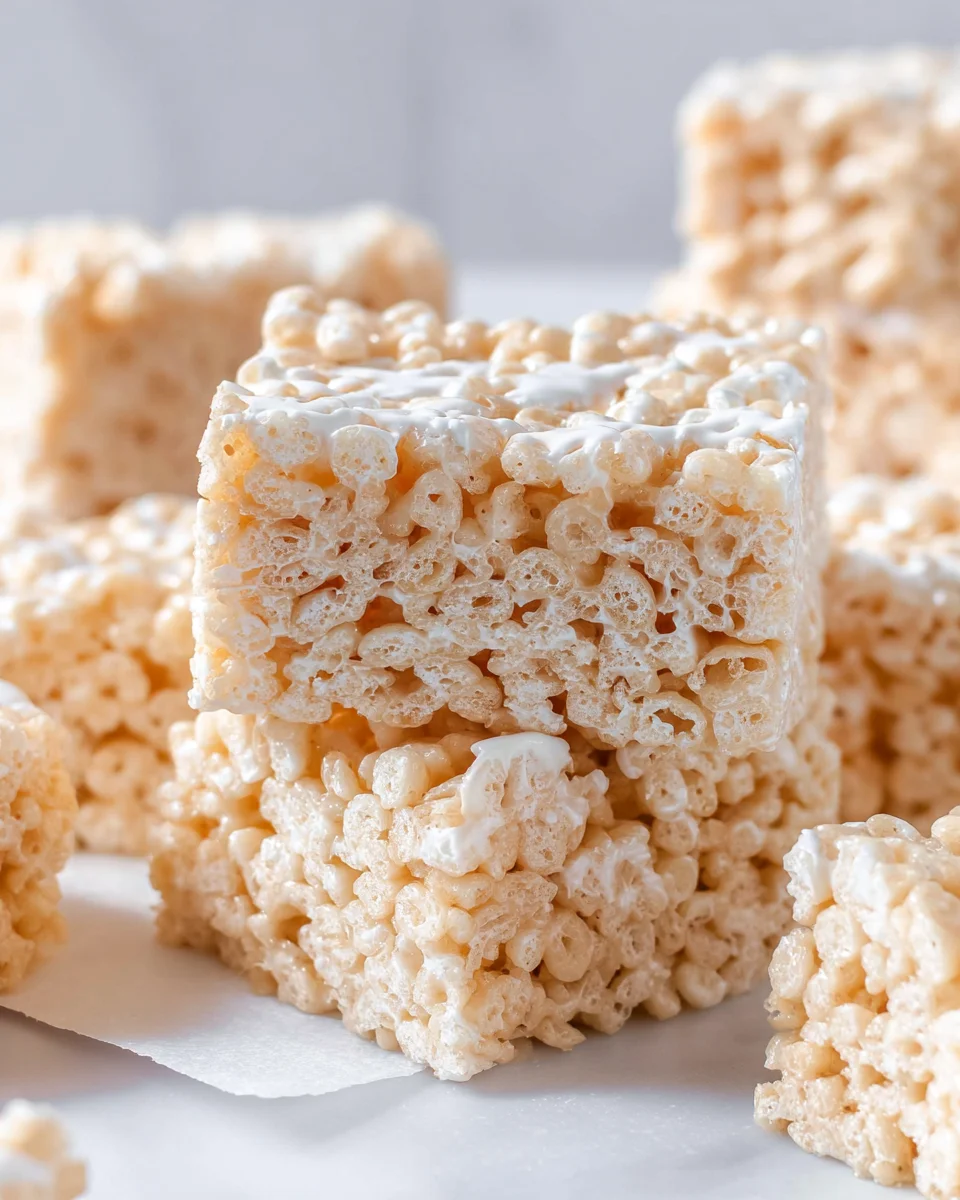
There are desserts that come and go, and then there are those that stick around for generations. Rice Krispie Treats fall firmly into that second category. They’re simple, familiar, and somehow always hit the spot—whether you’re a kid trying them for the first time or someone revisiting a favorite childhood snack.
What makes them so timeless is their perfect balance of texture and flavor. You’ve got that light, crispy crunch from the cereal combined with the soft, gooey sweetness of melted marshmallows. It’s not complicated, and that’s exactly the point. Sometimes the simplest recipes are the ones people keep coming back to.
Save this recipe and cook smarter
Keep your favorite Cooking Layer recipes in one place, plan your weekly meals, and quickly find dinner ideas whenever you need them.
Free to download • Fast and easy to use
There’s also a strong emotional connection tied to this treat. For many, it brings back memories of school lunches, family kitchens, or quick homemade desserts made on a whim. That sense of nostalgia adds something extra—something you can’t really measure but definitely feel with every bite.
And the best part? They’re incredibly forgiving. You don’t need baking skills, fancy equipment, or perfect timing. If you can stir and press into a pan, you can make these. That accessibility is a big reason why they’ve stayed popular for so long.
The Perfect No-Bake Sweet for Any Occasion
Another reason Rice Krispie Treats continue to shine is how versatile they are. They fit into almost any situation—last-minute desserts, school events, parties, or just a quick sweet craving at home.
Because they’re no-bake, they’re especially convenient. No need to preheat an oven or worry about baking times. You can have them ready in under 20 minutes, plus a little time to set. That makes them one of the fastest desserts you can make from scratch.
They’re also easy to customize. You can keep them classic or dress them up with chocolate, sprinkles, or mix-ins. Whether you want something simple or something a bit more fun and creative, this recipe adapts easily.
And let’s not forget portioning. You can cut them into small squares for sharing or larger bars for a more indulgent treat. They’re easy to transport, easy to serve, and easy to eat—no utensils required.
Ingredient Breakdown and Why Each One Matters
Butter and Marshmallows: The Gooey Base
At the heart of every great Rice Krispie Treat is the combination of butter and marshmallows. These two ingredients create that signature gooey texture that holds everything together.
The butter adds richness and helps the marshmallows melt smoothly. Using salted butter gives a subtle contrast to the sweetness, which keeps the flavor from becoming overwhelming.
The marshmallows are what provide the sticky, stretchy consistency. Melting most of them creates the base, while adding a portion at the end gives you little pockets of soft, unmelted marshmallow throughout the treats. That small detail makes a big difference in texture.
Rice Krispies Cereal: The Crunch Factor
The cereal is what gives this dessert its structure. Without it, you’d just have a sticky marshmallow mixture. The light, airy crunch of Rice Krispies creates contrast and keeps the treats from feeling too heavy.
Each piece of cereal gets coated in the marshmallow mixture, creating that perfect balance of crispy and chewy in every bite.
Vanilla Extract: The Secret Flavor Boost
Vanilla might seem like a small addition, but it enhances the overall flavor in a subtle way. It adds warmth and depth, making the treats taste more complete rather than just sweet.
Tools You’ll Need for Perfect Results
Essential Kitchen Equipment
You’ll need a large saucepan, mixing spoon or spatula, and a 9-inch square baking dish lined with parchment paper.
Tips for Easy Preparation
Lightly grease your spatula or hands before pressing the mixture into the pan. This prevents sticking and makes the process much easier.
Step-by-Step Guide to Making Rice Krispie Treats
Melting the Butter and Marshmallows
Melt the butter over medium heat, then add most of the marshmallows. Stir continuously until fully melted and smooth.
Mixing in the Cereal
Remove from heat, add vanilla, then gently fold in the cereal and remaining marshmallows. Stir until everything is evenly coated.
Pressing Into the Pan the Right Way
Transfer the mixture into your prepared pan and press it down gently. Don’t pack it too tightly—this keeps the treats soft instead of dense.
Letting Them Set Properly
Allow the treats to sit at room temperature for about an hour before cutting. This helps them hold their shape.
Variations and Creative Twists
Chocolate Drizzle or Candy Mix-Ins
Add chocolate chips, drizzle melted chocolate on top, or mix in candies for extra flavor and texture.
Healthier or Lighter Options
Use less butter or try adding nuts or dried fruit for a slightly different twist.
Serving Ideas and Presentation Tips
Cutting Clean Squares
Use a sharp knife and wipe it clean between cuts for neat edges.
Decorating for Holidays and Events
Add colored sprinkles or shape them with cookie cutters for themed treats.
Storage and Make-Ahead Tips
Keeping Them Soft and Fresh
Store in an airtight container at room temperature for up to 3 days.
Can You Freeze Rice Krispie Treats?
Yes, but they’re best enjoyed fresh for the softest texture.
Common Mistakes to Avoid
Overheating the marshmallows or pressing the mixture too firmly can lead to hard treats.
Nutritional Overview
| Nutrient | Approximate Value per Serving |
|---|---|
| Calories | 150–180 kcal |
| Fat | 6g |
| Carbs | 25g |
Conclusion
Rice Krispie Treats are proof that simple ingredients can create something truly special. Quick, easy, and endlessly customizable, they’re a dessert that never goes out of style.
FAQs
1. Why are my treats hard instead of soft?
You may have overheated the marshmallows or pressed them too firmly.
2. Can I use large marshmallows instead of mini?
Yes, just melt them the same way.
3. Can I add chocolate chips?
Absolutely, they’re a great addition.
4. How long do they need to set?
About 1 hour at room temperature.
5. Can I make them ahead of time?
Yes, but they’re best within a couple of days.
Print
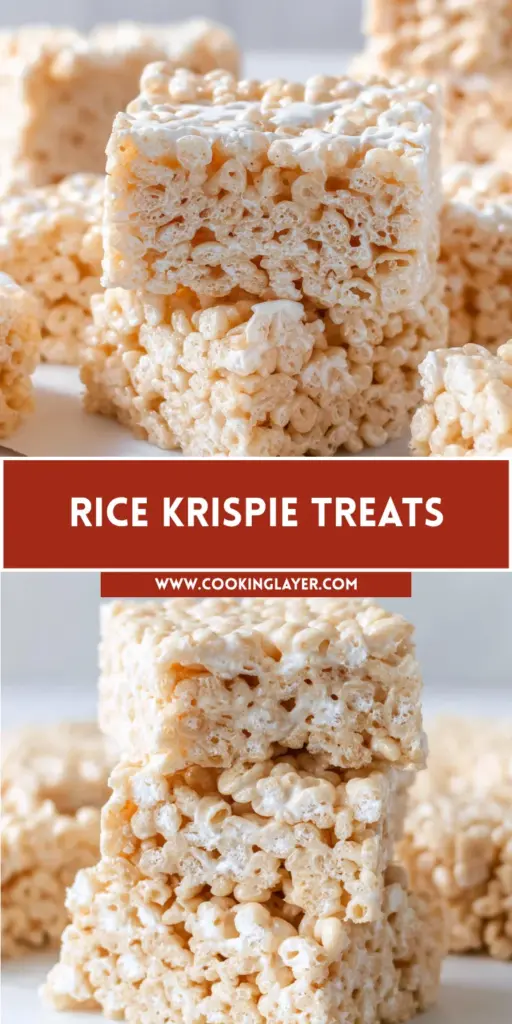
Rice Krispie Treats Recipe
Ingredients
6 Tablespoons salted butter
16 ounce bag mini marshmallows divided
1 teaspoon pure vanilla extract
6 cups rice krispies cereal
Instructions
Line a 9-inch square baking dish with parchment paper. Set aside.
In a large saucepan, melt butter over medium heat. Once melted, add in all but 1 cup of the marshmallows. Reduce heat to low and continue stirring until completely melted.
Remove from heat and stir in the vanilla. Add the cereal and the remaining 1 cup of marshmallows and gently stir until combined.
Pour into the prepared baking dish. Press GENTLY with your fingertips just until completely spread out (the harder you pack them in, the harder they are to eat).
Allow to set, about 1 hour. Cut and enjoy!
Notes
How many marshmallows do I need? One 16 ounce bag of marshmallows is about 8-9 cups. You’ll melt all but one cup of the marshmallows in the butter, reserving the last cup for adding with the cereal.
Line a 9-inch square baking dish with parchment paper. This way you don’t have to worry about extra butter on your fingertips, or the other extreme of your bars sticking to the pan! Use binder clips to help the parchment paper stay in place.
Use fresh marshmallows. Seriously, they make a difference. Don’t grab that bag that’s been in your pantry for months and months thinking it will be okay since you are melting them. It won’t be okay.
Add my secret ingredient. VANILLA EXTRACT. Not imitation vanilla, but PURE VANILLA extract. It makes a difference in creating the illusion that you’re using homemade marshmallows.
DO NOT (I repeat) DO NOT press these bars into your pan firmly. Using your fingertips, GENTLY press them in just until they are spread out. The harder you pack them in, the harder they are when it’s time to eat them!
The trick to pressing them in your pan without sticking to your hands is to run your fingers in water, shake off the excess, and press. Voila. No sticking!
Store in an airtight container for two days. If they last that long, I’d be shocked!
Make these gluten free by choosing a crispy rice cereal labeled Gluten Free (and check your marshmallow labels too just in case).
Can you freeze rice krispie treats? YES! I slide them on a parchment paper lined sheet into a ziploc freezer bag. Thaw on counter until soft again!
Enjoyed this recipe?
Discover more delicious recipes, save your favorites, and plan your meals with the Cooking Layer app.
Free to download • Fast and easy to use


