
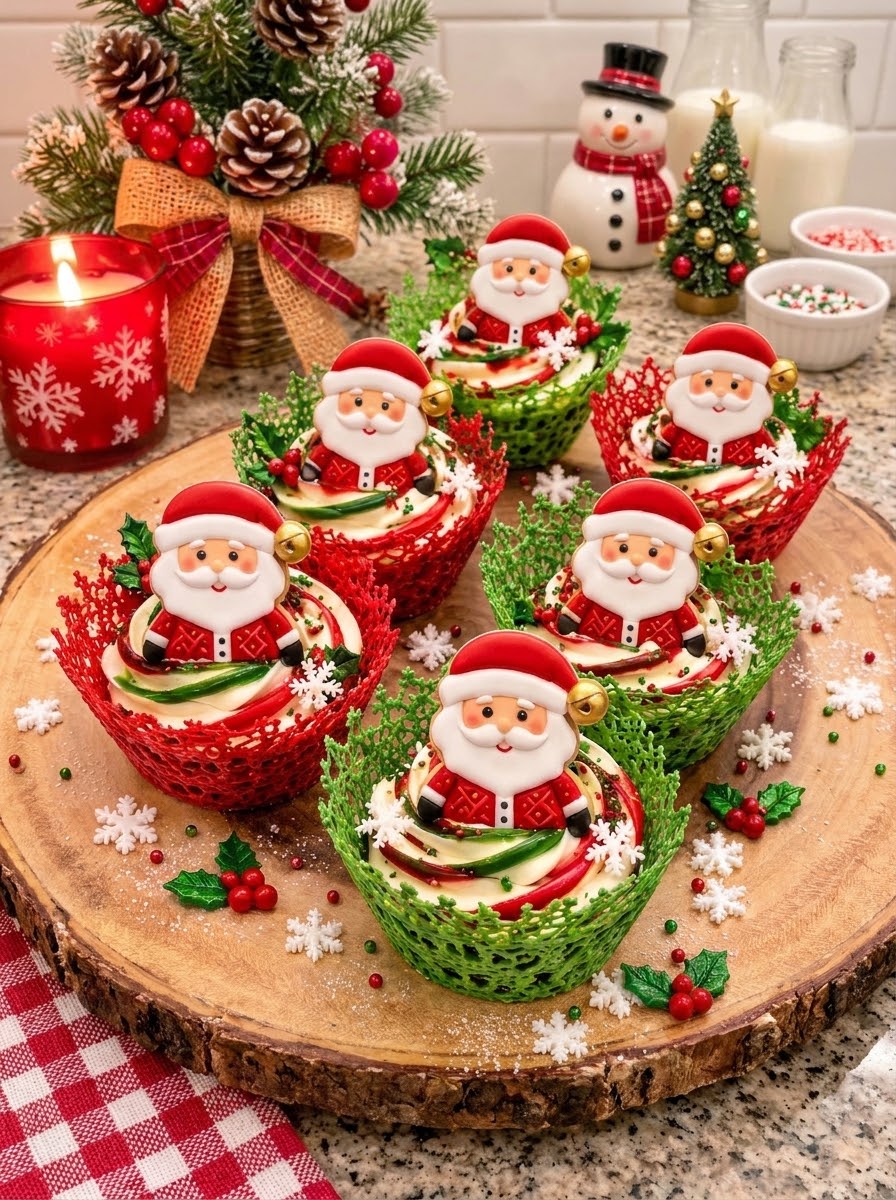
Introduction to Santa Cupcakes in Red & Green Lace Cups
These delightful Santa Cupcakes in Red & Green Lace Cups are a festive treat that combines visual appeal with delicious flavors, perfect for holiday celebrations. The unique lace cups made from colored white chocolate add a luxurious touch, while the light and fluffy cream filling invites everyone to indulge. Ideal for parties or as a centerpiece on dessert tables, these cupcakes capture the spirit of the season. With colorful decorations including edible Santa toppers and shimmering sprinkles, these cupcakes not only taste great but also offer a whimsical presentation to enchant guests of all ages.
Why You’ll Love This Recipe
This recipe for Santa Cupcakes in Red & Green Lace Cups stands out because of its striking appearance and delightful taste. The rich white chocolate provides a luxurious base while the creamy vanilla filling creates a beautifully balanced flavor profile that satisfies the sweet tooth. Additionally, this recipe is a fun and creative way to bring friends and family together during the holiday season, offering an engaging decorating experience that sparks joy and imagination. The vibrant festive colors and playful toppings, such as edible Santa toppers and sprinkles, make these cupcakes a perfect choice for holiday parties. They allow for customization and personal touches, making each cupcake unique. Plus, the lace cups can be prepared in advance, streamlining your baking process and ensuring you have a show-stopping dessert ready to impress at your gatherings.
Ingredients for Santa Cupcakes in Red & Green Lace Cups
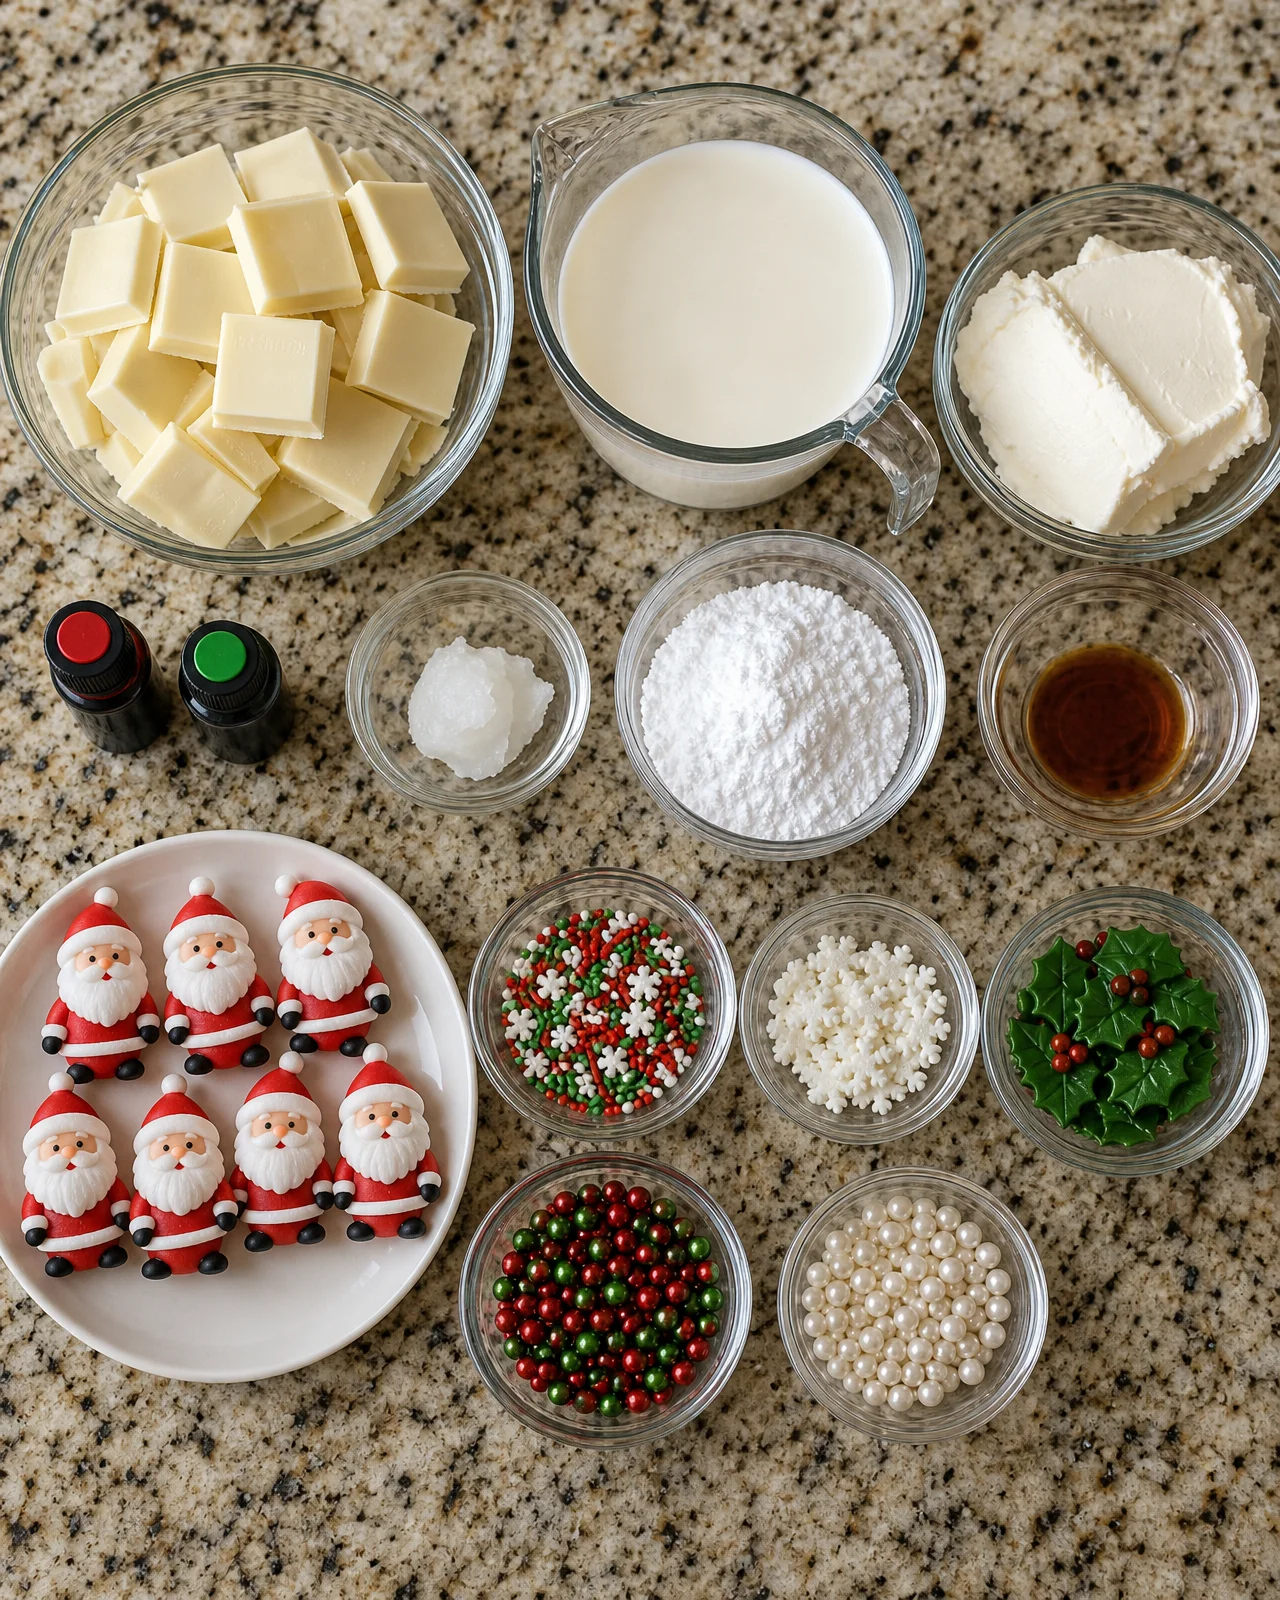
To create these charming Santa cupcakes, you will need the following ingredients:
- 7 oz (200 g) white chocolate: The base for the lace cups; its creamy texture pairs perfectly with the filling.
- Red and green oil-based food coloring: Essential for dyeing the chocolate without compromising its consistency, allowing for vibrant colors.
- 1 tsp coconut oil: Used to help melt the chocolate smoothly and improve its flow when piping.
- 1 cup (250 ml) heavy whipping cream: Provides the light, fluffy filling that contrasts beautifully with the chocolate cups; ensure it’s cold for the best results.
- 3.5 oz (100 g) cream cheese: Adds a subtle richness and stability to the whipped cream.
- 3 tbsp powdered sugar: Sweetens the filling and gives it a smooth texture.
- 1 tsp vanilla extract: Enhances the overall flavor of the cream mixture.
- Edible Santa toppers, Christmas sprinkles, sugar snowflakes, holly leaf candies, and sugar pearls: All for decoration, emphasizing the festive presentation.
How to Make Santa Cupcakes in Red & Green Lace Cups
Step 1: Prepare the Chocolate Lace Cups
Begin by melting the white chocolate along with the coconut oil using a double boiler over gently simmering water. Stir the mixture until it’s completely smooth. Once melted, divide it evenly into two bowls, coloring one bowl red and the other green with the oil-based food coloring. Aim for a vibrant shade, adjusting the amounts based on your preferred intensity as the coloring can vary between brands. Prepare your silicone muffin molds by lining them with parchment paper for easy removal.
Next, carefully pipe the red and green chocolate mixtures into the molds, creating intricate lace patterns. Ensure the layers are thin enough to remain delicate but thick enough to hold their shape. Work with a steady hand for the best design. Once piped, refrigerate the molds for 20–30 minutes or until the chocolate has fully hardened and the lace cups are sturdy enough to handle.
Step 2: Make the Fluffy Cream Filling
While the chocolate cups are chilling, whip the heavy whipping cream in a clean mixing bowl until it starts to thicken. This initial whip creates the structure for your filling. Once it begins to gain volume, gently fold in the softened cream cheese, powdered sugar, and vanilla extract. Be cautious during this step; overwhipping can lead to a grainy or butter-like texture, which you want to avoid. Continue to beat the mixture until it reaches a thick, smooth, and fluffy consistency, standing firmly in soft peaks, ready for piping.
Once the chocolate cups have set, delicately remove them from the molds. It’s important to be gentle to avoid breaking the delicate lace. Place the chocolate lace cups upright on a serving platter, ready to be filled with the creamy goodness.
Step 3: Assemble and Decorate the Cupcakes
Now for the fun and creative part: filling and decorating the cupcakes! Using a large star-tip piping bag, pipe generous swirls of the whipped cream mixture into each lace cup. Fill them all the way to the brim for an impressive presentation that showcases the beautiful lace design. Next, take the edible Santa toppers and gently place one in the center of each cream swirl, adding a charming focal point to your cupcakes.
To enhance the festive flair, decorate the tops with white sugar snowflakes, holly leaf candies, and a sprinkle of Christmas-themed decorations. If desired, add a splash of color with red and green sugar pearls around the perimeter of the cream. These decorations not only enhance the visual appeal but also bring a delightful variety of textures and flavors to the treat. Lastly, refrigerate the assembled cupcakes for another 15–20 minutes before serving to allow everything to set firmly in place and ensure a delightful bite.
Tips for Success
For the best outcome with Santa Cupcakes in Red & Green Lace Cups, it’s essential to ensure the heavy cream is very cold before whipping. This step significantly improves the volume and fluffiness of the cream. When melting the white chocolate, be cautious not to overheat it. Excessive heat can lead to a gritty texture, so work with gentle heat to maintain smoothness. Always use oil-based food coloring, as it preserves the consistency of the melted chocolate; other types might ruin the texture by causing it to seize.
If you’re struggling to remove the lace cups from their molds, allow them to sit at room temperature for a few minutes, which can help loosen the chocolate. In cases where the chocolate doesn’t form clean lines as expected, consider using a piping bag fitted with a smaller tip for better control while piping. Finally, if you’re preparing these ahead of time, store them without decorations to keep the cream from wilting and ensure the toppings retain their crunch.
Equipment Needed
To prepare these festive cupcakes, you’ll need a double boiler for melting the chocolate, which provides a gentle and even heat source essential for maintaining a smooth consistency. Silicone muffin molds are ideal for shaping the lace cups, as they allow for easy release once the chocolate hardens. A piping bag fitted with a star tip is crucial for filling and decorating the cupcakes with precision.
An electric mixer will help whip the cream efficiently to achieve that desired fluffy consistency, while a sturdy mixing bowl is necessary for combining the ingredients. Additionally, a good pair of spatulas will be invaluable for smoothing the chocolate and transferring both the chocolate and cream during the assembly process, ensuring a neat presentation for your delightful treats.
Variations
For a unique twist on the Santa Cupcakes, consider enhancing the cream filling with flavored extracts like peppermint or almond, which evoke other delightful holiday flavors. Alternatively, create a chocolate version of the lace cups by incorporating cocoa powder into the melted white chocolate for a richer taste. If you’re looking to reduce the sweetness, try adding a tart fruit puree, such as raspberry, at the bottom of the chocolate cups before layering in the cream. For those with dietary restrictions, you can explore dairy-free cream and cheese alternatives while following the same preparation techniques. Additionally, feel free to customize the decorations based on fun themes, such as snowmen or reindeer, to further amplify the festive spirit of these delightful treats.
Serving Suggestions
These Santa Cupcakes in Red & Green Lace Cups are best served chilled, making them a refreshing dessert option at holiday feasts. Pair them with a warm beverage, such as spiced hot chocolate or mulled wine, to elevate the experience. Present the cupcakes on a festive platter alongside additional holiday-themed treats, like gingerbread cookies or fudge squares, to create a delightful dessert table that captures the spirit of the season.
For an extra touch of festivity, garnish the serving plate with some additional holiday sprinkles or confetti and fresh mint leaves. This not only enhances the visual appeal but also complements the flavors beautifully, making your dessert spread a truly inviting centerpiece at any celebration.
FAQs about Santa Cupcakes in Red & Green Lace Cups
1. Can I make these cupcakes ahead of time?
Yes, you can prepare the lace cups and cream filling in advance. Store the cups in an airtight container and fill them just before serving to maintain freshness.
2. What’s the best way to store leftovers?
Store any leftover cupcakes in an airtight container in the refrigerator for up to 2 days. Keep the decorations separate to maintain their texture.
3. Can I use another type of chocolate for the lace cups?
While this recipe specifically uses white chocolate, you could use dark or milk chocolate. Just note that it may alter the overall flavor and color scheme.
4. What if my chocolate lace cups break?
If your cups break during removal, you can always melt the chocolate again and re-pipe them into the mold. Alternatively, piecing them back together can work in a pinch.
5. Are these cupcakes suitable for dietary restrictions?
This recipe is vegetarian. To accommodate dairy-free diets, substitute the cream and cream cheese with dairy-free alternatives.
Final Thoughts
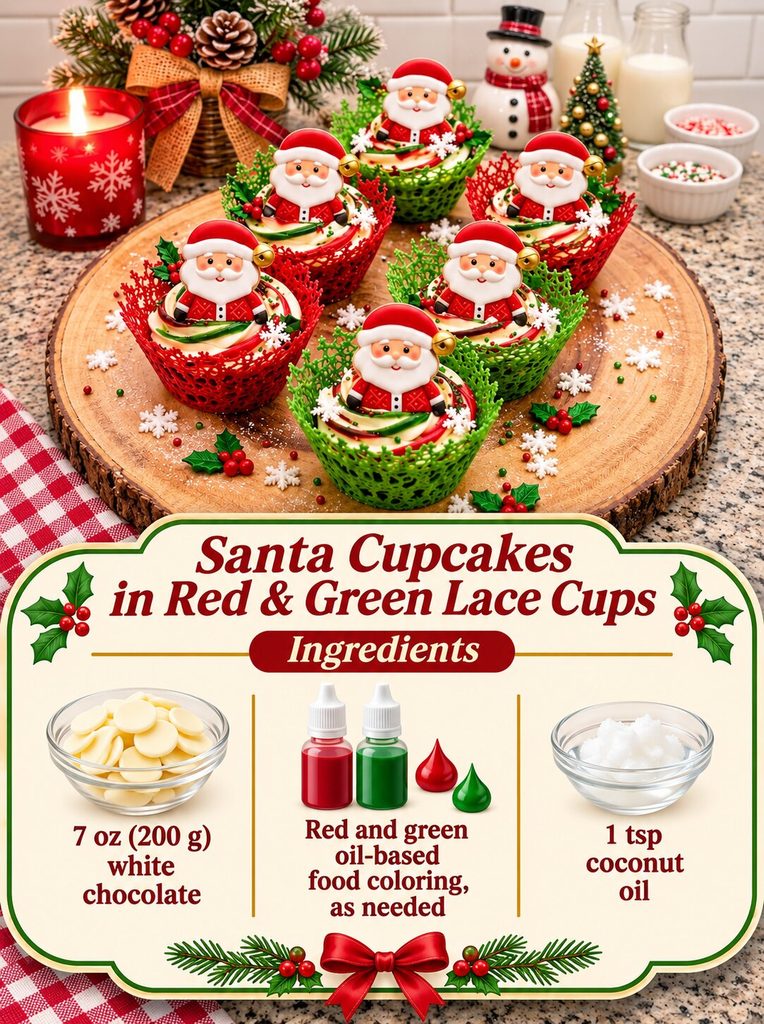
Santa Cupcakes in Red & Green Lace Cups offer a delightful way to embrace the holiday spirit with your loved ones. The enchanting combination of the delicate chocolate lace cups and the rich, creamy filling creates a festive experience that’s sure to captivate any guest. Enjoy every step of the process, from the artful melting of the chocolate to the whimsical decorating of each cupcake. These treats not only serve as a charming centerpiece on your dessert table but also deliver an irresistible flavor that will have everyone coming back for more. Remember to allow adequate refrigeration time for the best texture and presentation, and serve these cupcakes chilled for a refreshing sweet treat. Whether you’re celebrating a lively holiday gathering or enjoying a cozy night in, these cupcakes will undoubtedly bring joy and smiles to all who indulge.
Print
Santa Cupcakes in Red & Green Lace Cups
- Prep Time: 30 minutes
- Cook Time: 30 minutes
- Total Time: 1 hour
- Yield: 6–8 cupcakes 1x
- Category: Dessert
- Method: Baking
- Cuisine: American
- Diet: Vegetarian
Description
Delightful Santa cupcakes encased in festive red and green lace cups, perfect for holiday celebrations.
Ingredients
- 7 oz (200 g) white chocolate
- Red and green oil-based food coloring, as needed
- 1 tsp coconut oil
- 1 cup (250 ml) heavy whipping cream, cold
- 3.5 oz (100 g) cream cheese, softened
- 3 tbsp powdered sugar
- 1 tsp vanilla extract
- 6–8 mini edible Santa toppers
- Christmas sprinkles, as needed
- White sugar snowflakes, as needed
- Holly leaf candies, as needed
- Red and green sugar pearls, as needed
Instructions
- Melt white chocolate with coconut oil over gently simmering water until smooth. Divide between two bowls and color one red and the other green using oil-based food coloring.
- Pipe delicate, interconnected chocolate lace patterns inside parchment-lined silicone muffin molds, forming 6–8 cups. Refrigerate for 20–30 minutes until firm.
- Beat cold heavy whipping cream, softened cream cheese, powdered sugar, and vanilla until thick, smooth, and fluffy.
- Carefully remove the hardened red and green chocolate lace cups from their molds.
- Pipe generous swirls of vanilla cream into each cup using a large star-tip piping bag.
- Place one edible Santa topper in the center of each cream swirl.
- Decorate with white sugar snowflakes, holly candies, Christmas sprinkles, and red and green sugar pearls.
- Refrigerate for 15–20 minutes and serve chilled.
Notes
- Ensure the heavy cream is very cold for best whipping results.
- Use oil-based food coloring to achieve vibrant colors without affecting the chocolate’s consistency.
- Store any leftovers in the refrigerator for up to 2 days.
Nutrition
- Serving Size: 1 cupcake
- Calories: 350
- Sugar: 25g
- Sodium: 80mg
- Fat: 25g
- Saturated Fat: 15g
- Unsaturated Fat: 5g
- Trans Fat: 0g
- Carbohydrates: 30g
- Fiber: 1g
- Protein: 3g
- Cholesterol: 60mg