
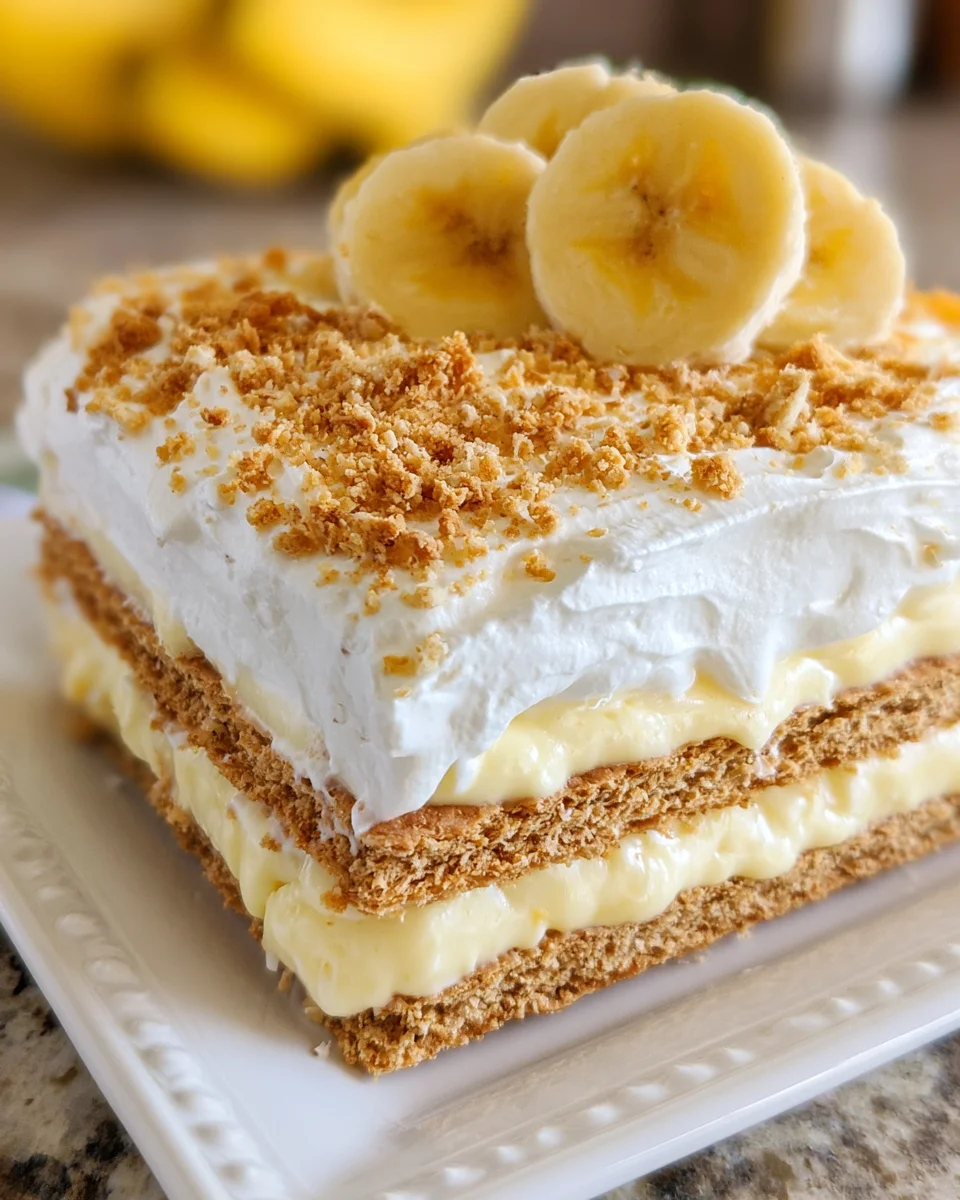
Introduction to Banana Icebox Cake
As a busy mom, I know how important it is to have a simple yet satisfying dessert ready when the cravings hit. That’s where this delightful Banana Icebox Cake comes in! It’s a no-bake dessert that’s perfect for any occasion, whether you’re hosting a family gathering or just want to treat yourself after a long day. With layers of creamy banana pudding and graham crackers, this cake is not only delicious but easy to prepare. Get ready to impress your loved ones, all while saving precious time in the kitchen!
Why You’ll Love This Banana Icebox Cake
This Banana Icebox Cake is a delightful blend of flavors and textures that can bring a smile to any face. It’s incredibly easy to whip up, making it perfect for those busy weeknights when time is tight. Plus, it’s a crowd-pleaser! With its sweet banana cream and crisp graham crackers, you’ll find it hard to resist its charm. Trust me, once you try this, it will become a family favorite.
Ingredients for Banana Icebox Cake
When it comes to making this scrumptious Banana Icebox Cake, the ingredients are simple and can be easily found at your local grocery store. Here’s what you’ll need:
- Instant banana cream pudding mix: This is the star of the show, bringing that rich, banana flavor to the cake.
- Cold milk: The base for your pudding, it helps create a creamy texture that will make your cake luscious.
- Whipped topping (Cool Whip): This adds lightness and delicious creaminess, making it the perfect topping when folded into the pudding.
- Graham crackers: These little squares are essential for layering, providing a crisp texture that balances out the softness of the pudding.
- Fresh banana slices: Optional but recommended; they make a beautiful garnish and enhance that banana flavor.
For those who want a touch of chocolate, consider using chocolate pudding mix in place of banana. You could also swap in dairy-free options for a vegan twist. Don’t forget, the quantities for each ingredient are listed at the bottom of this article for printing convenience!
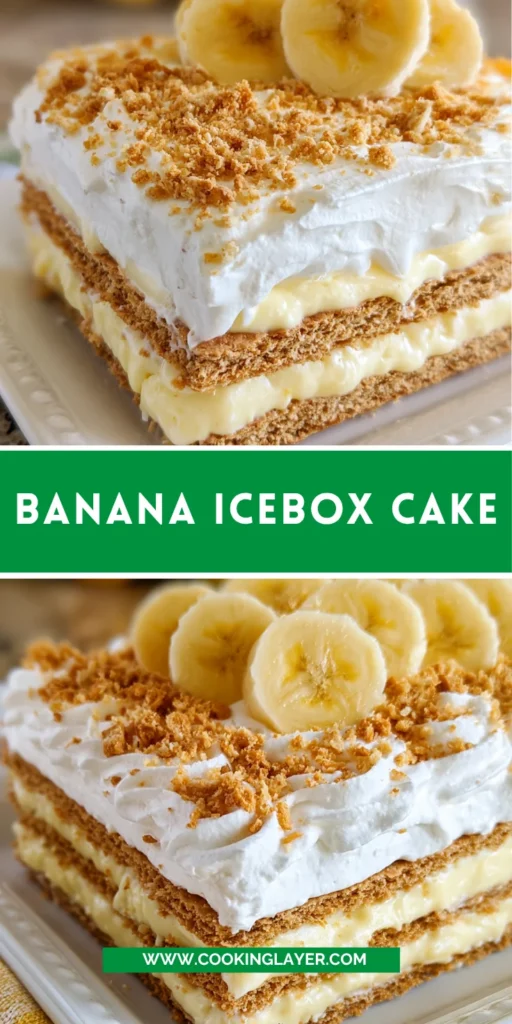
How to Make Banana Icebox Cake
Making this delicious Banana Icebox Cake is as easy as pie—no, wait! It’s even easier than pie! Just follow these simple steps, and you’ll have a dessert that’s bound to impress.
Step 1: Prepare the Pudding Mixture
Start by grabbing a large bowl. Add two boxes of the instant banana cream pudding mix and pour in three cups of cold milk. Now, whisk the mixture until it’s well combined and smooth. It’s important to get rid of any lumps, as this ensures a silky texture throughout your cake. No one likes a gritty pudding!
Step 2: Fold in Whipped Topping
Next, take one container of whipped topping—my favorite is Cool Whip! Gently fold it into the pudding mixture using a spatula or wooden spoon. This folding technique is key to maintaining a light and airy texture. You want to mix until it’s just combined; this way, you preserve that fluffy creaminess we all love.
Step 3: Start Layering Graham Crackers
Now, it’s time for the fun part—layering! Take a baking dish (a 9×13-inch will do nicely) and place a quarter of the graham crackers at the bottom. You might need to break some of them to fit perfectly. This crisp layer builds a great base that complements the smooth pudding. Plus, it adds that delightful crunch every time you bite!
Step 4: Repeat Layering with Pudding Mixture
On top of those graham crackers, spread out a third of the pudding mixture evenly. Repeat the layering two more times: graham crackers, then pudding! You should have three layers of deliciousness by now. The key is making sure everything is well-distributed; you want every slice to be a harmonious mix of flavors.
Step 5: Final Graham Cracker Layer
For the last layer, place any remaining graham crackers on top. This top layer provides a stable base for your whipped topping and keeps everything nice and neat. Don’t worry if you have a few small pieces left over; those can be used for garnish later on!
Step 6: Top with Whipped Topping
Next, grab your remaining container of whipped topping and spread it evenly over the top layer of graham crackers. Make sure you cover all exposed edges so no graham crackers peek through. This delicious frosting will seal in the flavors and create a gorgeous finish!
Step 7: Refrigerate and Serve
Cover your dessert with plastic wrap and pop it in the refrigerator. This step is crucial! Allow the Banana Icebox Cake to chill for at least six hours or overnight. The longer it sits, the better the flavors meld together. Just imagine the anticipation as you wait for that first taste—totally worth it!
Tips for Success
- Use cold milk for a thicker pudding texture; it makes a big difference!
- Don’t skip the chilling time; it allows the graham crackers to soften perfectly.
- Play around with banana ripeness for varying sweetness; ripe bananas can add extra flavor.
- Top with crushed graham crackers or nuts for an added crunch.
- Store leftovers in an airtight container to keep the cream fresh.
Equipment Needed
- 9×13-inch baking dish: A standard size, but you can use any similar-sized container.
- Large mixing bowl: Perfect for combining your pudding mix and milk—any mixing bowl will do!
- Whisk: For mixing the pudding—if you don’t have one, a fork works too!
- Spatula or wooden spoon: For folding in the whipped topping; your trusty spoon can work if needed.
Variations for Banana Icebox Cake
- Chocolate Banana Icebox Cake: Swap out the banana pudding for chocolate pudding to create a rich chocolate version. Add chocolate shavings on top for extra flair!
- Peanut Butter Banana Icebox Cake: Incorporate creamy peanut butter into the pudding mixture for a deliciously nutty twist. Top with crushed peanuts for texture.
- Vegan Banana Icebox Cake: Use plant-based milk and dairy-free whipped topping. You can also try coconut cream for a tropical vibe!
- Fruit-Loaded Version: Add layers of sliced strawberries, blueberries, or any other fresh fruit between the pudding layers for a burst of color and flavor.
- Caramel Drizzle: Drizzle caramel sauce over the top layer for a sweet finish that pairs wonderfully with bananas.
Serving Suggestions for Banana Icebox Cake
- Fresh Fruit: Serve with slices of strawberries or blueberries for a fruity contrast.
- Whipped Cream: Add a dollop of fresh whipped cream on top for extra indulgence.
- Tea or Coffee: Pair with a warm cup of tea or coffee for a delightful afternoon treat.
- Colorful Plates: Present on vibrant plates to make the bananas pop visually.
- Ice Cream: A scoop of vanilla ice cream alongside adds a delicious twist!
FAQs about Banana Icebox Cake
Can I make Banana Icebox Cake in advance?
Absolutely! In fact, making it a day in advance enhances the flavor. The graham crackers soften beautifully, soaking in the banana pudding goodness, which makes every bite heavenly.
How long will Banana Icebox Cake last in the refrigerator?
This dreamy dessert can stay in the fridge for about 3 to 5 days. Just ensure it’s covered well to keep it fresh and prevent it from absorbing other odors.
Can I use fresh bananas between the layers?
Yes, you can! Slicing fresh bananas between the layers adds a nice texture and extra flavor. Just remember that fresh bananas do brown over time, so if you want them to look pretty, add them just before serving.
Can I substitute the pudding mix?
Of course! Feel free to use a different flavor, like vanilla or chocolate. Experimenting with different flavors can lead to delicious new creations, making your Banana Icebox Cake even more exciting!
Is there a gluten-free option for Banana Icebox Cake?
Definitely! You can use gluten-free graham crackers or even switch to gluten-free cookies to create delightful layers while keeping everything delicious!
Final Thoughts
This Banana Icebox Cake isn’t just a dessert; it’s a little slice of happiness that brightens your day. The blend of creamy banana pudding and crunchy graham crackers creates a symphony of textures that dance on your palate. Each bite transports you back to simpler times—maybe a picnic on a sunny afternoon or a family gathering filled with laughter. Plus, it’s so easy to prepare, making it the perfect treat for busy moms or anyone who loves delicious desserts without the hassle. So grab those ingredients, gather your loved ones, and enjoy every creamy, dreamy slice together!
Print
Banana Icebox Cake
- Prep Time: 20 minutes
- Cook Time: 0 minutes
- Total Time: 6 hours 20 minutes
- Yield: 12 servings 1x
- Category: Dessert
- Method: No-bake
- Cuisine: American
- Diet: Vegetarian
Description
A delicious and easy-to-make Banana Icebox Cake that is perfect for dessert lovers.
Ingredients
- 2 (3.4 ounce) boxes instant banana cream pudding mix
- 3 cups cold milk
- 2 (8 ounce) containers whipped topping (Cool Whip)
- 3 sleeves graham crackers
- Fresh banana slices for topping (optional)
Instructions
- In a large bowl, add 2 (3.4 ounce) boxes instant banana cream pudding mix and 3 cups cold milk, whisk until combined.
- Fold in 1 container (8 ounces) of whipped topping. Set aside.
- Place 1/4 of the graham crackers into the bottom of a 9×13-inch baking dish. You may need to break some of the graham crackers up to fit.
- Add ⅓ of the pudding mixture on top and spread it out. Repeat 2 more times.
- Layer the last of the graham crackers on top. You will have a couple of small pieces left over. Keep them for garnish, if desired.
- Spread out the remaining container of whipped topping so none of the graham crackers are exposed. Cover with plastic wrap and place in the refrigerator for at least 6 hours or overnight.
- Top with some fresh banana slices & enjoy!
Notes
- For a smoother texture, ensure the pudding is well whisked.
- This dessert can be prepared a day in advance for better flavor.
Nutrition
- Serving Size: 1 slice
- Calories: 200
- Sugar: 15g
- Sodium: 160mg
- Fat: 8g
- Saturated Fat: 4g
- Unsaturated Fat: 2g
- Trans Fat: 0g
- Carbohydrates: 30g
- Fiber: 1g
- Protein: 3g
- Cholesterol: 20mg