
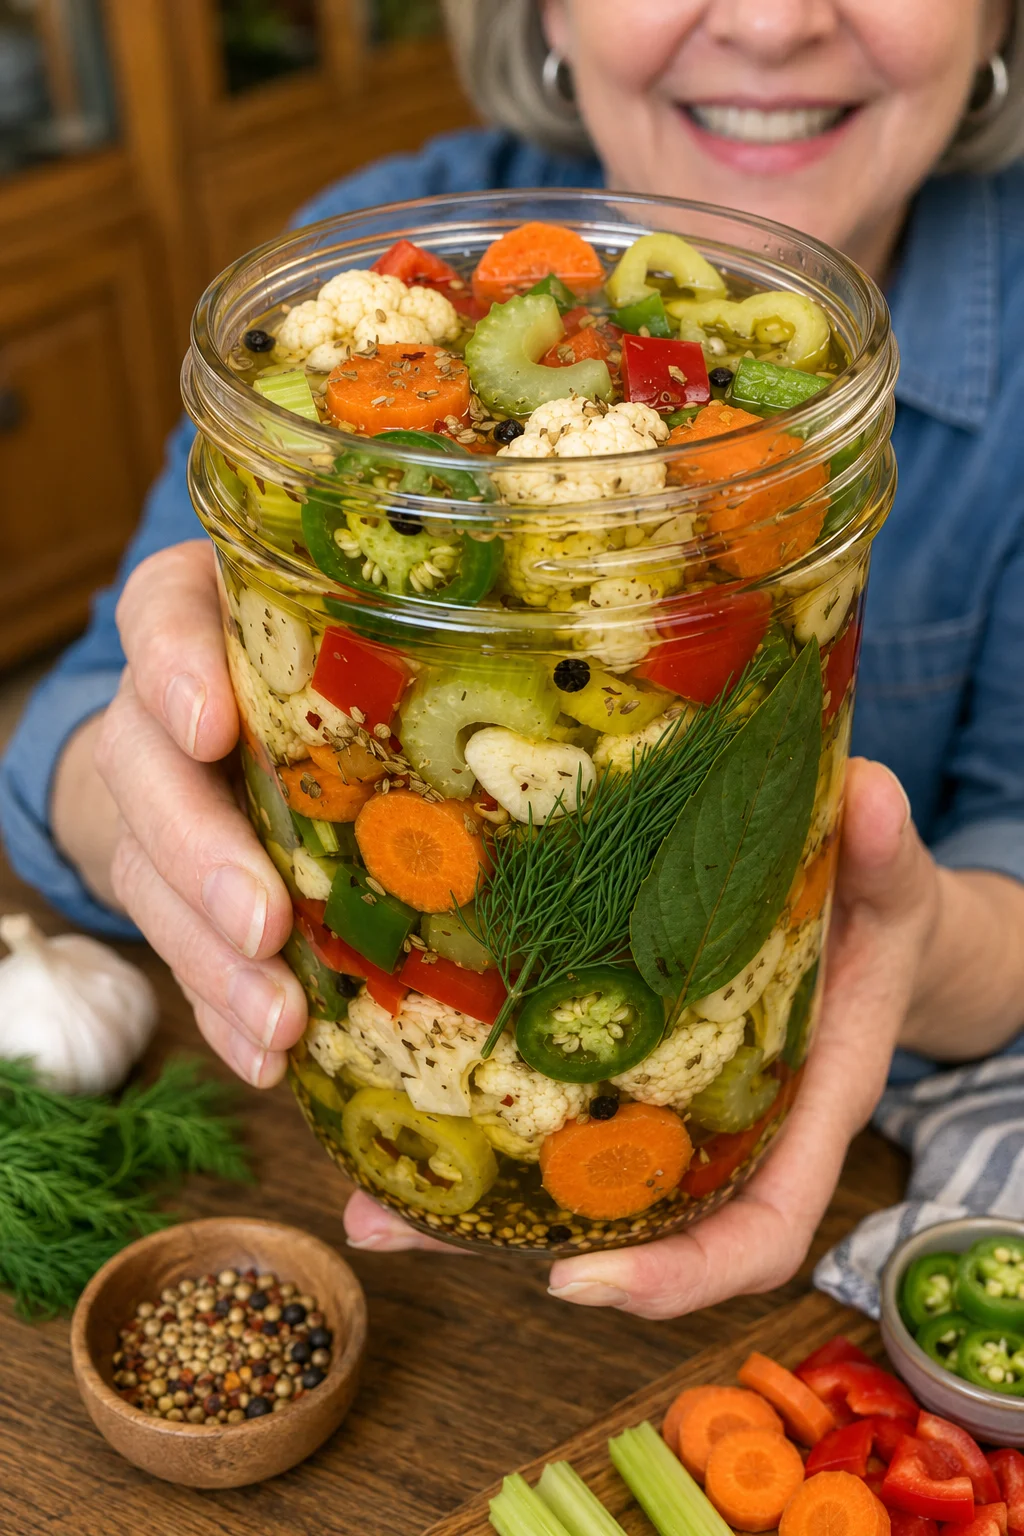
Introduction to Italian Giardiniera
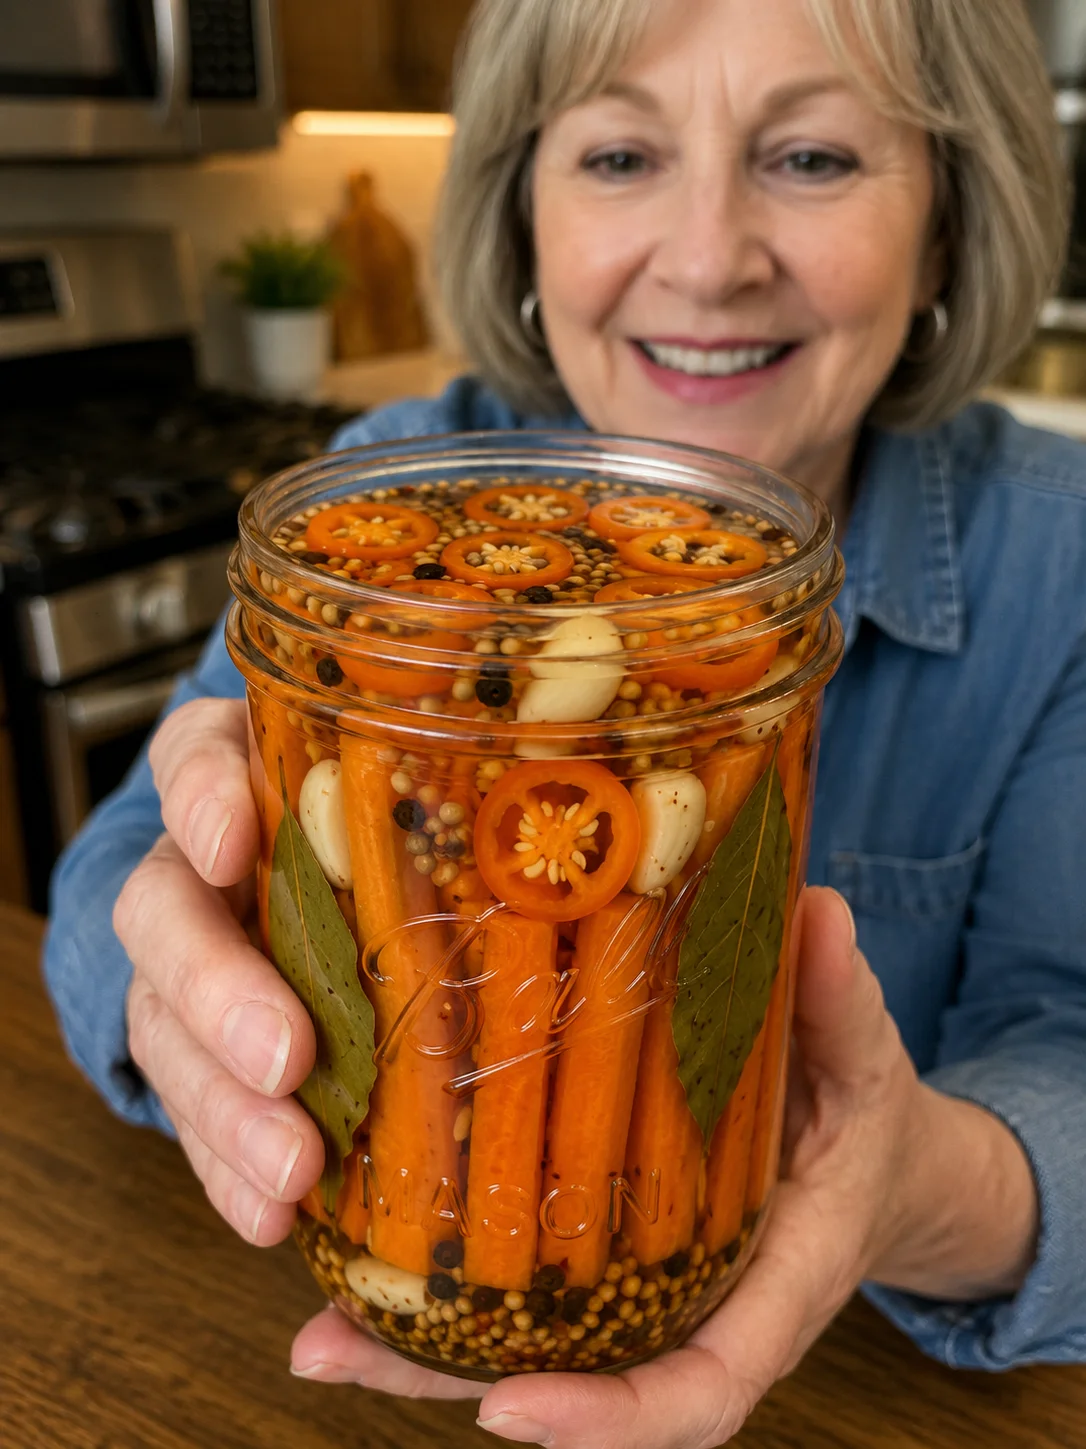
Ah, the vibrant world of pickling! Italian Giardiniera is one of my all-time favorite ways to bring a punch of flavor to everyday meals. It’s that little jar of joy in the fridge, waiting to elevate sandwiches, salads, or even cheese platters. With a busy lifestyle, I completely understand how meal prep can feel overwhelming. That’s why this quick and easy Italian Giardiniera recipe is perfect for anyone who craves delicious, homemade goodness without spending hours in the kitchen. Dive into this tangy, colorful adventure, and let your taste buds dance with delight!
Why You’ll Love This Italian Giardiniera
This Italian Giardiniera recipe is truly a gem! It’s easy to whip up, making it perfect for those busy weeks when time escapes you. The balance of crunch and zing makes every bite a delightful explosion of flavor. Plus, it’s a fantastic way to use up those veggies lurking in your fridge. You can enjoy it right away or let it marinate for a few days for an even bolder taste—talk about a win-win!
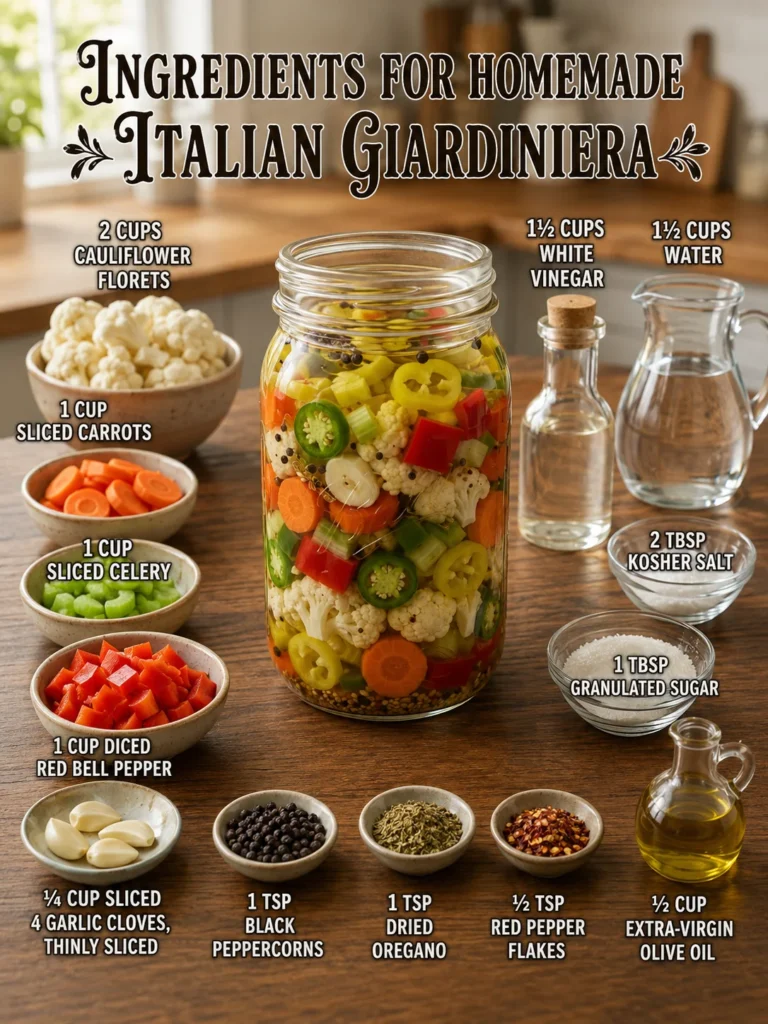
Ingredients for Italian Giardiniera
Gathering the right ingredients is the first step in creating your flavorful Italian Giardiniera. Let me break it down for you:
- Cauliflower florets: These add a delightful crunch. Look for fresh, white florets that aren’t bruised.
- Carrots: Sliced carrots give a hint of sweetness. Choose firm, vibrant orange veggies.
- Celery: This grassy green adds crispiness and a refreshing flavor. Opt for stalks that are crunchy.
- Red bell pepper: The sweetness of red bell peppers contrasts beautifully with the tangy brine.
- Green bell pepper: Adding some earthiness, it complements the sweet peppers well.
- Banana peppers: Mild and slightly tangy, they’re a lovely addition for warmth without overpowering heat.
- Jalapeños: For those who love a kick! Feel free to adjust the amount based on your spice preference.
- Garlic cloves: These lend a robust flavor and aromatic notes. The more, the merrier!
- White vinegar: This is the key ingredient for that signature tang. Opt for a good quality brand.
- Water: Balances out the acidity of the vinegar to create the brine.
- Kosher salt: Helps with flavor and preservation. It’s the unsung hero in pickling!
- Granulated sugar: A touch of sweetness balances the tang. Don’t worry; it’s not dessert!
- Black peppercorns: Whole spices add depth; feel free to experiment with other spices you enjoy.
- Dried oregano: This brings a bit of Italian flair to the mix. Fresh is great too if available!
- Red pepper flakes: For a hint of heat, perfect if you want your giardiniera spicy.
- Extra-virgin olive oil: Adds richness to the finished product and helps preserve the flavors.
You can find the exact measurements at the bottom of this article, ready for your printing pleasure. Feel free to swap in other favorite veggies, such as zucchini or green beans, to make this recipe your own!
How to Make Italian Giardiniera
Prep the Vegetables
Start by washing all the vegetables under cold water. It’s essential to remove any dirt or residue. Then, cut them into bite-size pieces—this is important! The smaller pieces allow for even pickling and make for easy snacking. Think of this step as creating colorful confetti for your jars!
Salt-Brine the Vegetables
Next, it’s time to salt-brine those veggies! Place the cut vegetables in a large bowl and sprinkle them generously with kosher salt. This step is crucial because it draws out moisture, enhancing the flavors and crunch. Cover and refrigerate them for 8 to 12 hours. Patience is key here—it’s worth the wait!
Drain and Rinse
After the brining period, it’s time to drain those veggies. Pour off the saltwater, then rinse them briefly with cold water. This helps to remove excess salt while keeping their flavors intact. You want each bite to burst with taste, not saltiness!
Build the Pickling Brine
In a saucepan, mix white vinegar, water, granulated sugar, black peppercorns, dried oregano, and red pepper flakes. Bring this mixture to a gentle boil. As it bubbles, the aroma will fill your kitchen! Feel free to experiment with the spices; add your favorites to customize the brine.
Blanch the Vegetables
Now, carefully add the drained vegetables to the boiling brine. Only let them simmer for 2 to 3 minutes. Blanching brightens the colors and flavors while softening them just slightly. Remember, you want them to retain their crunch!
Pack the Jars
Take clean jars and start by placing sliced garlic on the bottom. Then, pack the blanched veggies tightly on top. Don’t worry about being neat; it adds character! Layering helps with brine distribution. Plus, it looks beautiful when you see all those colors popping!
Pour the Brine
Carefully pour the hot pickling brine over the packed vegetables. Make sure they are fully submerged—this is very important for flavor and preservation. Let’s not forget safety: use a funnel if you have one to avoid spills and burns!
Cool
Once filled, let the jars cool to room temperature. Cooling before sealing is crucial because it prevents condensation inside the jars. Trust me, you want to keep that brine perfectly pickled!
Add the Olive Oil
When the jars have cooled, drizzle a bit of extra-virgin olive oil on top of each. This step adds richness and aroma, enhancing the overall flavor of your Italian Giardiniera. It’s like a silky hug for the veggies!
Seal and Refrigerate
Seal the jars tightly and transfer them to the refrigerator. This will keep your giardiniera fresh and flavorful. It’s like giving them a cozy home until they’re ready to shine on your table!
Let the Flavors Develop
For the best taste experience, allow your Italian Giardiniera to marinate for at least 24 to 48 hours. This time lets the flavors meld beautifully. But if you can wait longer, 4 to 5 days will give you an even more delightful punch!
Tips for Success
- Always use fresh, crisp vegetables for the best texture and taste.
- Don’t skip the salt-brining step; it’s essential for flavor and crunch.
- For a spicier giardiniera, adjust the jalapeño or red pepper flakes to your liking.
- Label your jars with the date; this helps keep track of how long they’ve been marinating.
- Try different spice combinations in the brine for a unique twist each time!
Equipment Needed for Italian Giardiniera
- Large bowl: For mixing and brining your veggies; a mixing bowl works perfectly.
- Cutting board and knife: Essential for chopping your vegetables; a sturdy surface will do.
- saucepan: To boil the brine; any medium pot will suffice.
- Jars: Use glass jars for storage; pickle jars or mason jars are excellent options.
- Measuring cups and spoons: For accurate ingredient portions; a simple set will do!
Variations of Italian Giardiniera
- Spicy Giardiniera: For a real heat boost, add more jalapeños or a pinch of cayenne pepper to the brine.
- Herbed Giardiniera: Mix in fresh herbs like basil or thyme for an aromatic twist that complements the vegetables beautifully.
- Sweet Giardiniera: Include diced sweet pickles or raise the amount of granulated sugar for a slightly sweeter profile.
- Mixed Vegetable Giardiniera: Feel free to add in seasonal veggies like zucchini or radishes for additional flavor and variety.
- Gluten-Free Giardiniera: Ensure all ingredients, particularly vinegar and spices, are certified gluten-free to enjoy this recipe worry-free.
Serving Suggestions for Italian Giardiniera
- Serve alongside sandwiches for a zesty crunch that elevates the flavors.
- Add it to salads for a delightful kick and extra nutrients.
- Pile it on charcuterie boards for a colorful and tasty addition.
- Complement with refreshing drinks like sparkling water or Italian spritzers.
- Use as a topping for grilled meats or fish for a vibrant touch.
FAQs about Italian Giardiniera
What is Italian Giardiniera used for?
Italian Giardiniera is incredibly versatile! You can use it as a condiment for sandwiches, to enhance salads, or as a vibrant topping for grilled meats. It brings a zesty punch to any dish and is perfect for snacking straight from the jar!
How long will homemade Italian Giardiniera last in the fridge?
Once sealed and refrigerated, your homemade Italian Giardiniera can last for about 2 to 3 weeks. Remember, the flavors develop even further during this time, so don’t hesitate to enjoy it throughout the week!
Can I adjust the spice level in this recipe?
Absolutely! If you prefer a milder flavor, reduce the amount of jalapeños and red pepper flakes. Conversely, if you like things spicy, feel free to amp it up. It’s all about personal preference!
Can I use different vegetables in Italian Giardiniera?
Yes! This recipe is quite flexible. You can swap in seasonal veggies such as zucchini, green beans, or even add some radishes. Get creative and make it your own!
How long should I let Italian Giardiniera sit before eating?
For the best flavor experience, let your giardiniera marinate for at least 24 to 48 hours. However, waiting 4 to 5 days will truly elevate those flavors, making it well worth the wait!
Final Thoughts
Creating Italian Giardiniera is more than just a cooking activity; it’s an enjoyable journey bursting with vibrant colors and flavors. Each step is filled with the promise of transformation, turning humble vegetables into something spectacular. The anticipation of tasting that first crunchy bite after marinating is worth every moment spent in the kitchen. As a busy home cook, I find joy in knowing that I have a flavorful condiment ready to brighten up meals throughout the week. So grab those veggies, and let’s pickle our way to a deliciously zesty experience together!
Italian Giardiniera: Discover This Flavorful Pickle Recipe!
- Prep Time: 15 minutes
- Cook Time: 10 minutes
- Total Time: 12 hours 25 minutes
- Yield: 4–6 jars 1x
- Category: Condiment
- Method: Pickling
- Cuisine: Italian
- Diet: Vegetarian
Description
Italian Giardiniera is a flavorful and vibrant pickled vegetable mix that adds a zesty kick to any dish.
Ingredients
- 2 cups cauliflower florets
- 1 cup carrots, sliced
- 1 cup celery, sliced
- 1 cup red bell pepper, diced
- 1 cup green bell pepper, diced
- ½ cup banana peppers, sliced
- ¼ cup jalapeños, thinly sliced
- 4 garlic cloves, thinly sliced
- 1½ cups white vinegar
- 1½ cups water
- 2 tbsp kosher salt
- 1 tbsp granulated sugar
- 1 tsp black peppercorns
- 1 tsp dried oregano
- ½ tsp red pepper flakes
- ½ cup extra-virgin olive oil
Instructions
- Prep the Vegetables: Wash all the vegetables and cut them into bite-size pieces.
- Salt-Brine the Vegetables: Place the vegetables in a large bowl, sprinkle with kosher salt, and refrigerate for 8 to 12 hours.
- Drain and Rinse: Drain the vegetables and rinse briefly with cold water.
- Build the Pickling Brine: Combine white vinegar, water, granulated sugar, black peppercorns, dried oregano, and red pepper flakes in a saucepan and bring to a gentle boil.
- Blanch the Vegetables: Add the drained vegetables to the boiling brine and simmer for 2 to 3 minutes.
- Pack the Jars: Place sliced garlic in clean jars and pack the vegetables tightly on top.
- Pour the Brine: Pour hot pickling brine over the packed vegetables until fully submerged.
- Cool: Let the jars cool to room temperature.
- Add the Olive Oil: Once cooled, add extra-virgin olive oil to each jar.
- Seal and Refrigerate: Seal jars tightly and transfer to the refrigerator.
- Let the Flavors Develop: Allow giardiniera to marinate for at least 24 to 48 hours before serving.
Notes
- For best flavor, let the giardiniera sit for 4 to 5 days before consuming.
- This recipe can be adjusted to include other vegetables as desired.
- Ensure the jars are properly sterilized before packing them with vegetables.
Nutrition
- Serving Size: 1 oz
- Calories: 25
- Sugar: 1g
- Sodium: 350mg
- Fat: 2g
- Saturated Fat: 0g
- Unsaturated Fat: 2g
- Trans Fat: 0g
- Carbohydrates: 5g
- Fiber: 1g
- Protein: 1g
- Cholesterol: 0mg