
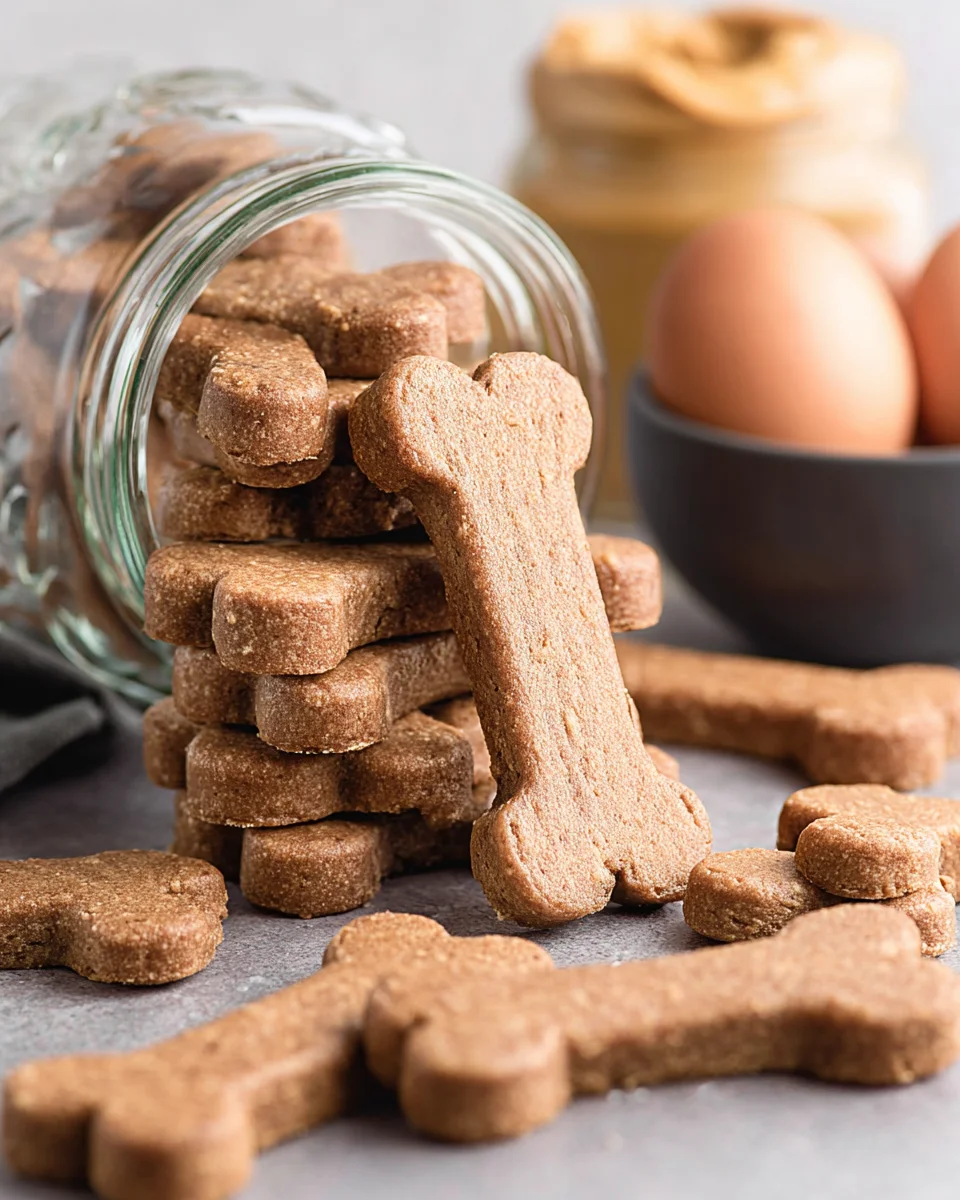
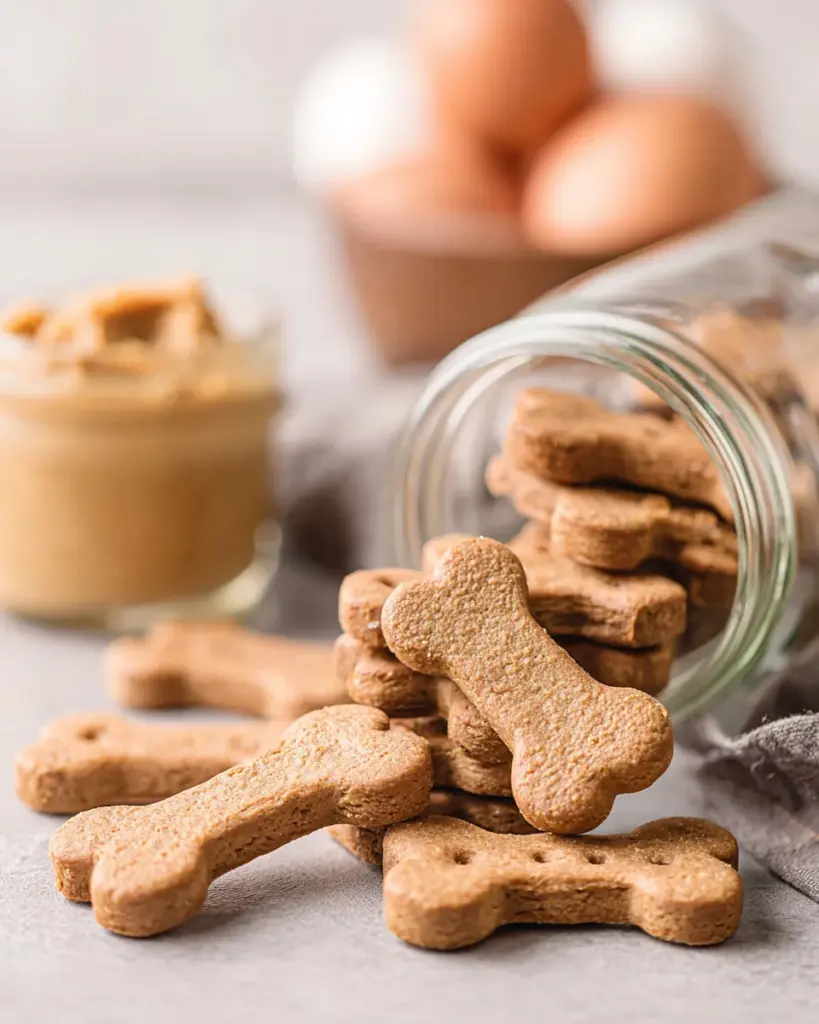
Why Homemade Dog Treats Are a Great Choice
Making homemade peanut butter dog treats might seem like a small thing, but it actually makes a big difference in your dog’s diet. Store-bought treats often contain preservatives, artificial flavors, or unnecessary fillers. When you make them yourself, you know exactly what’s going into every bite—and that peace of mind is worth it.
These treats are simple, wholesome, and made with just a handful of ingredients. No complicated steps, no mystery additives—just real food that your dog will genuinely enjoy. Plus, there’s something satisfying about baking for your pet. It’s a small way to show care, and dogs definitely notice when something tastes extra good.
Save this recipe and cook smarter
Keep your favorite Cooking Layer recipes in one place, plan your weekly meals, and quickly find dinner ideas whenever you need them.
Free to download • Fast and easy to use
Another advantage is customization. Every dog is different—some prefer softer treats, others like a crunch. With homemade recipes, you can adjust texture, size, and even ingredients based on your dog’s needs and preferences.
Benefits of Making Treats at Home
When you make treats at home, you control everything—ingredients, portion size, and quality. This is especially helpful if your dog has sensitivities or dietary restrictions.
You also avoid hidden sugars, excess salt, and artificial preservatives that can sometimes sneak into commercial products.
Why Dogs Love Peanut Butter
Peanut butter is a favorite for most dogs, and it’s easy to see why. It’s rich, creamy, and packed with flavor. It also provides protein and healthy fats, making it both tasty and somewhat nutritious in moderation.
Just make sure to use xylitol-free peanut butter, as xylitol is harmful to dogs.
Ingredients Breakdown and Nutritional Value
Each ingredient in this recipe serves a purpose—not just for taste, but for texture and nutrition.
Peanut Butter and Protein Benefits
The main ingredient, creamy peanut butter, provides protein and healthy fats. It helps bind the dough together while adding flavor that dogs love.
It’s also what gives these treats their soft, slightly dense texture.
Banana and Natural Sweetness
The mashed banana adds natural sweetness without needing refined sugar. It also contributes moisture, which helps keep the treats from becoming too dry.
Bananas contain potassium and fiber, making them a simple, dog-friendly addition.
Whole Wheat Flour and Texture
Whole wheat flour gives the treats structure and makes them easy to roll and cut. It creates a firm dough that holds its shape during baking.
If your dog has grain sensitivities, this can be substituted—but for most dogs, it works perfectly.
Essential Tools for Making Dog Treats
Basic Kitchen Equipment
You’ll need a mixing bowl, a spoon or mixer, a rolling pin, and a baking sheet lined with parchment paper.
Optional Tools for Fun Shapes
Dog-themed cookie cutters add a fun touch, but any shape works. You can even cut simple squares or circles if you don’t have cutters.
Step-by-Step Peanut Butter Dog Treats Recipe
Mixing the Dough
Combine peanut butter, egg, mashed banana, and maple syrup until smooth. Gradually mix in the flour until a dough forms.
Rolling and Cutting the Treats
Roll the dough out to about ½ inch thick. Cut into shapes and place on a lined baking sheet.
Baking and Cooling
Bake until golden brown, then let cool completely before serving.
Pro Tips for Perfect Dog Treats
Making homemade peanut butter dog treats is simple, but getting the texture and consistency just right can make a big difference—both for how the treats turn out and how much your dog enjoys them. Since this dough behaves a bit differently than typical cookie dough, a few small adjustments can help you avoid frustration and get consistent results every time.
Getting the Right Dough Consistency
This dough is naturally a bit crumbly, which can feel unusual if you’re used to baking traditional cookies. That’s completely normal because there’s no butter or large amount of liquid holding it together. The key is finding the balance where it holds shape without sticking.
If the dough feels too dry and cracks when rolling, add water 1 tablespoon at a time until it becomes easier to work with. On the flip side, if it feels sticky, lightly dust your surface with flour rather than adding more to the dough itself. This keeps the treats from becoming too dense.
Another helpful trick is letting the dough rest for a couple of minutes before rolling. This allows the flour to absorb moisture fully, which can naturally improve the texture.
Baking for Crunch vs Soft Texture
The baking time directly affects the texture of the treats. If your dog prefers softer treats, aim for the lower end of the baking time (around 15 minutes). The centers will stay slightly tender, making them easier to chew—especially for smaller or older dogs.
For a crunchier biscuit-style treat, bake closer to 20–25 minutes. You can even turn off the oven and leave the treats inside for a few extra minutes to dry out slightly more. This not only creates a firmer texture but can also extend shelf life.
Common Mistakes and How to Avoid Them
Even though this recipe is beginner-friendly, a few common issues can pop up if you’re not careful. The good news is they’re all easy to fix.
Dough Too Dry or Too Sticky
Dry dough usually means not enough moisture, while sticky dough often comes from too much banana or peanut butter variation. Adjust gradually—small changes go a long way here.
Always aim for a dough that holds together when pressed but doesn’t stick heavily to your hands.
Overbaking or Undercooking
Overbaking can make treats too hard, while underbaking leaves them soft and less shelf-stable. Keep an eye on color—they should be lightly golden brown, not dark.
Remember, they’ll firm up slightly as they cool, so don’t rely only on how they feel straight out of the oven.
Variations and Customization Ideas
One of the best things about homemade dog treats is how easy they are to customize. You can tweak ingredients based on what your dog likes—or what you have on hand.
Grain-Free Alternatives
If your dog is sensitive to wheat, you can substitute oat flour or rice flour for the whole wheat flour. These options still provide structure while being gentler on digestion.
Keep in mind that different flours absorb moisture differently, so you may need to adjust the liquid slightly.
Flavor Add-Ins Dogs Love
You can mix in small amounts of dog-safe ingredients like:
- Finely shredded carrots
- Pumpkin puree
- Unsweetened applesauce
These add flavor, nutrients, and a bit of variety without complicating the recipe.
Serving and Portion Tips
Even healthy treats should be given in moderation. Think of these as a supplement to your dog’s regular diet—not a replacement.
How Many Treats to Give
The number depends on your dog’s size and activity level. Smaller dogs should have fewer, while larger dogs can handle a bit more. A good rule is that treats should make up no more than 10% of daily calorie intake.
You can also break larger treats into smaller pieces to stretch them further.
Storage and Shelf Life
Proper storage helps keep these treats fresh and safe for your dog.
Keeping Treats Fresh and Safe
Store the treats in an airtight container at room temperature for up to 5 days. For longer storage, keep them in the refrigerator for up to 2 weeks.
If you’ve baked them to a crunchier texture, they’ll last a bit longer at room temperature. Softer treats should be refrigerated sooner.
You can also freeze them for up to 2–3 months. Just thaw before serving.
Conclusion
Homemade peanut butter dog treats are one of the easiest ways to give your dog something special while knowing exactly what’s in it. With just a few simple ingredients, you can create treats that are wholesome, customizable, and genuinely enjoyable for your pet.
What makes this recipe stand out is its simplicity. No complicated steps, no hard-to-find ingredients—just a straightforward process that delivers consistent results. And once you’ve made them once, you’ll likely find yourself experimenting with new variations and flavors.
It’s a small effort that goes a long way—and if your dog could talk, they’d probably ask you to make them again.
FAQs
1. Can I use crunchy peanut butter?
Yes, but it will create a slightly different texture with small peanut pieces.
2. Is maple syrup safe for dogs?
In small amounts, yes—but it’s optional and can be omitted if preferred.
3. Can I skip the banana?
Yes, but you may need to add a bit more liquid to maintain dough consistency.
4. How do I know when the treats are done?
They should be firm and lightly golden brown.
5. Can I make these without flour?
You can try alternatives like oat flour, but some form of flour is needed for structure.
Print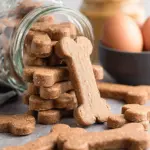
Homemade Peanut Butter Dog Treats
Description
Making homemade peanut butter dog treats might seem like a small thing, but it actually makes a big difference in your dog’s diet. Store-bought treats often contain preservatives, artificial flavors, or unnecessary fillers. When you make them yourself, you know exactly what’s going into every bite—and that peace of mind is worth it.
Ingredients
1 cup creamy peanut butter
1 egg
½ ripe banana mashed
1 tablespoon maple syrup
1 cup whole wheat flour
Instructions
Preheat the oven to 350 degrees Fahrenheit and set aside a baking pan that is lined with parchment paper.
In a mixer, beat together the peanut butter, egg, banana, and maple syrup until fully combined. Slowly beat in the whole wheat flour.
1 cup creamy peanut butter,1 egg,½ ripe banana,1 tablespoon maple syrup,1 cup whole wheat flour
Take the dough and roll it out on a floured countertop until it is ½ inch thick. It should be a crumbly dough. If you would like to firm it up slightly, add in 2-3 Tablespoons of water.
Once rolled out, use a dog-inspired cookie cutter to cut out cookies and set them on the sheet pan.
Bake for 15-25 minute or until golden brown. Remove and let cool before serving.
Enjoyed this recipe?
Discover more delicious recipes, save your favorites, and plan your meals with the Cooking Layer app.
Free to download • Fast and easy to use


