
What Are Italian Grinder Sliders?
The Viral Grinder Sandwich Inspiration
If you’ve spent any time scrolling through food content lately, chances are you’ve come across the Italian grinder sandwich. It’s bold, messy in the best way, and packed with layers of deli meats, cheese, and a creamy, tangy salad topping that completely transforms the sandwich experience.
Now imagine taking that oversized sandwich and turning it into bite-sized sliders that are easier to serve, easier to eat, and somehow even more satisfying. That’s exactly what Italian Grinder Sliders are all about.
Save this recipe and cook smarter
Keep your favorite Cooking Layer recipes in one place, plan your weekly meals, and quickly find dinner ideas whenever you need them.
Free to download • Fast and easy to use
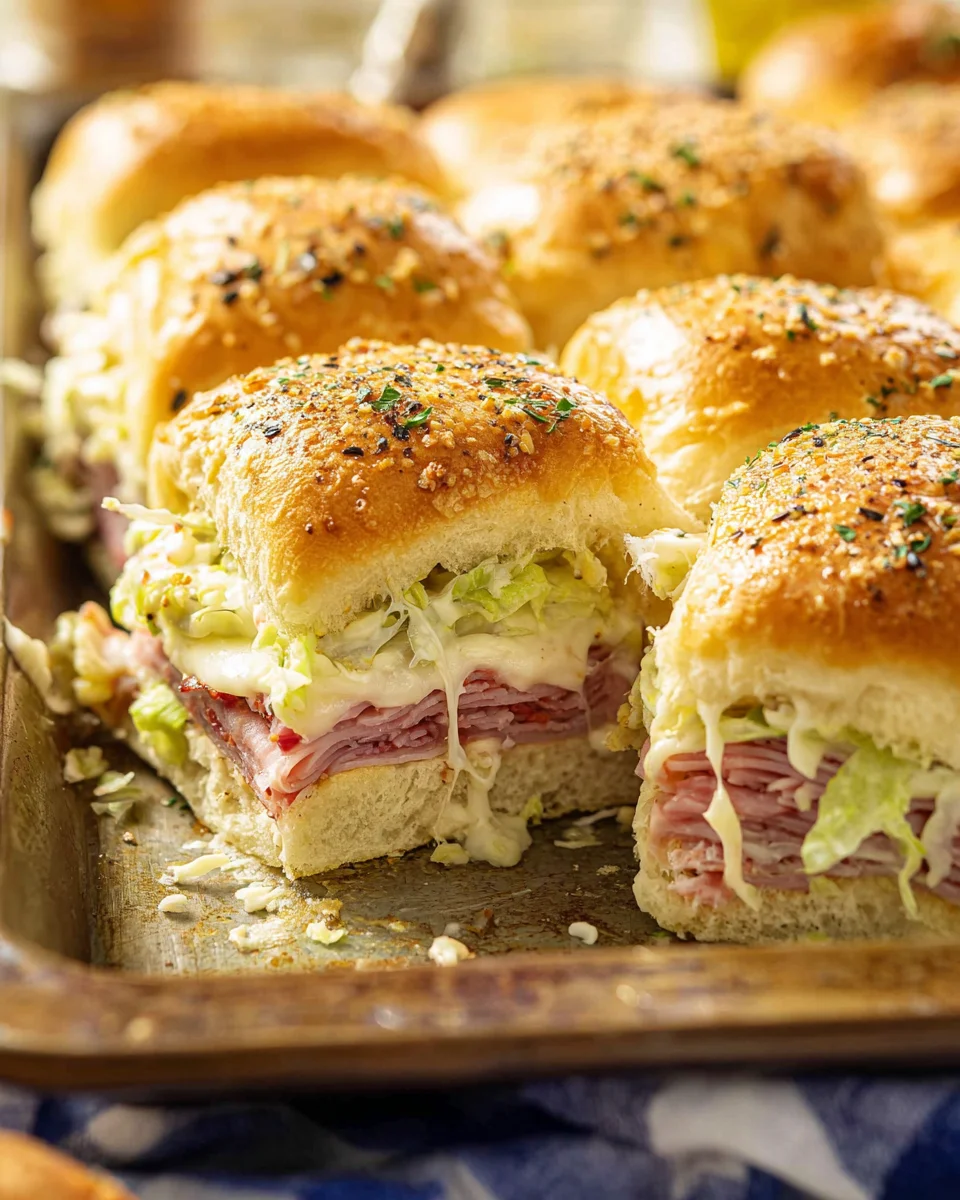
At their core, they combine everything people love about the original grinder—savory meats, melty cheese, and that signature creamy salad—but present it in a way that’s perfect for sharing. Instead of one large sandwich, you get a tray full of perfectly portioned sliders that deliver the same flavor in every bite.
What makes this recipe stand out is the contrast between textures and temperatures. You’ve got warm, toasted buns and melted cheese paired with a cool, crunchy salad topping. It’s a combination that feels dynamic and keeps each bite interesting.
Why Sliders Make It Even Better
Sliders take an already great idea and make it more practical. Instead of assembling individual sandwiches, you build everything in one pan, bake it, and slice it into portions. It’s efficient, especially when you’re feeding a group.
Using Hawaiian rolls adds another layer of flavor. Their slight sweetness balances the salty meats and tangy dressing, creating a well-rounded bite that doesn’t lean too heavily in one direction.
They’re also incredibly shareable. Whether it’s a party, game day, or casual get-together, sliders fit right in. People can grab one (or three) without needing utensils or plates, which makes them ideal for relaxed settings.
And let’s be honest—there’s something satisfying about pulling apart warm, cheesy sliders straight from the tray. It’s simple, comforting, and always a hit.
Why This Recipe Is So Popular
The Perfect Mix of Hot and Cold Layers
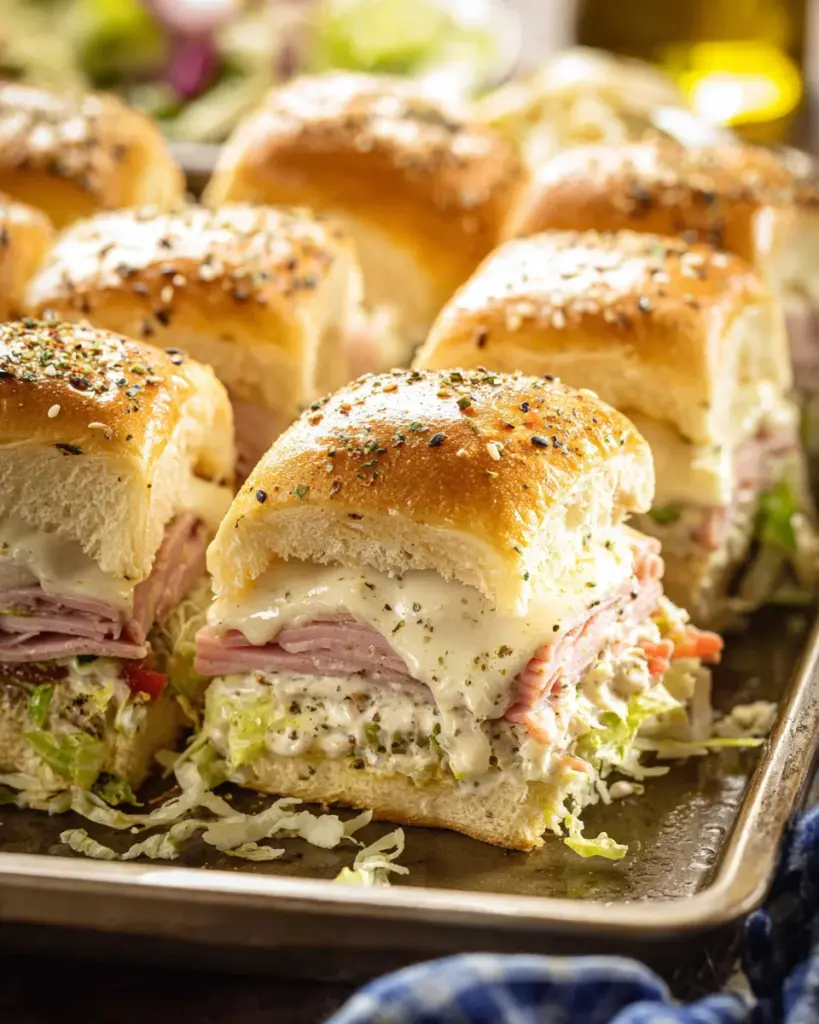
One of the most interesting things about these sliders is how they combine hot and cold elements in a single bite. The base is baked until the cheese is melted and the bread is lightly toasted, creating a warm, savory foundation.
Then comes the grinder salad—cool, crisp, and creamy. It adds freshness and texture that cuts through the richness of the meat and cheese. This contrast is what makes the sliders feel balanced rather than heavy.
The dressing itself is tangy, slightly garlicky, and packed with herbs. It clings to the lettuce and vegetables, ensuring every bite is full of flavor.
Why They’re Perfect for Parties and Game Days
These sliders are practically made for gatherings. They’re easy to prepare in advance, simple to bake, and quick to serve.
Because they’re baked as a whole, you don’t have to worry about assembling each slider individually. Just slice and serve. That convenience makes them a favorite for busy hosts.
They also hold up well. Even after sitting out for a bit, they remain flavorful and satisfying. And since they’re already portioned, guests can grab them without any fuss.
Ingredient Breakdown and Flavor Roles
The Creamy Grinder Salad Explained
The grinder salad is what sets this recipe apart. It’s made with mayonnaise, red wine vinegar, garlic powder, oregano, and parmesan, creating a dressing that’s creamy, tangy, and full of flavor.
When tossed with lettuce, tomato, red onion, and pepperoncini, it becomes a crunchy, zesty topping that adds freshness and contrast.
The Layers of Deli Meats and Cheese
The combination of turkey, ham, and salami provides a mix of flavors—mild, salty, and slightly spicy. Pairing them with provolone and muenster cheese adds creaminess and a smooth melt.
Each layer builds on the last, creating a sandwich that feels stacked and satisfying.
The Buttery Topping That Brings It All Together
The melted butter mixed with Italian seasoning and parmesan adds flavor to the top of the buns while helping them turn golden and slightly crisp.
Tools You’ll Need for Easy Preparation
Essential Kitchen Equipment
You’ll need a 9×13-inch baking dish or sheet pan, mixing bowls, a whisk, and a pastry brush.
Tips for Smooth Assembly
Keep the rolls connected while assembling. This makes layering easier and ensures even baking.
Step-by-Step Guide to Making Italian Grinder Sliders
Preparing the Grinder Salad
Mix the dressing ingredients, then toss with the vegetables. Chill while preparing the sliders.
Layering the Sliders
Slice the rolls, layer meats and cheeses, then replace the top buns.
Baking to Melty Perfection
Brush with butter mixture, cover with foil, and bake at 350°F (175°C) for 15–20 minutes.
Assembling with Fresh Toppings
Remove the tops, add the chilled grinder salad, then replace and slice.
Variations and Creative Twists
Spicy Grinder Sliders
Add extra red pepper flakes or spicy meats for heat.
Lighter or Healthier Options
Use lean meats, low-fat cheese, or light mayo.
Serving Ideas and Pairings
Best Side Dishes
Serve with chips, fries, or a simple salad.
Presentation Tips for Gatherings
Arrange on a platter and serve warm for best results.
Storage and Reheating Tips
Keeping Sliders Fresh
Store components separately if possible for best texture.
Reheating Without Losing Texture
Reheat the baked sliders before adding the salad topping.
Common Mistakes to Avoid
Adding the salad before baking can make the sliders soggy.
Nutritional Overview
| Nutrient | Approximate Value per Slider |
|---|---|
| Calories | 220–280 kcal |
| Protein | 12g |
| Fat | 14g |
| Carbs | 18g |
Conclusion
Italian Grinder Sliders are bold, flavorful, and incredibly satisfying. With their mix of textures and layers, they bring something unique to the table—perfect for any occasion.
FAQs
1. Can I make these ahead of time?
Yes, prep everything and assemble before serving.
2. Can I use different meats?
Absolutely, customize to your taste.
3. Do I have to use Hawaiian rolls?
No, but they add a nice sweetness.
4. Can I skip the salad topping?
You can, but it’s what makes them special.
5. How do I keep them from getting soggy?
Add the salad after baking.
Print
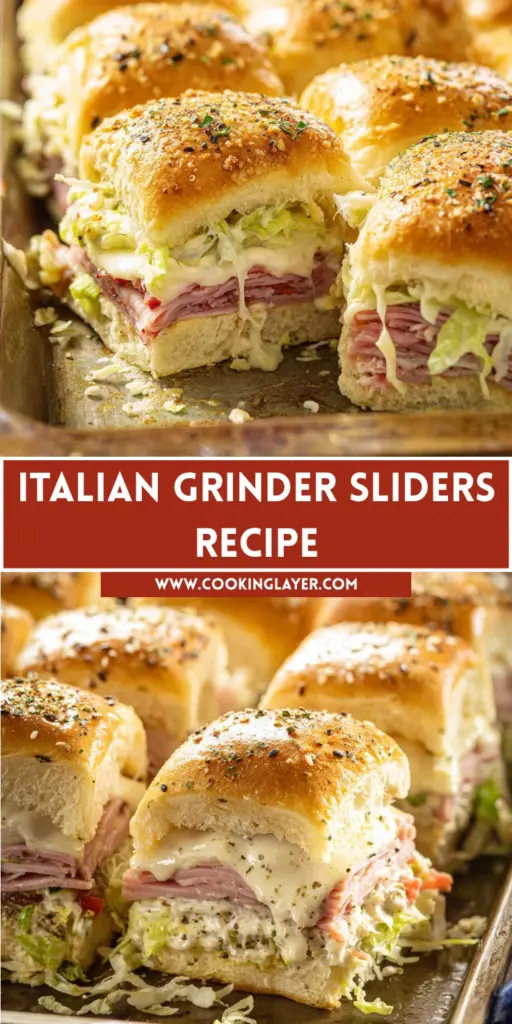
Italian Grinder Sliders Recipe
Ingredients
For the grinder salad
½ cup mayonnaise
1 Tablespoon red wine vinegar
1 teaspoon garlic powder
½ teaspoon coarse kosher salt
½ teaspoon black pepper
1 teaspoon dried oregano
¼ teaspoon crushed red pepper flakes
¼ cup grated parmesan cheese
3 cups shredded iceburg lettuce
1 large tomato, diced
½ small red onion, diced
¼ cup sliced pepperoncini peppers, drained
For the sliders
12 Hawaiian slider buns
4 ounce deli sliced turkey
4 ounce slices provolone cheese
4 ounce slices muenster cheese
4 ounce deli sliced ham
4 ounce deli sliced salami
For the topping
4 Tablespoons unsalted butter, melted
½ teaspoon Italian seasoning
1 ½ Tablespoons grated parmesan cheese
Instructions
Instructions
For the Grinder salad topping
In a medium mixing bowl, whisk together the mayonnaise, red wine vinegar, garlic powder, salt, pepper, oregano, and parmesan cheese.
Toss with lettuce, tomato, red onion, and pepperoncini peppers until fully combined. Cover and refrigerate while you make and bake the slider buns.
For the Sliders
Preheat the oven to 350 degrees F. Spray a cookie sheet or 13×9 baking dish with non-stick cooking spray or light it with foil.
Place the 12-pack of Hawaiian rolls on the pan (do not break them apart, keep them connected). Using a large serrated bread knife, slice the top of the buns off at the midpoint. Set the top buns aside.
Layer the turkey on top of the bottom bun. Then layer the provolone cheese, muenster cheese, ham, and salami. Place the top bun on top of the salami.
In a small bowl, whisk together the topping of melted butter and Italian seasoning. Using a silicone pastry brush, brush over the top of the buns. Sprinkle with grated parmesan cheese. Lightly cover sliders with foil.
Bake sliders for 15-20 minutes, covered, until buns are lightly browned and cheese is melted.
Assemble sliders.
Remove sliders from the oven and carefully remove the top of the slider buns (they will be hot so use a large spatula and oven mitts. Set the top bun aside.
Spoon the grinder salad over the hot salami and place the slider bun top back in place. Slice sliders into individual squares and serve warm.
Enjoyed this recipe?
Discover more delicious recipes, save your favorites, and plan your meals with the Cooking Layer app.
Free to download • Fast and easy to use


