
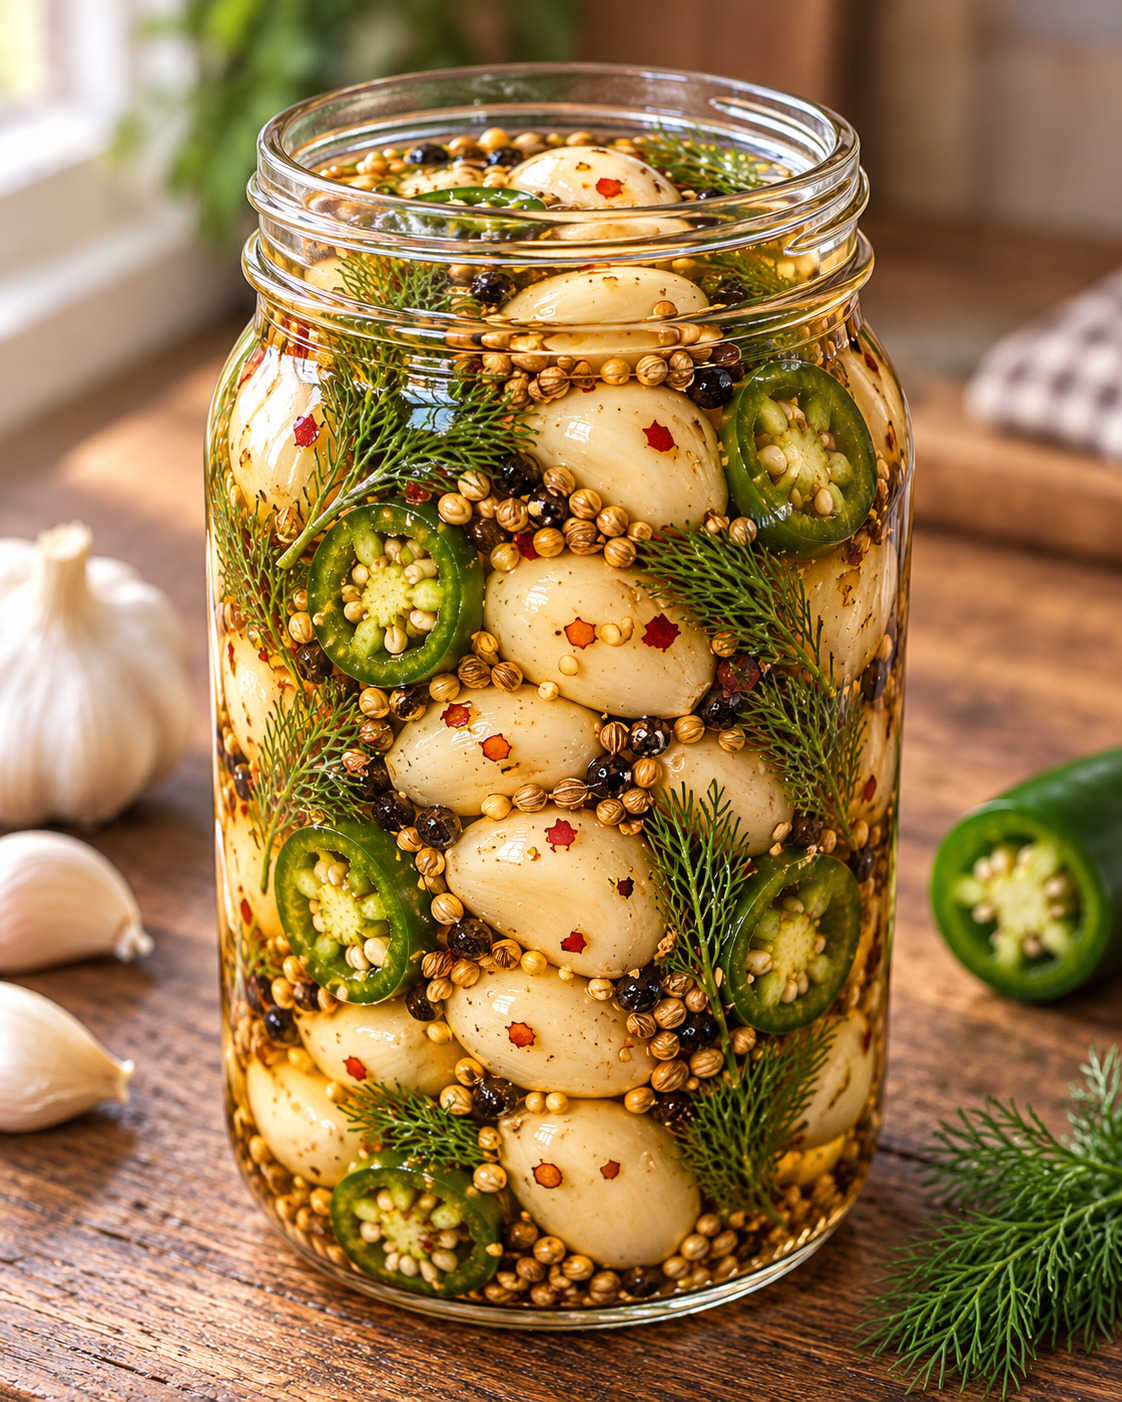
Spicy dill pickled garlic is the kind of refrigerator staple that can wake up an entire meal. Whole garlic cloves sit in a bright vinegar brine with fresh dill, sliced jalapeño, coriander seeds, mustard seeds, black peppercorns, and red pepper flakes. After a few days in the refrigerator, the sharp bite of raw garlic softens into something tangy, crunchy, savory, and pleasantly hot.
This is a quick refrigerator-pickle recipe, so there is no complicated canning process. You simply peel the garlic, pack a clean jar with the herbs and spices, heat the brine, and pour it over everything. The hardest part is waiting long enough for the flavors to develop.
Serve the cloves on a snack board, chop them into potato salad, tuck them into sandwiches, or enjoy one straight from the jar. The leftover brine is useful too: whisk a spoonful into salad dressing, splash it into a marinade, or add it to a savory cocktail.
Why You’ll Love This Recipe
- Bold, balanced flavor: Vinegar gives the garlic a clean tang, while a small amount of sugar rounds out the acidity without making the pickles sweet.
- Easy refrigerator method: No pressure canner or water-bath processing is required.
- Adjustable heat: Use fewer jalapeño slices for a gentle kick or add an extra pepper for a hotter batch.
- A practical make-ahead condiment: One jar adds instant flavor to sandwiches, salads, cheese boards, and simple weeknight meals.
- Minimal prep: Peeling the garlic takes the most time; after that, the brine comes together in minutes.
Ingredients You’ll Need
Garlic
Use firm, fresh cloves without soft spots, mold, or green shoots. Pre-peeled garlic saves time, although freshly peeled cloves usually have the best texture.
Fresh dill
Choose bright green, fragrant dill sprigs. They give the brine its familiar pickle aroma and fresh herbal flavor.
Jalapeño
Jalapeño adds fresh pepper flavor and heat. Leave the ribs and seeds in for a stronger kick or remove them for a milder jar.
Whole spices
Coriander seeds add a citrusy note, mustard seeds bring warmth, and peppercorns contribute earthy spice. Red pepper flakes reinforce the heat.
Vinegar brine
Distilled white vinegar with 5% acidity creates the tangy base. Salt seasons the cloves, while a little sugar rounds out the brine.
How to Make Spicy Dill Pickled Garlic
1. Prepare the jar
Wash a 1-quart glass jar and its lid in hot, soapy water, then rinse well. Because this is a refrigerator pickle, the jar does not need to go through a canning process, but it should be very clean. Let it drain while you prepare the ingredients.
2. Peel the garlic
Separate the garlic heads into individual cloves. Trim away the dry root ends, then remove all the papery skin. Discard any bruised or damaged cloves. Rinse the peeled garlic briefly and pat it dry.
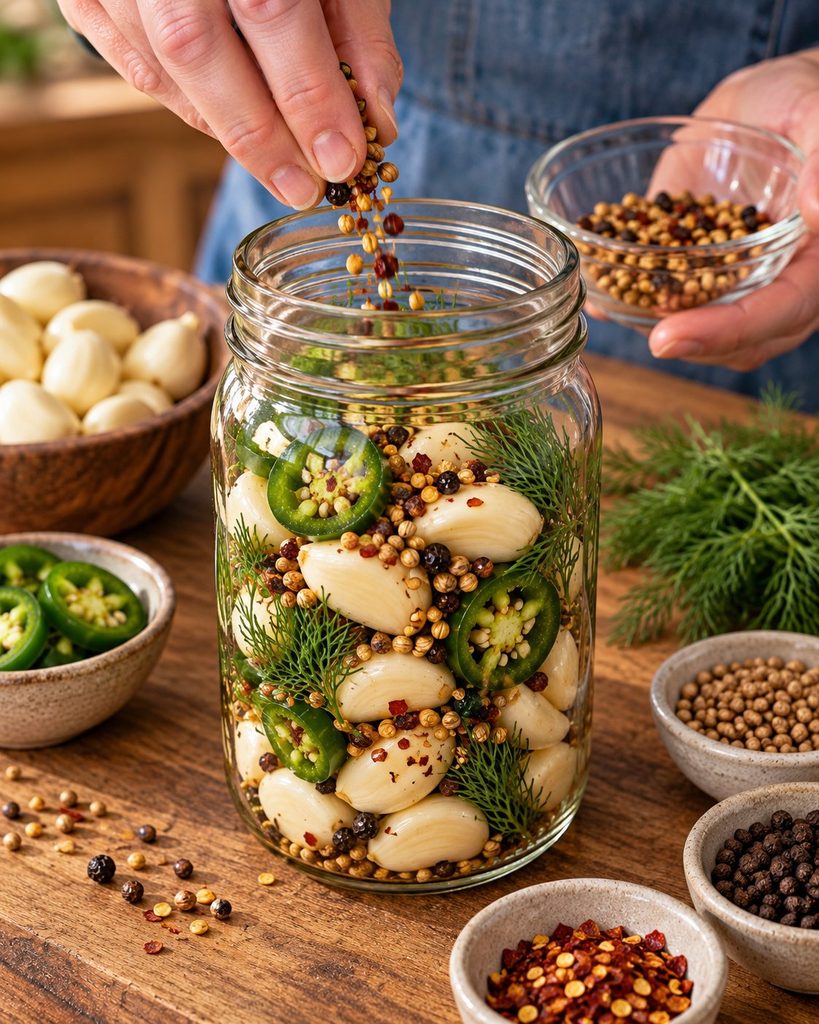
3. Pack the aromatics
Place half of the dill, jalapeño slices, coriander seeds, mustard seeds, peppercorns, and red pepper flakes in the bottom of the jar. Add the garlic cloves, gently shaking the jar so they settle without being crushed. Tuck the remaining dill and jalapeño around the sides and sprinkle the rest of the spices over the top.
4. Make the brine
Combine the white vinegar, water, kosher salt, and sugar in a small saucepan. Bring the mixture to a gentle simmer over medium heat, stirring until the salt and sugar dissolve completely. You do not need to boil it aggressively.
5. Fill the jar
Carefully pour the hot brine over the garlic, leaving about 1/2 inch of space at the top. Tap the jar gently on the counter or slide a clean utensil around the inside edge to release trapped air bubbles. Make sure the garlic remains covered with brine. Add a little more equal-parts vinegar and water if needed.
6. Cool and refrigerate
Let the uncovered jar cool at room temperature for about 30 minutes. Secure the lid, label the jar with the date, and refrigerate it. For the best flavor, wait at least 5 days before tasting. The garlic becomes more balanced and pickle-like after 1 to 2 weeks.
Tips for Crisp, Flavorful Pickled Garlic
Start with fresh garlic and keep the cloves whole. Whole garlic retains more crunch and develops flavor gradually.
Use vinegar labeled 5% acidity. Distilled white vinegar creates the brightest, cleanest flavor. Apple cider vinegar can be used for a fruitier, darker brine, but it will change the taste and appearance. Pickling salt is also a good choice because it dissolves cleanly.
Keep every clove submerged. Garlic floating above the brine can discolor or spoil more quickly. A small glass fermentation weight is useful, but a tightly packed jar often holds everything in place on its own.
How Spicy Is It?
As written, the recipe has medium heat. Pepper strength varies, so taste a tiny piece before adding it.
For mild pickled garlic, remove the jalapeño seeds and inner ribs, use half a pepper, and reduce the red pepper flakes to 1/4 teaspoon. For a hotter jar, keep all the seeds, add a second jalapeño, or substitute a serrano pepper. Make one small change at a time; the heat continues to spread through the brine as the jar rests.
Serving Ideas
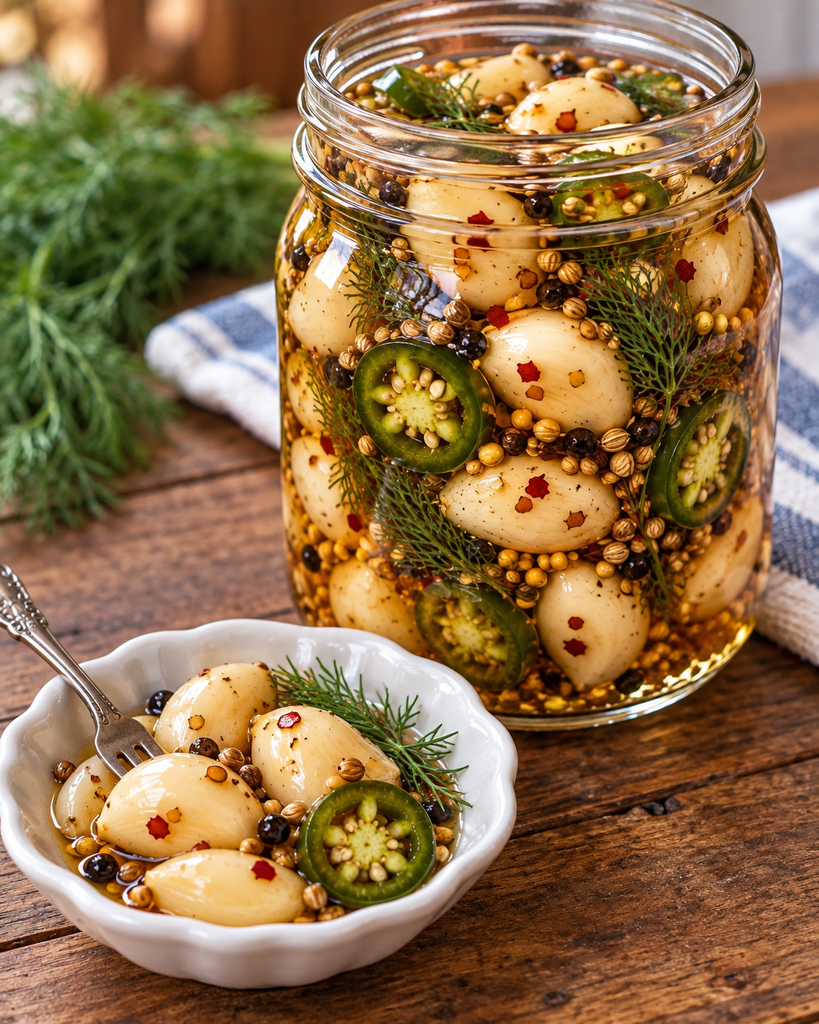
Spicy pickled garlic works anywhere you would use pickles, olives, capers, or raw garlic. Add whole cloves to a charcuterie board with sharp cheddar, creamy goat cheese, crackers, cured meats, and roasted nuts. Their acidity cuts through rich foods and refreshes the palate.
For sandwiches and burgers, slice the cloves thinly and layer them with deli meat, grilled chicken, or roasted vegetables. Chop them into tuna salad, egg salad, macaroni salad, or potato salad for instant tang and crunch. You can also mash a clove into mayonnaise for a quick sandwich spread.
Storage and Food Safety
This recipe is intended only for refrigerator storage. It has not been developed or tested for shelf-stable canning, so do not store the sealed jar in a pantry or at room temperature. Once cooled, keep it refrigerated at 40°F or below.
Always use a clean fork or spoon, keep the cloves below the brine, and close the lid promptly. For best quality, enjoy the garlic within 4 to 6 weeks. Discard the jar if you notice mold, unusual fizzing, an unpleasant odor, a bulging lid, or a slimy texture.
Garlic may occasionally turn blue or blue-green during pickling. This harmless color change is caused by natural sulfur compounds reacting under acidic conditions. It can look surprising, but it does not automatically mean the garlic has spoiled.
Frequently Asked Questions
When is pickled garlic ready to eat?
You can taste it after about 5 days, but the flavor is noticeably better after 1 to 2 weeks. Early on, the center of each clove may still taste strongly of raw garlic. More resting time allows the vinegar, dill, pepper, and spices to penetrate.
Can I use pre-peeled garlic?
Yes. Choose refrigerated pre-peeled cloves that look firm and fresh, check the use-by date, and discard any soft or discolored pieces. Freshly peeled garlic usually stays a little crisper, but pre-peeled garlic makes this recipe exceptionally fast.
Why did my garlic turn blue?
The pigments can change when garlic’s natural enzymes and sulfur compounds react with acid. It is more common with young garlic or certain growing conditions. If the jar was prepared and refrigerated correctly and there are no signs of spoilage, the color alone is generally harmless.
Can I reuse the brine?
Use leftover brine as a dressing, marinade, or flavoring, but do not reuse it to pickle a fresh full batch of garlic. The acidity and salt concentration change as the first batch absorbs liquid and releases moisture. Prepare fresh brine for predictable flavor and safety.
Spicy Dill Pickled Garlic Recipe
Prep Time: 20 minutes
Cook Time: 5 minutes
Cooling Time: 30 minutes
Pickling Time: 5 days minimum
Yield: 1 quart jar, about 24 servings
Method: Refrigerator pickling
Cuisine: American
Ingredients
- 3 cups peeled whole garlic cloves (about 12 to 14 heads)
- 1 medium jalapeño, sliced into rounds
- 5 to 6 fresh dill sprigs
- 1 teaspoon coriander seeds
- 1 teaspoon mustard seeds
- 1 teaspoon black peppercorns
- 1/2 teaspoon red pepper flakes, or to taste
- 1 cup distilled white vinegar (5% acidity)
- 1 cup water
- 1 tablespoon kosher salt or pickling salt
- 1 tablespoon granulated sugar
Instructions
- Wash a 1-quart glass jar and lid thoroughly with hot, soapy water. Rinse and drain.
- Trim and peel the garlic cloves. Discard any cloves that are soft, bruised, moldy, or sprouted.
- Add half of the dill, jalapeño, coriander seeds, mustard seeds, peppercorns, and red pepper flakes to the jar.
- Pack in the garlic, then tuck the remaining dill and jalapeño around the cloves. Add the remaining spices.
- Combine the vinegar, water, salt, and sugar in a saucepan. Bring to a gentle simmer, stirring until the salt and sugar dissolve.
- Carefully pour the hot brine into the jar, leaving 1/2 inch of headspace. Release trapped air and make sure the garlic is completely submerged.
- Cool uncovered for 30 minutes, then close the jar and refrigerate.
- Wait at least 5 days before serving; for the best flavor, refrigerate for 1 to 2 weeks before opening.
Notes
- This is a refrigerator pickle and is not shelf stable.
- Adjust the jalapeño and red pepper flakes to control the heat.
- Keep the garlic submerged and use clean utensils when serving.
- Store in the refrigerator and enjoy within 4 to 6 weeks.
Final Thoughts
The cloves stay pleasantly firm, the dill makes the brine fragrant, and the jalapeño keeps every bite interesting. Give the jar a few patient days in the refrigerator, and you will have a bold homemade condiment ready for snacks, sandwiches, and salads.
Print
Spicy Dill Pickled Garlic
Description
Crunchy whole garlic cloves are pickled with fresh dill, jalapeño, red pepper flakes, and whole spices. This easy refrigerator pickle is tangy, savory, and pleasantly spicy.
Ingredients
- 3 cups peeled whole garlic cloves, about 12 to 14 heads
- 1 medium jalapeño, sliced into rounds
- 5 to 6 fresh dill sprigs
- 1 teaspoon coriander seeds
- 1 teaspoon mustard seeds
- 1 teaspoon whole black peppercorns
- 1/2 teaspoon red pepper flakes, or to taste
- 1 cup distilled white vinegar with 5% acidity
- 1 cup water
- 1 tablespoon kosher salt or pickling salt
- 1 tablespoon granulated sugar
Instructions
- Wash a 1-quart glass jar and its lid thoroughly with hot, soapy water. Rinse well and allow them to drain.
- Trim and peel the garlic cloves. Discard any cloves that are soft, moldy, bruised, or sprouted.
- Place half of the fresh dill, jalapeño slices, coriander seeds, mustard seeds, black peppercorns, and red pepper flakes in the bottom of the jar.
- Pack the peeled garlic cloves into the jar. Tuck the remaining dill and jalapeño slices around the garlic, then add the remaining spices.
- Combine the white vinegar, water, salt, and sugar in a small saucepan.
- Place the saucepan over medium heat. Bring the brine to a gentle simmer, stirring until the salt and sugar dissolve completely.
- Carefully pour the hot brine over the garlic, leaving about 1/2 inch of space at the top of the jar.
- Gently tap the jar on the counter or slide a clean utensil around the inside edge to release trapped air bubbles. Make sure all the garlic cloves remain submerged in the brine.
- Let the uncovered jar cool at room temperature for approximately 30 minutes.
- Secure the lid and refrigerate the jar. Wait at least 5 days before serving. For the best flavor, allow the garlic to pickle for 1 to 2 weeks.
Notes
- This is a refrigerator-pickle recipe and is not shelf stable.
- Keep the jar refrigerated at 40°F or below.
- Use vinegar labeled with 5% acidity.
- Remove the jalapeño seeds and ribs for a milder flavor.
- Add another jalapeño or more red pepper flakes for extra heat.
- Always use a clean fork or spoon when removing garlic from the jar.
- Keep the garlic cloves completely submerged in the brine.
- Enjoy within 4 to 6 weeks for the best quality.
- Discard the jar if you notice mold, an unpleasant odor, unusual bubbling, a bulging lid, or a slimy texture.