
Introduction to Wonder Bread
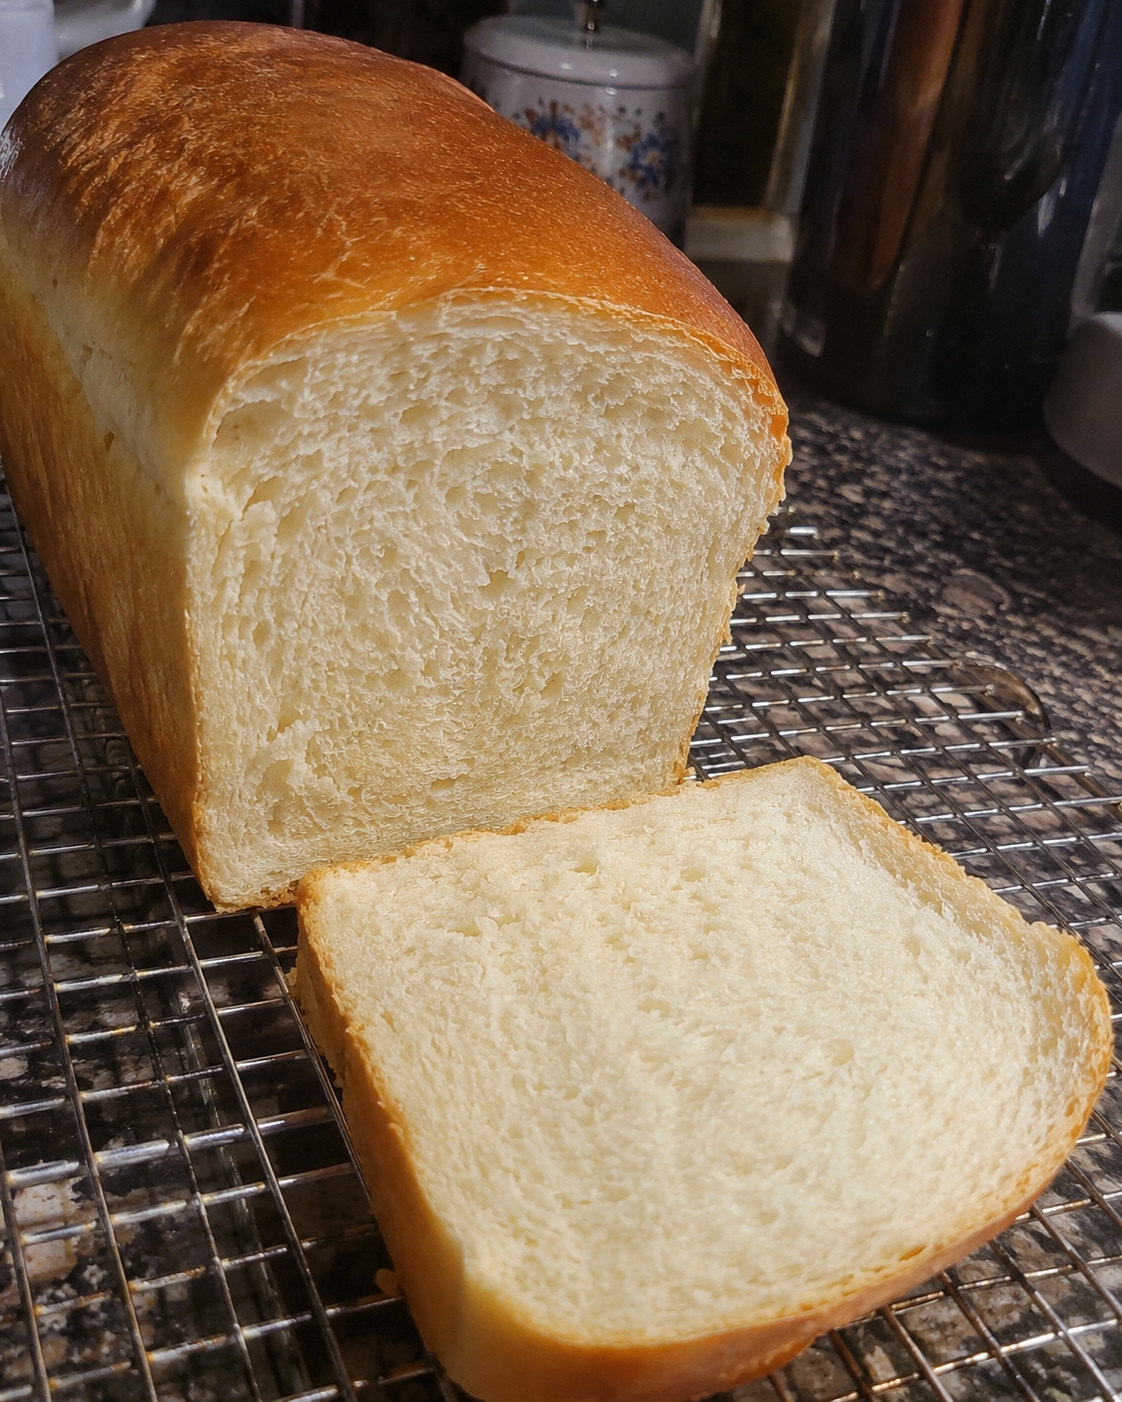
Wonder Bread is an easy homemade loaf that is perfect for making sandwiches. This fluffy and soft bread offers a delightful texture and flavor that enhances any filling. Its light crust and airy interior make it a popular choice for both classic and creative sandwiches. Whether you enjoy it fresh or toasted, this homemade Wonder Bread elevates your everyday meals. With minimal ingredients and straightforward methods, you can create this bakery-style loaf in your own kitchen, ensuring freshness and satisfaction with every bite.
Why You’ll Love This Recipe
This Wonder Bread recipe stands out for several compelling reasons. Firstly, it’s wonderfully straightforward, requiring only a few widely available ingredients, which makes it perfect for even those who are new to baking. The outcome is a soft and fluffy loaf that works fantastically for sandwiches, provides a delightful crunch when toasted, and pairs beautifully with butter or spreads. Furthermore, its versatility is a major highlight; you can easily adapt the recipe by incorporating additional flavors, herbs, or whole grains, depending on your taste preferences. Ultimately, when you bake this loaf at home, you have full control over the ingredients, ensuring your bread is fresh and free from preservatives. Engaging in this baking process transforms a simple recipe into a fulfilling culinary adventure that delights with every bite.
Ingredients for Wonder Bread
To make Wonder Bread, you’ll need just a few key ingredients. All-purpose flour serves as the base of the bread, providing structure and elasticity. For a nuttier flavor and added nutrition, consider substituting part of the all-purpose flour with whole wheat flour. This adjustment can enhance the bread’s nutritional profile while giving it a slightly denser texture.
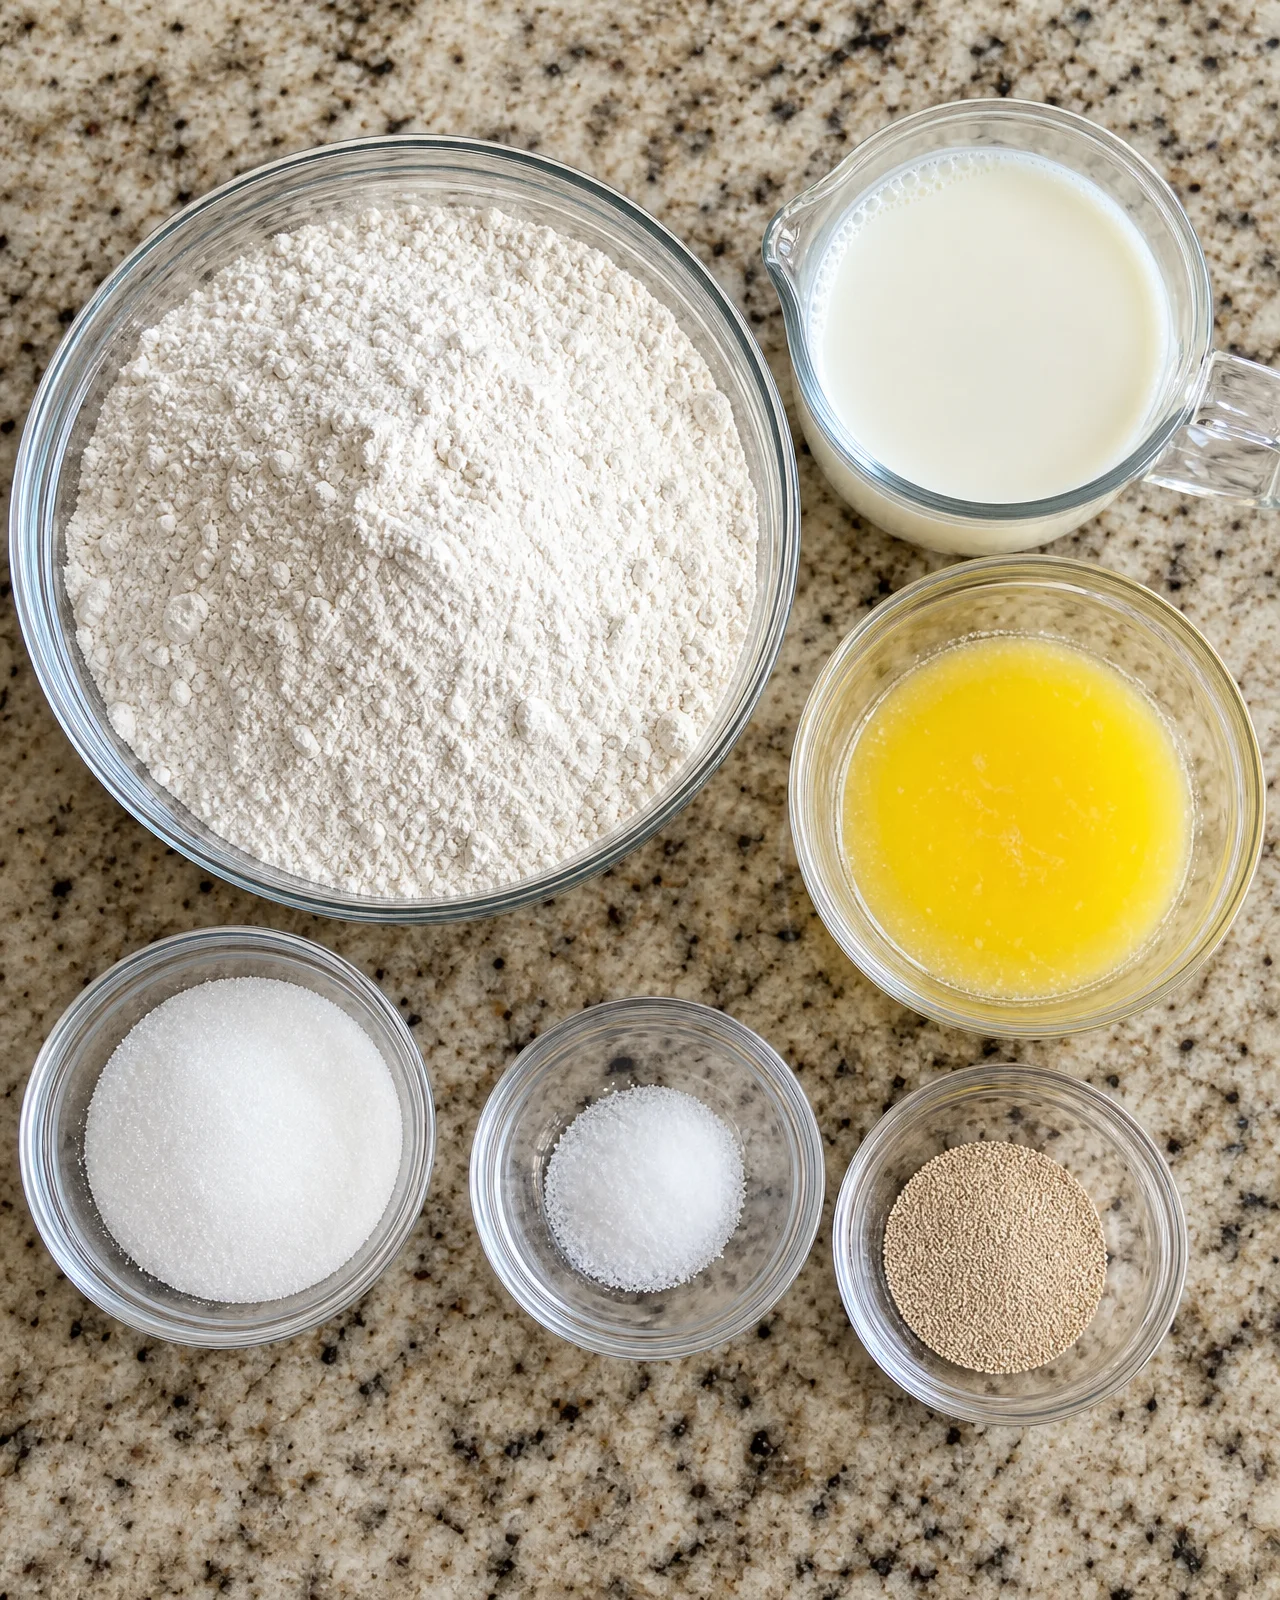
The warm milk in this recipe plays a critical role, activating the yeast and helping the dough rise. It also contributes a rich, creamy texture to the bread. Ensure that the milk is warm but not hot, as excessive heat can kill the yeast. Melted butter adds much-needed moisture and richness, enhancing both the flavor and softness of the finished loaf.
Sugar is essential for feeding the yeast, promoting fermentation while imparting a subtle sweetness to the bread. Salt, on the other hand, not only enhances the overall flavor but also strengthens the dough structure, ensuring a satisfactory rise. Lastly, instant yeast makes this recipe quick and easy, allowing for a reliable rise without the need for proofing. If you only have active dry yeast, that can be used as well, but remember to dissolve it in warm water alongside a little sugar before adding it to your dough.
Ingredient List:
- 3 cups all-purpose flour
- 1 cup warm milk
- 4 tbsp butter, melted
- 2 tbsp sugar
- 1 tsp salt
- 2 tsp instant yeast
How to Make Wonder Bread
Mixing the Dough
Begin making your Wonder Bread by combining the dry ingredients. In a large mixing bowl, whisk together the all-purpose flour, instant yeast, sugar, and salt until well blended. This ensures that the yeast is evenly distributed, which is crucial for an even rise. Next, create a well in the center of the dry mixture and pour in the warm milk and melted butter. The warmth of the milk is key, as it activates the yeast and sets the stage for rising. Use a spatula or wooden spoon to gently mix the ingredients until a shaggy dough forms. You may notice that the dough appears slightly sticky at this point; this is completely normal and indicates the hydration level of the dough. Once everything is combined, turn the dough out onto a floured surface in preparation for kneading.
Kneading and Rising
To develop the essential texture of your bread, knead the dough for about 8 to 10 minutes. With floured hands, push the dough away from you, fold it back over itself, and rotate it a quarter turn. This technique helps to properly develop the gluten structure. Repeat this process, adding a little flour as needed if the dough starts to stick. You’ll know the dough is ready when it feels smooth and elastic; a good test is to stretch a small piece without it tearing. Once you’ve kneaded the dough adequately, form it into a ball and place it in a greased bowl, making sure to turn it once to coat it lightly in oil. Cover the bowl with a clean kitchen towel or plastic wrap to prevent it from drying out, and let the dough rise in a warm environment until it has doubled in size, which should take about 1 hour.
Shaping and Baking
After the dough has achieved its rise, gently punch it down to release the air. This step is important for improving the bread’s texture and ensuring it isn’t overly airy. Turn the dough out onto a lightly floured surface and begin shaping it into a loaf. First, flatten it out into a rectangle, then fold the long edges inward before rolling it up tightly from one end to the other. This shaping technique helps create surface tension, contributing to a better structure. Place the shaped dough into a greased loaf pan, seam side down. Cover it again and allow it to rise until it nearly doubles in size, which should take about 30 minutes. While the dough is on its final rise, preheat your oven to 350°F (175°C). Once the dough has risen adequately, bake it in the preheated oven for 30 to 35 minutes, or until it is golden brown and sounds hollow when tapped on the bottom. This indicates a fully cooked loaf.
Tips for Success
For perfect Wonder Bread every time, keep these essential tips in mind. First, ensure your yeast is fresh; expired yeast can fail to activate, resulting in a dough that won’t rise properly. If you’re working in a cooler kitchen, it may be beneficial to find a warmer spot for the dough to rise, such as near a preheating oven, which provides a nice draft-free environment essential for optimal fermentation.
If your dough feels excessively sticky during kneading, gradually adding flour will alleviate this issue without compromising the dough’s final texture. Once baked, allow the loaf to cool completely on a wire rack before slicing. This step is crucial as it ensures a cleaner cut and prevents the bread from becoming gummy due to moisture trapped inside. For those who love a crustier texture, consider brushing the top with water just before baking; this will promote a beautiful, golden crust during the baking process.
Equipment Needed
To make your Wonder Bread, you’ll need basic kitchen equipment: a mixing bowl, measuring cups and spoons, a wooden spoon or spatula, a clean kitchen towel or plastic wrap, a loaf pan, and an oven. A wire rack is also handy for cooling the bread after baking. If you don’t have a loaf pan, consider shaping the dough into round rolls instead, which can also be baked on a baking sheet for a delightful treat.
Variations
This Wonder Bread recipe is highly versatile and can be tailored to suit your taste preferences or dietary needs. For a healthier twist, replace up to half of the all-purpose flour with whole wheat flour. This not only adds fiber but also imparts a nuttier flavor that complements the bread’s texture.
If you’re looking to add a bit more depth to your loaf, consider infusing flavors by incorporating dried herbs or garlic powder into the dough. These additions will enhance both the aroma and taste, making your bread uniquely delicious.
For those with a sweet tooth, mixing in raisins, cinnamon, or even chocolate chips can transform your loaf into a delightful breakfast treat, perfect when toasted. If you prefer a slight tanginess, adding a tablespoon of buttermilk can enhance the flavor profile significantly.
Additionally, for fun shapes, you might roll the dough into small balls and place them in a round cake pan for pull-apart rolls. This method is great for entertaining, encouraging sharing and enjoyment!
Serving Suggestions
Wonder Bread serves as an excellent foundation for a wide range of sandwiches. Consider classic combinations like peanut butter and jelly for a quick lunch, or elevate your meal with ham and cheese or turkey with avocado for a more sophisticated option. When toasted, the bread transforms into a delightful breakfast choice, perfect when topped with butter, jam, or even cream cheese and fruit.
This bread is also ideal for making French toast, providing a soft and custardy texture. For an impressive presentation, serve the whole loaf at gatherings, accompanied by a serrated knife, allowing guests to slice their preferred portions. To create a balanced meal, pair your sandwiches with a fresh salad or a warm bowl of soup, enhancing the overall dining experience and showcasing the versatility of this homemade Wonder Bread.
FAQs about Wonder Bread
How should I store Wonder Bread?
Store your homemade Wonder Bread in an airtight container at room temperature for up to 3 days. For longer storage, consider freezing slices individually, allowing for easy defrosting when needed.
Can I make this bread ahead of time?
Yes, you can prepare the dough up to the first rise and then refrigerate it. Just allow it to come to room temperature before shaping and proceeding with the recipe.
What can I use instead of instant yeast?
If you don’t have instant yeast, you can use active dry yeast. Be sure to proof it in warm water with a bit of sugar first before adding it to the dough.
Why did my bread not rise?
This issue can occur if the yeast is old or if the rising environment was too cool. Make sure to check the freshness of your yeast and find a warm spot for the dough to rise.
How can I tell when the bread is done baking?
Look for a golden-brown crust and tap the bottom of the loaf; if it sounds hollow, it’s done!
Final Thoughts
Homemade Wonder Bread serves as a fantastic addition to any meal, highlighting its ease of preparation and delicious taste. Its versatility allows you to use it in various ways, from classic sandwiches to creative snacks, making it a reliable staple in your kitchen. With this straightforward recipe, you’ll have fresh bread ready whenever you need it, offering satisfaction with every slice thanks to its soft texture and rich flavor. Don’t forget to try the different variations to discover your favorite twist on this beloved loaf. Whether enjoyed warm from the oven or toasted with your favorite toppings, homemade Wonder Bread is meant to be shared, so consider passing this recipe along to friends and family who would cherish the chance to bake their own. It’s more than just bread; it’s a comforting creation that enhances any meal.
Print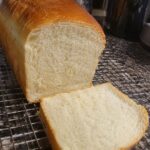
Wonder Bread
- Prep Time: 15 minutes
- Cook Time: 35 minutes
- Total Time: 1 hour 20 minutes
- Yield: 1 loaf 1x
- Category: Bread
- Method: Baking
- Cuisine: American
- Diet: Vegetarian
Description
Wonder Bread is an easy homemade loaf that is perfect for making sandwiches. This fluffy and soft bread can be enjoyed fresh or toasted.
Ingredients
- 3 cups all-purpose flour
- 1 cup warm milk
- 4 tbsp butter, melted
- 2 tbsp sugar
- 1 tsp salt
- 2 tsp instant yeast
Instructions
- Mix flour, yeast, sugar, and salt together in a bowl.
- Add warm milk and melted butter to the dry ingredients.
- Mix until a shaggy dough forms.
- Knead the dough on a floured surface for 8–10 minutes.
- Place the kneaded dough in a greased bowl.
- Cover the bowl and let the dough rise until it has doubled in size.
- Punch down the risen dough to release the air.
- Shape the dough into a loaf.
- Place the shaped dough in a loaf pan.
- Cover the loaf and let it rise again.
- Preheat the oven to 350°F (175°C).
- Bake the loaf for 30–35 minutes until golden brown.
- Cool the bread for 30 minutes before slicing.
- Slice and enjoy your homemade Wonder Bread.
Notes
- For a richer flavor, you can substitute some of the all-purpose flour with whole wheat flour.
- Make sure the milk is warm, not hot, to avoid killing the yeast.
- This bread is best when consumed fresh but can be stored in an airtight container for several days.
Nutrition
- Serving Size: 1 slice
- Calories: 120
- Sugar: 1g
- Sodium: 150mg
- Fat: 5g
- Saturated Fat: 3g
- Unsaturated Fat: 1g
- Trans Fat: 0g
- Carbohydrates: 15g
- Fiber: 1g
- Protein: 3g
- Cholesterol: 15mg