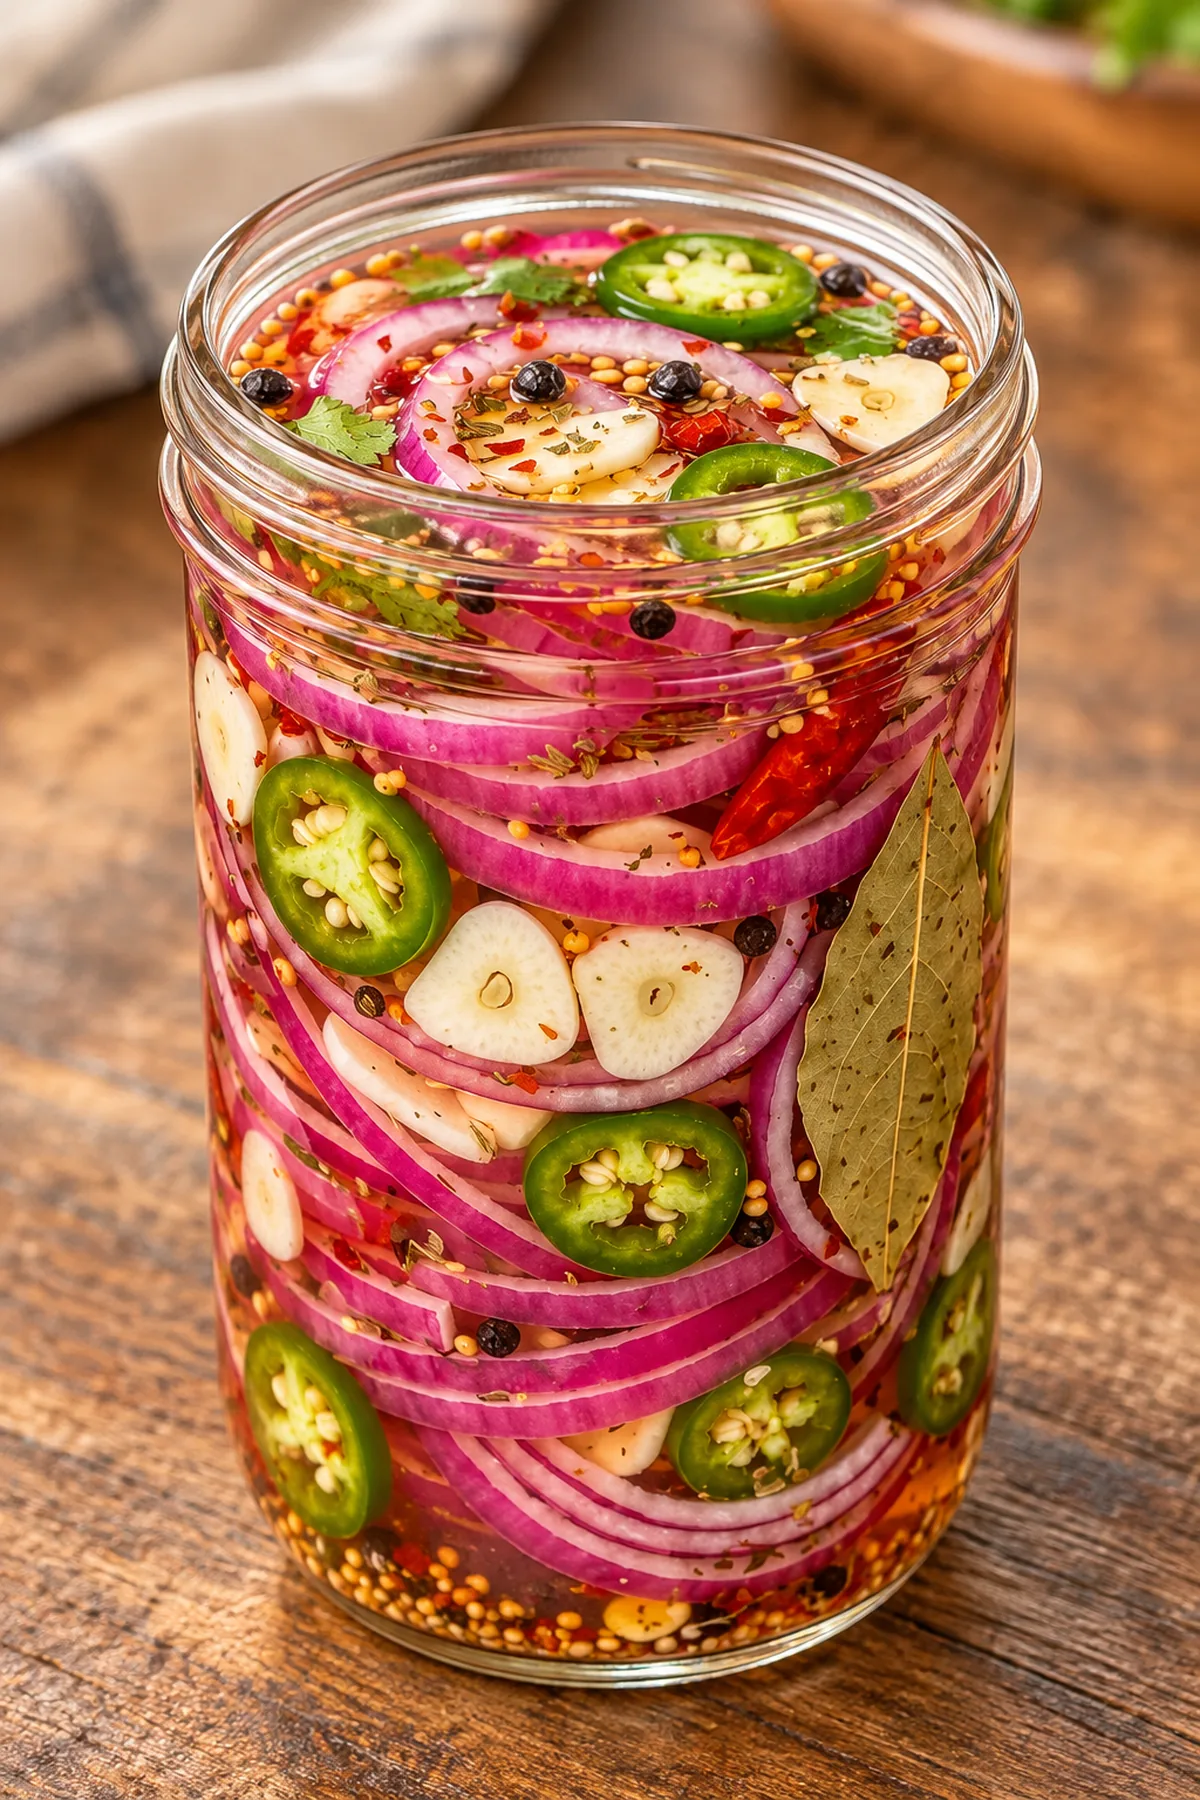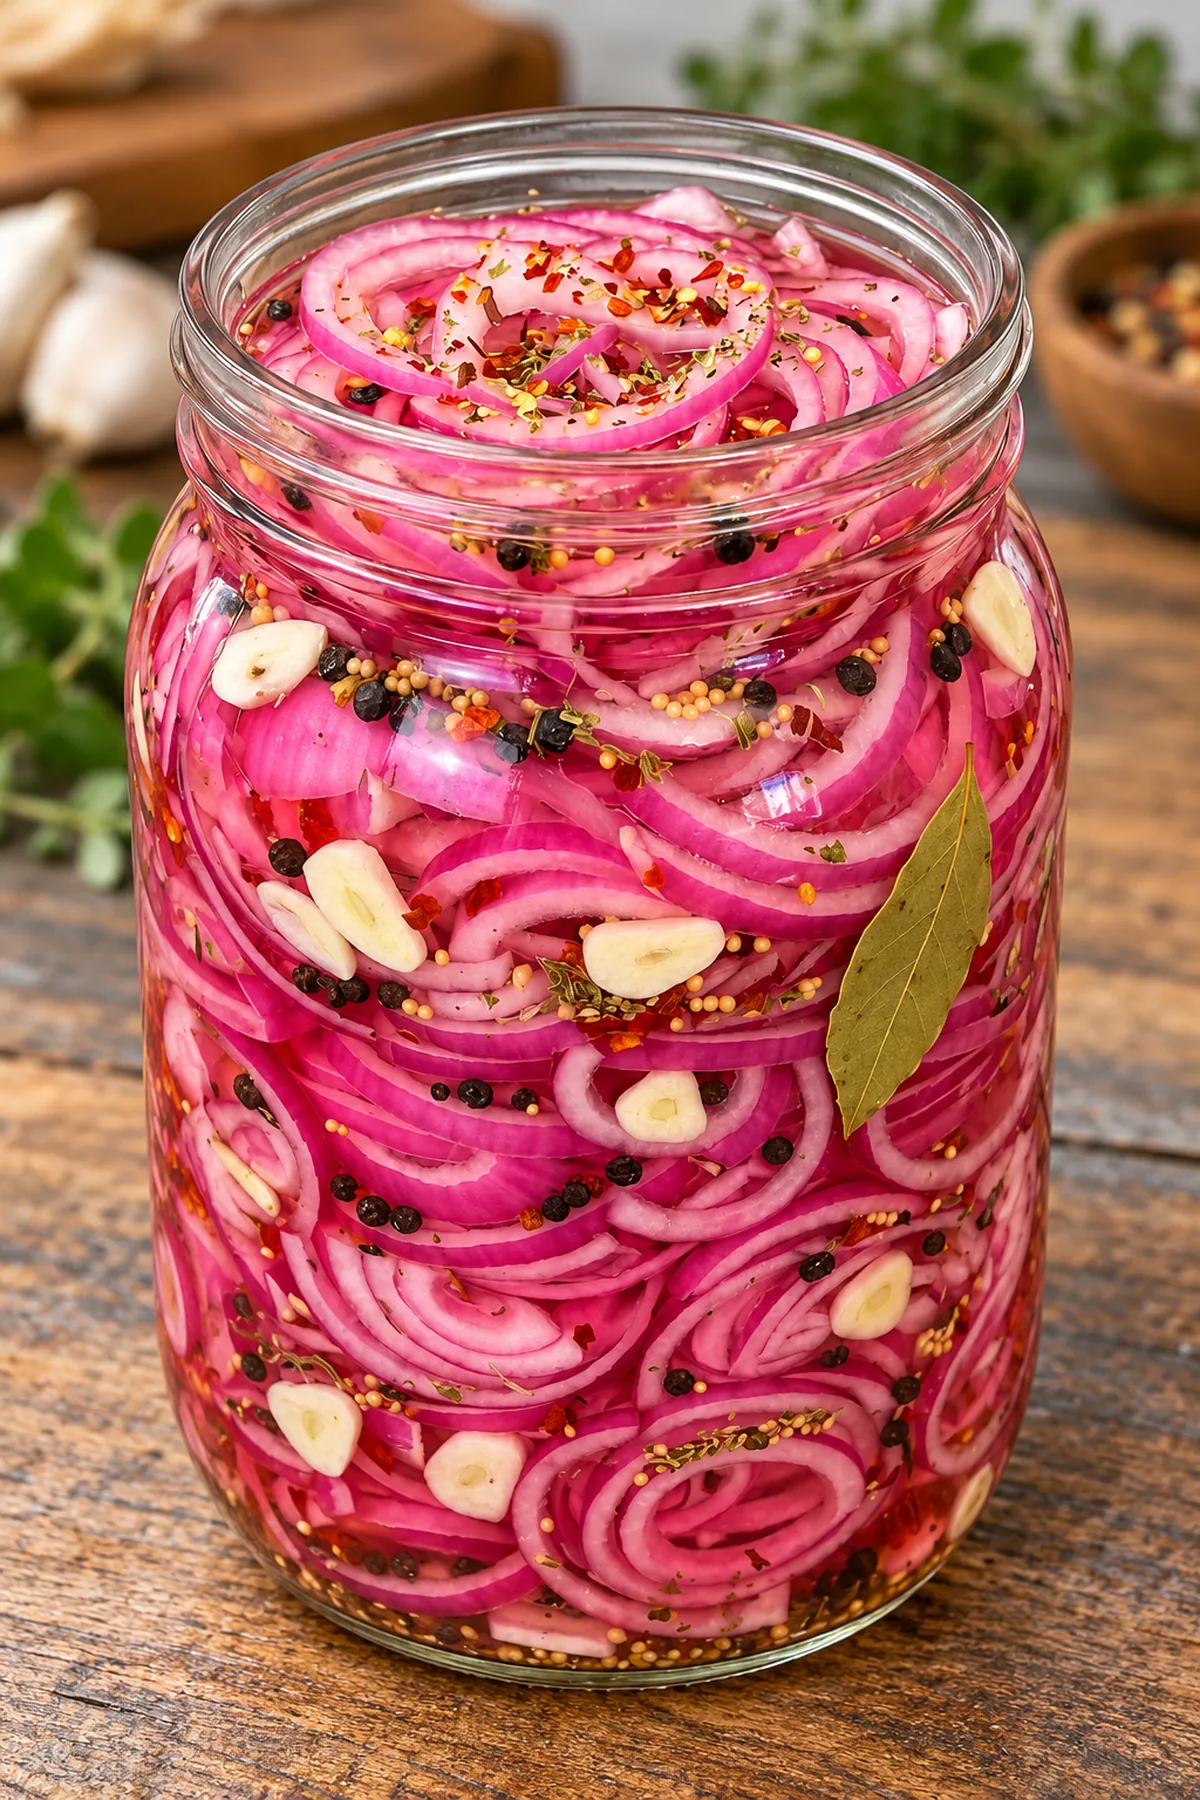

Honey lemon pickled garlic is a bright, sweet-tangy refrigerator pickle that turns assertive raw garlic into something surprisingly mellow and snackable. Whole cloves simmer briefly in an apple cider vinegar brine sweetened with honey and sharpened with fresh lemon. Rosemary, mustard seeds, black peppercorns, and optional red pepper flakes add savory depth without covering up the garlic. After a few days in the refrigerator, the cloves become tender-crisp, aromatic, and infused from the outside in.
This is a useful little jar to keep on hand because both the cloves and the brine can wake up everyday meals. Add sliced cloves to a sandwich, tuck them onto a cheese board, scatter them over roasted vegetables, or chop them into a grain bowl. A spoonful of the brine can brighten a vinaigrette or pan sauce. The recipe is simple, but the details matter: use vinegar labeled 5% acidity, keep the garlic submerged, cool the jar before covering it, and store it only in the refrigerator.
Why You’ll Love This Honey Lemon Pickled Garlic
The flavor is balanced rather than aggressively sour. Apple cider vinegar supplies the preserving acidity and a gentle fruitiness, while honey rounds its sharp edges. Lemon juice and zest bring a cleaner citrus note, so the finished garlic tastes lively instead of heavy. A short simmer softens the cloves just enough to tame their raw bite while preserving a pleasant, slightly firm texture.
The recipe also requires no specialized canning equipment. You need a saucepan, a clean heat-safe jar, a spoon, and ordinary refrigerator space. Because it is a refrigerator pickle, there is no water-bath processing or pantry storage to manage. The hands-on work takes less than 20 minutes, and the resting time does the rest. Make the jar several days before a party or meal-prep session, and the flavor will be ready when you are.
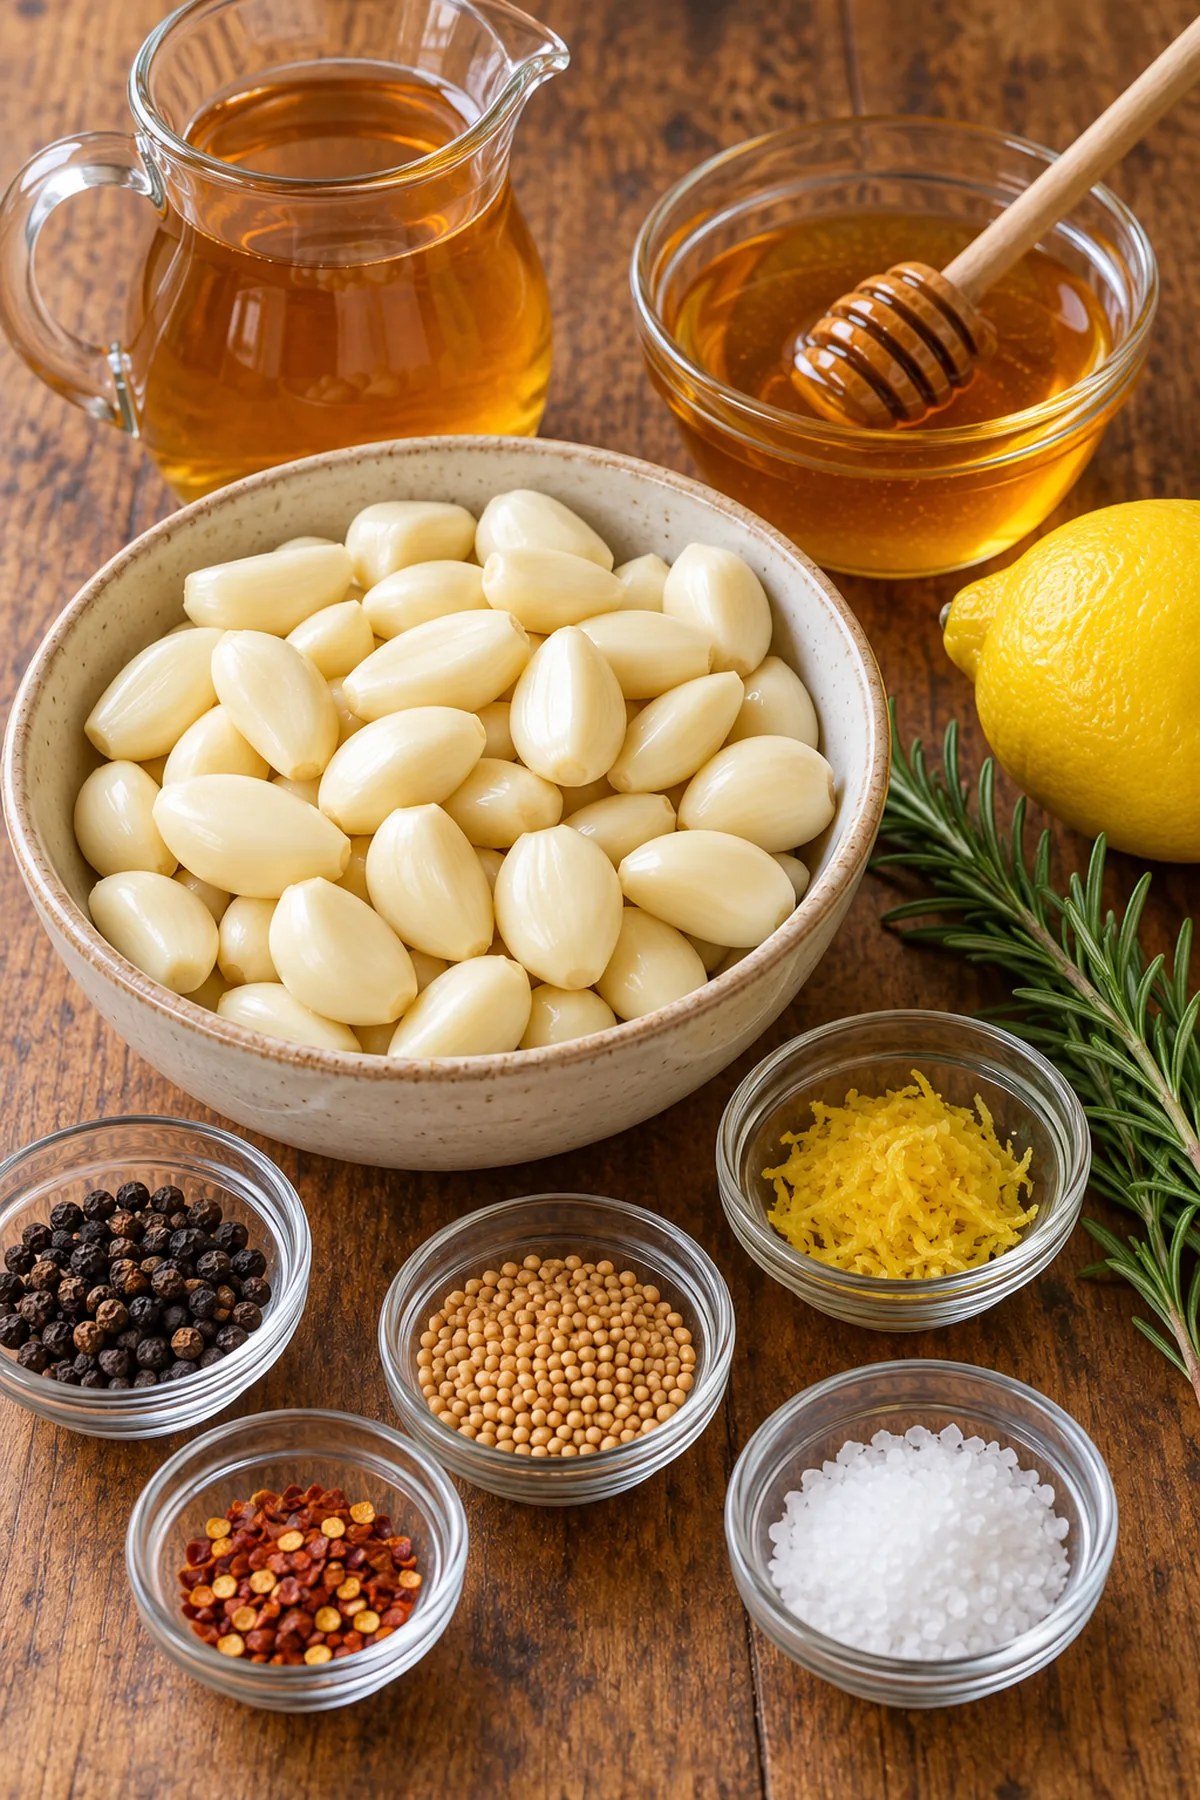
Ingredient Details and Smart Choices
Fresh Garlic
Choose firm, heavy garlic heads with tight papery skins and no soft spots, green sprouts, or mold. Two cups of peeled cloves usually requires several heads, depending on their size. Similar-size cloves cook most evenly, although a natural mix is fine. Trim only the dry, tough root end and leave each clove whole. Cutting or crushing garlic would release more sulfur compounds, make the flavor harsher, and cause the cloves to soften too quickly during simmering.
Apple Cider Vinegar and Water
Use commercially bottled apple cider vinegar labeled 5% acidity. That standard acidity is important for a reliably tart refrigerator brine. The equal amount of water softens the vinegar’s bite without making the mixture bland. Do not substitute homemade vinegar because its acidity may be unknown. White vinegar can work in a pinch, but it creates a sharper, less rounded flavor than apple cider vinegar.
Honey, Lemon, and Salt
A quarter cup of honey gives the garlic a noticeable but not candy-like sweetness. Mild clover or wildflower honey lets the citrus and rosemary remain clear. Fresh lemon juice tastes brighter than bottled juice, and finely grated zest delivers fragrant lemon oils. Grate only the yellow surface; the white pith underneath is bitter. Kosher salt seasons the brine and helps all the sweet, sour, and savory elements taste more complete.
Pickling Spices and Rosemary
Whole black peppercorns offer gentle warmth, while mustard seeds add a mild earthy bite and the familiar character of pickles. One small rosemary sprig adds a woodsy aroma that pairs naturally with lemon and garlic. The optional red pepper flakes are deliberately modest. They should add a soft tingle, not turn this into a hot pickle. Use fresh, fragrant spices for the cleanest flavor.
How to Make Honey Lemon Pickled Garlic
Prepare the Garlic and Lemon
Peel the garlic and trim any hard root ends. A quick way to loosen stubborn skins is to separate the cloves, place them in a bowl, cover them with very hot tap water for a minute, then drain and peel. This is only a peeling aid; do not let the cloves cook in the water. Rinse away any bits of papery skin and pat the garlic dry.
Scrub and dry the lemon before zesting because the outer peel goes directly into the brine. Finely grate one teaspoon of zest, then squeeze two tablespoons of juice. Cut one small strip of yellow peel with as little white pith as possible. Keeping these amounts measured before the saucepan goes on the heat makes the process calm and prevents the garlic from simmering too long later.
Build the Honey-Lemon Brine
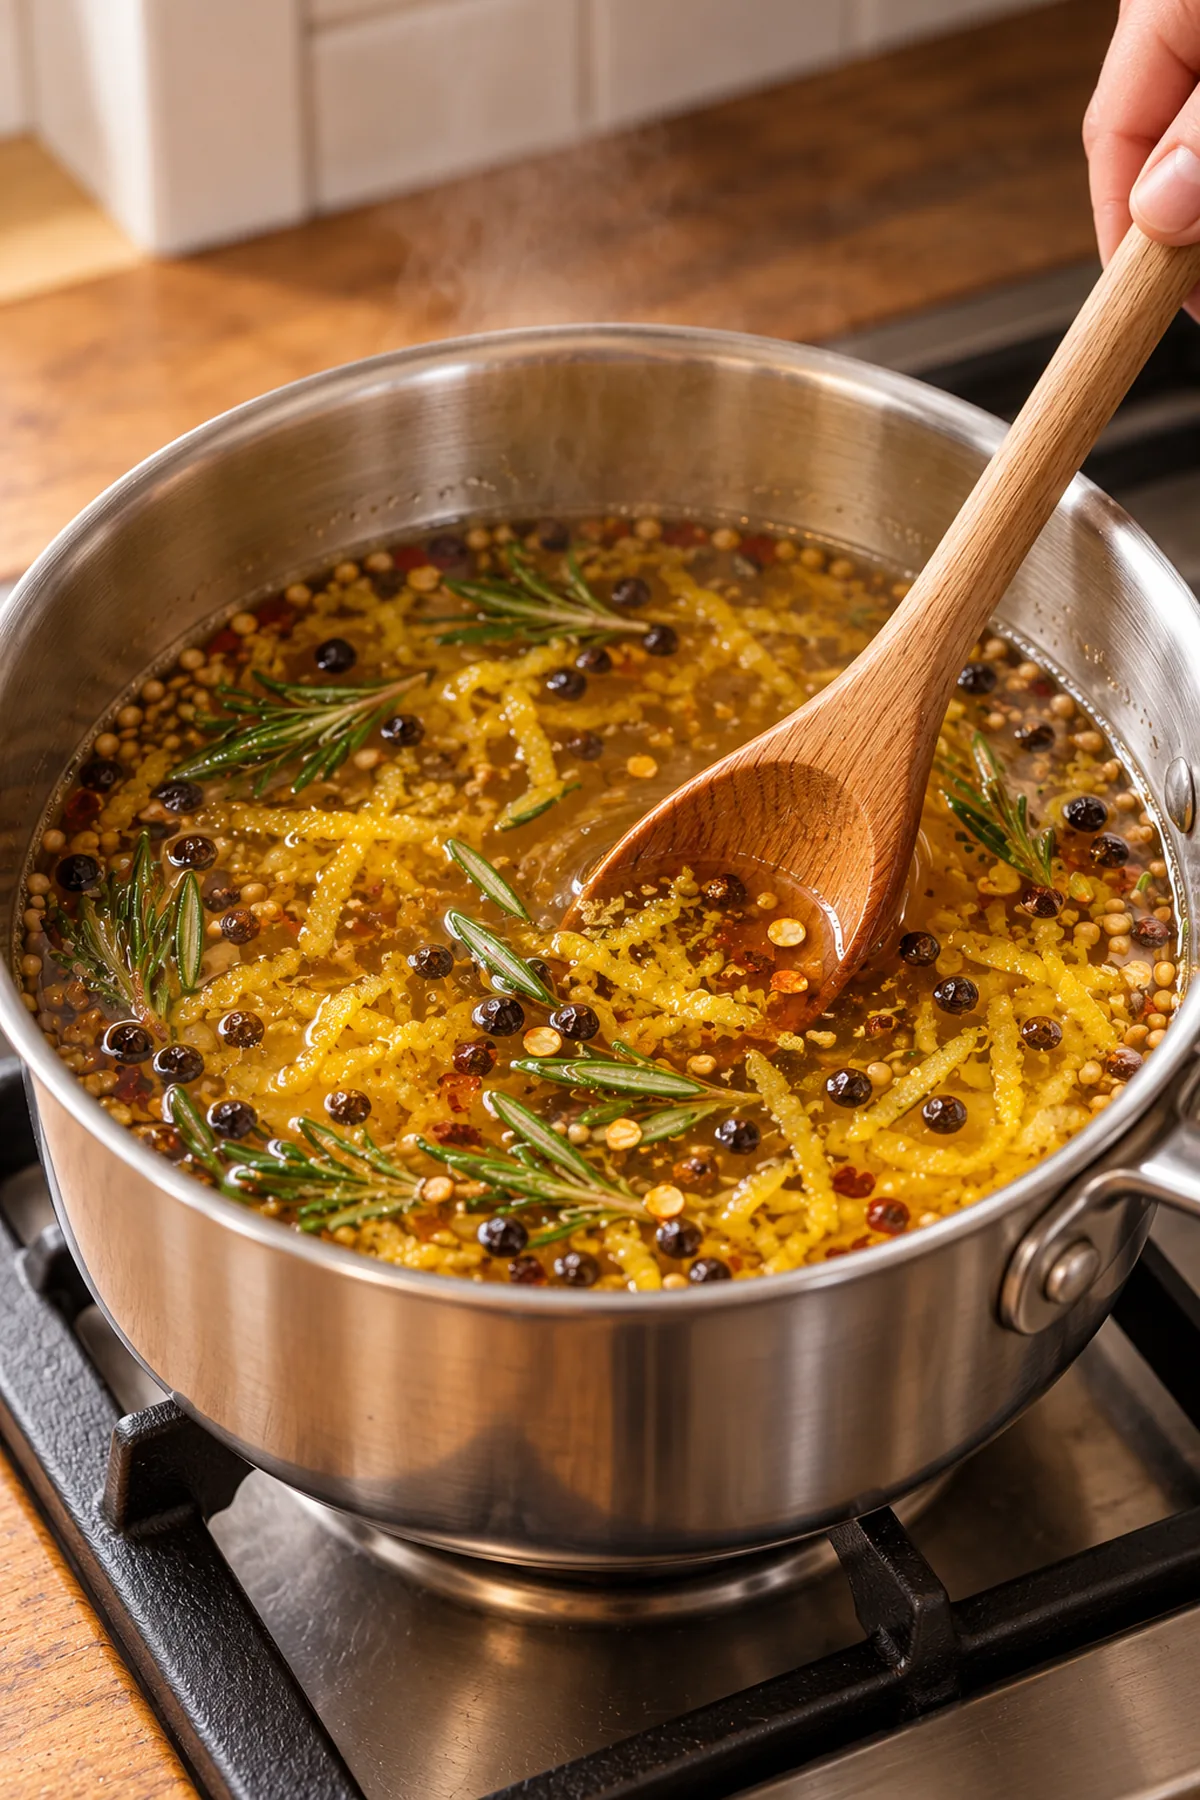
Combine the apple cider vinegar, water, honey, lemon juice, zest, kosher salt, peppercorns, mustard seeds, rosemary sprig, lemon peel, and optional red pepper flakes in a medium saucepan. Set it over medium heat and stir gently until the honey and salt dissolve. Bring the mixture only to a gentle simmer. A hard, rolling boil is unnecessary and can drive off the lemon’s fresh aroma.
Simmer the Whole Cloves
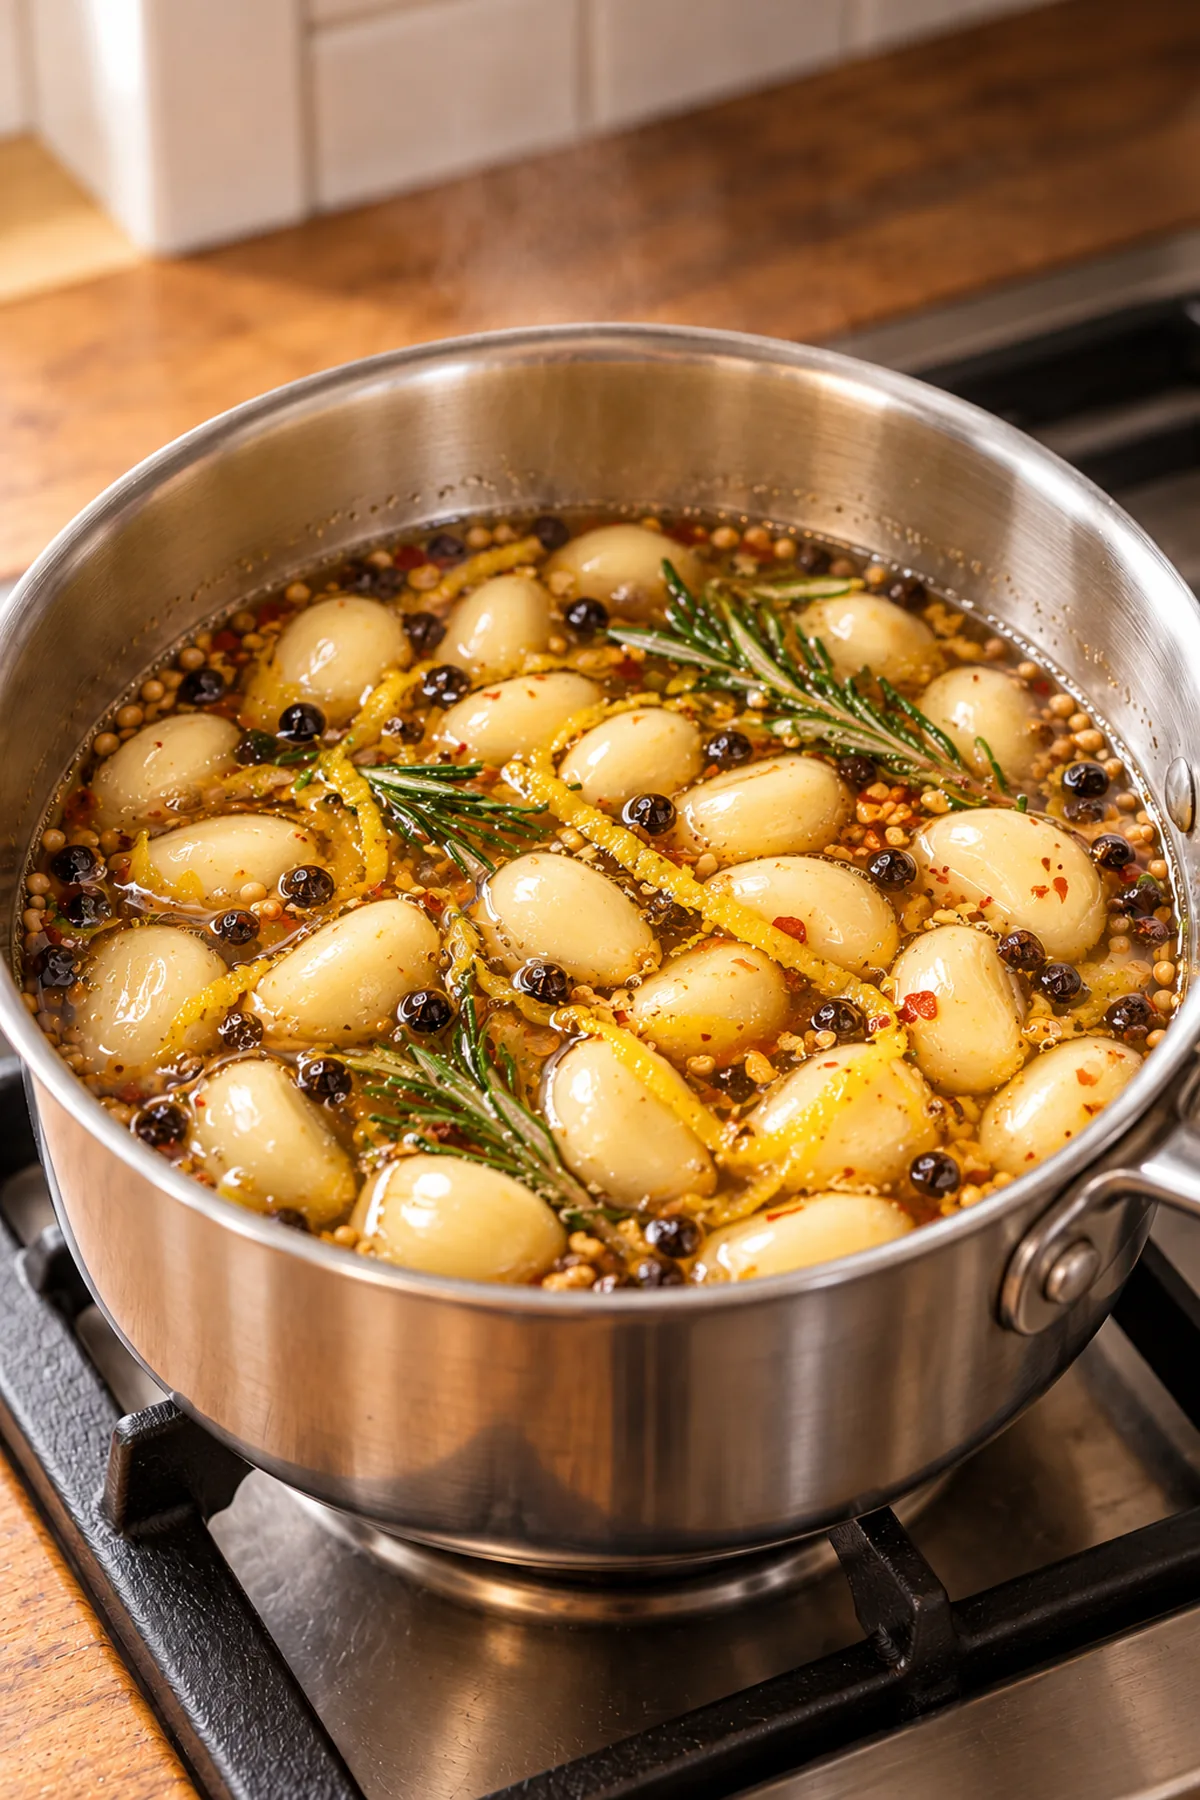
Add the peeled garlic carefully so the hot liquid does not splash. Reduce the heat to low and maintain a quiet simmer for 5 to 7 minutes. Stir once or twice so every clove heats evenly. The garlic should begin to look slightly translucent at the edges but should not become mushy. Small cloves may be ready closer to five minutes, while very large cloves can take seven.
Fill, Cool, and Refrigerate the Jar
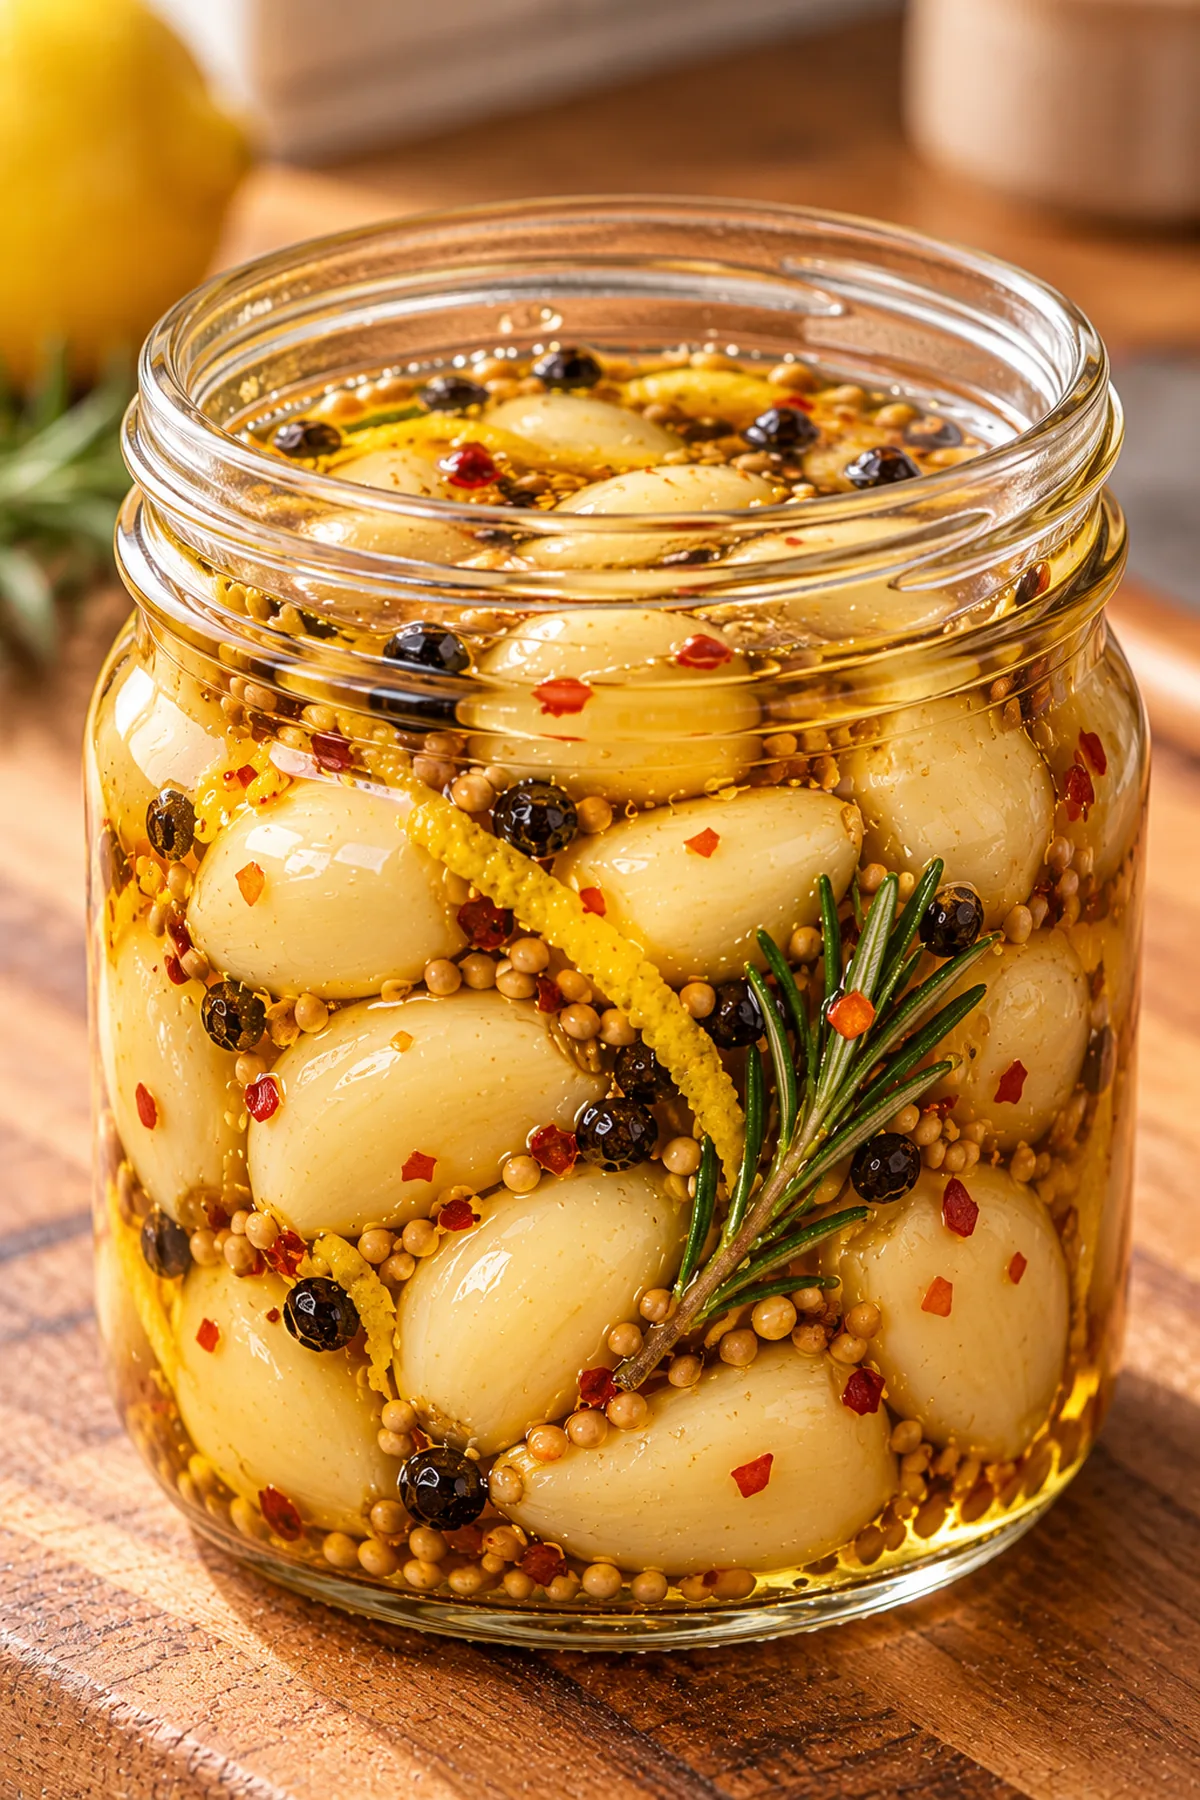
Set a clean heat-safe glass jar on a folded kitchen towel to protect the counter and reduce thermal shock. Use a clean slotted spoon to transfer the garlic, then pour the hot brine and spices over it. Leave a little space at the top and make sure the cloves are covered. If a clove floats briefly, press it down gently with a clean spoon.
Let the jar cool uncovered for about 30 minutes. Cover it tightly and refrigerate promptly; do not leave it at room temperature for an extended period. Wait at least 24 hours before tasting. Three to four days produces the best balance because the honey, lemon, rosemary, and spices have time to penetrate the cloves and mellow together.
Expert Tips for the Best Texture and Flavor
Keep the simmer gentle. High heat is the most common reason pickled garlic turns soft. A few small bubbles are enough to heat the cloves and dissolve the brine ingredients. Use a saucepan large enough that the cloves sit mostly in one layer or can move freely when stirred.
Use a clean jar and utensils even though this is not a shelf-stable canning project. Wash the jar, lid, and tools thoroughly in hot soapy water, rinse well, and let them drain. Every time you serve the garlic, use a clean fork or spoon rather than fingers. Good refrigerator hygiene helps the jar keep its best quality.
Flavor Variations
For a mild batch, omit the red pepper flakes completely. For moderate warmth, use the listed quarter teaspoon. If you enjoy sweet heat, add a few extra flakes to your serving rather than dramatically increasing the amount in the whole jar. Heat intensifies during storage, so a restrained beginning is easier to control.
Serving Suggestions
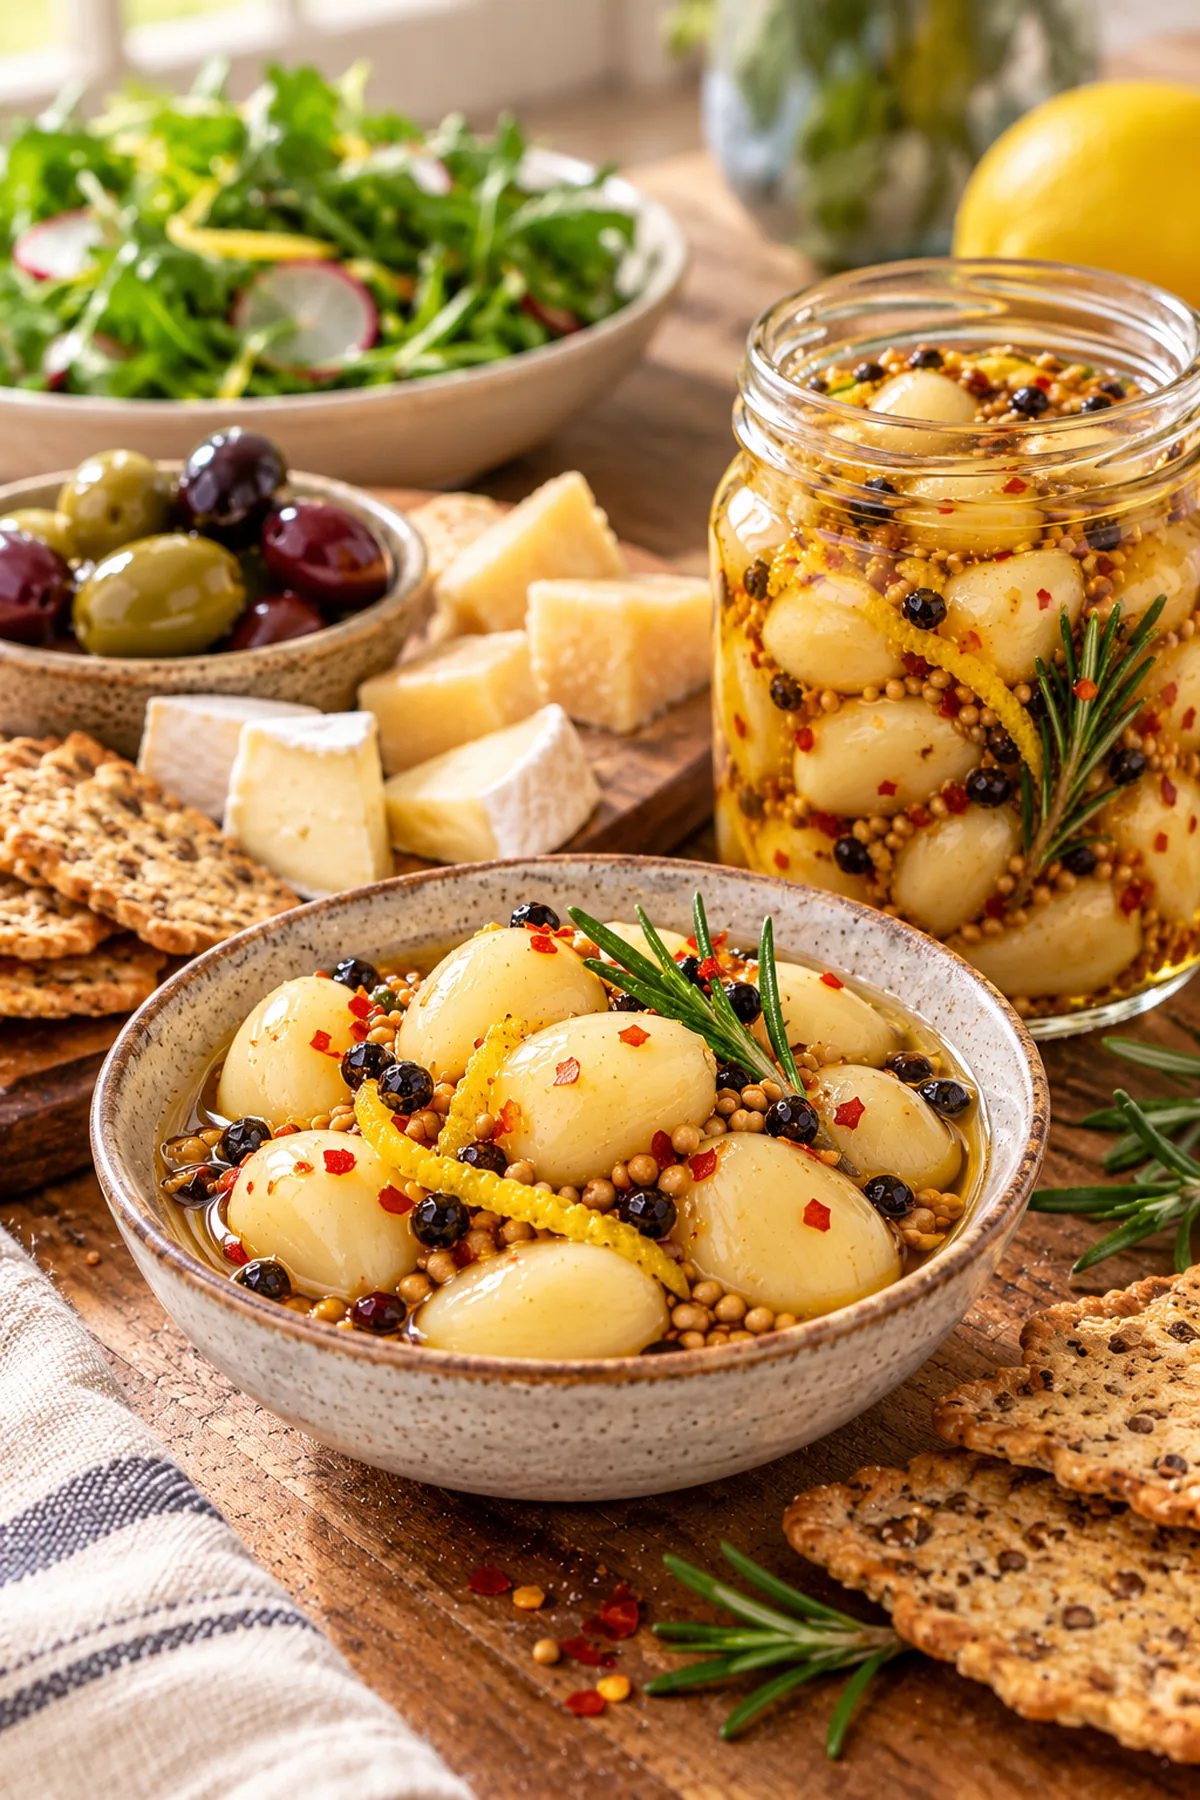
Honey lemon pickled garlic belongs naturally on a cheese or antipasto board. Pair it with creamy goat cheese, sharp cheddar, aged Gouda, olives, toasted nuts, and crisp crackers. The sweet acidity cuts through rich cheese, while the mellow garlic provides a savory contrast. Drain the cloves briefly before placing them on the board so the brine does not soften the crackers.
Slice the cloves thinly for turkey, chicken, or grilled vegetable sandwiches. Chop them into tuna salad, potato salad, pasta salad, or a bowl of white beans. They are excellent with roast chicken, grilled pork, salmon, and sheet-pan vegetables. For a quick crostini, spread toasted baguette slices with ricotta, add a sliced clove, and finish with a tiny drizzle of honey.
Do not discard flavorful leftover brine while the jar is fresh. Whisk one tablespoon into olive oil for a quick vinaigrette, stir a spoonful into mayonnaise, or use a little to brighten cooked greens. Always remove brine with a clean utensil, and never use it to marinate raw meat before returning any portion to the jar.
Make-Ahead and Storage Instructions
This recipe is ideal for making ahead because it improves during the first several days. Prepare it three or four days before you plan to serve it. Store the tightly covered jar at 40°F or below, preferably toward the back of the refrigerator where the temperature is steady rather than in the warmer door.
For best quality, use the garlic within two weeks. Keep the cloves submerged and return the jar to the refrigerator promptly after serving. Discard the entire batch if you notice mold, an unpleasant fermented odor, unusual bubbling, a slimy texture, or a leaking or bulging lid. When in doubt, throw it out without tasting.
This is specifically a refrigerator pickle and is not suitable for pantry storage. The recipe has not been tested for boiling-water canning, pressure canning, or room-temperature storage. Garlic stored improperly can present serious food-safety risks. Do not reduce the vinegar, add oil to the jar, or attempt to seal it for the pantry. For shelf-stable garlic, use a laboratory-tested canning recipe from a trusted extension service or national preservation authority.
Common Mistakes to Avoid
Do not overcook the garlic. Soft cloves will become softer as they rest, and the appealing tender-crisp texture will be lost. Do not use old sprouted cloves; they can taste bitter and may have a dry center. Avoid grating the bitter white lemon pith into the brine, and do not use more rosemary than called for.
Another mistake is using an oversized jar that leaves the garlic spread above a shallow pool of liquid. A snug container keeps the cloves covered. Finally, do not assume that hot brine makes this shelf stable. Heat helps dissolve the honey and mellows the garlic, but refrigeration is still required from the moment the cooled jar is covered until the final clove is used.
Frequently Asked Questions
When is honey lemon pickled garlic ready to eat?
You can taste it after 24 hours, but the flavor is best after three to four days. The extra time allows the sharp garlic, sweet honey, lemon, vinegar, rosemary, and spices to become balanced.
Why did my garlic turn blue or green?
Garlic can sometimes develop a blue-green color when its natural sulfur compounds react in an acidic environment. The color may look surprising, but it is generally a harmless natural reaction. Use fresh, firm garlic and nonreactive cookware to reduce the chance of discoloration.
Can I use bottled lemon juice?
Fresh lemon juice is recommended here for its aroma and flavor. The recipe’s main vinegar component is bottled 5% acidity apple cider vinegar, which should not be reduced or replaced with lemon juice.
Can I reuse the brine for another batch?
No. The brine becomes diluted by moisture from the garlic and has already been exposed during storage and serving. Make a fresh batch of brine for new garlic. The old brine may be used promptly in dressings or sauces if it still smells and looks fresh.
Can I freeze pickled garlic?
Freezing is not recommended because the cloves can become watery or mushy after thawing. This small batch keeps for up to two weeks in the refrigerator, so it is better to prepare only what you expect to use during that period.
Is this recipe safe for shelf-stable canning?
No. It is designed only for refrigerated storage and should never be kept in the pantry. Keep the jar at 40°F or below, use clean utensils, and use the garlic within two weeks.
Print
Honey Lemon Pickled Garlic
- Prep Time: 10 minutes
- Pickling Time: 24 hours
- Cook Time: 7 minutes
- Total Time: 24 hours 17 minutes
- Yield: About 1 pint 1x
- Category: Appetizer
- Method: Refrigerator Pickling
- Cuisine: American
- Diet: Vegetarian
Description
Tender-crisp whole garlic cloves in a sweet and tangy honey-lemon refrigerator-pickle brine with rosemary, peppercorns, and mustard seeds.
Ingredients
- 2 cups fresh garlic cloves, peeled
- 1/2 cup apple cider vinegar (5% acidity)
- 1/2 cup water
- 1/4 cup honey
- 2 tablespoons fresh lemon juice
- 1 teaspoon finely grated lemon zest
- 1 teaspoon kosher salt
- 1/2 teaspoon whole black peppercorns
- 1/2 teaspoon mustard seeds
- 1 small sprig fresh rosemary
- 1 small strip fresh lemon peel
- 1/4 teaspoon red pepper flakes, optional
Instructions
- Peel the garlic cloves, trim off any tough root ends, and keep the cloves whole.
- Wash and dry the lemon. Finely grate 1 teaspoon of zest, squeeze 2 tablespoons of juice, and cut one small strip of yellow peel with as little white pith as possible.
- Combine the apple cider vinegar, water, honey, lemon juice, lemon zest, kosher salt, black peppercorns, mustard seeds, rosemary, lemon peel, and optional red pepper flakes in a medium saucepan.
- Heat over medium heat, stirring gently until the honey and salt dissolve completely.
- Bring the brine to a gentle simmer without allowing it to boil vigorously.
- Carefully add the peeled garlic cloves to the simmering brine.
- Reduce the heat to low and simmer gently for 5 to 7 minutes, until the garlic begins to soften but still has a little bite.
- Use a clean slotted spoon to transfer the garlic cloves to a clean, heat-safe glass jar.
- Pour the hot honey-lemon brine and spices over the garlic, making sure the cloves are submerged.
- Cool the jar uncovered at room temperature for about 30 minutes, then cover tightly and refrigerate promptly.
- Let the garlic pickle in the refrigerator for at least 24 hours before serving.
- For the best mellow, sweet-tangy flavor, refrigerate the garlic for 3 to 4 days before enjoying.
Notes
- This is a refrigerator pickle and is not a shelf-stable canning recipe.
- Keep refrigerated at 40°F or below with the garlic submerged in the brine, and use within 2 weeks.
- Use commercially bottled apple cider vinegar labeled 5% acidity; do not reduce the vinegar or add oil to the jar.
- Use a clean utensil for every serving and discard the batch if you notice mold, unusual bubbling, a slimy texture, or an unpleasant odor.
- Garlic may occasionally turn blue-green in an acidic brine because of a harmless natural reaction.
- Refrigerate the tightly covered jar at 40°F or below for up to 2 weeks.
- Keep the garlic cloves submerged in brine and return the jar to the refrigerator promptly after serving.
- Do not store this refrigerator pickle at room temperature or process it for shelf-stable storage.
Nutrition
- Serving Size: 1/8 of recipe
- Calories: 95
- Sugar: 10 g
- Sodium: 245 mg
- Fat: 0 g
- Carbohydrates: 21 g
- Fiber: 1 g
- Protein: 2 g