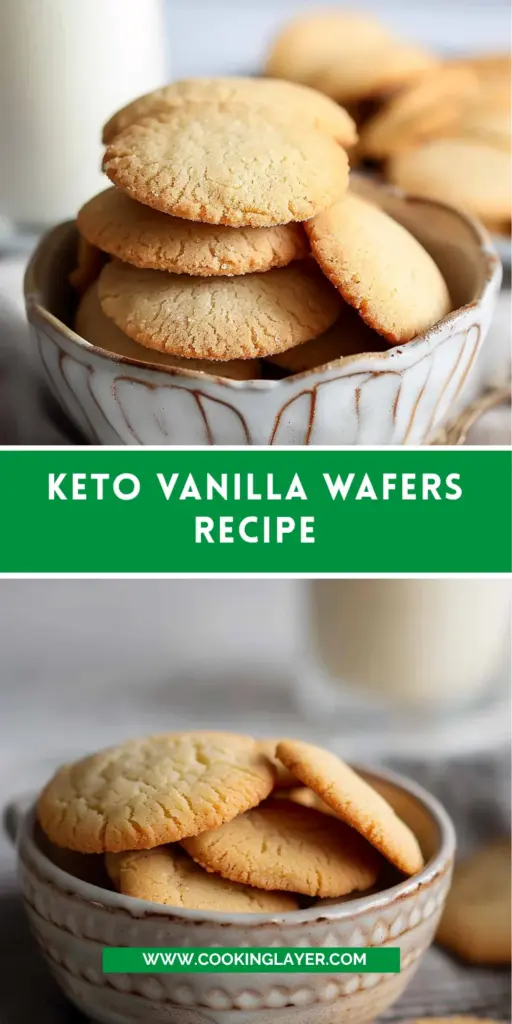
Why Keto Vanilla Wafers Are So Popular
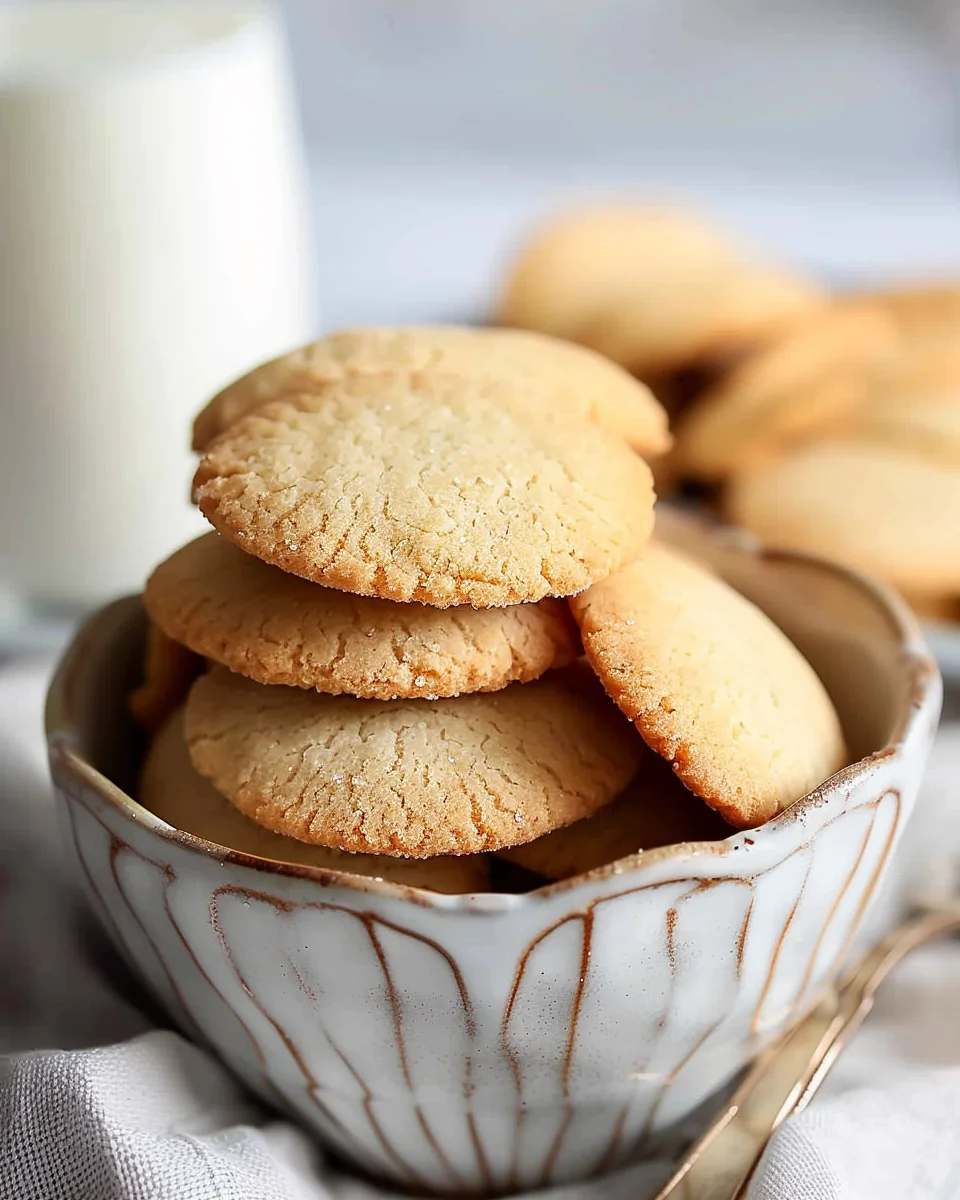
Finding truly satisfying keto cookies can sometimes feel frustrating. Many low-carb desserts either end up too soft, too dry, or overly “healthy” tasting. But these Keto Vanilla Wafers manage to hit that sweet spot where they actually feel like real cookies—crispy around the edges, buttery in flavor, and lightly sweet with a classic vanilla aroma.
What makes them especially appealing is their versatility. They work perfectly as a simple snack with coffee or tea, but they’re also ideal for using in other keto desserts. Think low-carb banana pudding alternatives, cheesecake crusts, mini trifles, or crushed cookie toppings. They’re basically the keto version of those nostalgic little vanilla wafers many people grew up eating.
The texture is another huge win. Thanks to almond flour and careful baking, these cookies become delicate and crisp rather than cakey or chewy. That crispness is what makes them feel authentic instead of just another soft almond flour cookie.
And unlike many keto recipes packed with complicated ingredients, this one stays relatively simple. A few pantry staples come together to create cookies that feel comforting, familiar, and surprisingly close to the original version.
A Low-Carb Twist on a Classic Cookie
Traditional vanilla wafers rely heavily on wheat flour and sugar, both of which are high in carbohydrates. This keto version swaps those ingredients for almond flour and erythritol while still preserving the buttery vanilla flavor people expect.
The result feels nostalgic without completely abandoning keto goals.
Perfect for Snacking and Keto Desserts
These wafers are incredibly versatile. They’re delicious on their own, but they also hold up well in layered desserts because of their crisp texture.
That makes them useful beyond simple snacking.
Ingredients Breakdown and Flavor Profile
Every ingredient contributes to the cookie’s texture, flavor, and structure.
Almond Flour as the Keto Base
Almond flour replaces traditional flour while keeping the cookies tender and slightly nutty.
It also provides healthy fats and helps create that delicate melt-in-your-mouth texture keto cookies are known for.
Sweeteners and Texture Balance
Erythritol sweetener adds sweetness without the sugar spike. It also contributes to crispness as the cookies cool.
Using powdered or finely granulated sweetener often produces the smoothest texture.
Vanilla and Butter Flavor Enhancement
Butter gives the cookies richness, while vanilla extract provides the classic warm flavor that defines vanilla wafers.
Together, they create a surprisingly authentic cookie flavor.
Essential Tools for Baking Keto Cookies
Must-Have Kitchen Equipment
You’ll need mixing bowls, a mixer, baking sheets, and measuring tools.
Why Silicone Mats Work Best
Silicone baking mats help prevent overbrowning and allow almond flour cookies to bake more evenly than parchment paper.
Step-by-Step Keto Vanilla Wafers Recipe
Preparing the Cookie Dough
Cream butter and sweetener until fluffy, then mix in egg and vanilla before adding dry ingredients.
Shaping the Cookies
Roll small dough balls and flatten slightly on prepared baking sheets.
Baking for the Perfect Texture
Bake until edges are golden while centers remain slightly soft.
Cooling for Crispness
Let the cookies finish drying in the warm oven after baking for maximum crispness.
Pro Tips for Crispy Keto Cookies
Making truly crisp keto cookies can be a little tricky because almond flour behaves very differently from traditional wheat flour. But once you understand how keto ingredients work, getting that delicate vanilla wafer texture becomes much easier.
Preventing Soft or Crumbly Wafers
One of the most common issues with almond flour cookies is texture. They can sometimes turn out too soft, fragile, or crumbly if the balance of ingredients or baking time is slightly off.
The key is allowing the cookies to dry out gradually rather than baking them aggressively at a high temperature. That’s why this recipe uses a lower oven temperature and includes the extra resting step in the warm oven after baking. As the cookies cool slowly, moisture evaporates and the wafers crisp up beautifully.
Measuring almond flour accurately is also extremely important. Too much almond flour can make the dough dry and crumbly, while too little can cause spreading. Using a kitchen scale gives the most reliable results.
Another helpful tip is not making the cookies too large. Smaller cookies bake more evenly and develop a better crisp texture throughout.
Achieving Even Browning
Almond flour browns faster than regular flour because of its natural fat content. That means keto cookies can go from golden to overly dark surprisingly quickly.
Using silicone baking mats helps prevent the bottoms from browning too fast. If you’re using parchment paper, keep a close eye during the final few minutes of baking.
Switching the baking sheet positions halfway through baking also promotes even coloring and crispness.
Common Mistakes and How to Avoid Them
Even though these cookies are relatively simple, keto baking behaves differently enough that small mistakes can noticeably affect the final result.
Overbaking Almond Flour Cookies
Unlike regular cookies, almond flour cookies continue firming up significantly as they cool. They may still feel slightly soft on top when removed from the oven, and that’s perfectly normal.
If you wait until they feel fully crisp while baking, they’ll likely become too dark or dry after cooling.
The goal is lightly golden edges with a center that still feels just slightly tender.
Dough Too Sticky or Too Dry
If the dough feels overly sticky, the butter may be too warm. Chilling the dough briefly can help make it easier to shape.
If it feels dry or crumbly, it may need a touch more moisture or the almond flour measurement may be too heavy.
Because almond flour absorbs moisture differently depending on the brand, small adjustments are sometimes necessary.
Variations and Creative Twists
Once you’ve mastered the base recipe, these wafers become incredibly versatile.
Chocolate or Cinnamon Versions
For a chocolate version, add a small amount of cocoa powder to the dough. For a warmer flavor, mix in cinnamon or pumpkin spice.
Both options create a completely different cookie experience while keeping the same crisp texture.
You can also dip half the cookies in melted sugar-free chocolate for a more indulgent treat.
Using the Wafers in Keto Desserts
These cookies work wonderfully in:
- Keto banana pudding alternatives
- Cheesecake crusts
- Ice cream sandwiches
- Layered parfaits
- Crushed cookie toppings
Because they crisp so well, they hold their structure better than many keto cookies in layered desserts.
Serving and Presentation Ideas
Keto Vanilla Wafers may be simple, but they can still feel elegant with the right presentation.
Pairing Keto Vanilla Wafers with Drinks and Desserts
Serve them alongside:
| Pairing | Why It Works |
|---|---|
| Coffee or espresso | Balances sweetness |
| Tea | Light and comforting |
| Keto hot chocolate | Cozy dessert pairing |
| Sugar-free pudding | Adds crunch |
| Keto cheesecake | Perfect textural contrast |
For a bakery-style look, stack them in glass jars or arrange them beside whipped cream and berries on a dessert tray.
Storage and Shelf Life
Proper storage helps maintain the crisp texture.
Keeping Keto Cookies Crisp
Store the wafers in an airtight container at room temperature for up to 5 days.
If they soften slightly over time, you can crisp them again by placing them in a low oven for a few minutes.
They also freeze well. Layer them between parchment paper and freeze for up to 2 months.
Conclusion
Keto Vanilla Wafers prove that low-carb desserts don’t have to feel like compromises. They’re crisp, buttery, lightly sweet, and packed with nostalgic vanilla flavor while still fitting into a keto lifestyle.
What makes them stand out is their versatility. They’re delicious enough to snack on straight from the container, but sturdy enough to use in layered desserts, crusts, and parfaits.
And unlike many keto baked goods that lean too heavily into “healthy” textures, these cookies genuinely feel satisfying and comforting. Once you taste that delicate crunch and rich vanilla flavor, it’s easy to forget they’re low-carb at all.
FAQs
1. Why do keto cookies stay soft sometimes?
Almond flour retains moisture differently than regular flour, so cooling is important for crispness.
2. Can I use coconut flour instead of almond flour?
Not directly—coconut flour absorbs far more moisture.
3. How do I make them crispier?
Let them dry in the warm oven after baking.
4. Can I freeze Keto Vanilla Wafers?
Yes, they freeze very well.
5. Are these cookies gluten-free?
Yes, almond flour makes them naturally gluten-free.
Print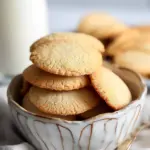
Keto Vanilla Wafers: Crisp, Buttery, and Low-Carb Perfection
Ingredients
1/2 cup (113.5 g) butter, softened
1/2 cup (100 g) erythritol sweetener
1 large egg, room temperature
1 tsp vanilla extract
1 2/3 cup (186.67 g) almond flour
1/2 tsp baking powder
1/4 tsp salt
Instructions
Preheat the oven to 325ºF and line two baking sheets with silicone mats. You can use parchment instead but keep a close eye on your cookies as the bottoms may brown quickly.
In a large bowl, beat the butter with the sweetener until light and fluffy, 1 to 2 minutes. Beat in the egg and vanilla until well combined.
Add the almond flour, baking powder, and salt and beat until the mixture is uniform, scraping down the sides of the bowl and the beaters as necessary.
Using about 2 teaspoons of dough at a time, roll into small balls and place an inch apart on the prepared baking sheets. Press down to flatten slightly.
Bake 15 to 20 minutes, switching the position of the pans halfway through baking, until the edges are golden brown. They will still be a little soft on top.
Remove the cookies, turn the oven off, and let cool for 5 to 10 minutes. Then return the pans to the oven and let sit inside until cool (keep a close eye on them to make sure they don’t become overly brown).