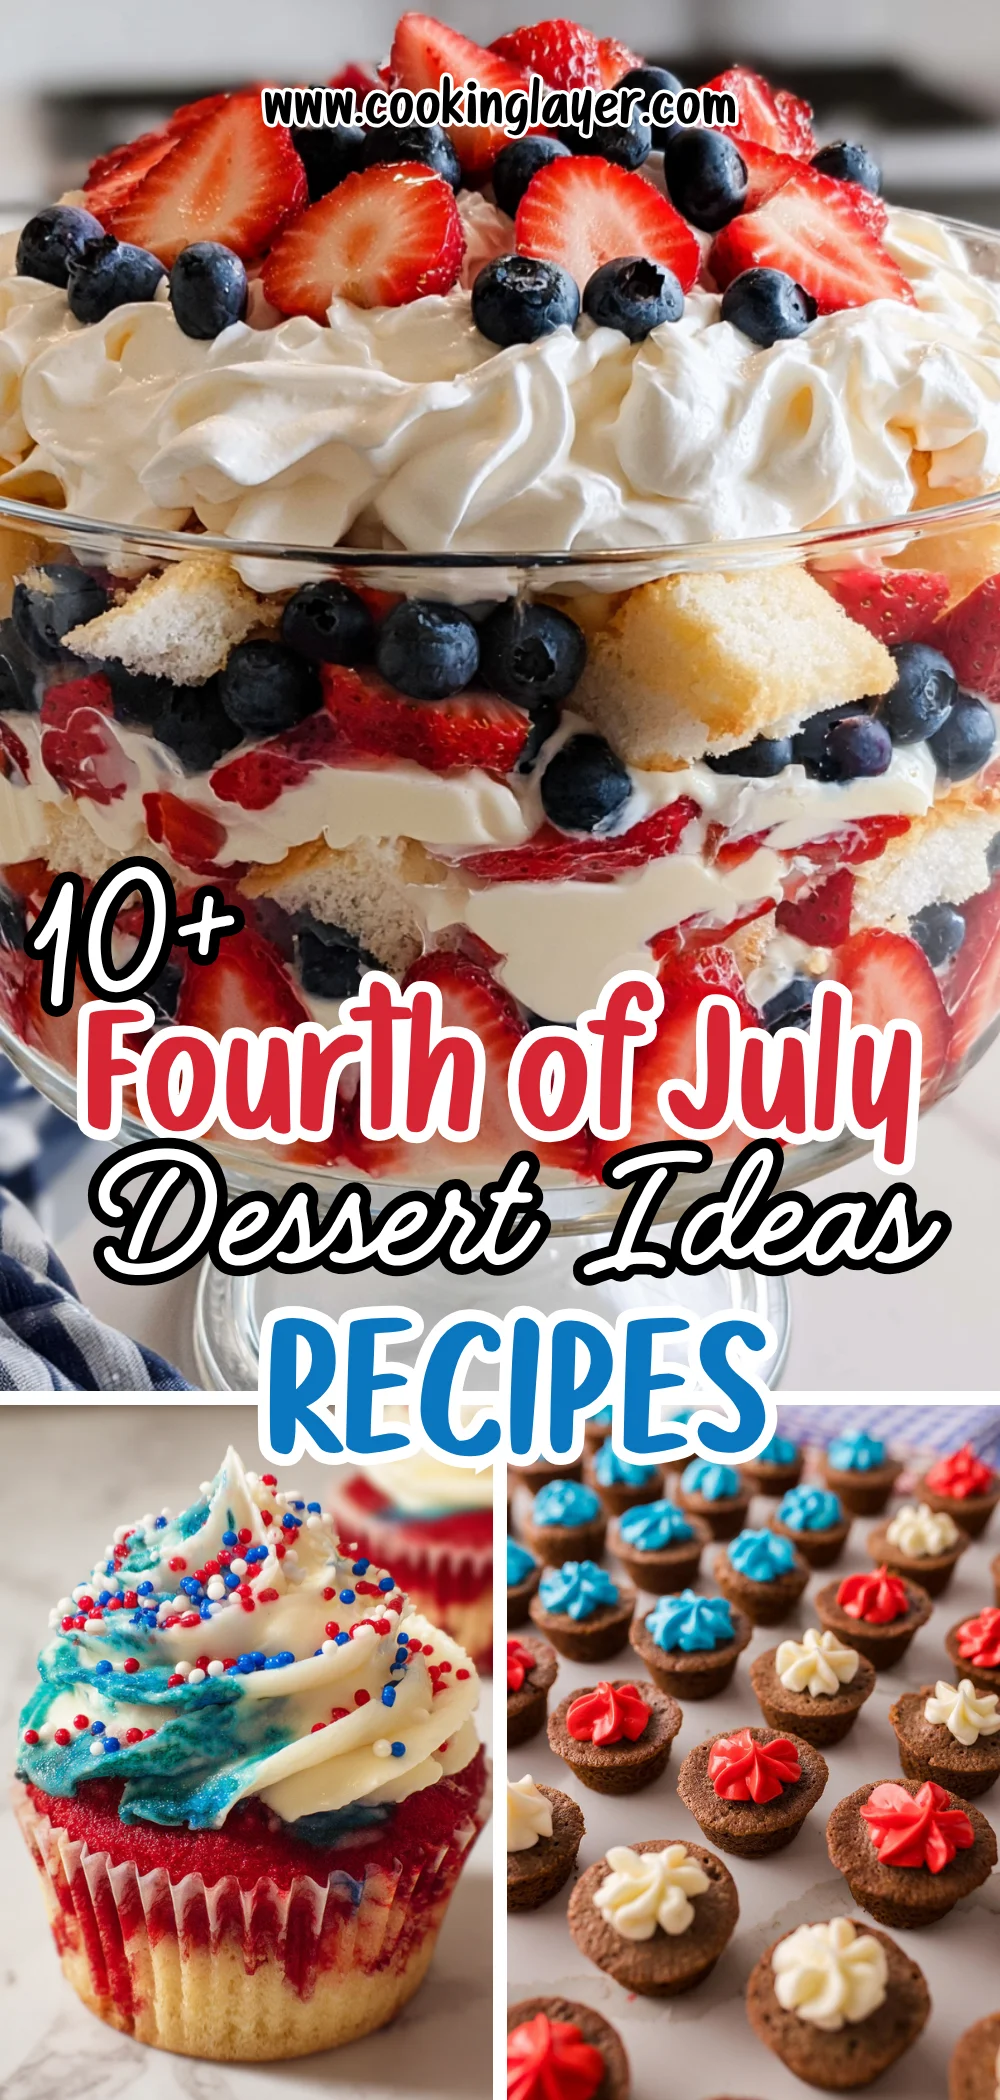
Why Sugar Cookie Bars Are So Popular
There’s something timeless about a classic sugar cookie. They’re soft, buttery, sweet, and comforting in a way that never really goes out of style. But let’s be honest—rolling out dough, cutting shapes, and decorating individual cookies can sometimes feel like a project. That’s exactly why Sugar Cookie Bars have become such a favorite. They deliver all the flavor and texture of traditional sugar cookies, but with far less effort.
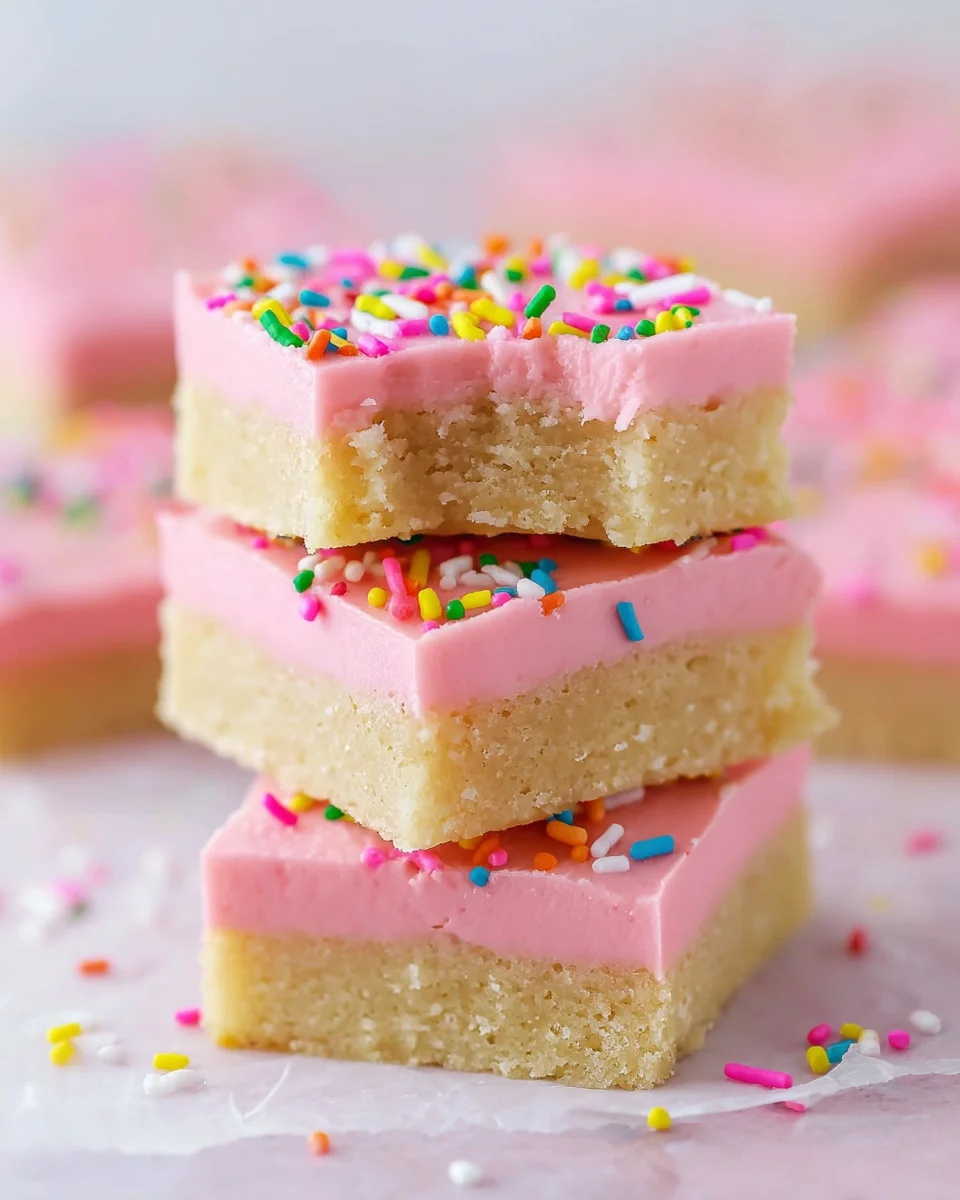
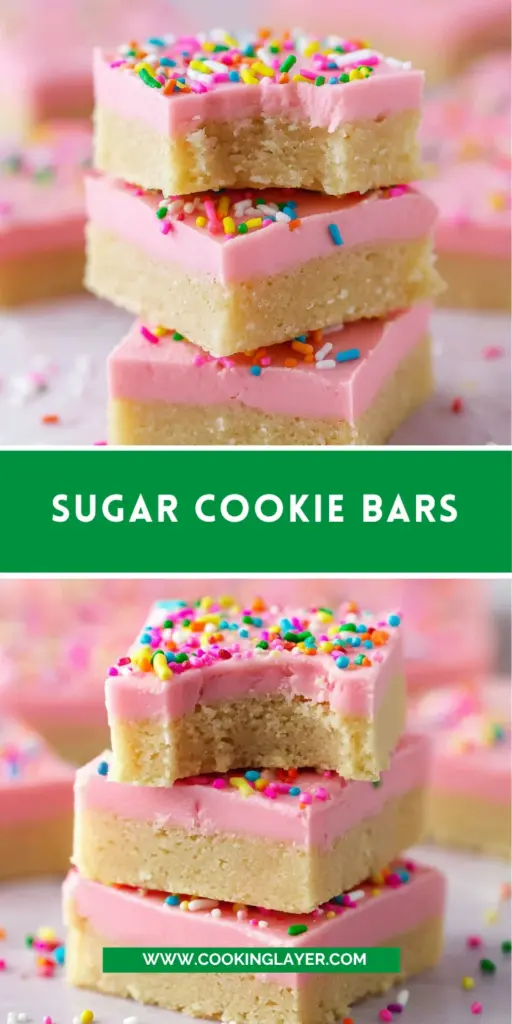
Instead of rolling and cutting, the dough is simply pressed into a pan and baked as one thick layer. The result is a dessert that’s soft in the center, lightly golden on the edges, and topped with creamy vanilla buttercream. Once sliced into squares, they look festive, polished, and bakery-worthy without requiring complicated decorating skills.
Another reason these bars are so popular is their versatility. You can dress them up for holidays with colorful frosting and sprinkles, or keep them simple for an everyday dessert. They’re easy to transport, easy to serve, and almost impossible to stop eating once you start.
Everything You Love About Sugar Cookies—Made Easier
Traditional sugar cookies are great, but they can be time-consuming. Cookie bars simplify the process without sacrificing flavor or texture.
You still get that buttery, vanilla-rich taste and soft bite—just in a quicker, more convenient form.
Perfect for Parties, Holidays, and Everyday Treats
These bars are ideal for gatherings because they’re easy to cut into servings and customize. You can match frosting colors to birthdays, holidays, or special events, making them feel festive with minimal effort.
They’re the kind of dessert that works just as well at a bake sale as they do on a casual weekend.
Ingredients Breakdown and Flavor Profile
Each ingredient in this recipe contributes to the final texture and flavor, even if the ingredient list looks simple at first glance.
The Soft and Buttery Cookie Base
The cookie layer starts with butter, granulated sugar, and a touch of brown sugar. The brown sugar adds moisture and subtle caramel notes, helping create a softer texture.
The balance of flour, baking soda, and salt keeps the bars tender while still giving them enough structure to hold the frosting.
Vanilla extract ties everything together with that classic sugar cookie flavor.
Creamy Vanilla Buttercream Frosting
The frosting is smooth, rich, and slightly fluffy. Butter and powdered sugar create the base, while cream or water adjusts the consistency.
Vanilla gives it a simple, classic flavor that complements the cookie layer instead of overpowering it.
Optional Colors and Sprinkles for Fun Variations
Gel food coloring allows you to customize the frosting without changing its texture. Sprinkles add crunch, color, and a playful finish that makes the bars feel more festive.
Essential Tools for Perfect Cookie Bars
Must-Have Baking Equipment
You’ll need a 9×9 baking pan, mixing bowls, a mixer, and parchment paper.
Optional Tools for Professional Results
An offset spatula helps spread frosting smoothly, and a bench scraper can help create cleaner cuts.
Step-by-Step Sugar Cookie Bars Recipe
Preparing the Dough
Cream butter and sugars until fluffy, then mix in egg and vanilla before adding dry ingredients.
Pressing and Baking the Cookie Bars
Spread the dough evenly into the pan and bake until the edges are lightly golden.
Making the Vanilla Buttercream
Beat butter until smooth, then gradually mix in powdered sugar, vanilla, and cream.
Frosting and Decorating
Spread frosting over cooled bars and top with sprinkles if desired.
Pro Tips for Soft and Chewy Cookie Bars
The difference between average Sugar Cookie Bars and truly irresistible ones usually comes down to texture. You want bars that are soft, buttery, and slightly chewy, not dry or cakey. The frosting should be smooth and creamy without feeling overly heavy. Luckily, a few simple techniques make achieving that texture much easier.
Avoiding Dry or Crumbly Texture
One of the biggest mistakes when making cookie bars is overbaking them. Unlike traditional cookies, these continue to firm up as they cool in the pan. That means you should take them out of the oven when the edges are just beginning to turn golden and the center still looks slightly soft.
Another important factor is measuring flour correctly. Too much flour can make the bars dry and dense. Instead of scooping directly from the bag, spoon the flour into the measuring cup and level it off. It seems like a small detail, but it makes a noticeable difference.
The combination of granulated sugar and light brown sugar also helps maintain moisture. The brown sugar adds a subtle softness and prevents the bars from becoming crumbly after a day or two.
Getting Smooth, Fluffy Frosting
Buttercream may look simple, but texture matters. Start with room-temperature butter—not melted, not cold. Properly softened butter whips more easily and creates a smoother frosting.
When adding powdered sugar, do it gradually to avoid clumps and maintain a fluffy consistency. If the frosting feels too thick, add cream or water just a little at a time. If it becomes too soft, a bit more powdered sugar can bring it back together.
For an extra airy texture, beat the frosting for an additional minute or two after everything is combined. That extra whipping introduces air and creates a lighter feel.
Common Mistakes and How to Avoid Them
Even though this recipe is beginner-friendly, there are a few common issues that can affect the final result if you’re not careful.
Overbaking the Cookie Base
Overbaking is the fastest way to lose that soft sugar-cookie texture. Since these bars bake in a thicker layer, the center can look slightly underdone even when they’re ready.
Trust the edges more than the middle. Once the edges are lightly golden, they’re usually done.
Frosting Consistency Problems
If your frosting is too stiff, it can tear the cookie bars when spreading. Too thin, and it won’t hold shape. The key is adjusting slowly—small amounts of cream or powdered sugar make a big difference.
Also, make sure the bars are completely cool before frosting. Warm bars will melt the buttercream and create a messy finish.
Variations and Creative Twists
One of the best things about sugar cookie bars is how customizable they are. A few small changes can completely transform the look and flavor.
Holiday-Themed Cookie Bars
These bars are perfect for seasonal decorating. Use:
- Pink frosting and heart sprinkles for Valentine’s Day
- Red and green for Christmas
- Pastels for Easter
- Orange and black for Halloween
The neutral vanilla flavor works with almost any theme.
Chocolate Chip or Funfetti Versions
Mixing in mini chocolate chips creates a slightly richer version, while rainbow sprinkles folded into the dough turn them into funfetti cookie bars.
You can also experiment with almond extract or citrus zest for subtle flavor changes.
Serving and Presentation Ideas
Presentation can make these simple bars feel extra special.
Cutting and Decorating Like a Bakery
For clean slices, chill the frosted bars briefly before cutting. Use a sharp knife and wipe it clean between cuts for neat edges.
Decorate with consistent piping, sprinkles, or even edible glitter if you want a bakery-style look. Arranging the bars neatly on a platter instantly makes them feel party-ready.
You can cut them into squares, rectangles, or even smaller bite-sized pieces depending on the occasion.
Storage and Shelf Life
These cookie bars store extremely well, which makes them perfect for making ahead.
Keeping Cookie Bars Fresh
Store the bars in an airtight container at room temperature for up to 4–5 days. If stacking them, place parchment paper between layers to keep the frosting intact.
For longer storage, refrigerate them, though they’re best enjoyed at room temperature for the softest texture.
They also freeze well. Wrap individual bars tightly and thaw before serving.
Conclusion
Sugar Cookie Bars are proof that simple desserts can still feel special. They combine the classic flavor of sugar cookies with the convenience of a bar dessert, creating something that’s easy to make but incredibly satisfying.
What makes them so appealing is the balance—soft cookie base, creamy frosting, and endless decorating possibilities. They’re nostalgic, versatile, and perfect for everything from casual snacks to celebrations.
And once you realize how much easier they are than traditional cut-out cookies, there’s a good chance they’ll become your new go-to version.
FAQs
1. Can I make these ahead of time?
Yes, they stay fresh for several days when stored properly.
2. Can I freeze sugar cookie bars?
Absolutely—freeze individually wrapped bars for best results.
3. Why are my cookie bars dry?
Most likely from overbaking or too much flour.
4. Can I use store-bought frosting?
Yes, though homemade buttercream has a better flavor and texture.
5. Do I need gel food coloring?
No, it’s optional and mainly for decoration.
Print
Sugar Cookie Bars
Description
There’s something timeless about a classic sugar cookie. They’re soft, buttery, sweet, and comforting in a way that never really goes out of style. But let’s be honest—rolling out dough, cutting shapes, and decorating individual cookies can sometimes feel like a project. That’s exactly why Sugar Cookie Bars have become such a favorite. They deliver all the flavor and texture of traditional sugar cookies, but with far less effort.
Ingredients
Sugar Cookie Bars
2 3/4 cups (358g) all-purpose flour (measured properly)
1/2 tsp baking soda
1/2 tsp salt
1 cup plus 2 tbsp (252g) unsalted butter, room temperature
1 cup (207g) granulated sugar
2 tbsp (28g) light brown sugar
1 large egg, room temperature
2 tsp vanilla extract
Vanilla Buttercream
1/2 cup (112g) unsalted butter, room temperature
2 cups (230g) powdered sugar
1/2 tsp vanilla extract
1–2 tbsp cream or water
Gel icing color, optional
Sprinkles, optional
Instructions
Preheat oven to 350°F (180°C). Prepare a 9×9 square baking pan with non-stick baking spray, or line it with parchment paper, leaving some over hanging on the sides for easy removal from the pan later.
Combine the flour, baking soda and salt in a medium sized bowl and set aside.
Cream the butter and sugars together in a large mixer bowl on medium speed until light in color and fluffy, 2-3 minutes. You should be able to see the change in color and texture and know it’s ready.
Add the egg and mix until well combined. Add the vanilla extract and mix until well combined.
Add the dry ingredients to the butter mixture and mix until the dough is just well combined. Do not over mix. Once it’s well combined, use a rubber spatula to help it come together to form a more cohesive ball.
Press the cookie dough evenly into the cake pan and bake for 17-23 minutes, or until the edges just begin to turn golden.
Allow to cool completely in the pan, 2-3 hours. It will firm up as it cools.
To make the buttercream, add the butter to a mixer bowl and beat until smooth. Add the powdered sugar and mix until well combined. Add the vanilla extract and 1 tablespoon of cream or water and mix until well combined. Add additional cream or water, if needed.
Color the buttercream with gel icing color, if using.
Spread the frosting evenly on top of the cooled cookie base and add sprinkles, if using.
Use the parchment paper to lift the cookie bars out of the pan, then cut into slices and serve. Best if stored in an air-tight container and eaten within 4-5 days.