
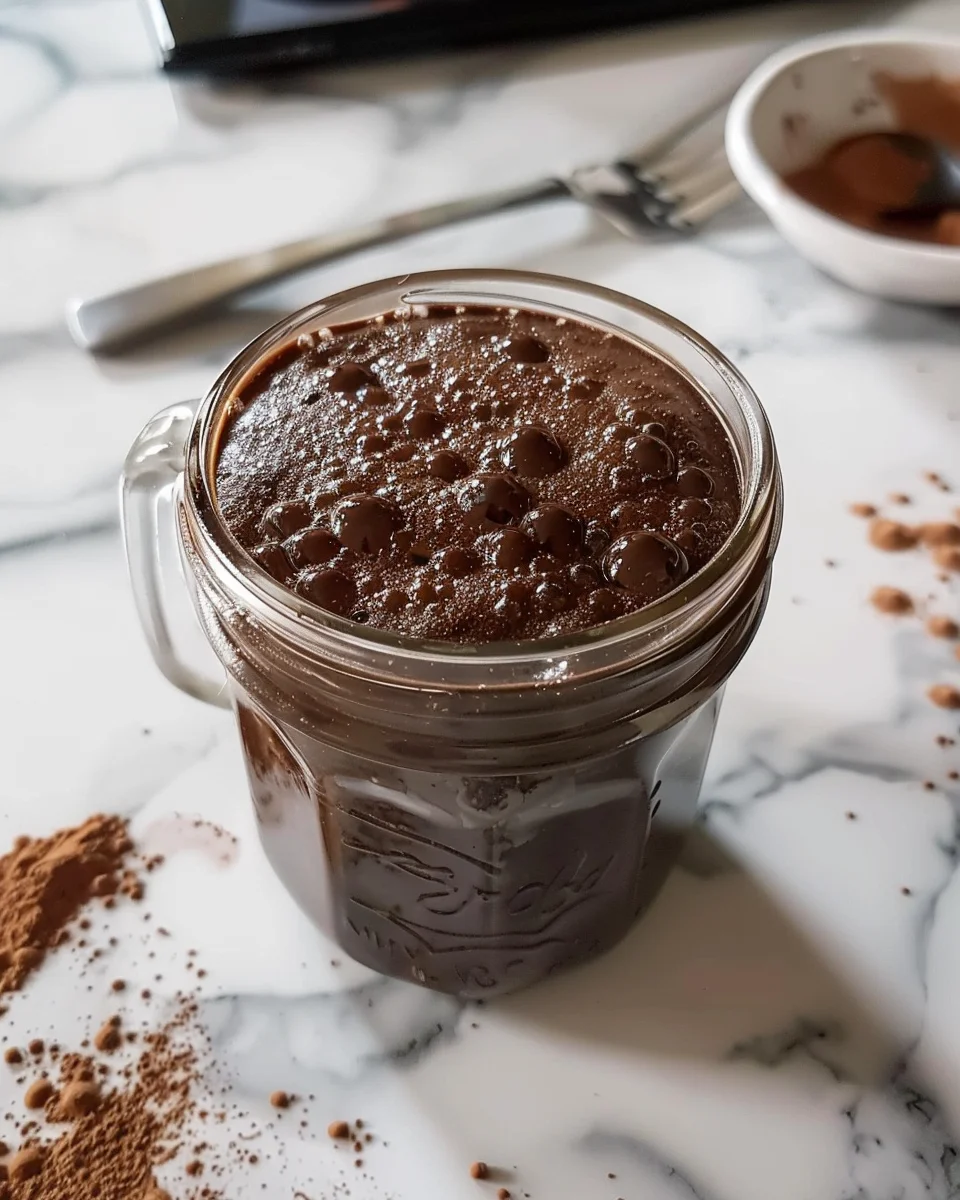
Introduction to Chocolate Sourdough Starter
Welcome, fellow food lovers! If you’re anything like me, you’re always on the lookout for fun culinary twists that truly ignite joy in your kitchen. That’s where the Chocolate Sourdough Starter comes in. Imagine the delight of baking with a sourdough starter that’s infused with rich chocolate flavor. It’s perfect for busy days when you crave something a little special yet simple. This recipe isn’t just about baking; it’s about creating delicious memories with your loved ones while filling your home with that irresistible aroma of chocolate. Ready to dive in?
Why You’ll Love This Chocolate Sourdough Starter
If you’re a busy mom or professional, you’ll appreciate how simple this Chocolate Sourdough Starter is to make. It requires just a few ingredients and minimal effort. Plus, the rich chocolate flavor elevates any dish, tantalizing the taste buds of your family and friends. Each bite brings comfort and joy, making it the perfect addition to your baking repertoire. Seriously, it’s a game-changer!
Ingredients for Chocolate Sourdough Starter
Creating your Chocolate Sourdough Starter is as enjoyable as it is straightforward! Here’s what you’ll need:
- Cocoa powder: This is where the magic begins! Choose between regular, Dutch-processed, or dark cocoa to match your flavor preference.
- Sugar: A touch of sweetness is essential. It not only enhances flavor but also helps in fermentation, making your starter lively.
- Bread flour: Rich in gluten, this flour offers the structure our starter craves. If you’re in a pinch, all-purpose flour works too.
- Active sourdough starter: The heart of this recipe! A healthy, bubbly starter is essential for successful fermentation.
- Warm water: Using warm water (not hot!) helps create the right environment for the fermentation process to kick off.
Don’t worry if you don’t have everything on hand. Baking is all about experimenting! You can find the exact quantities for each ingredient at the bottom of this article, where you’ll also see a handy printable version for convenience.
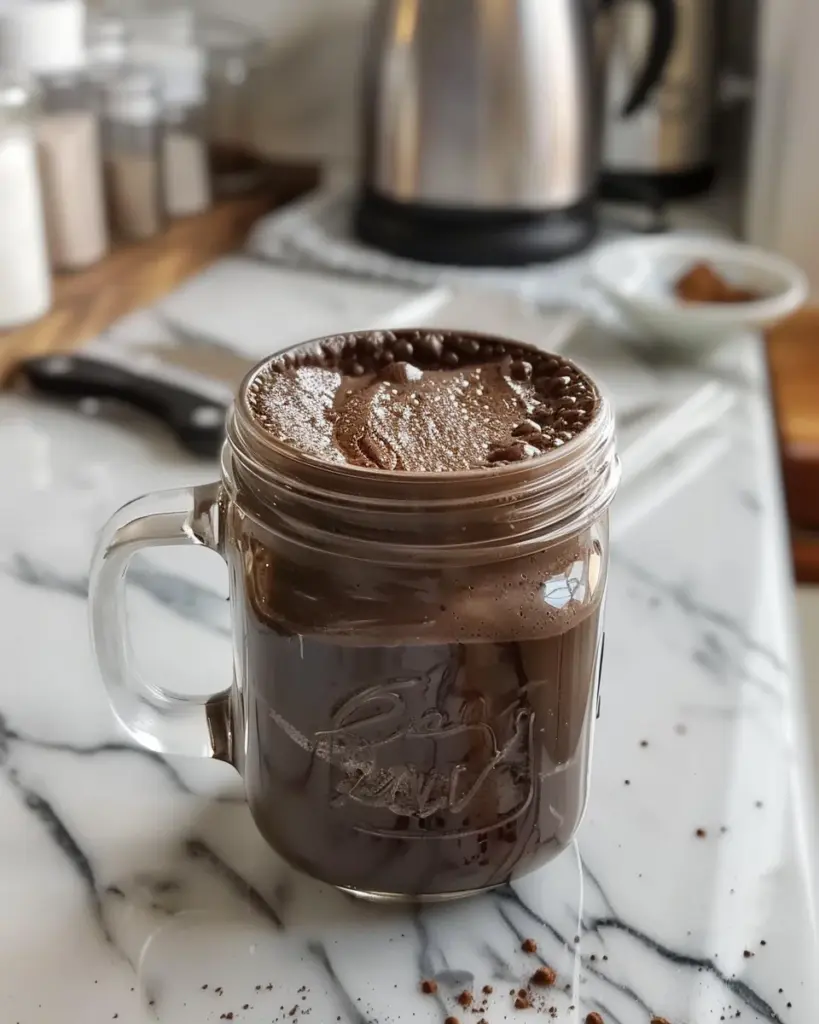
How to Make Chocolate Sourdough Starter
Making your Chocolate Sourdough Starter is like embarking on a tasty adventure! With just a few simple steps, you’ll have a delightful mix that’s sure to impress. Let’s roll up our sleeves and get started!
Step 1: Mix the Dry Ingredients
First things first, grab a medium bowl and combine the cocoa powder, sugar, and bread flour. Make sure to whisk them together thoroughly. This isn’t just about blending; it’s about creating a harmonious blend of flavors. The cocoa powder brings the rich chocolatey taste, while the sugar adds a hint of sweetness. The bread flour provides the essential structure.
Step 2: Add the Starter and Warm Water
Next, it’s time to bring your mixture to life! Pour in your active sourdough starter and warm water. Use a spatula or spoon to mix gently at first. This helps incorporate the starter without splattering your kitchen. Gradually mix more firmly until there are no dry spots left. The batter should be thick yet smooth—a little like pancake batter.
Step 3: Transfer to a Clean Jar
Now, it’s important to choose the right home for your starter. Find a clean glass jar big enough to allow room for expansion. I like to use jars with wide mouths to make future feedings easier. The glass gives you a clear view of your starter’s activity, and it doesn’t retain odors like some plastic containers.
Step 4: Cover the Jar Lightly
Cover your jar with a loose-fitting lid or a breathable cloth secured with a rubber band. This is crucial because your Chocolate Sourdough Starter needs to breathe! It allows airflow while preventing dust and bugs from sneaking in. Think of it as your starter’s cozy blanket, keeping it safe yet cozy.
Step 5: Find a Warm Resting Spot
Your starter needs warmth to thrive, so find a spot between 70 and 75°F (21-24°C) away from direct sunlight. An oven with the light on or the top of the refrigerator often works. This warm environment fosters fermentation, like tucking your starter in for a nice nap while it gets to work!
Step 6: Wait and Watch
Lastly, patience is key. Over the next 6 to 12 hours, your mixture will start bubbling and rising. You’ll notice a delightful sweet and tangy chocolate aroma filling your kitchen. This is a sign that your Chocolate Sourdough Starter is happy and ready for action! Keep an eye on it, and get excited because you’re just moments away from baking something delicious!
Tips for Success
- Always use fresh ingredients for the best flavor and activity.
- Keep your starter in a warm, stable spot to promote fermentation.
- Regularly check your starter; if it hasn’t bubbled after 12 hours, consider adjusting the temperature.
- If feeding your starter, equal parts of water and flour will help maintain its health.
- Document your process to refine your techniques over time.
Equipment Needed
- Medium bowl: A simple mixing bowl works, but a sturdy glass bowl is fantastic for visibility.
- Spatula or spoon: Any mixing tool will do, but a spatula helps scrape the sides easily.
- Glass jar: Choose a mason jar or any clean glass container for clear monitoring.
- Loose lid or cloth: A breathable cloth or loose lid aids in proper fermentation.
Variations of Chocolate Sourdough Starter
- Nutty Delight: Add 15 g of finely chopped nuts like walnuts or hazelnuts for a delightful crunch and earthy flavor.
- Spicy Cinnamon: Incorporate 1 teaspoon of ground cinnamon to infuse a warm, spicy note that pairs beautifully with chocolate.
- Minty Fresh: Blend in 1 teaspoon of peppermint extract for a refreshing twist that complements the chocolate flavor.
- Cherry Chocolate: Mix in 20 g of dried cherries or chocolate chunks for unexpected bursts of flavor in each bite.
- Gluten-Free Option: Substitute the bread flour with a gluten-free flour blend to enjoy this recipe without gluten concerns.
Serving Suggestions with Chocolate Sourdough Starter
- Pair with Fresh Fruit: Serve warm chocolate sourdough bread with slices of strawberries or bananas for a delightful contrast.
- Beverage Match: Enjoy with a glass of cold milk or a rich coffee for a comforting treat.
- Toast it Up: Spread a layer of butter or hazelnut spread on toasted slices for a special breakfast.
- Simple Presentation: Dust with powdered sugar or drizzle with melted chocolate for an appealing finish.
FAQs about Chocolate Sourdough Starter
Can I use any type of cocoa powder for my Chocolate Sourdough Starter?
Absolutely! You can choose regular, Dutch-processed, or dark cocoa powder. Each will impart a different depth of flavor, so feel free to experiment!
How do I know if my starter is active and ready to use?
Look for bubbles and an increase in volume. Your starter should also have a pleasant sweet and tangy aroma. If it rises nicely within 6 to 12 hours, you’re good to go!
What if my Chocolate Sourdough Starter doesn’t bubble?
If you see little to no activity, check the temperature where it’s resting. It may need a warmer spot, as warmth is crucial for fermentation. Patience is key!
How do I store my Chocolate Sourdough Starter once it’s active?
Once activated, you can store it in the fridge. Just remember to feed it once a week to keep it healthy. Before using, bring it back to room temperature and feed it again.
What can I make with my Chocolate Sourdough Starter?
The possibilities are endless! You can use it to bake chocolate sourdough bread, pancakes, waffles, or even chocolate muffins. It’s a delicious way to elevate your baked goods!
Final Thoughts
Getting into the world of Chocolate Sourdough Starter is like opening a treasure chest of flavor and creativity. Each time I whip up a batch, I can’t help but smile as my kitchen fills with the sweet, rich aroma of chocolate. This delightful twist on traditional sourdough doesn’t just enhance your baking; it creates a heartfelt connection with family and friends. The joy of sharing freshly baked goods made with your Chocolate Sourdough Starter is unmatched. So, go ahead—embrace this culinary adventure and elevate your baking game. Your loved ones will thank you, and so will your taste buds!
Print
Chocolate Sourdough Starter
- Prep Time: 5 minutes
- Cook Time: N/A
- Total Time: 12 hours
- Yield: 1 starter 1x
- Category: Baking
- Method: No-bake
- Cuisine: American
- Diet: Vegetarian
Description
A fun and unique twist on traditional sourdough starter, infused with chocolate flavor using cocoa powder and sugar to enhance fermentation.
Ingredients
- 20 g cocoa powder (about 2 ½ tablespoons)
- 20 g sugar (about 1 ½ tablespoons)
- 50 g bread flour (about ⅓ cup + 1 tablespoon)
- 30 g active sourdough starter (about 2 tablespoons)
- 60 g warm water (about ¼ cup)
Instructions
- Mix the dry ingredients first: Combine the cocoa powder, sugar, and bread flour in a medium bowl.
- Add the starter and warm water: Pour in your active sourdough starter and the warm water. Stir slowly at first, then more firmly, until no dry spots remain.
- Transfer to a clean jar: Use a glass jar with enough headspace to prevent overflow.
- Cover the jar lightly: Use a loose-fitting lid or breathable cloth to allow airflow while keeping out dust.
- Find a warm resting spot: Let the starter thrive at around 70–75°F (21–24°C) away from direct sunlight.
- Wait and watch: Over 6 to 12 hours, the mixture should start to bubble and rise, developing a sweet, tangy chocolate aroma.
Notes
- You can use regular, Dutch-processed, or dark cocoa based on your flavor preference.
- Using bread flour is recommended for better fermentation, but all-purpose flour can be used if that’s all you have.
Nutrition
- Serving Size: 1 tablespoon
- Calories: 45
- Sugar: 1 g
- Sodium: 0 mg
- Fat: 1 g
- Saturated Fat: 0.5 g
- Unsaturated Fat: 0.5 g
- Trans Fat: 0 g
- Carbohydrates: 9 g
- Fiber: 1 g
- Protein: 1 g
- Cholesterol: 0 mg