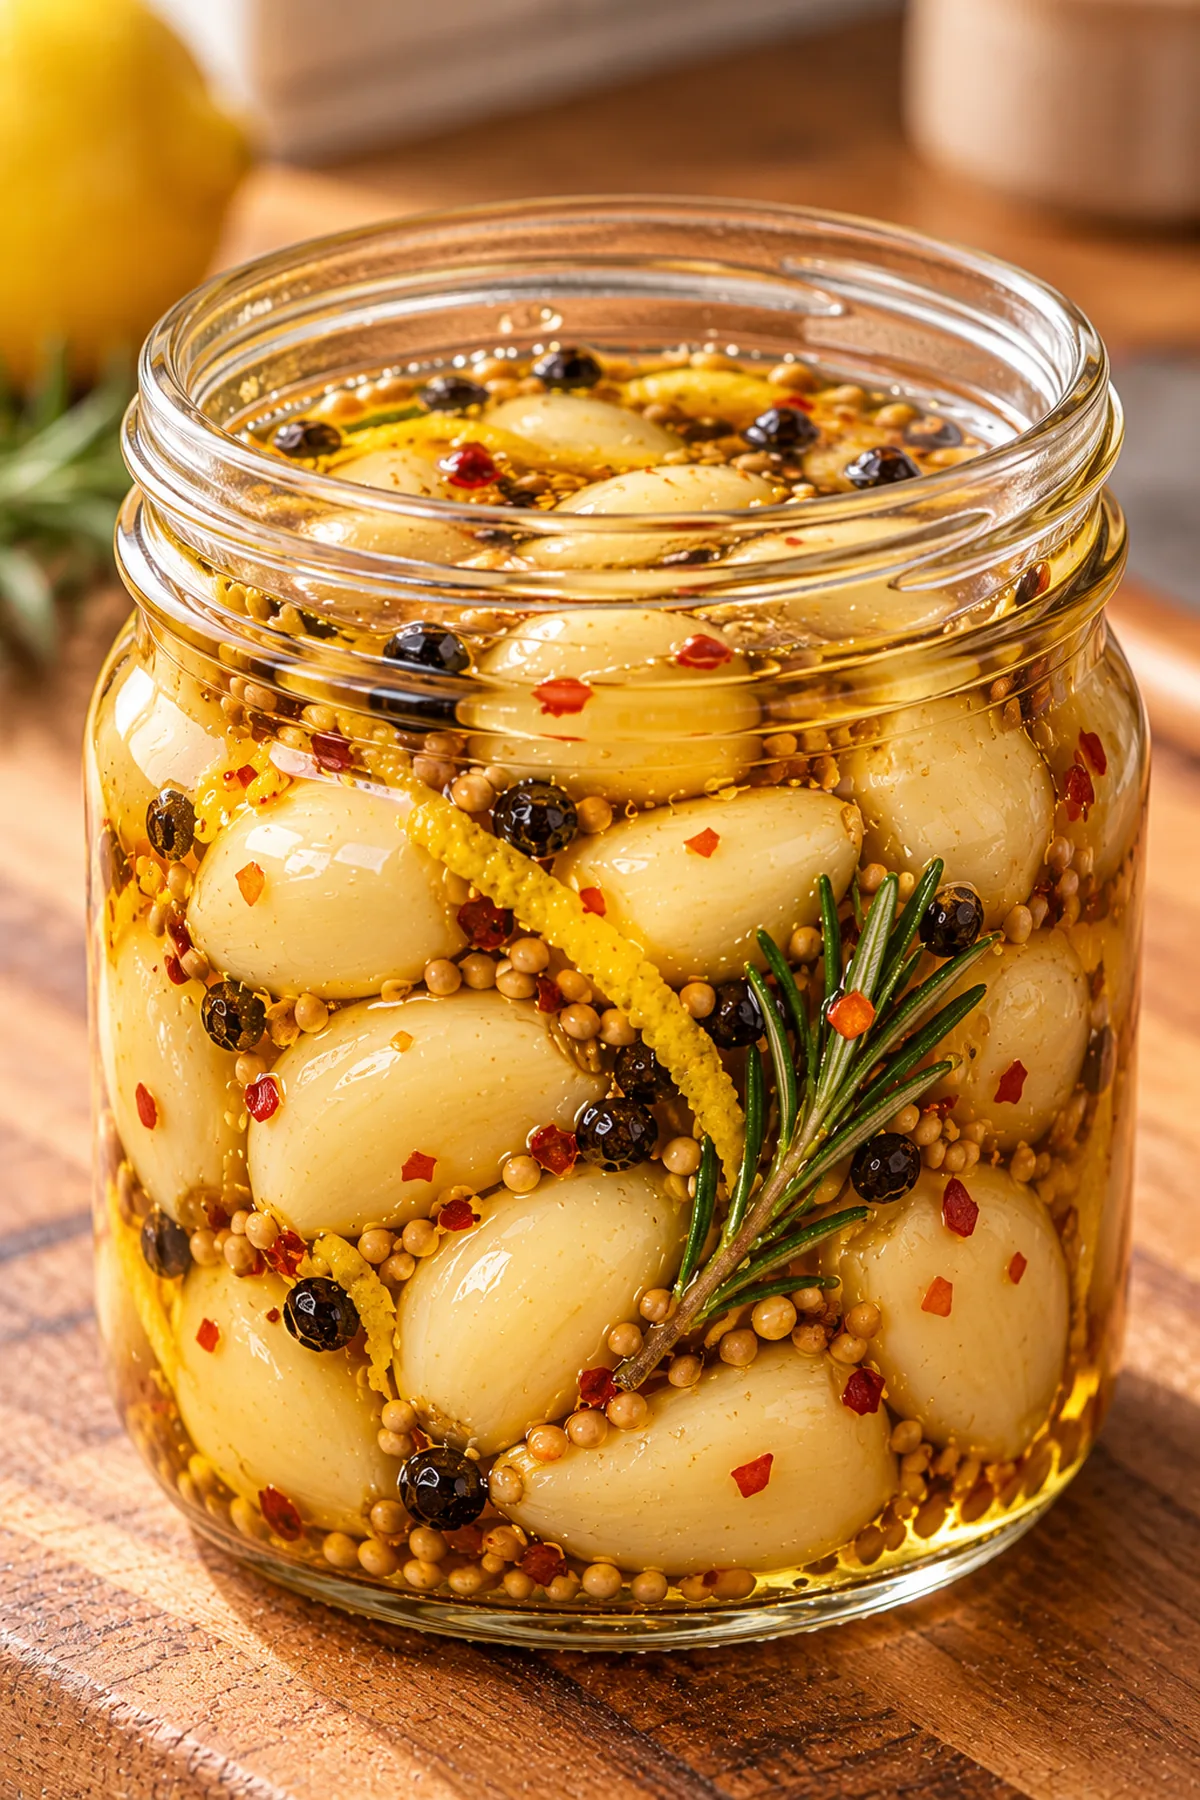

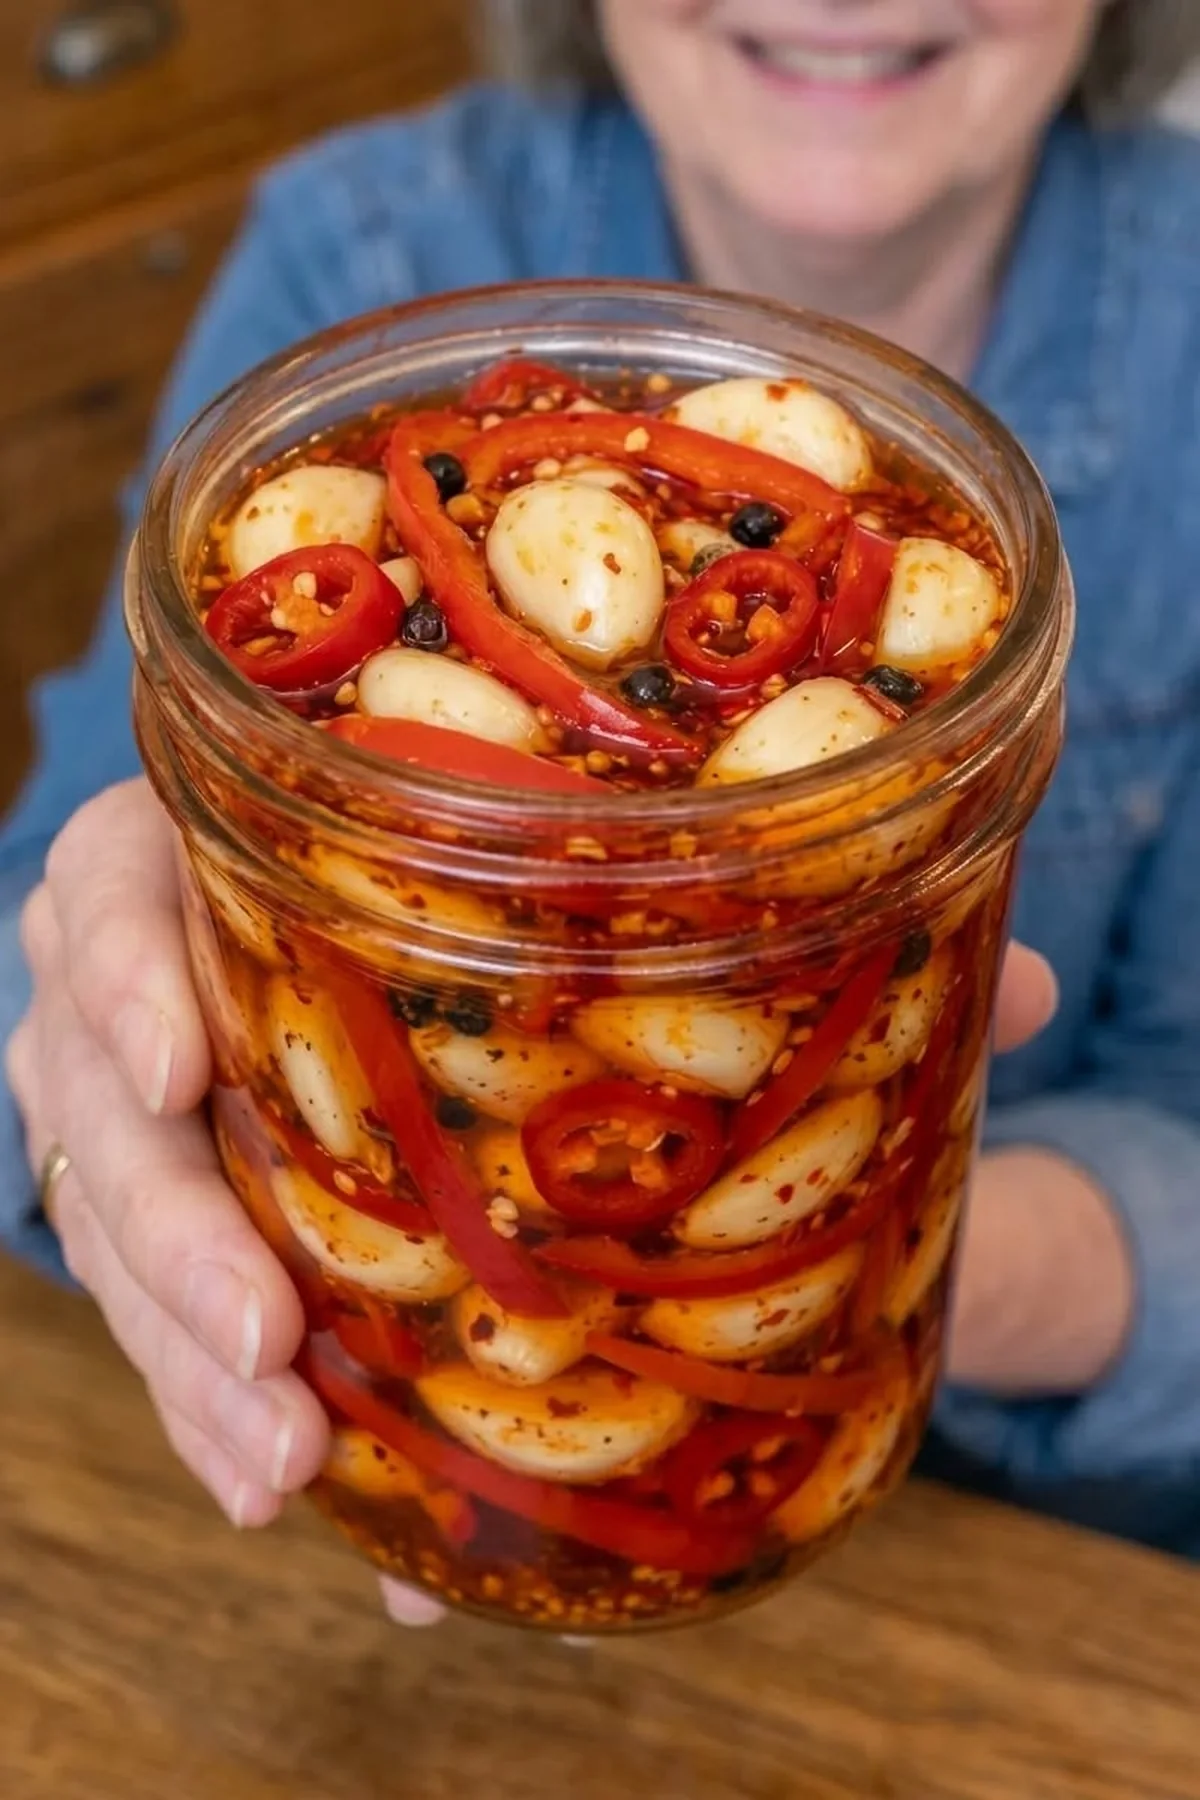
Sweet and spicy red pepper pickled garlic transforms raw cloves into a tangy refrigerator pickle with chile heat and honey. Red bell pepper adds color and natural sweetness, while fresh red chile, hot sauce, pepper flakes, and smoked paprika create layers of heat rather than one sharp burn. After several days in the refrigerator, the garlic mellows, the peppers absorb the lively brine, and every bite tastes sweet, sour, savory, and spicy.
This recipe is especially useful when you want a make-ahead condiment that can do more than one job. Set the cloves beside cheese and crackers, slice them onto burgers and sandwiches, chop them into salads, or serve them with grilled meat. Preparation takes about 20 minutes, and refrigeration does the rest. Because this is a refrigerator pickle—not a canning recipe—it must remain chilled at 40°F or below and should be used within two weeks.
Why This Sweet and Spicy Pickled Garlic Works
The brine begins with equal amounts of 5% acidity white vinegar and water. White vinegar gives the pickles a clean, direct tang that stands up to garlic, while water keeps that acidity from tasting harsh. Granulated sugar and honey soften the edges without turning the cloves into candy. Hot sauce disperses evenly through the liquid, and the fresh chile and pepper flakes continue to infuse the jar as it rests.
Using whole garlic cloves is important. Whole cloves stay crisp longer and mellow gradually instead of releasing all their pungency at once. Thin red bell pepper strips fit between the cloves and contribute sweetness. Mustard seeds and peppercorns provide familiar pickling character, and smoked paprika adds a subtle savory background that makes the finished jar taste more complex.
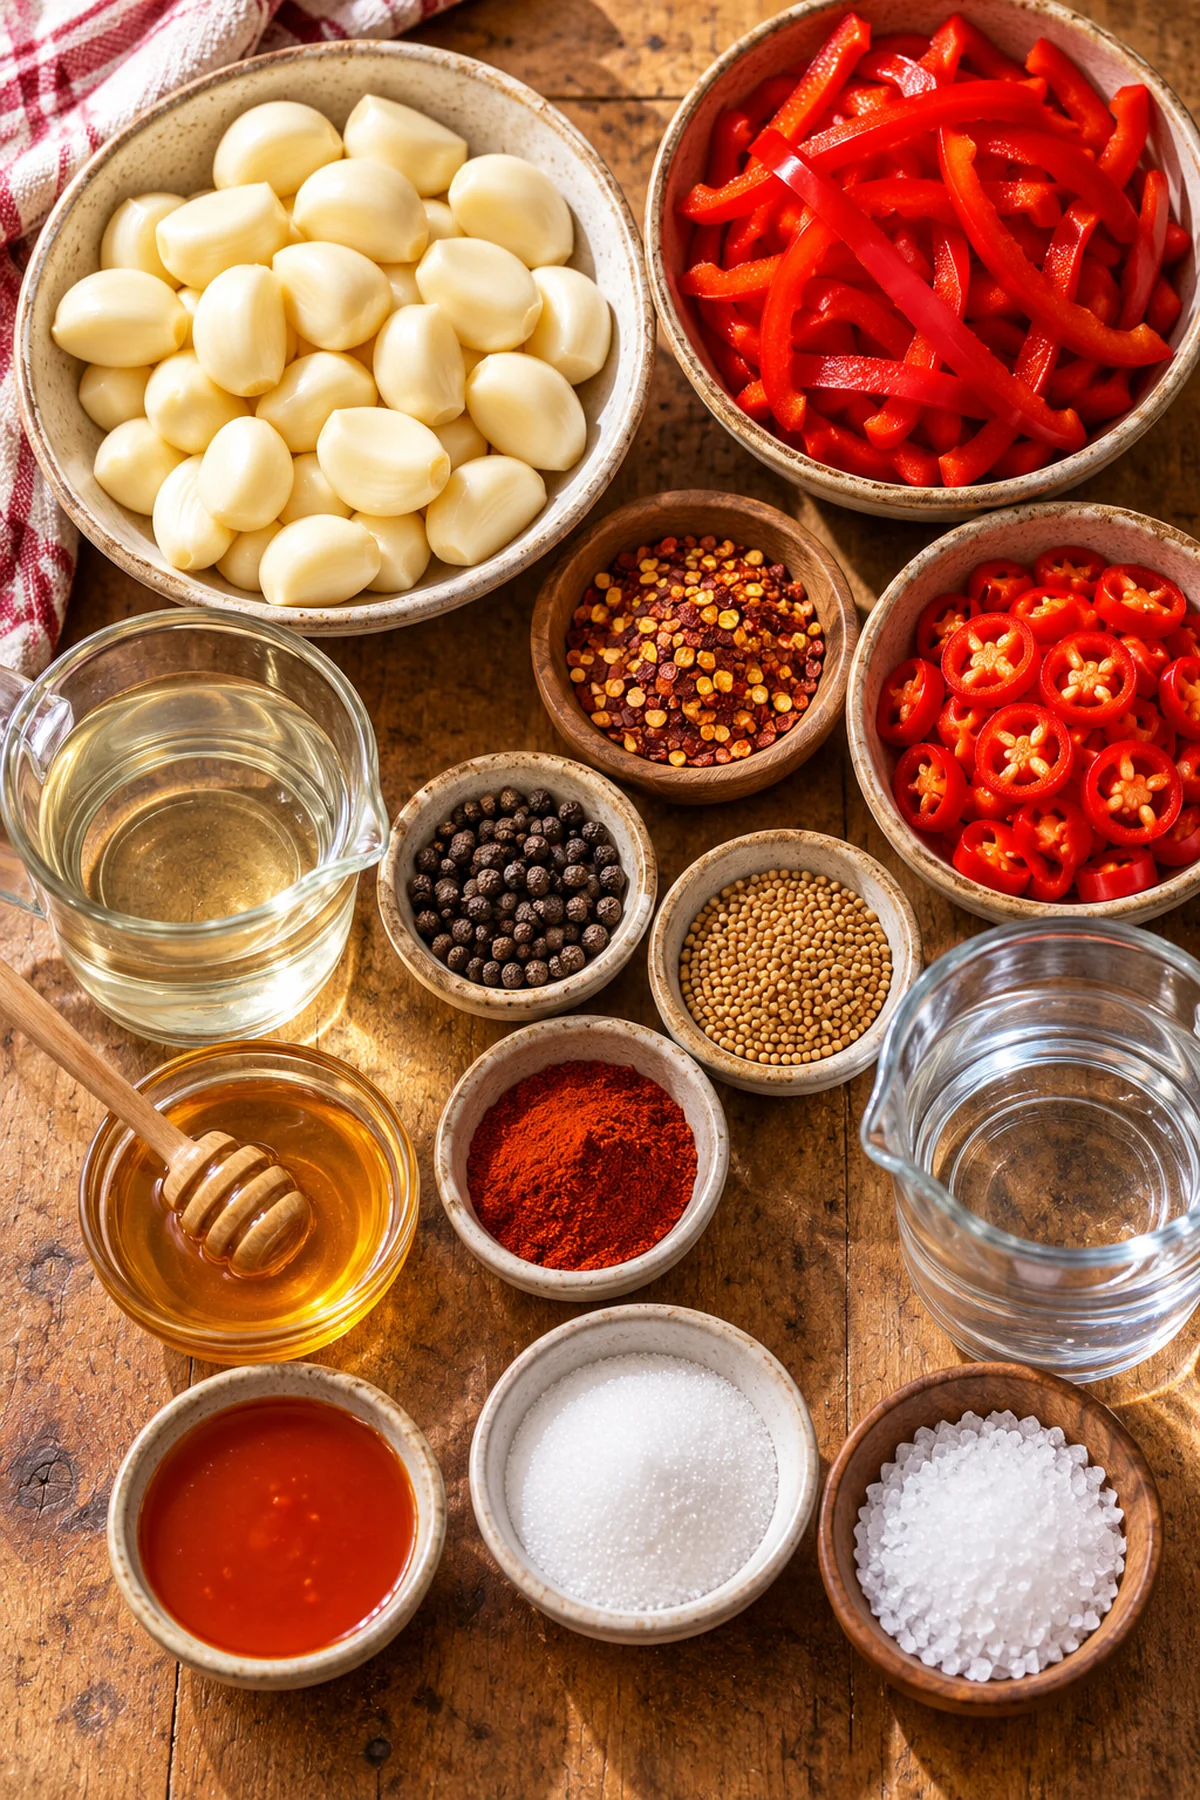
Ingredient Details and Best Choices
Fresh Garlic
Choose firm garlic heads with tight skins and no soft spots, mold, or green shoots. Two cups of peeled cloves may require several heads, depending on their size. Trim the dry root end but keep each clove whole. Cloves of similar size pickle most evenly, although a natural mixture is perfectly usable. Discard damaged or discolored cloves rather than trimming around questionable areas.
Red Bell Pepper and Fresh Chile
Red bell pepper supplies sweetness, crunch, and a bright scarlet color. Cut it into thin strips so it fits easily around the garlic and absorbs the brine. A small red chile adds fresher, fruitier heat than dried flakes alone. Chile strength varies, so taste a tiny piece if you are unsure. Remove its seeds and pale inner ribs for less heat, or leave some in for a hotter batch. Wear gloves if your skin is sensitive, and avoid touching your face.
The Vinegar Brine
Use commercially bottled white vinegar clearly labeled 5% acidity. Its known acidity and neutral flavor make it appropriate for this refrigerator pickle. Do not use homemade vinegar, and do not reduce the measured vinegar. Water, sugar, honey, hot sauce, and kosher or pickling salt complete the brine. Pickling salt dissolves cleanly; kosher salt also works, but avoid iodized table salt because it can produce a cloudy brine and metallic note.
Spices and Heat
Whole black peppercorns give gentle warmth, mustard seeds add earthy bite, and crushed red pepper flakes infuse steady heat. Smoked paprika lends color and mild smokiness. Use fresh spices that still smell aromatic. Choose a hot sauce you already enjoy; a simple vinegar-based red sauce works especially well and will not overpower the garlic.
How to Make Sweet and Spicy Red Pepper Pickled Garlic
Prepare the Produce and Jar
Wash a heat-safe glass jar and its lid thoroughly in hot, soapy water, rinse, and drain. This is not shelf-stable canning, but clean equipment still matters. Peel the garlic, rinse the cloves briefly, and dry them. Slice the bell pepper and chile into thin pieces. Measure every spice and brine ingredient before heating anything so the assembly moves smoothly.
Pack the Garlic and Peppers
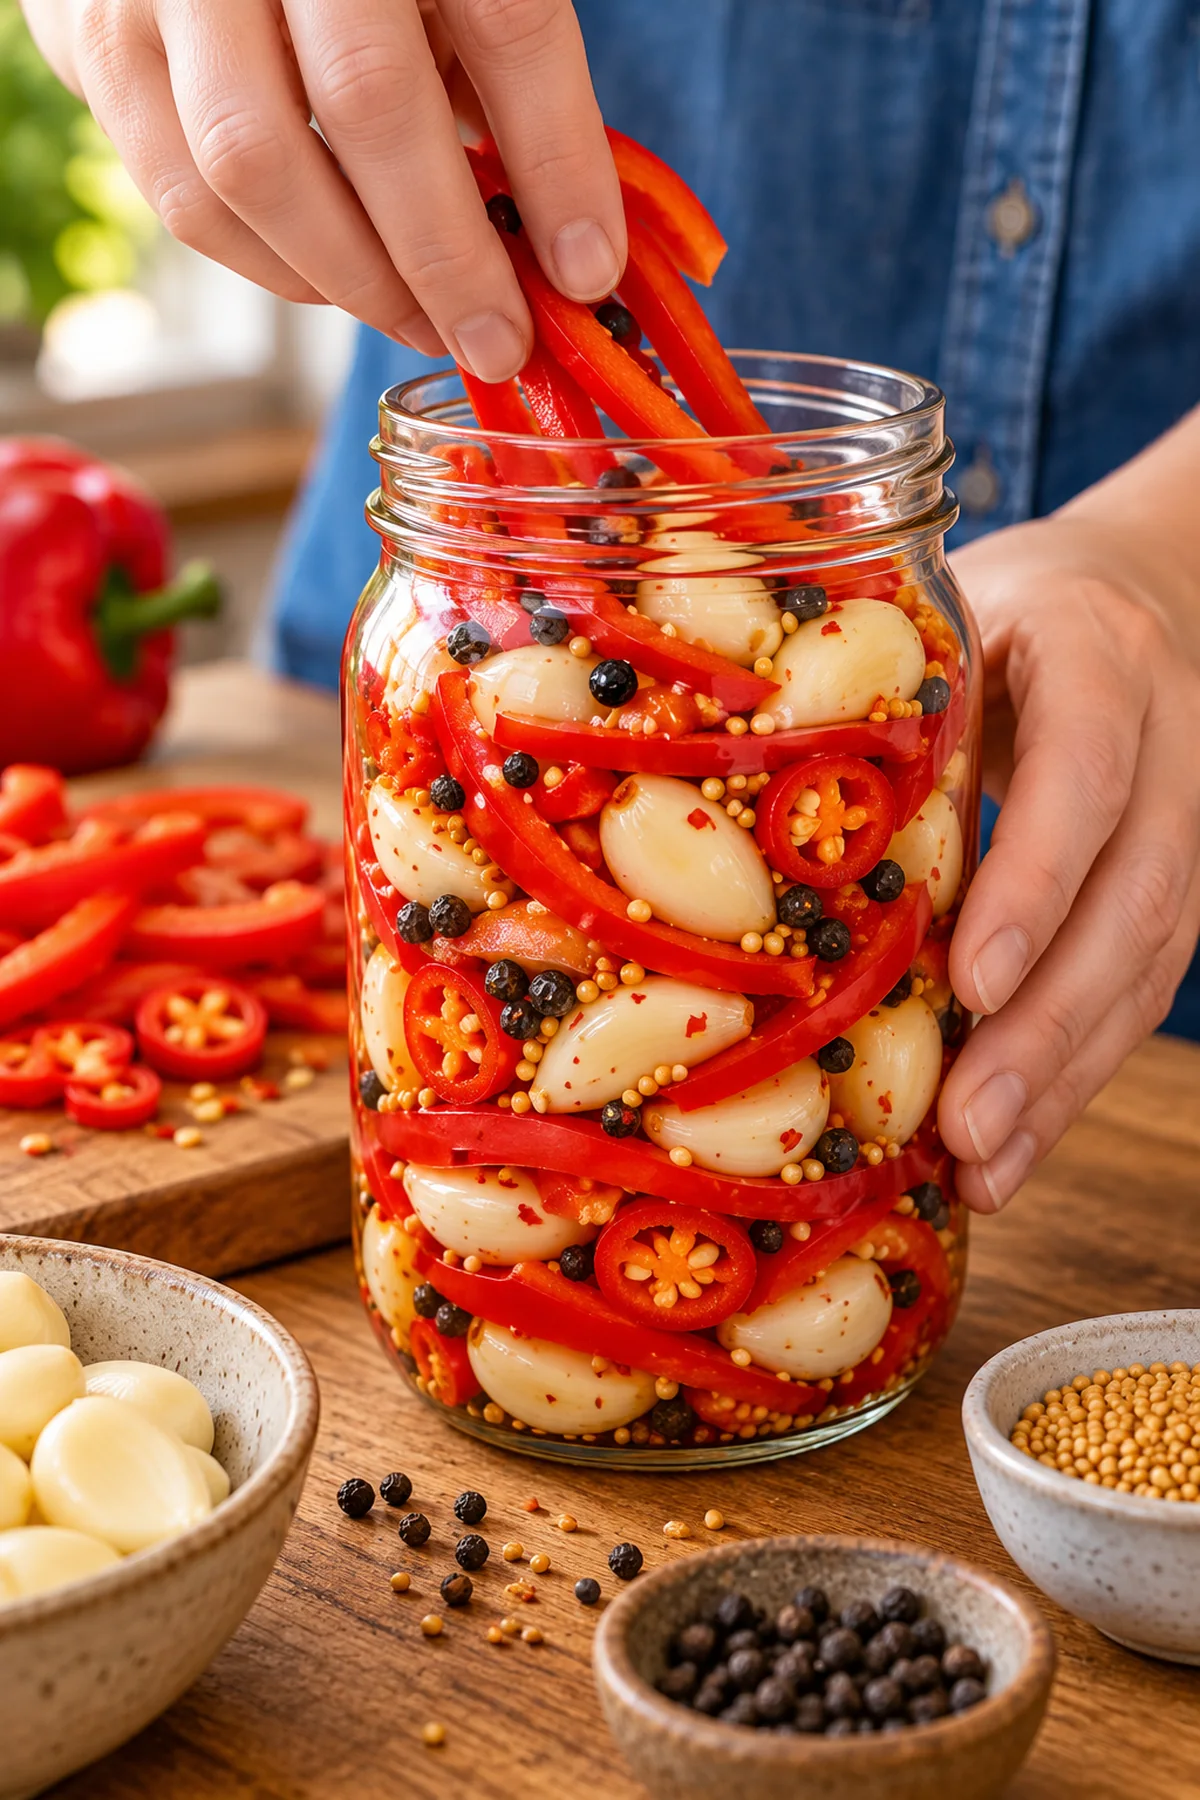
Place the garlic, red bell pepper, and sliced chile in the jar, alternating them so the peppers are distributed from top to bottom. Add the pepper flakes, black peppercorns, mustard seeds, and smoked paprika. Do not force the ingredients down so tightly that brine cannot circulate. A loosely packed jar allows liquid to reach every surface and makes the finished pickles easier to remove.
Make the Sweet and Spicy Brine
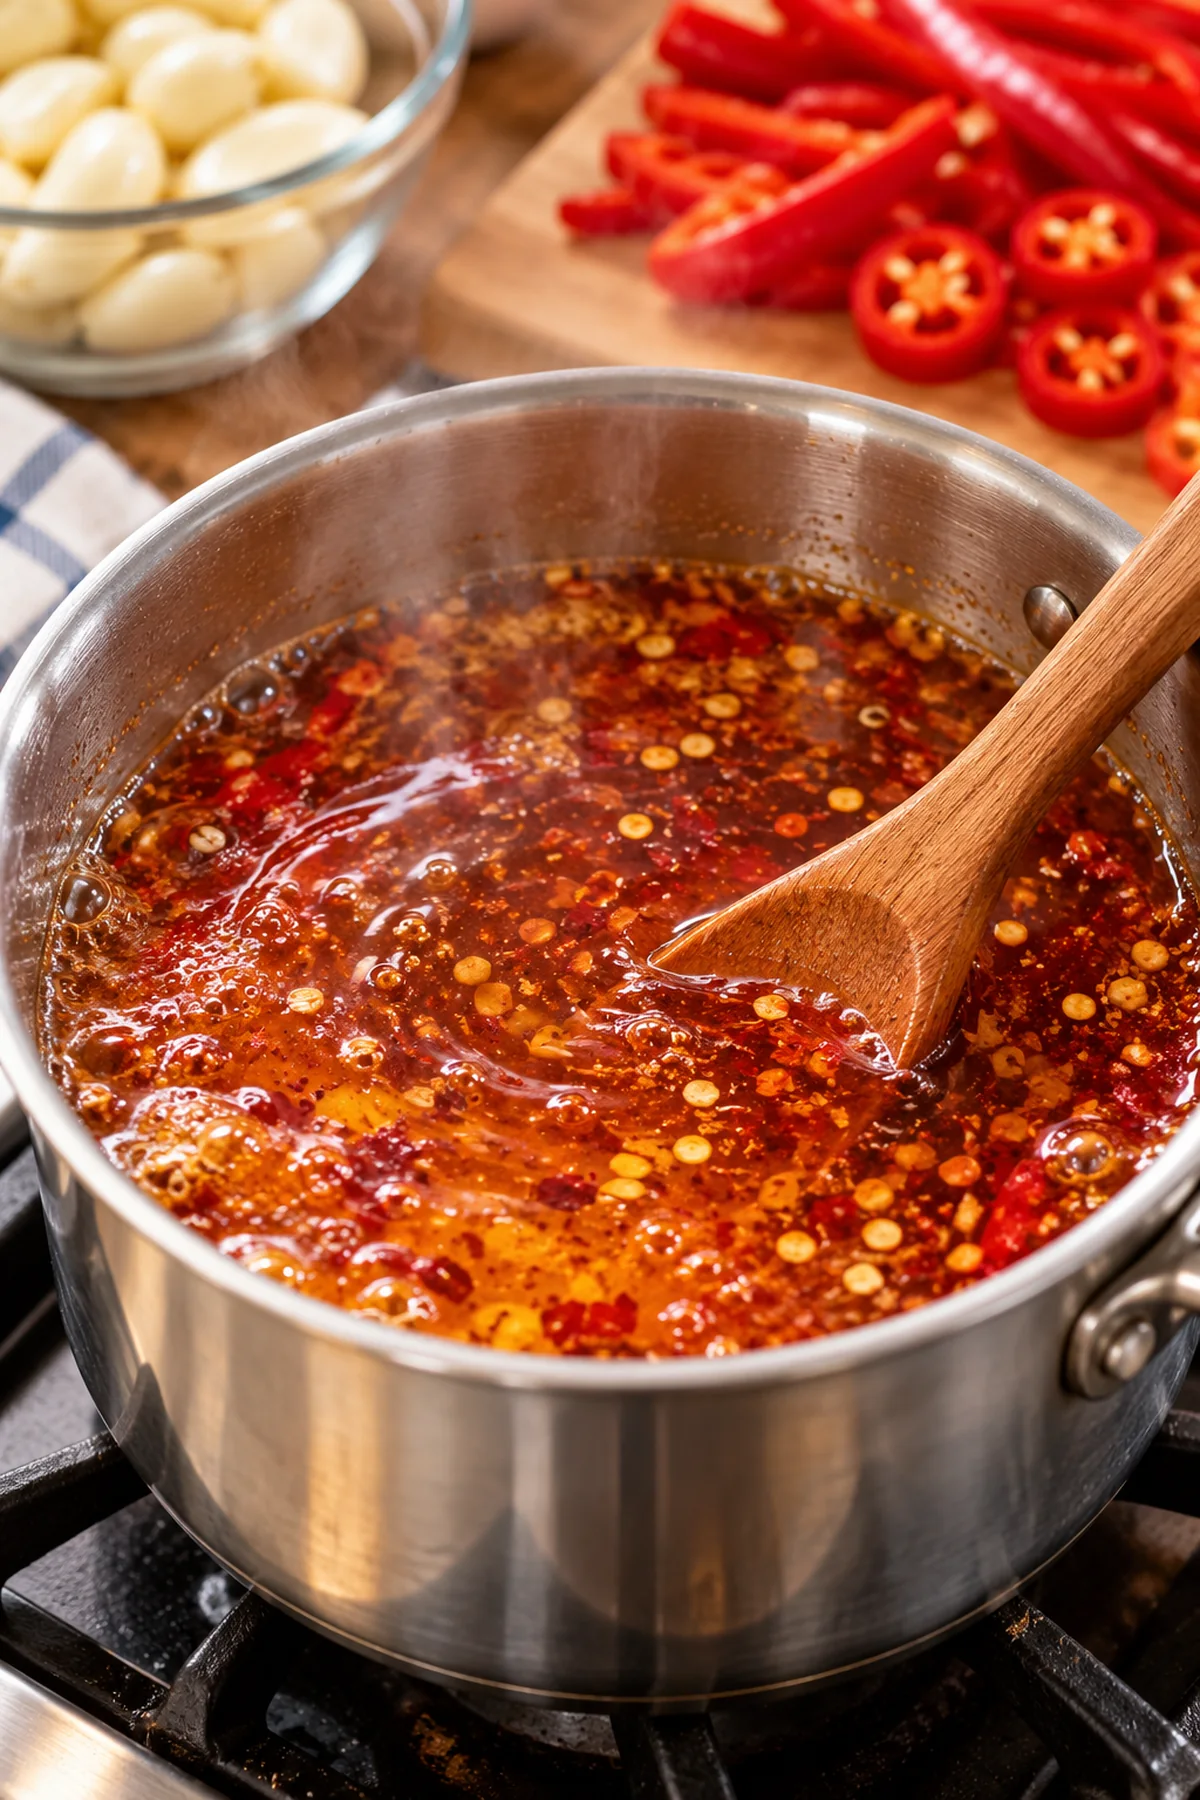
Combine the white vinegar, water, sugar, honey, hot sauce, and salt in a medium saucepan. Warm the mixture over medium heat, stirring until the sugar, honey, and salt dissolve completely. Bring it to a gentle simmer for two to three minutes. A violent boil is unnecessary and can concentrate the mixture. The goal is a smooth, hot brine with no undissolved crystals.
Fill, Cool, and Refrigerate
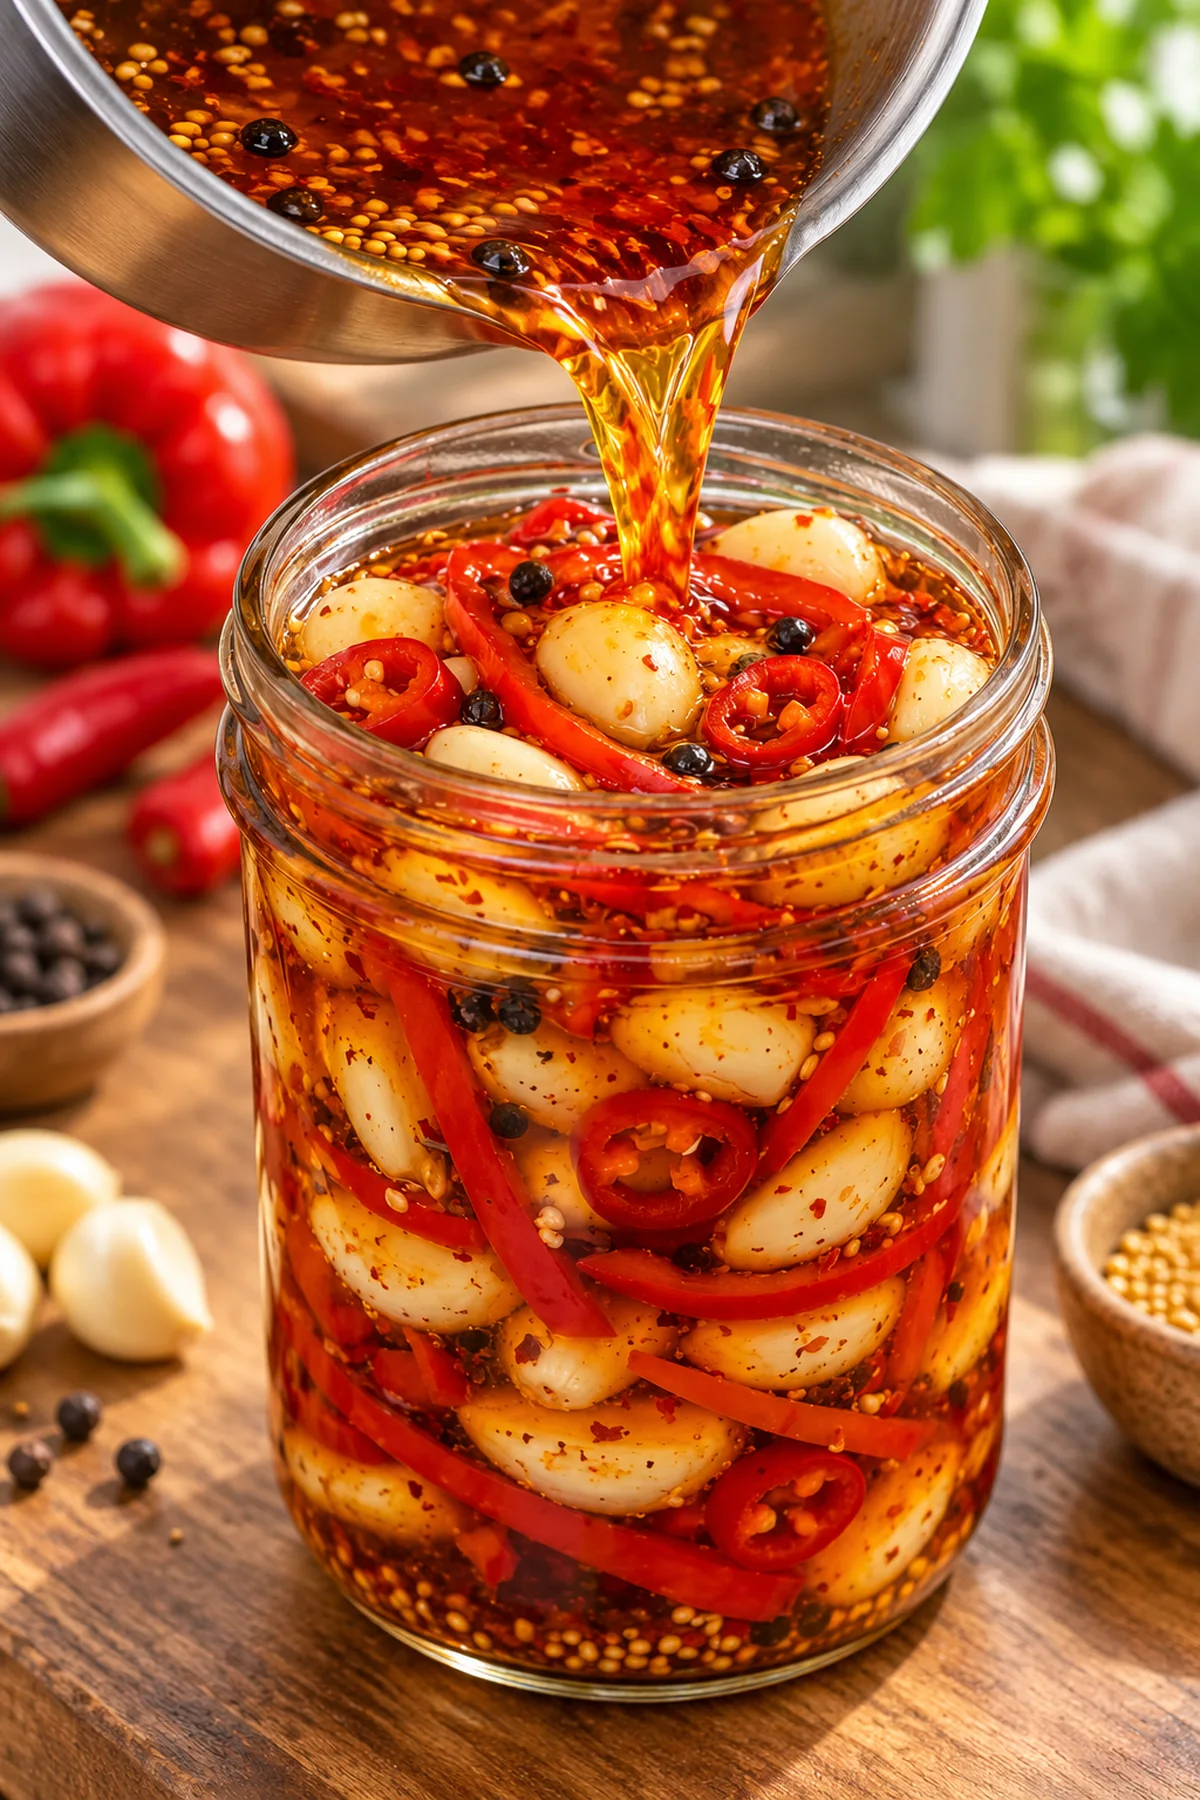
Set the jar on a folded kitchen towel, which protects the counter and buffers the glass from temperature shock. Carefully pour in the warm brine until the garlic and peppers are submerged, leaving a little room at the top. Run a clean chopstick or slim spatula around the inside to release trapped air, then add more brine if needed. Let the jar cool briefly before covering it and refrigerating promptly.
Wait at least three days before tasting. The cloves will still have a satisfying crunch, but their raw burn will be much gentler. Five to seven days gives the sweetest, most integrated flavor. Turn or gently shake the tightly closed jar once a day during the first few days if spices settle, then return it immediately to the refrigerator.
Expert Tips for Excellent Pickled Garlic
Keep everything submerged. Garlic or pepper pieces repeatedly exposed above the brine can discolor or spoil faster. A small food-safe fermentation weight can help, but it is not required if the jar is sensibly filled. Press floating pieces down with a clean utensil and choose a narrower jar if necessary.
Give the cloves enough time. A bite after one day will still taste aggressively garlicky because the brine has not penetrated the center. Three days is the minimum for this recipe, and a full week produces a more balanced result. Heat also strengthens during storage, so resist adding extra cayenne until you have tasted the mature batch.
Cool the jar only briefly. Warm glass should not go straight into a very cold refrigerator, but a filled jar should not sit on the counter for hours. Once it is no longer dangerously hot to handle, cover and chill it. Label the lid with the preparation date so the two-week storage window is easy to track.
Control the Sweetness and Heat
For a milder jar, remove the fresh chile seeds and membranes and reduce the pepper flakes to one-half teaspoon. Keep the hot sauce because it contributes flavor as well as heat; choose a mild sauce if necessary. For extra fire, add a second sliced chile or a small pinch of cayenne. Remember that chile heat varies and intensifies as the jar rests.
If you prefer a sweeter pickle, add one additional teaspoon of honey—not a large unmeasured pour. Too much honey can obscure the clean vinegar tang and make the brine syrupy. Taste should remain clearly pickled: acidity first, followed by sweetness, garlic, and a lingering chile warmth.
Serving Suggestions
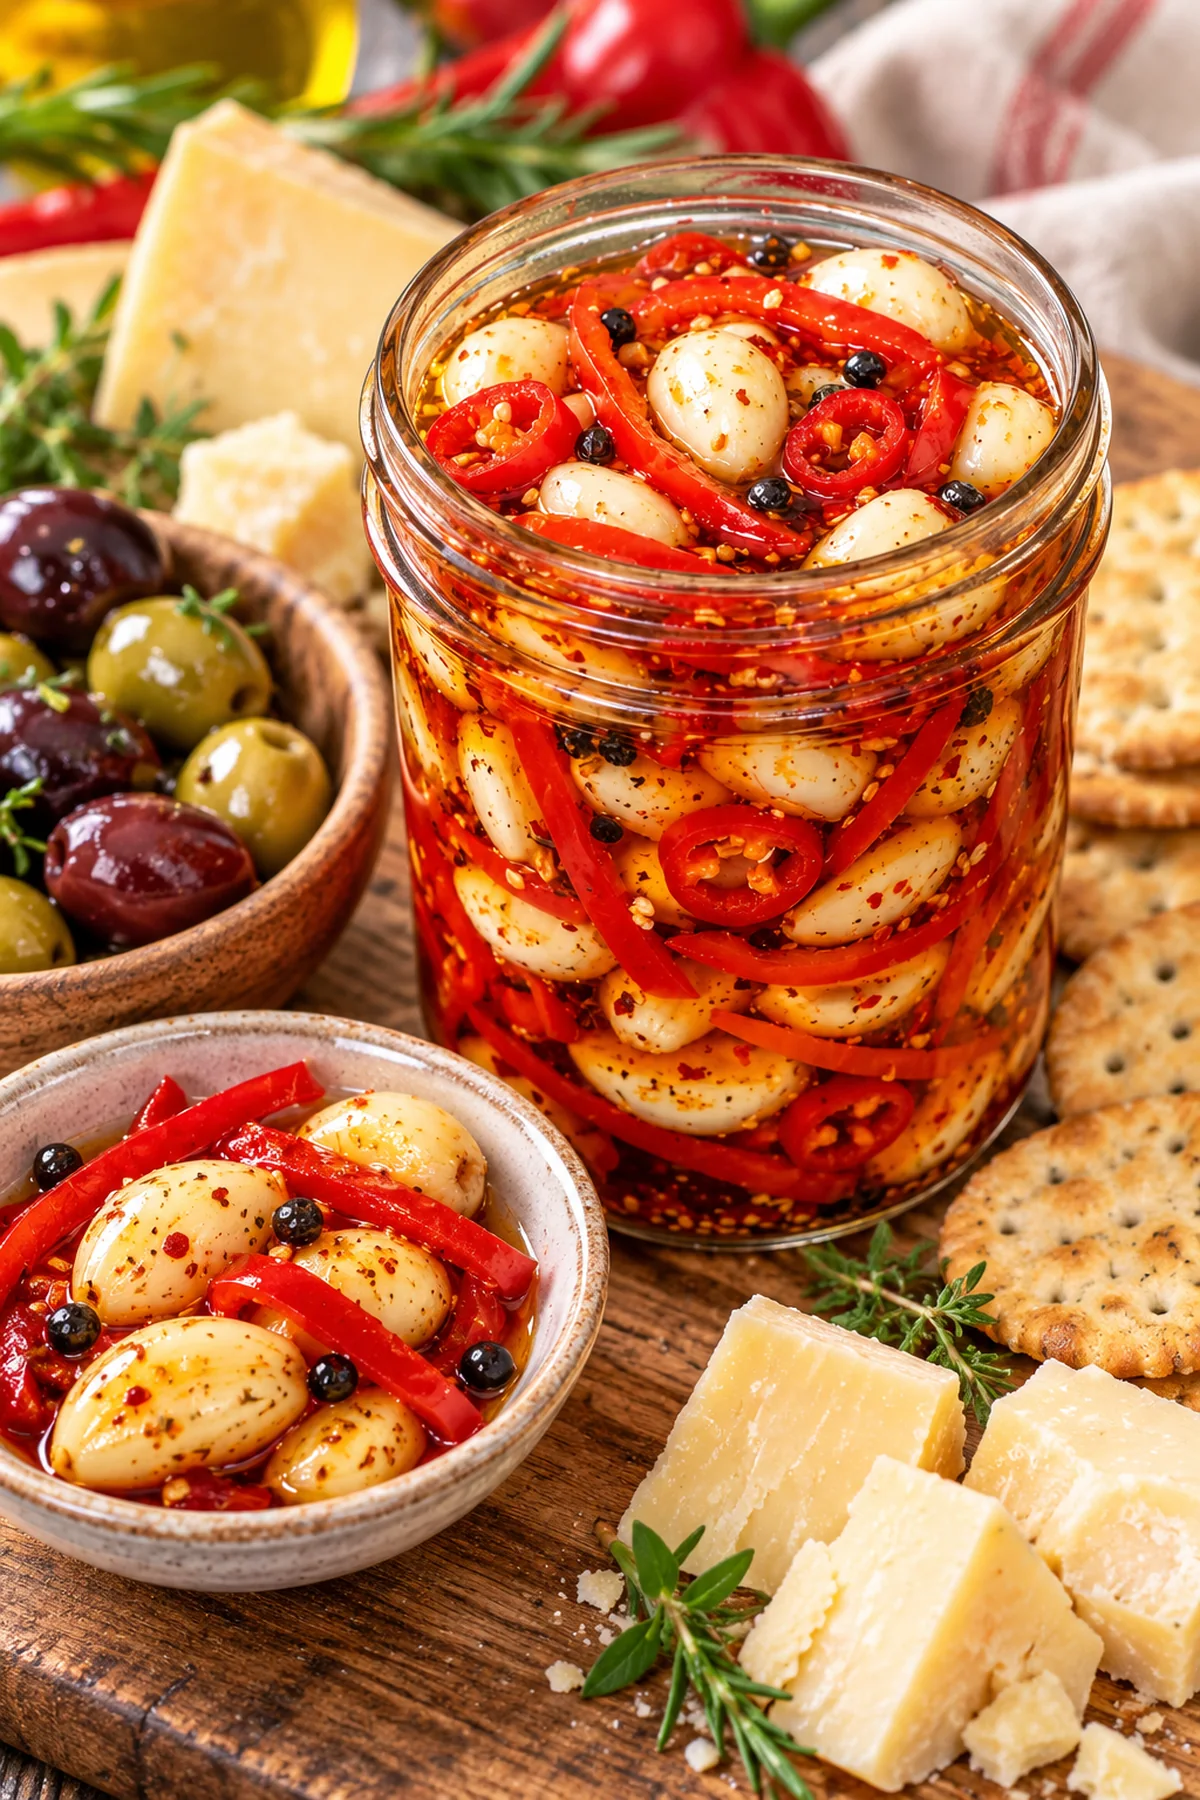
These colorful cloves are made for an antipasto or charcuterie board. Drain a few briefly and pair them with aged cheddar, creamy goat cheese, olives, roasted peppers, salami, and crisp crackers. Their acidity cuts through rich cheese and cured meat. Use a small serving fork so guests do not touch the contents of the storage jar.
Slice the garlic onto hamburgers, pulled-pork sandwiches, grilled chicken, or turkey subs. Chop it with the peppers and stir it into tuna salad, potato salad, pasta salad, or coleslaw. The pickles are also excellent beside tacos, rice bowls, roasted vegetables, and bean dishes. Start with a small amount; the flavor is concentrated and should brighten a dish rather than dominate it.
A spoonful of fresh brine can season mayonnaise, vinaigrette, or burger sauce. Whisk it with olive oil for a quick salad dressing, or stir it into softened cream cheese for a spicy spread. Never return used brine to the jar, and never use brine that contacted raw meat.
Storage and Food Safety
This recipe is strictly a refrigerator pickle. It has not been tested for water-bath canning and must not be stored in a pantry. Keep the jar tightly covered at 40°F or below, keep the solids beneath the brine, and use a clean utensil every time. Return it to the refrigerator promptly after serving. For conservative best quality and safety, use the batch within two weeks.
Discard the contents if you see mold, unusual foaming or bubbling, a slimy texture, a leaking lid, or an unpleasant odor. Do not taste questionable food to decide whether it is safe. Garlic can occasionally develop blue or green tones in acidic liquid because of a natural reaction involving sulfur compounds; color alone may be harmless, but any color accompanied by off odor or texture warrants disposal.
Make-Ahead Guidance
Prepare the jar five to seven days before you want to serve it. That schedule gives the flavors time to blend while leaving most of the two-week window available. For a party, portion only what you expect guests to eat and keep the main jar refrigerated. Refill the serving dish with a clean utensil rather than leaving the entire jar at room temperature.
Common Mistakes to Avoid
Do not substitute an unknown-acidity vinegar, dilute the brine beyond the specified water, or add oil to the storage jar. Avoid overpacking, which prevents the brine from circulating. Do not pour hot liquid into a cold or unsuitable container; use a clean, heat-safe jar on a towel. Finally, do not confuse refrigeration with canning. A sealed lid does not make this recipe shelf stable.
Another mistake is judging the flavor too early. Freshly filled garlic is sharp, and the brine may taste like separate vinegar, honey, and hot sauce. Resting is part of the recipe. By day three the flavors begin to cooperate, and by days five through seven they taste notably rounder and more cohesive.
Frequently Asked Questions
When is the pickled garlic ready?
It is ready to taste after three full days in the refrigerator. For the best mellow garlic flavor and balanced sweet heat, wait five to seven days.
Can I use apple cider vinegar?
You may use commercially bottled apple cider vinegar labeled 5% acidity, but it will give the brine a fruitier flavor and darker color. White vinegar creates the clean, bright result intended here.
Why did my garlic turn blue or green?
Natural sulfur compounds in garlic can react in an acidic environment and create blue-green pigments. This is often harmless. However, discard the batch if the color appears with mold, slime, unusual gas, or a bad smell.
Can I reuse the brine for another batch?
No. The brine becomes diluted as vegetables release water, so it should not be reused to pickle more garlic. While it still looks and smells fresh, use a clean spoonful in dressing or sauce, then discard the remainder with the pickles at the end of the storage window.
Is this recipe suitable for pantry canning?
No. The formula is designed only for refrigerated storage and has not been validated for shelf-stable processing. Keep it at 40°F or below and use it within two weeks.
A Bright, Bold Refrigerator Pickle
Sweet and spicy red pepper pickled garlic delivers a lot of character with simple ingredients and very little active work. Whole cloves stay pleasantly crisp, red peppers add color and sweetness, and the vinegar-honey brine carries just enough smoke and chile heat. Give the jar its full resting time, keep it cold and submerged, and you will have a vivid condiment ready to sharpen snacks, sandwiches, salads, and grilled dinners.
Print
Sweet & Spicy Red Pepper Pickled Garlic
- Prep Time: 15 minutes
- Pickling Time: 3 days
- Cook Time: 5 minutes
- Total Time: 3 days 20 minutes
- Yield: About 1 quart jar 1x
- Category: Appetizer
- Method: Refrigerator Pickling
- Cuisine: American
- Diet: Vegetarian
Description
Crunchy whole garlic cloves and red peppers in a tangy, honey-sweetened vinegar brine with layered chile heat.
Ingredients
- 2 cups fresh garlic cloves, peeled
- 1/2 cup red bell pepper, thinly sliced
- 1 small red chili pepper, thinly sliced
- 1 teaspoon crushed red pepper flakes
- 1 teaspoon whole black peppercorns
- 1 teaspoon mustard seeds
- 1/2 teaspoon smoked paprika
- 1 cup white vinegar (5% acidity)
- 1 cup water
- 2 tablespoons granulated sugar
- 1 tablespoon honey
- 1 tablespoon hot sauce
- 1 tablespoon kosher or pickling salt
Instructions
- Peel the garlic cloves and rinse them under cool water. Discard any cloves that are soft, damaged, or discolored.
- Wash the red bell pepper and chili pepper, then slice them into thin pieces.
- Place the garlic cloves, red bell pepper, and chili pepper into a clean, heat-safe glass jar.
- Add the crushed red pepper flakes, black peppercorns, mustard seeds, and smoked paprika.
- Combine the white vinegar, water, sugar, honey, hot sauce, and salt in a medium saucepan.
- Heat over medium heat, stirring until the sugar, honey, and salt are completely dissolved.
- Bring the brine to a gentle simmer for 2 to 3 minutes, then remove it from the heat.
- Carefully pour the warm brine over the garlic and peppers, making sure everything is completely submerged.
- Allow the jar to cool briefly, then cover tightly and refrigerate promptly.
- Let the garlic pickle in the refrigerator for at least 3 days before serving.
- For the best sweet-and-spicy flavor, allow it to marinate for 5 to 7 days.
Notes
- This is a refrigerator pickle and is not a shelf-stable canning recipe.
- Keep refrigerated at 40°F or below with the garlic and peppers submerged, and use within 2 weeks.
- Use commercially bottled white vinegar labeled 5% acidity; do not reduce the vinegar or add oil to the jar.
- Use a clean utensil for every serving and discard the batch if you notice mold, unusual bubbling, slime, or an unpleasant odor.
- For less heat, remove the chili seeds and membranes; for more heat, add another fresh chili or a small pinch of cayenne.
- Refrigerate the tightly covered jar at 40°F or below for up to 2 weeks.
- Keep all garlic and pepper pieces submerged and return the jar to the refrigerator promptly after serving.
- Do not store this refrigerator pickle at room temperature or process it for pantry storage.
Nutrition
- Serving Size: 1/8 of recipe
- Calories: 85
- Sugar: 7 g
- Sodium: 875 mg
- Fat: 0 g
- Carbohydrates: 19 g
- Fiber: 1 g
- Protein: 2 g